We may receive a commission when you use our affiliate links. However, this does not impact our recommendations.
My last post covered a couple of processes for aging brass. The two pulls I used in the post were custom made by Adam Nahas of Cyclops Studios. Adam, who has a degree in fine arts with a concentration in sculpture and, at this point, years of professional experience, has made a number of hardware pieces for me over the past dozen years. Sometimes I just can’t find what I need ready-made, or second-hand, so the only thing to do is have the hardware custom made. (Were I a metalsmith, I could make it myself, but I’m not. On top of this, as someone whose livelihood depends on being commissioned by others to make furniture that they want, hiring Adam to make hardware qualifies as treating someone else as I would like to be treated myself.)
Adam kindly documented many steps of the process and gave me permission to share them here.
Step 1: Design
As I noted in my last post, I had a particular look in mind. I was also constrained somewhat by dimensions and budget. Adam took the original design and came up with an interpretation he could produce affordably. He sent me a few sketches for feedback, and then, with my blessing, modified them into the simple one he used as a pattern.
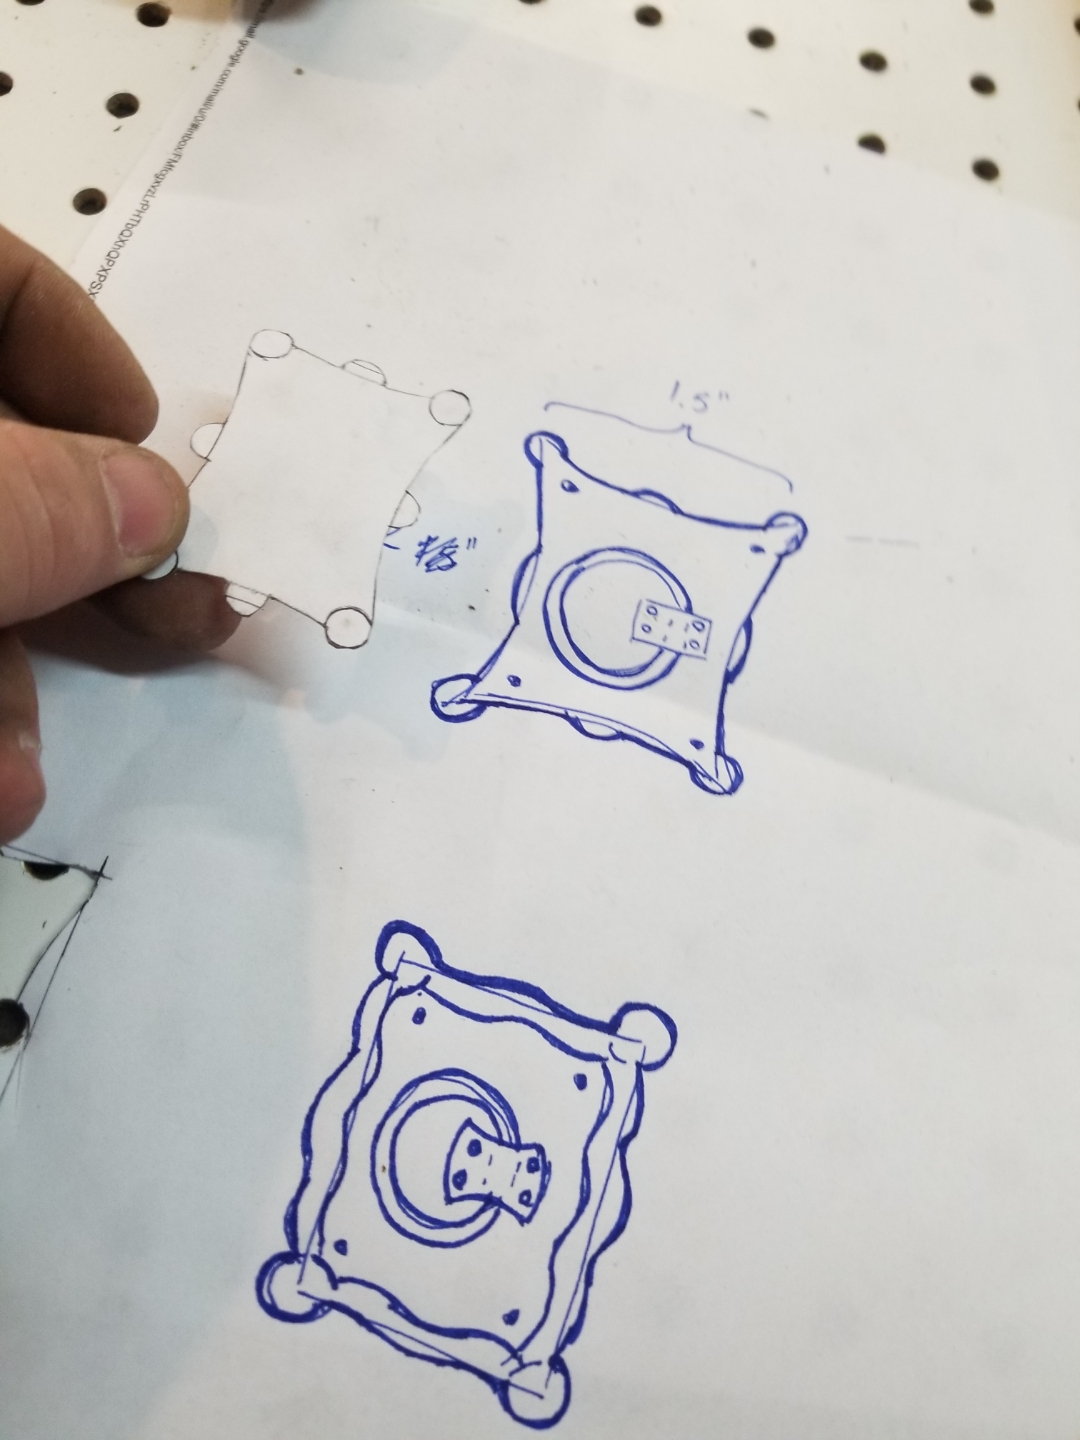
Adam distilled the first two sketches for backplates, at right, into the elegantly simple one he is holding here.
We discussed the type of ring I wanted and briefly touched on how it would be attached, but we revisited those details later.
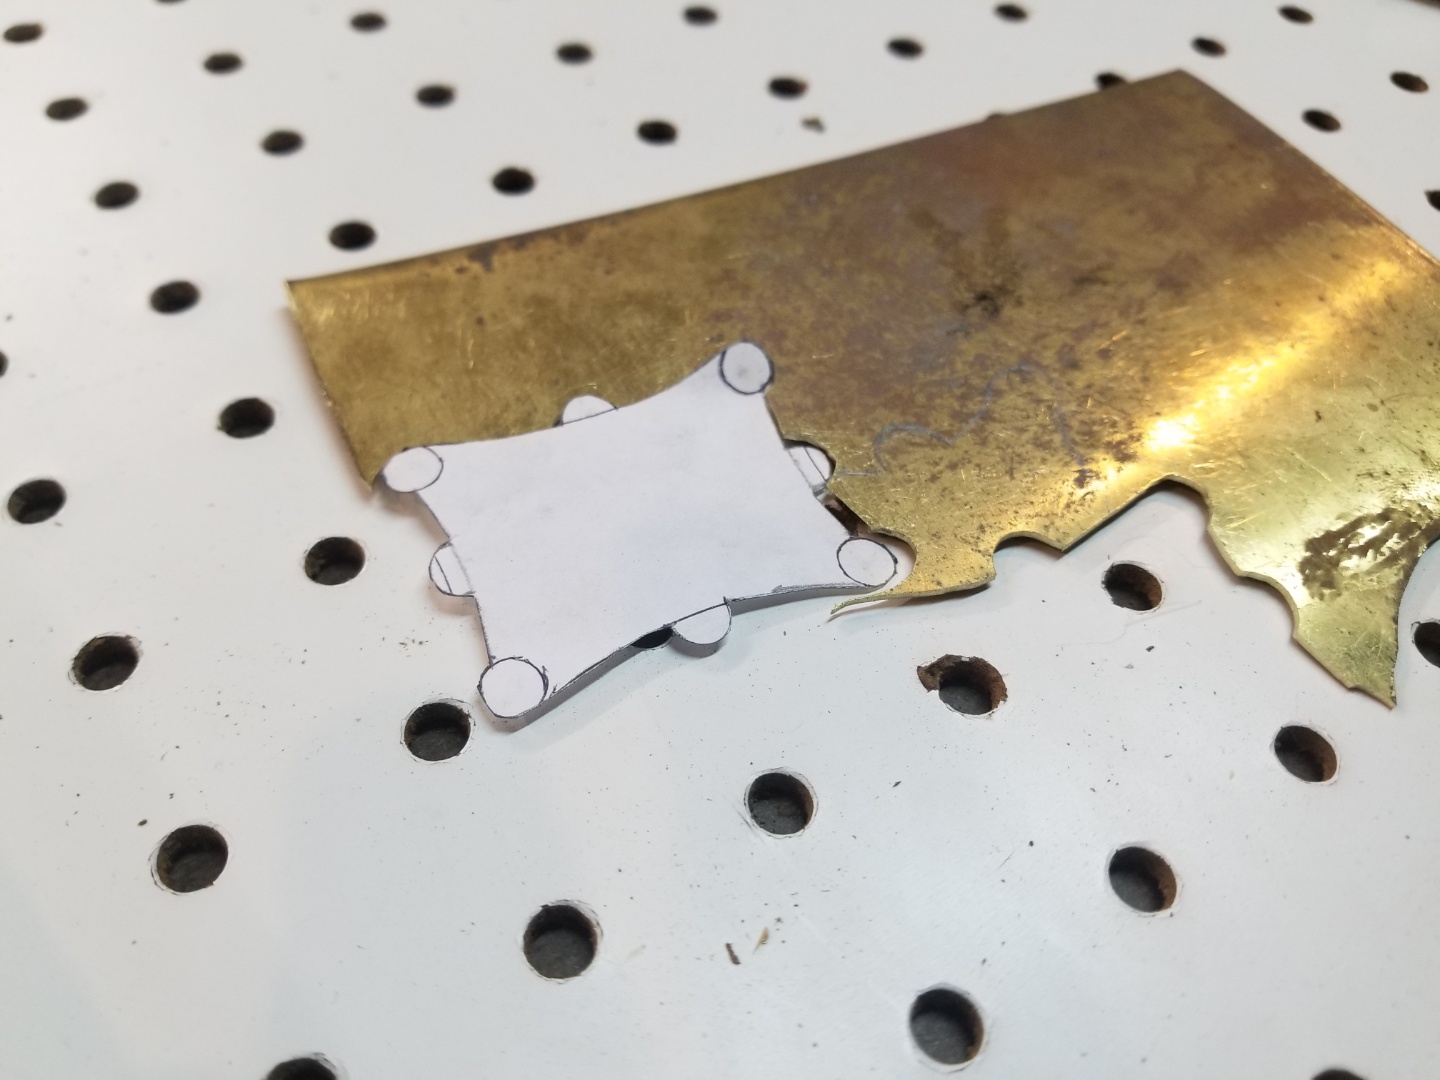
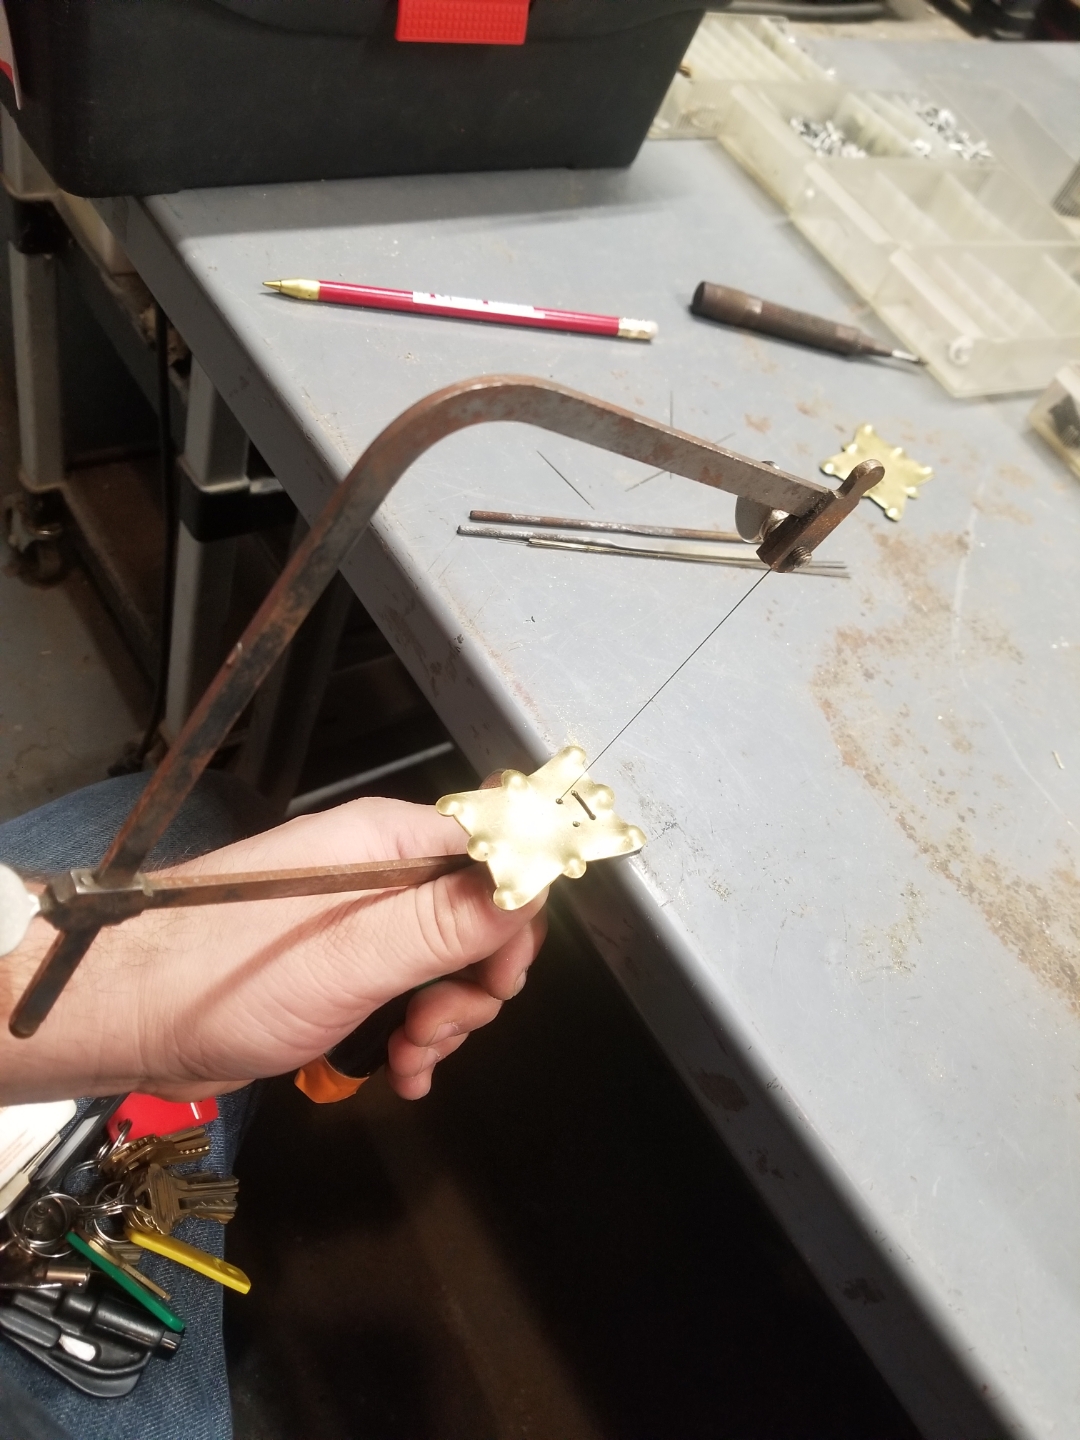
Step 2: Cut out the backplate
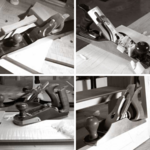
Adam cut the backplates out of 18-gauge brass with a jeweler’s saw fitted with a 0/2 blade.
Step 3: Texture
To create the raised bosses, Adam drilled strategically placed shallow holes in a scrap of softwood, then placed the brass backplate over the holes and struck them with a jewelry die.
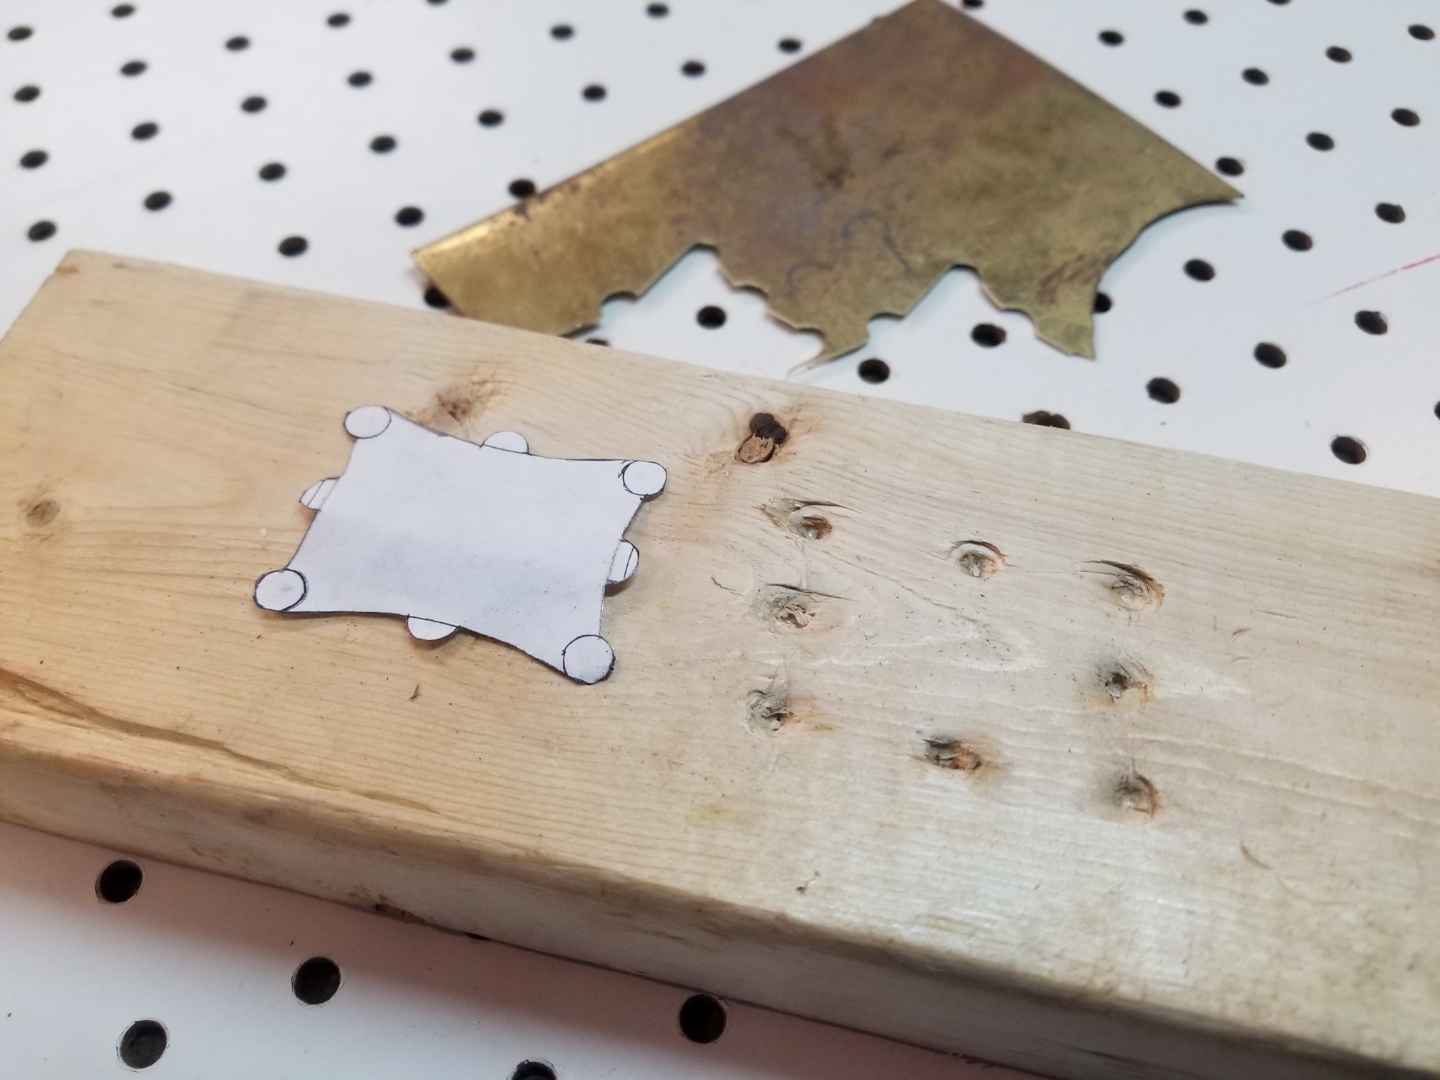
The next image shows one of the backplates in place, literally embossed.
Like a boss.
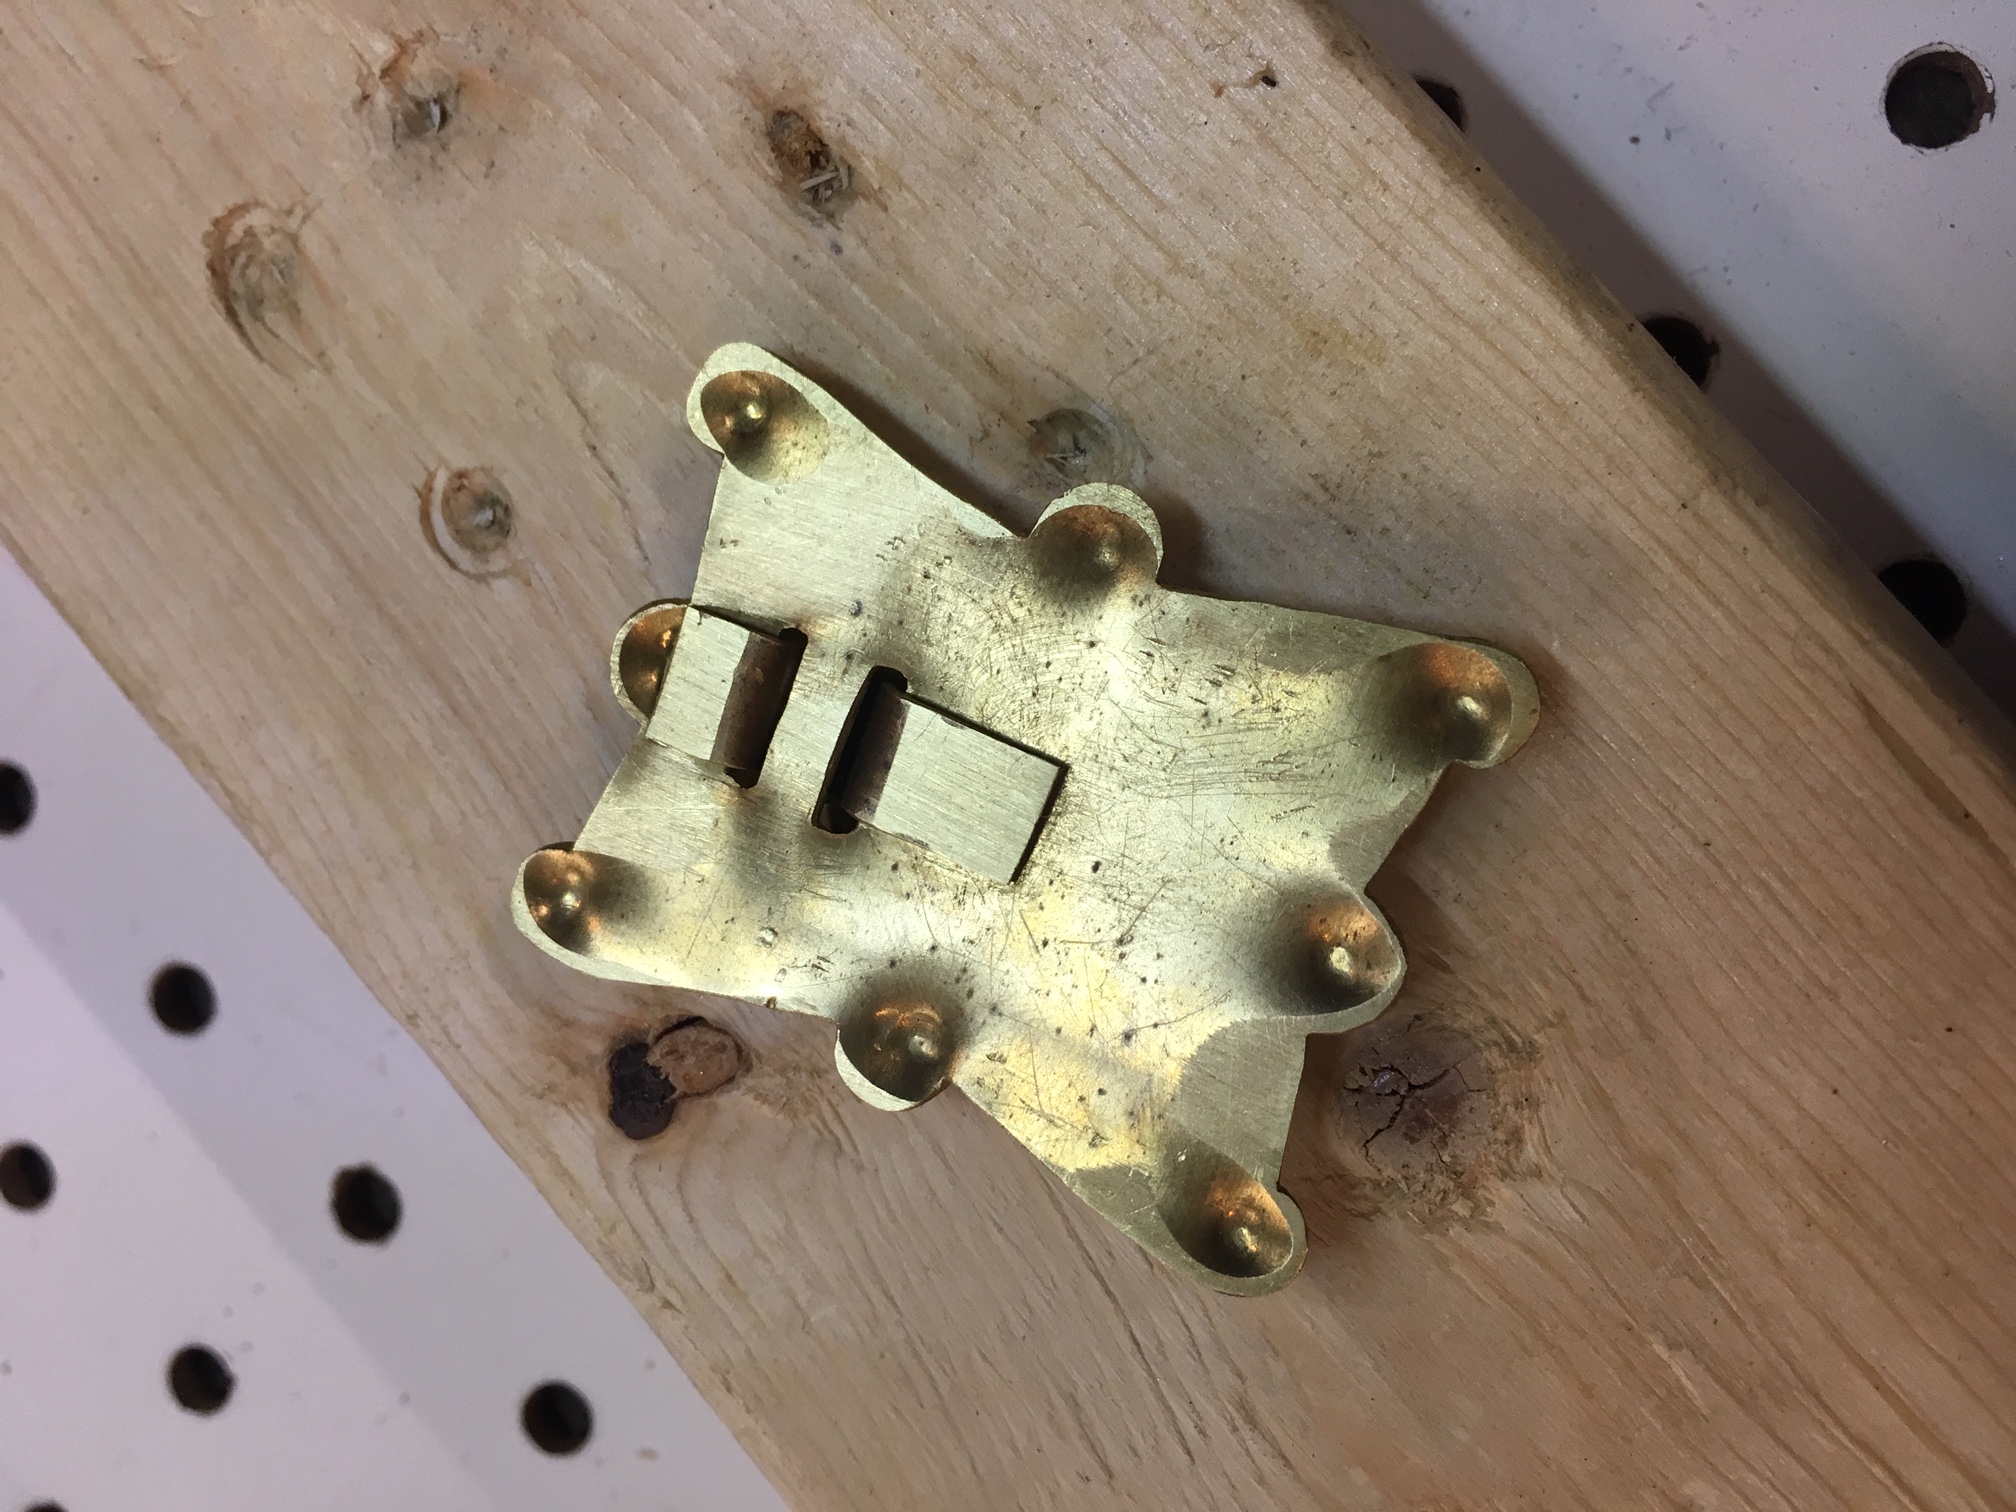
The back view (out of sequence; in this image the strap that holds the ring has been attached) really shows the texture created by embossing.
Step 4: Decide where to put the ring and how to attach it
This step took several messages back and forth. Adam mocked each option up without doing any drilling, to let me see how each would look.
Mocked up. I knew I didn’t want the version on the left for aesthetic reasons. The one on the right was a contender, but the little ring inside the ring pull was a distraction to my eye, so I asked Adam whether he could remove it. He said he could, and he also removed the one at the top for a clean finish.
Although the model for the pull has a strap applied to the surface of the backplate, where it serves a decorative function, I wanted something simpler in view of the pull’s simplified design: a thin slot above and below the top of the ring, into which a strap of brass would be threaded, then folded over.

Adam started the slots for the ring-holding strap with a drill in a drill press. Before the drill came a punch, which he used to locate the holes accurately.
Making the slots for the strap that will hold the ring.
After making the slots, Adam threaded the brass straps through, around the rings.
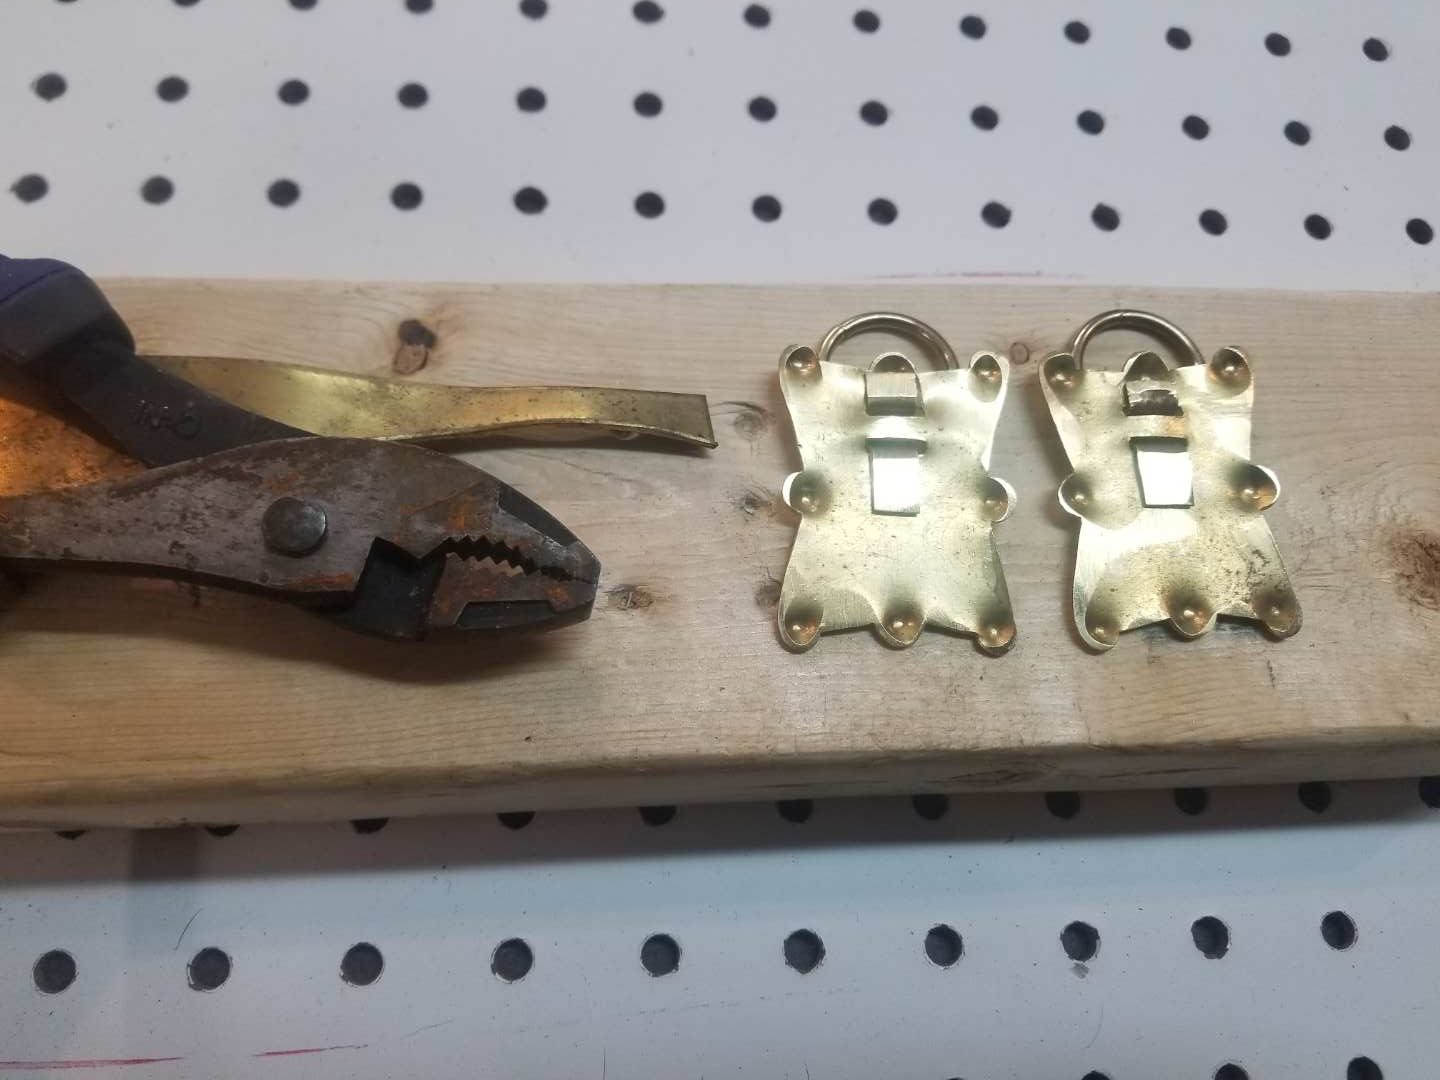
Fully exposed. Don’t blame me; this view reminds me of a hospital patient with a gaping gown.
The end’s in view.
Step 5: Means of connection
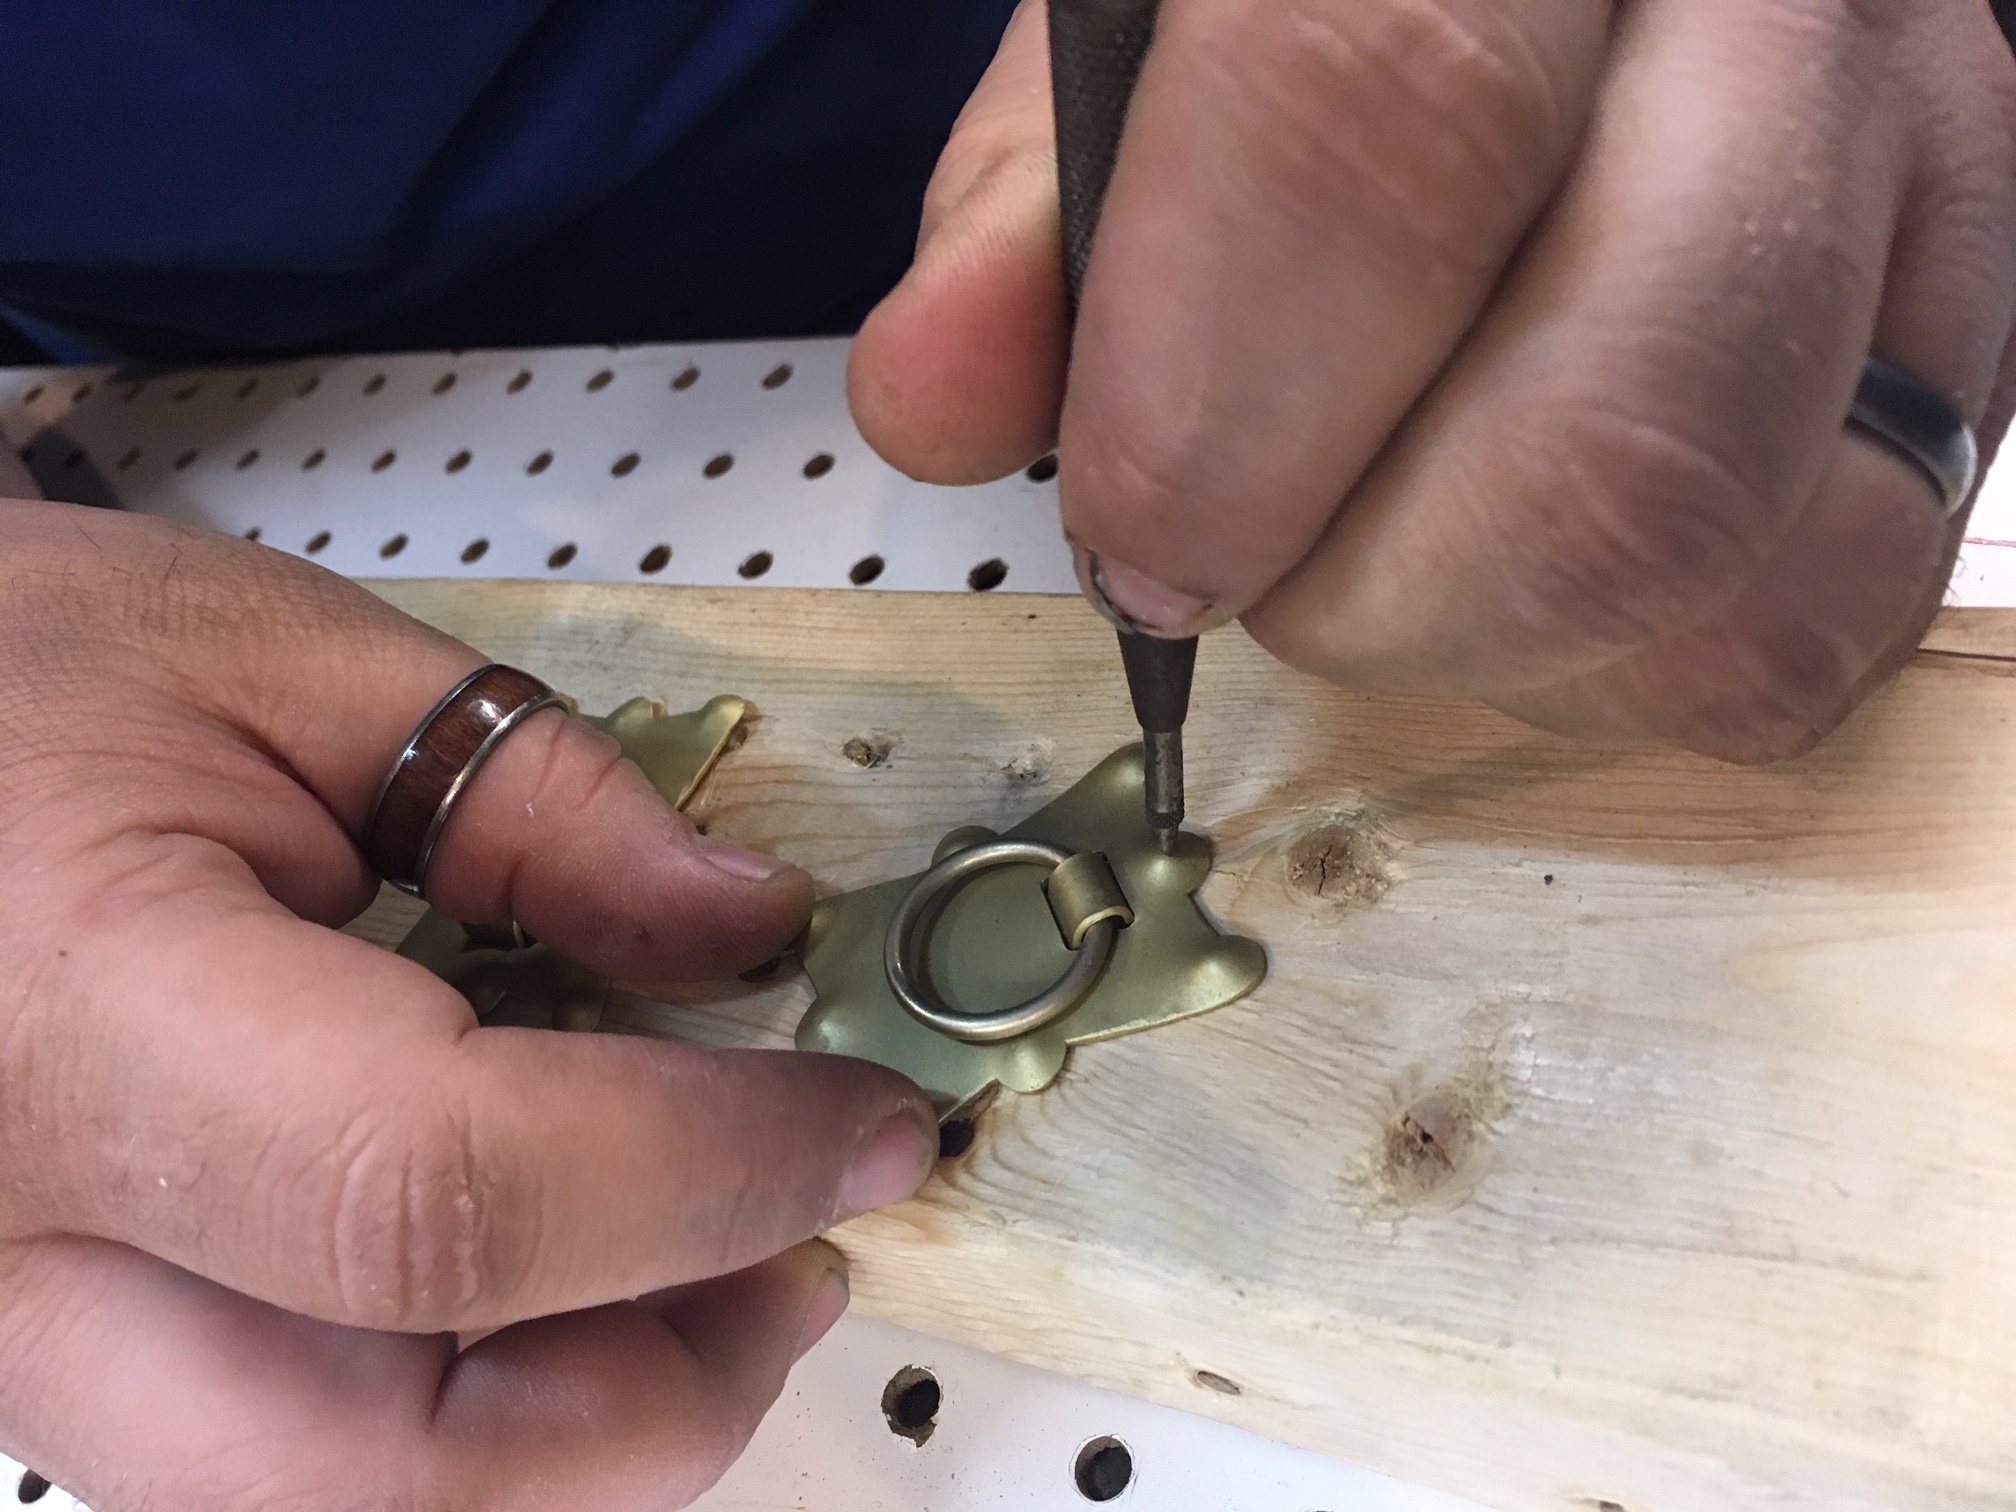
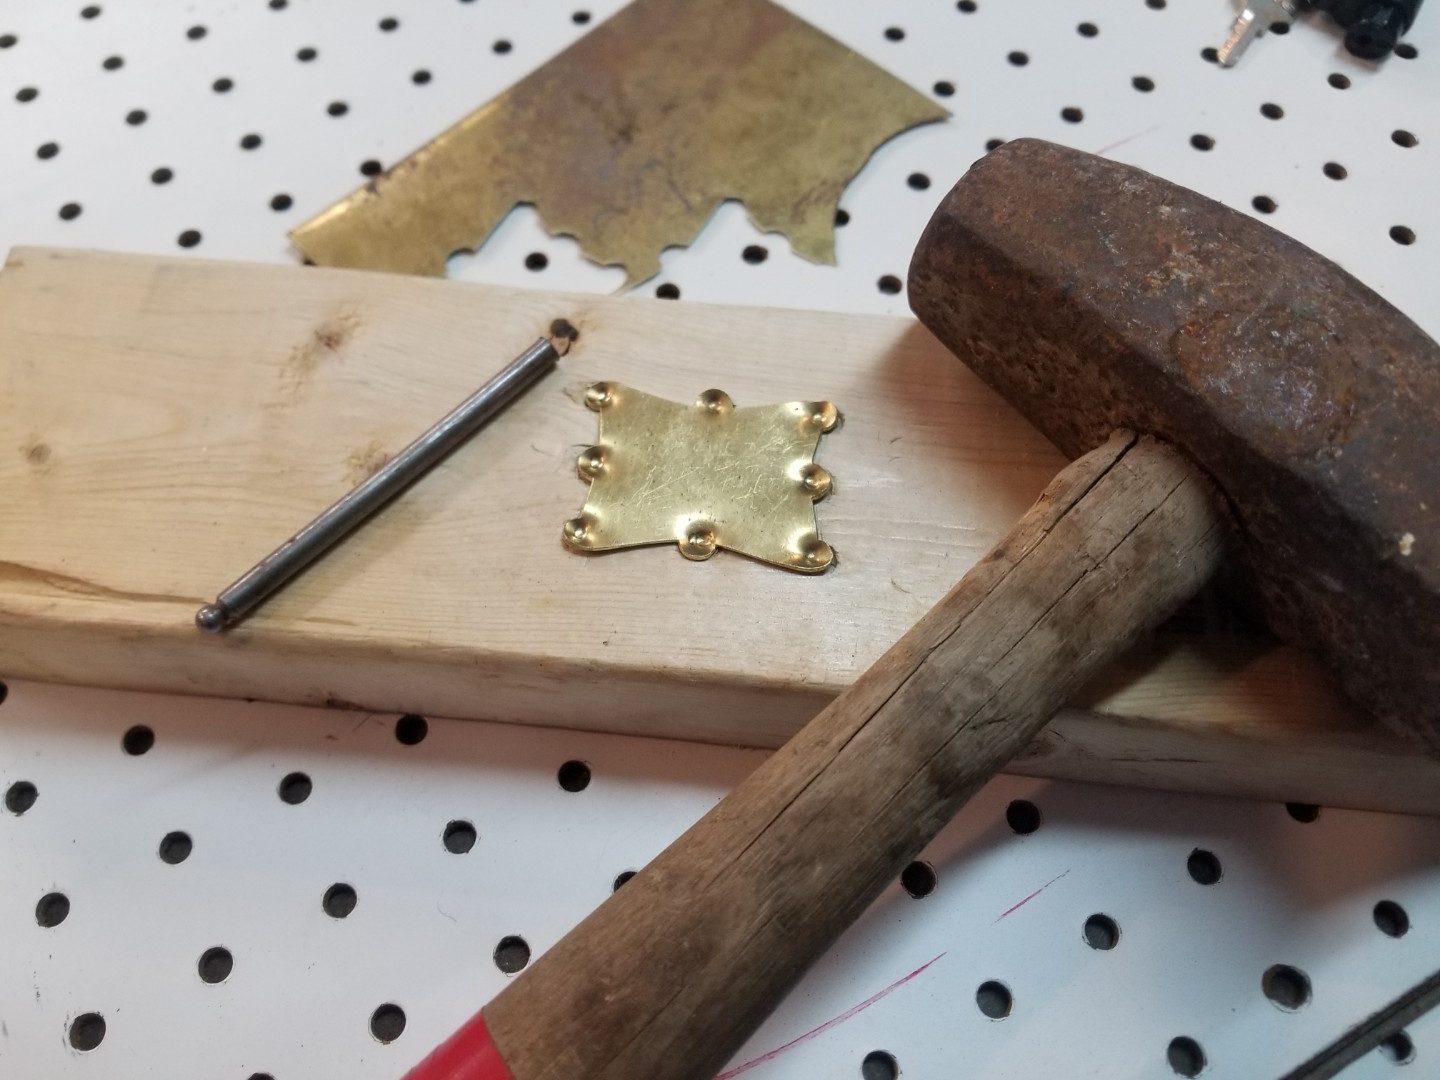
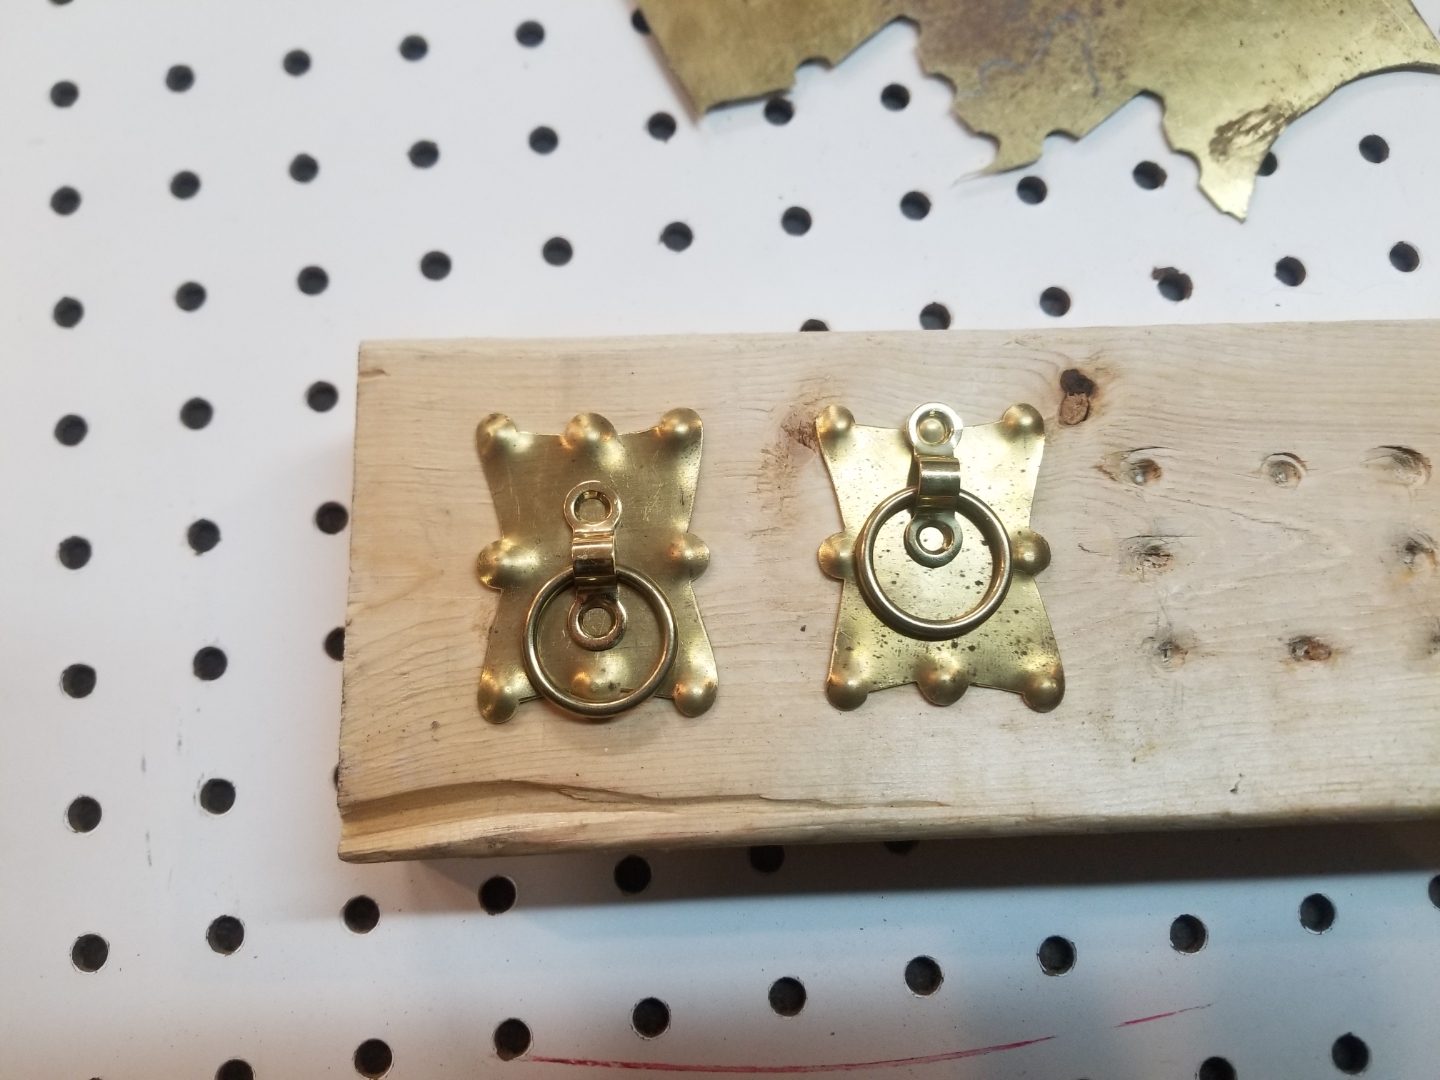
At this point Adam got back in touch. He was ready for my input on how the pulls would be affixed to the doors. So I met him at his studio while he went through the final steps. The backplate is thick enough that it only needed two screws to hold it firmly on the door. I asked Adam to drill the holes in the top and bottom bosses. He started by striking the center with a punch, to help him locate the drill bit precisely. (See the image at the top of this post.) Next he drilled the holes on a drill press and created deep countersinks so the oval head screws would seat nicely.
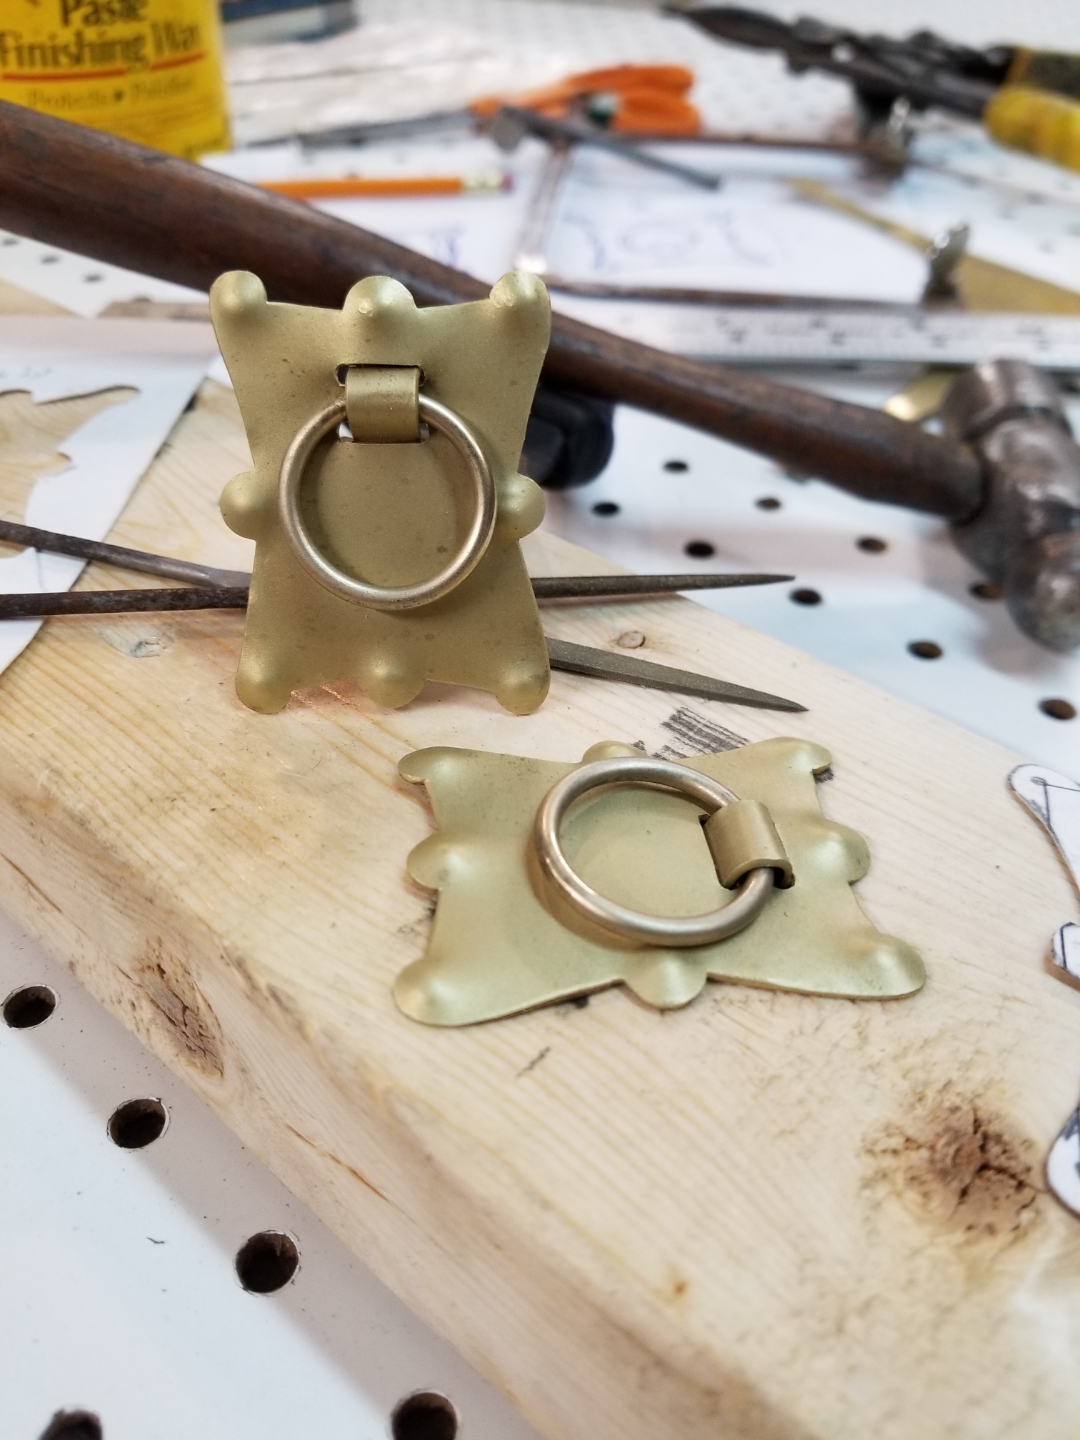
One of the finished pulls, with added patina.
Further Reading: Two Techniques for Aging Brass
Here are some supplies and tools we find essential in our everyday work around the shop. We may receive a commission from sales referred by our links; however, we have carefully selected these products for their usefulness and quality.