We may receive a commission when you use our affiliate links. However, this does not impact our recommendations.
The bench hook is without question one of the most indispensable tools in my wood shop. The force of gravity and the force of using the tool up against a solid fence is all that it takes to keep the work from moving. It’s deceptively sophisticated and exceptionally simple to make. It’s a great choice for a first-time hand-tool only project. They can be as long, as wide and as decorative as you like, and can be made from hardwood scrap.
I can make a pair from rough sawn lumber in less than an hour. They’re a natural test of precision hand-tool skills as there’s no room to ‘fudge’ anything. They’re either straight, flat and square or they aren’t. You’ll notice any deviation while in use. Think of it as a Gottshall block with a real function; a great way to practice being accurate while still producing something of value. Yet another benefit is that it’s made in one piece and then sawed apart, giving you a pair with minimal layout. A matched pair, so to speak, of bench hooks is more useful than a single hook because they can be used in tandem on longer pieces. By making it in one piece and then sawing them apart, you ensure that each fence on each hook is in exactly the same place relative to the bench edge. This helps hold the work square and steady without sliding or rocking.
Though many furniture projects, especially those done entirely with hand tools, can easily be done without four-squared stock, I like to use shop projects as an opportunity to practice my precision woodworking skills. I’m constructing a large pair of hooks here, with a working length of 18″ and a fence thickness of roughly 3/4″, but they can easily be made in all different sizes for different operations and different sizes of lumber.
Bench Hooks, Step by Step
1. Crosscut the board to your desired length, which should be the working length you want minus 6″. I chose 24″ to make an 18″ long set of hooks, as I already have a several shorter pairs.
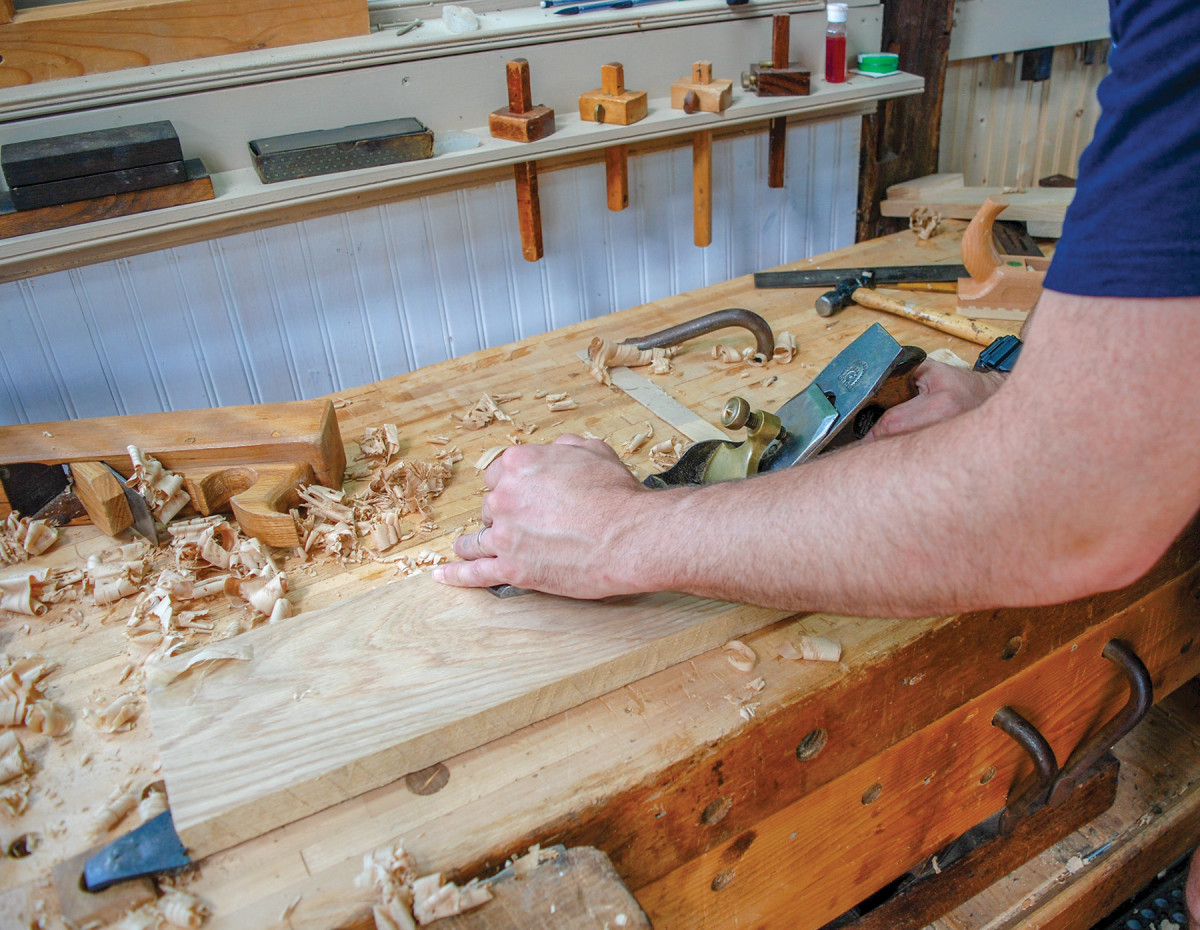
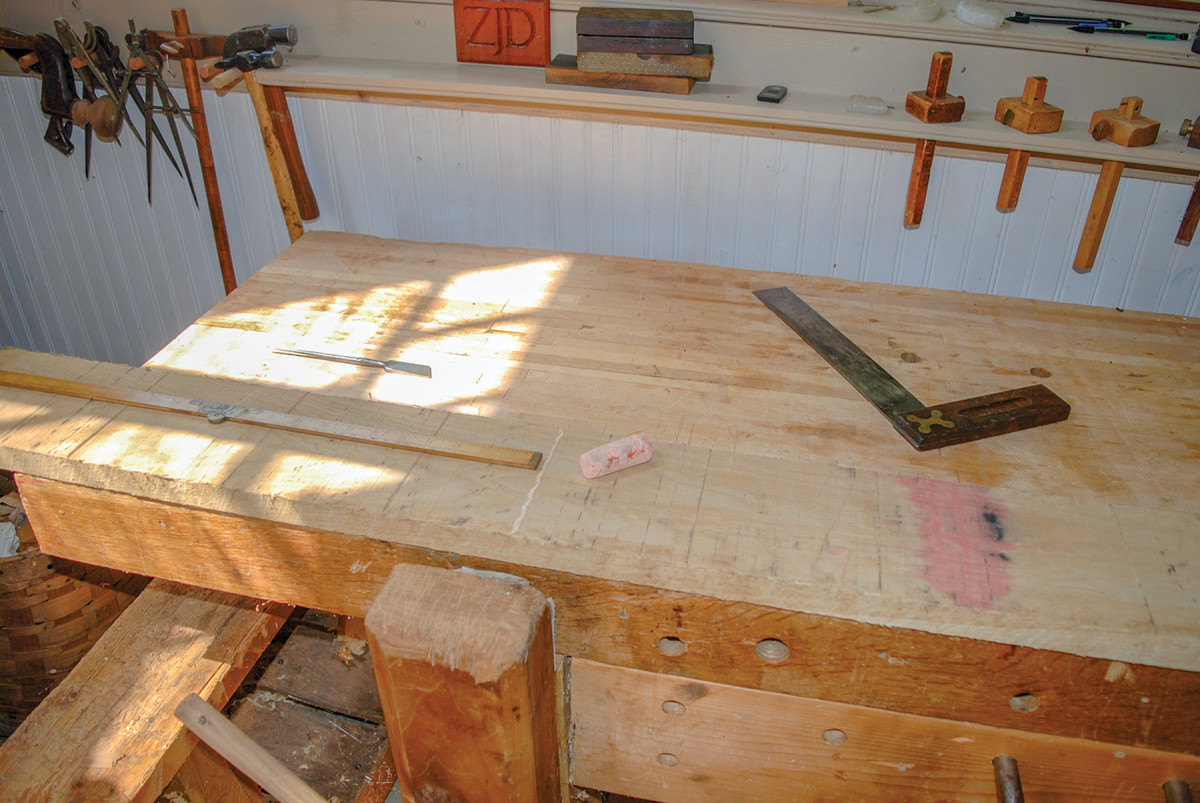
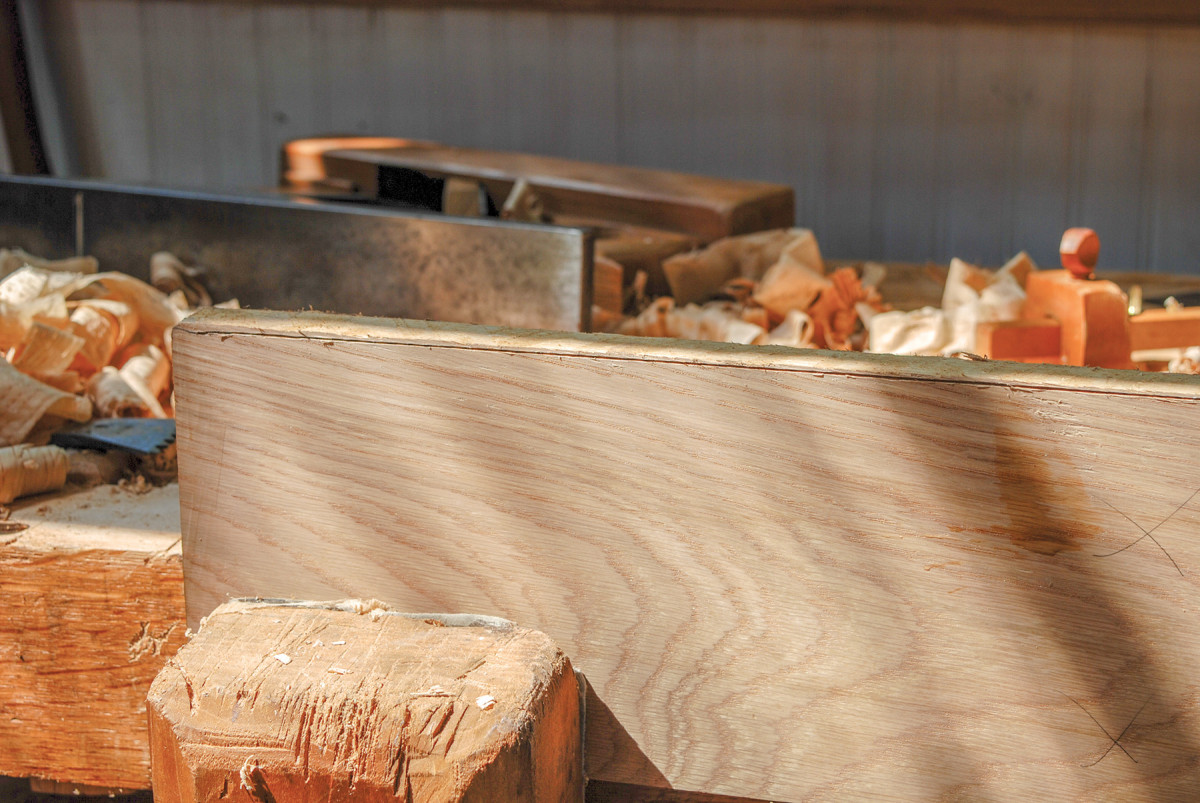
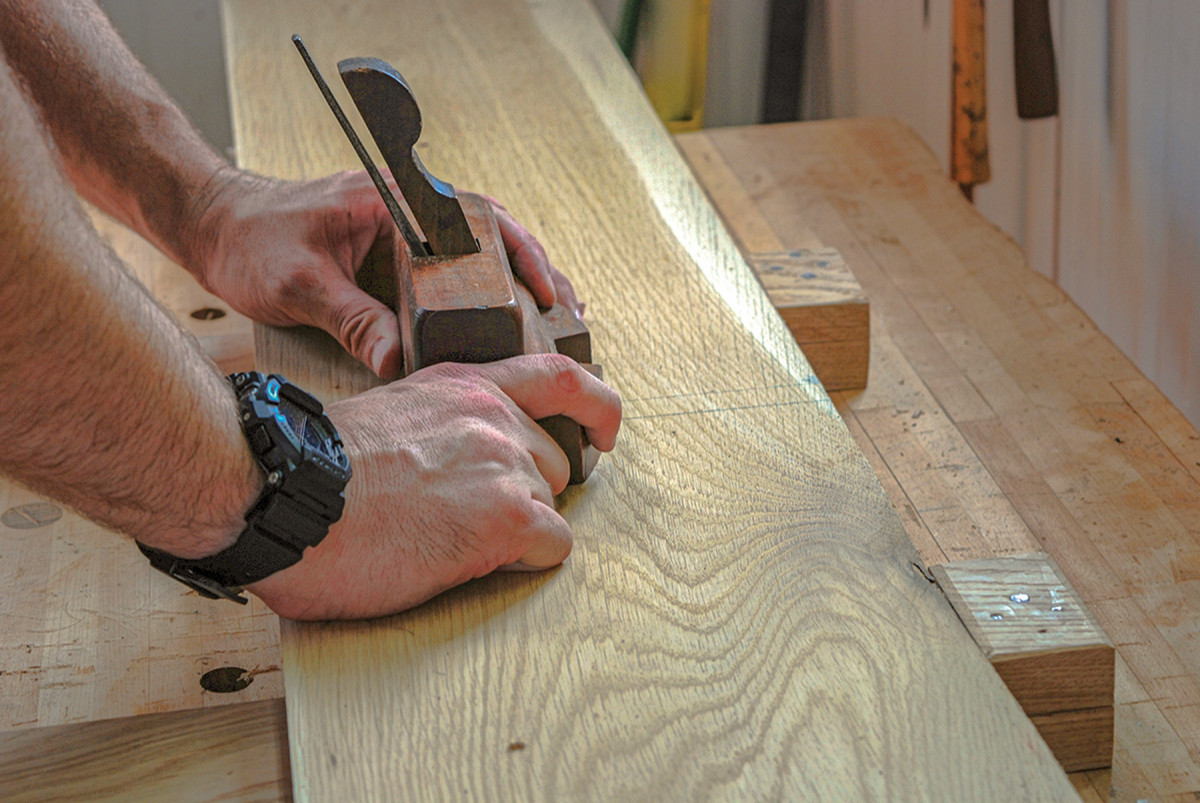
2. Next, plane your reference face flat, progressing from a coarsely set plane all the way through a smooth plane. Mark the face to indicate it’s your reference (I use a large “X”)
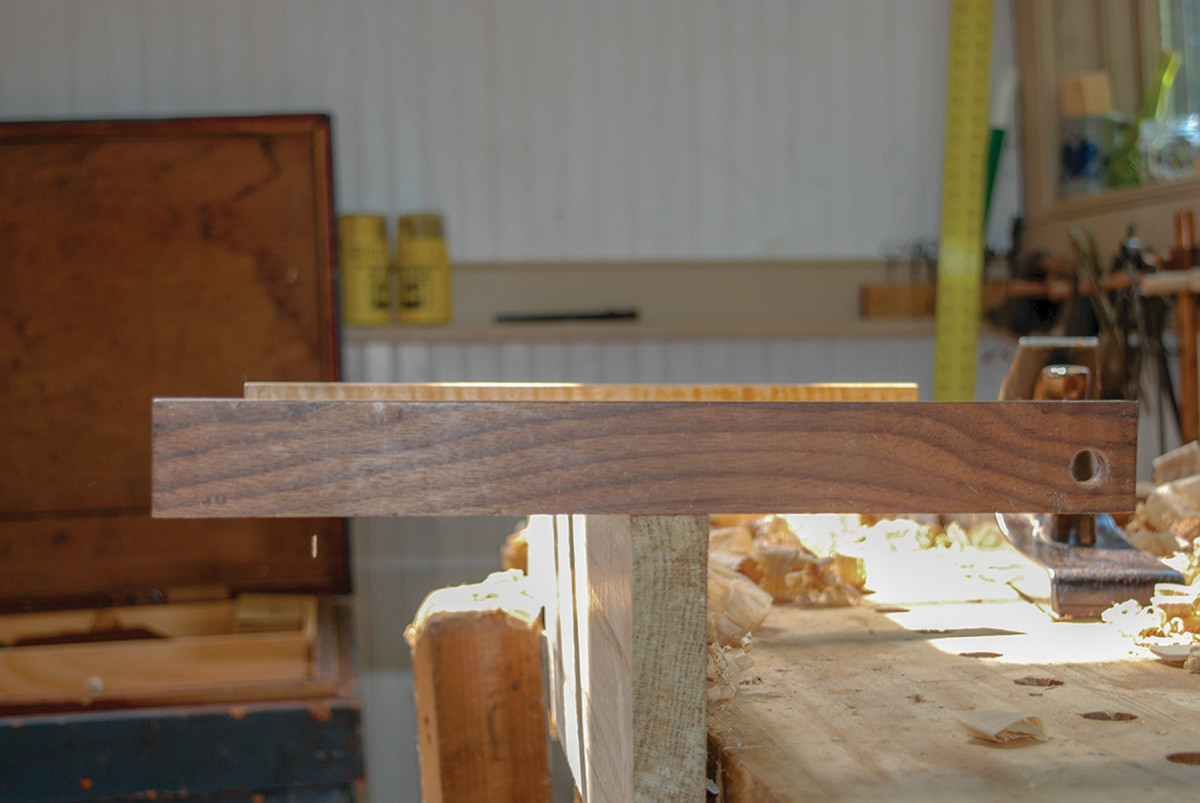
3. Plane one edge straight and square to the reference face. Check this with a square and winding sticks and mark it as your reference edge.
4-5. Use a marking gauge to establish the width of the board from your reference edge. Saw and plane as necessary down to the line.
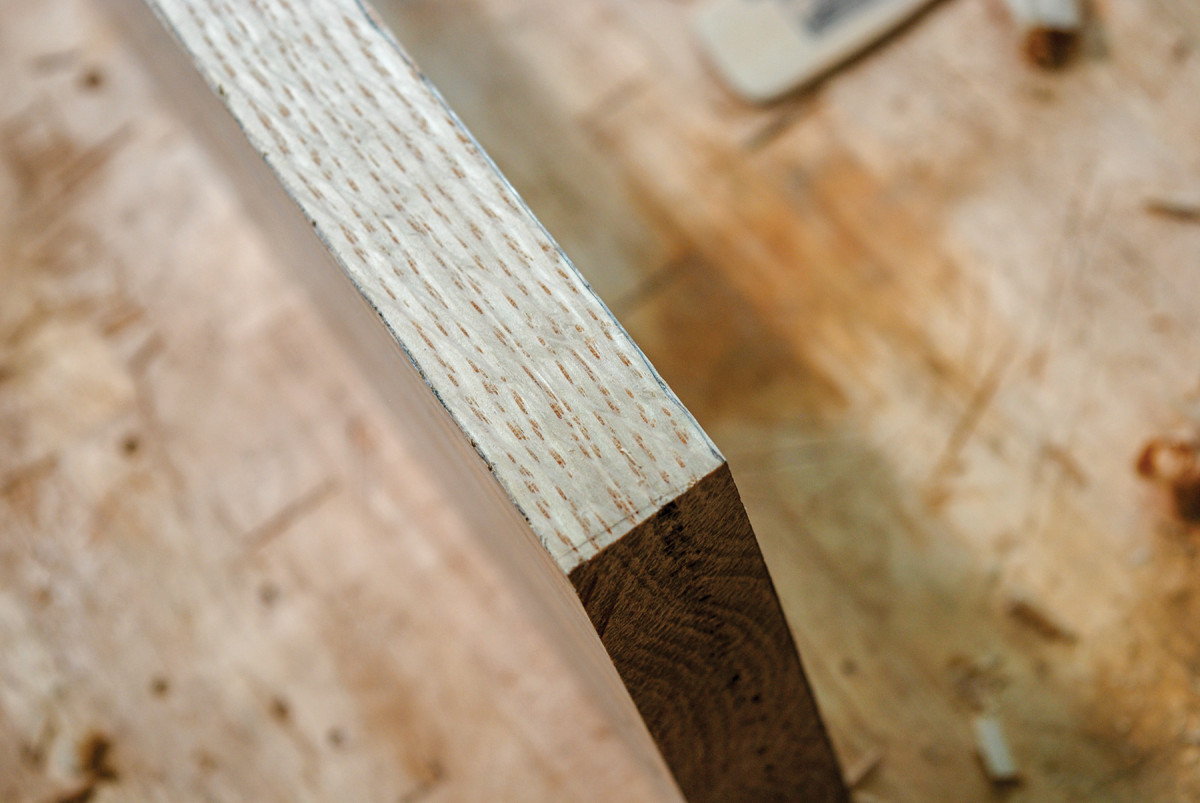
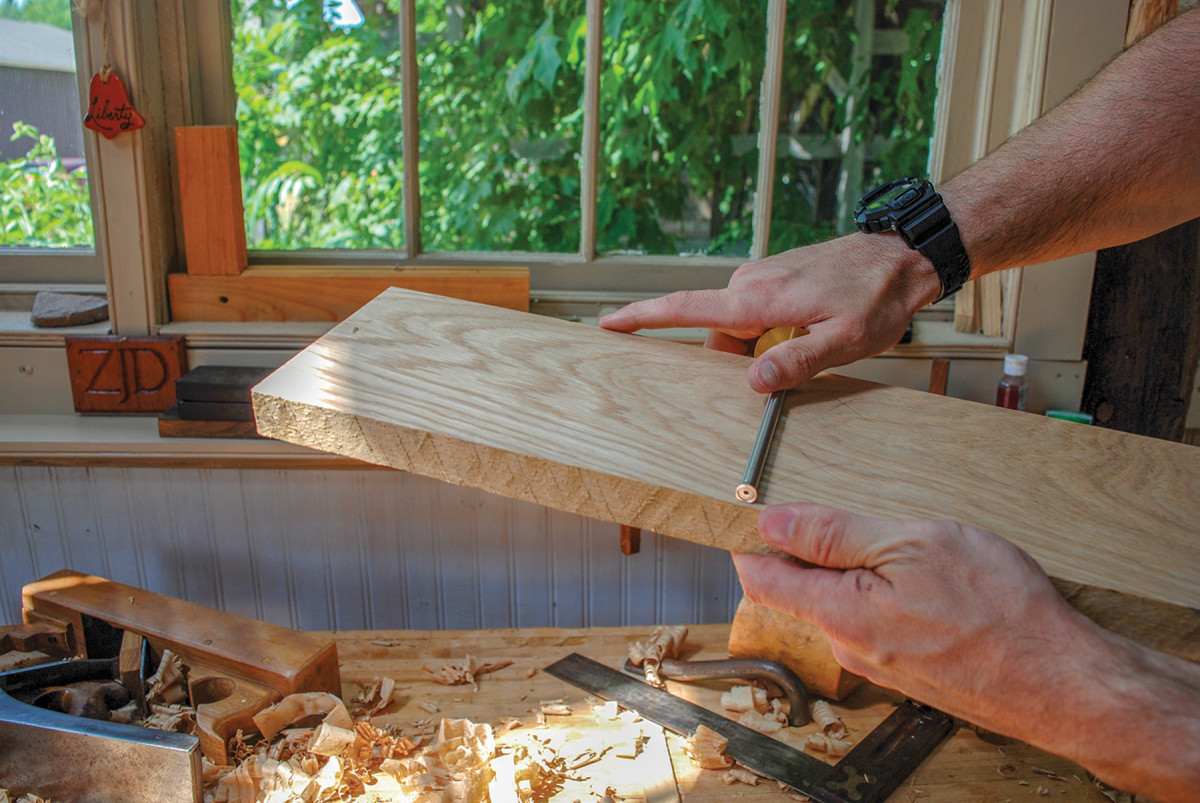
6. Mark the thinnest common dimension all the way around the board, with the marking gauge fence riding on the reference face of your board. Plane the board to the line for uniform thickness.
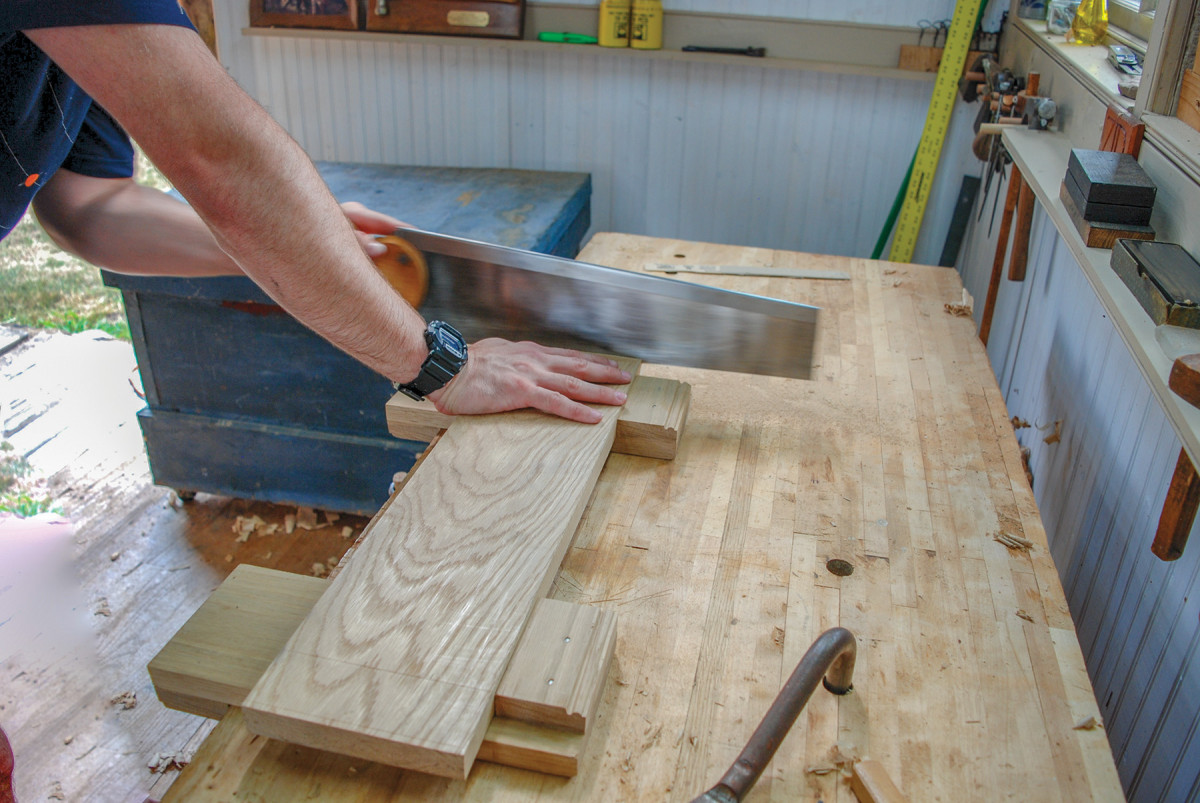
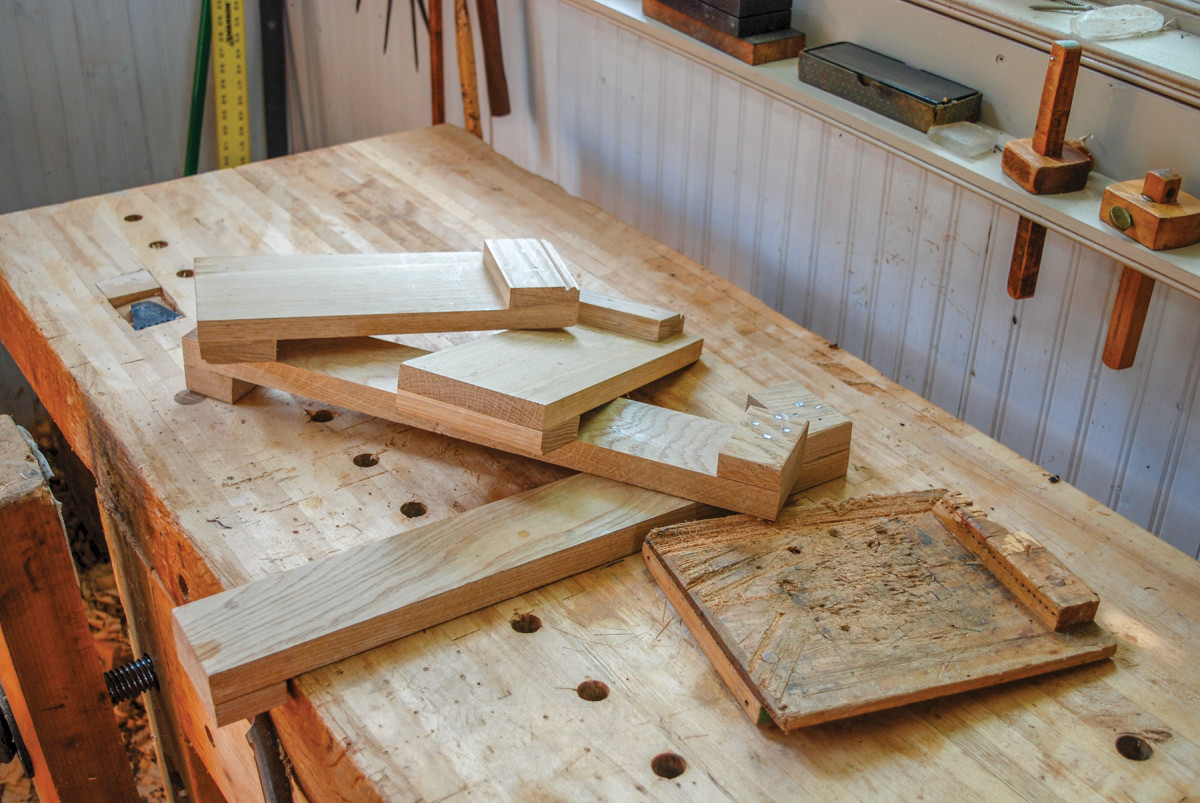
7. Using a square, mark and cut two 2″ fence pieces, one from each end of the baseboard. Using stock from the end of the board provides cross grain pieces that will react to seasonal movement in a similar fashion to the baseboard.
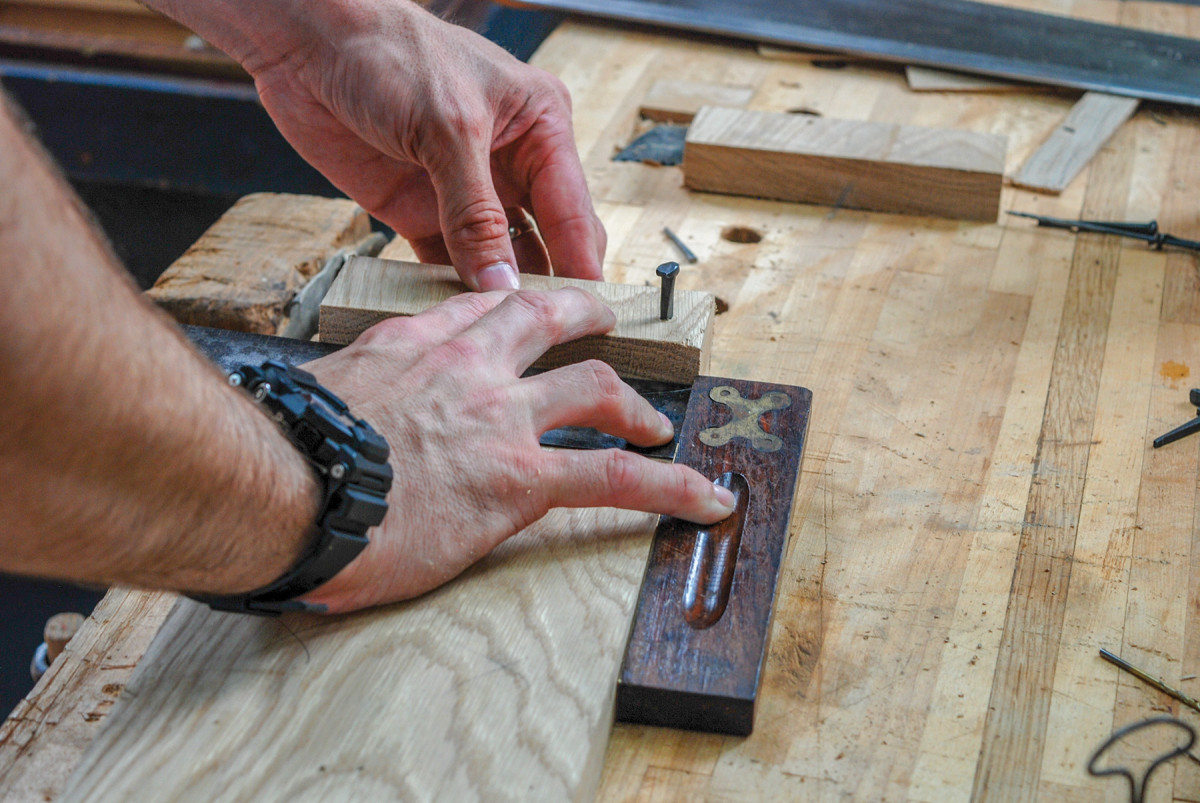
8. Using a square with the fence on the reference edge, place the bench hook fence in position at the end of the base. Pre drill, then glue and nail the fence into place, making sure to not place any nails near the center of the fence so that rip sawing later can be done without hitting any nails. Repeat for the other fence, remembering to flip the board upside down before drilling and nailing so that the fences end up on opposite faces.
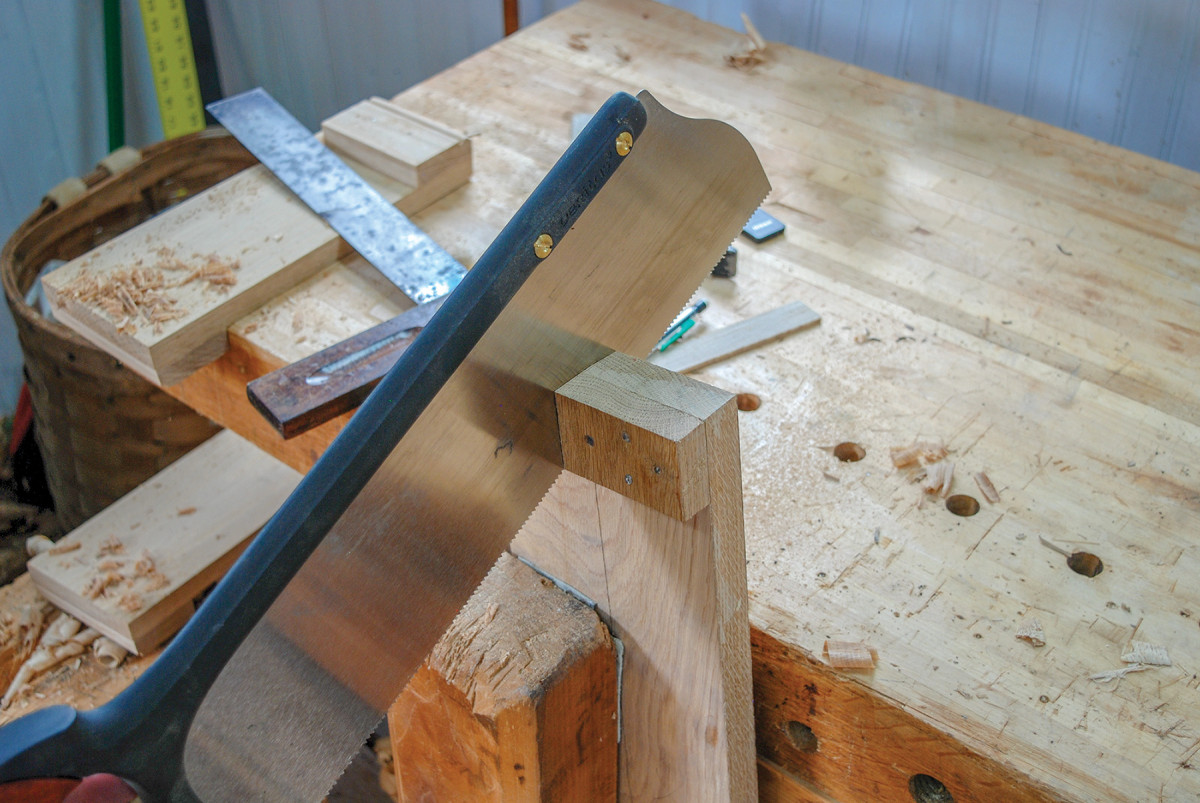
9. Once the glue is dry, scribe the centerline of the bench hook using a marking gauge from the reference side. Then, start the rip cut with a backsaw, taking great care to avoid any of the nails which hold the fence in place. If you’re a less than confident sawyer, you can start the cut on both ends of the piece and simply connect them with the ripsaw.
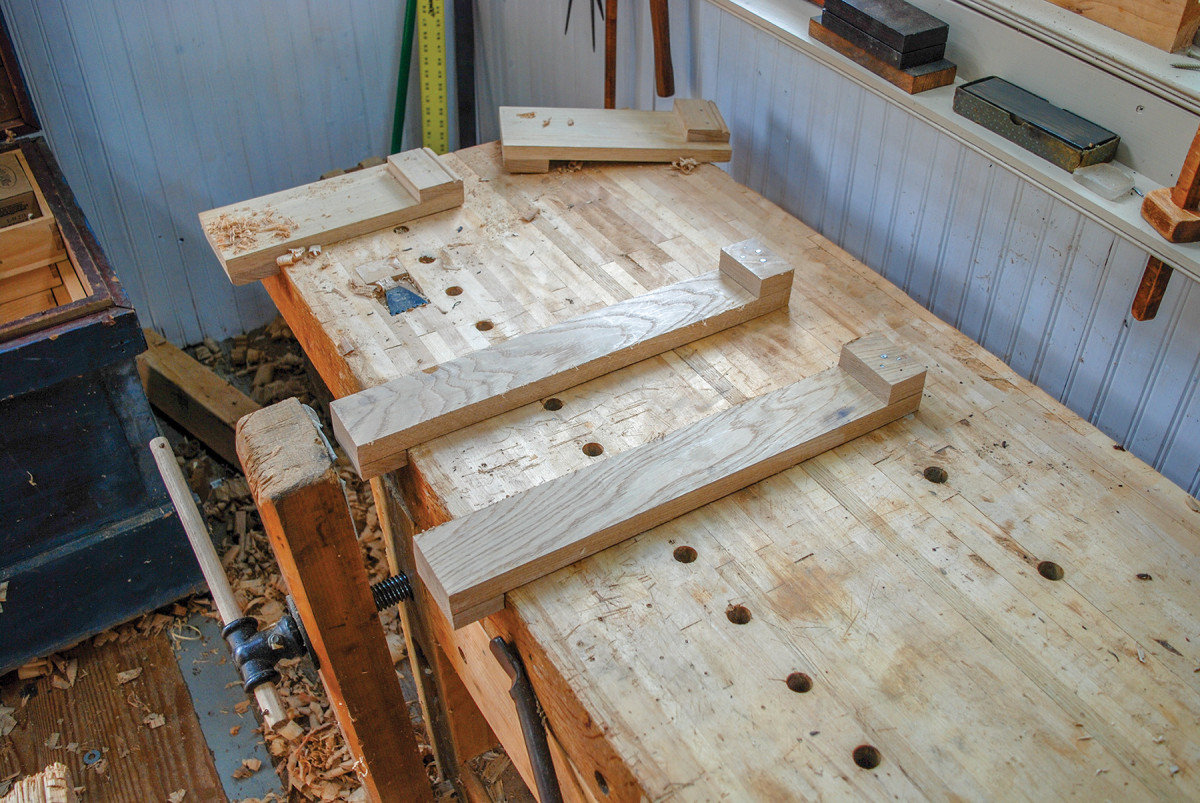
10. The now-separated pair is ready for final clean up and finishing. Feel free to apply the finish of your choice (or no finish at all), but avoid any sort of wax to prevent part slippage in use.
11. Making dadoes is one of my most common operations for using bench hooks, especially on large case sides where it would be inconvenient to clamp and unclamp the work to complete multiple grooves.
I hope that you take a look at your own shop practices and find a use for the indomitable bench hook. The simplified construction of this particular style of hook makes it a great way to use up some scrap while practicing your stock preparation skills and boosting your overall accuracy. Focus on getting everything just right on this project, and you’ll have success doing the same with your next furniture piece.
Here are some supplies and tools we find essential in our everyday work around the shop. We may receive a commission from sales referred by our links; however, we have carefully selected these products for their usefulness and quality.