We may receive a commission when you use our affiliate links. However, this does not impact our recommendations.
From reclaimed barn wood? I had an old plank of the stuff, and needed a project to build. Decided to just "wing it" and make a lap desk, using just the boards on hand. Plank had a nice angle crack running the length of the piece. Sawed to get a decent plank for a top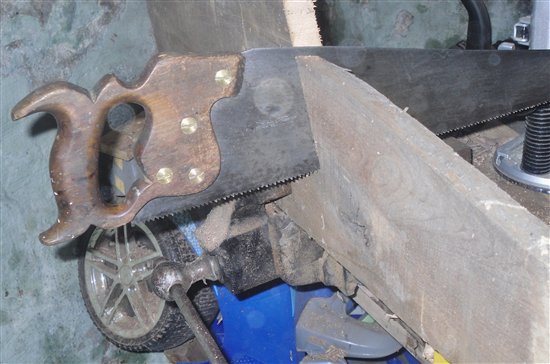 Lovely looking, ain't it? I kept the cut-offs. They were then sized to match each other. They were to become the sides of the desk. One was a bit wider than the other, so it was ripped down, and the "extra" was kept to make the "front" piece. Used a few handplanes to both surface the "top" flat and smooth
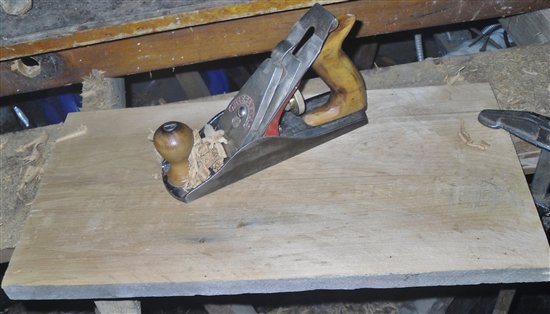 Looks a bit better? Same with the "sides"
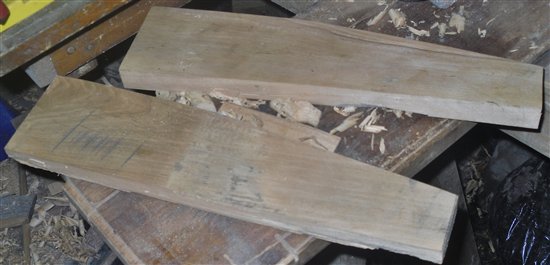 Good old barn wood. Decided to join the front with some dovetails
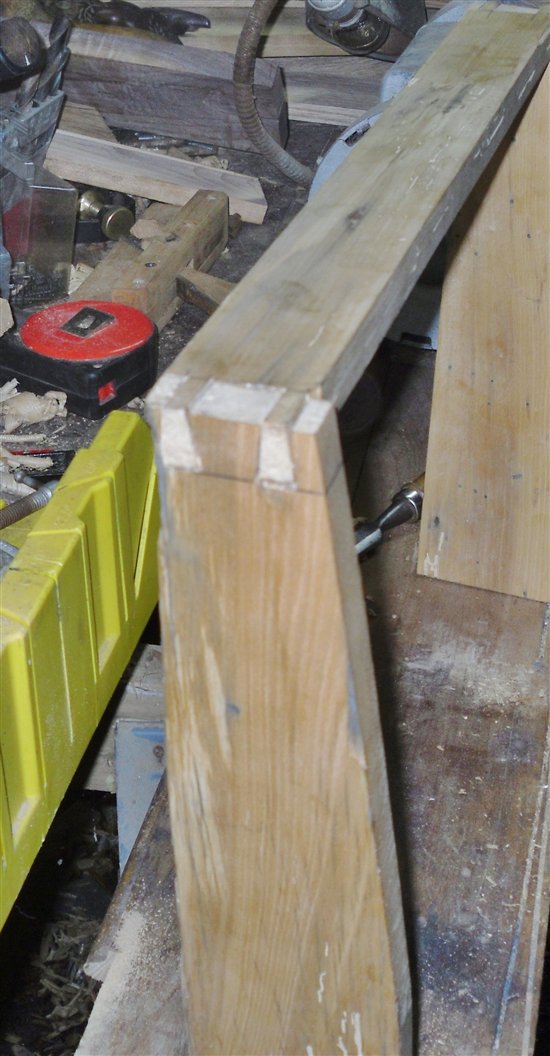 Well, when one uses a Panel Saw as a dovetail saw…
Needed to scrounge a few other boards. Needed a back piece, and a piece to attach the "top" to with some store-bought hinges. Then I was told these had a divider inside, so I had to find another piece for that. Piece to hold the hinges was some old QSWO that came from the same barn. Used to be a rafter, until I resawed it down last year. Divider was a thin piece of Hickory, that WAS to be part of another project. It still had some square holes in it. Back and the divider needed dados to sit in. Back saw ( just refurbbed, first job for it) and a small chisel to make dados with. 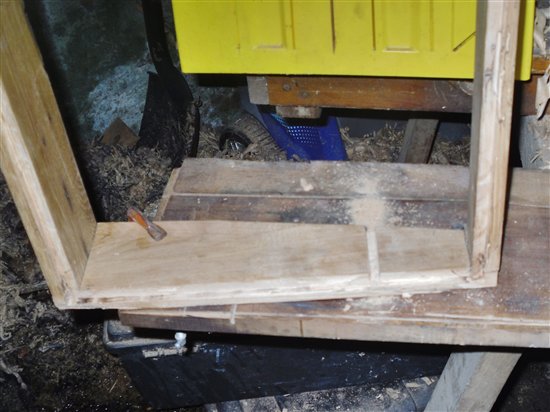 I had also used an electric router to cut a rebate for a nail in plywood bottom. Top piece to hold the hinges for the top was screwed in place, and the holes plugged. Planed the meeting angle for the two pieces to close tightly. Divider needed to be planed to match the slope as well. There was to be a Pencil Groove, as well
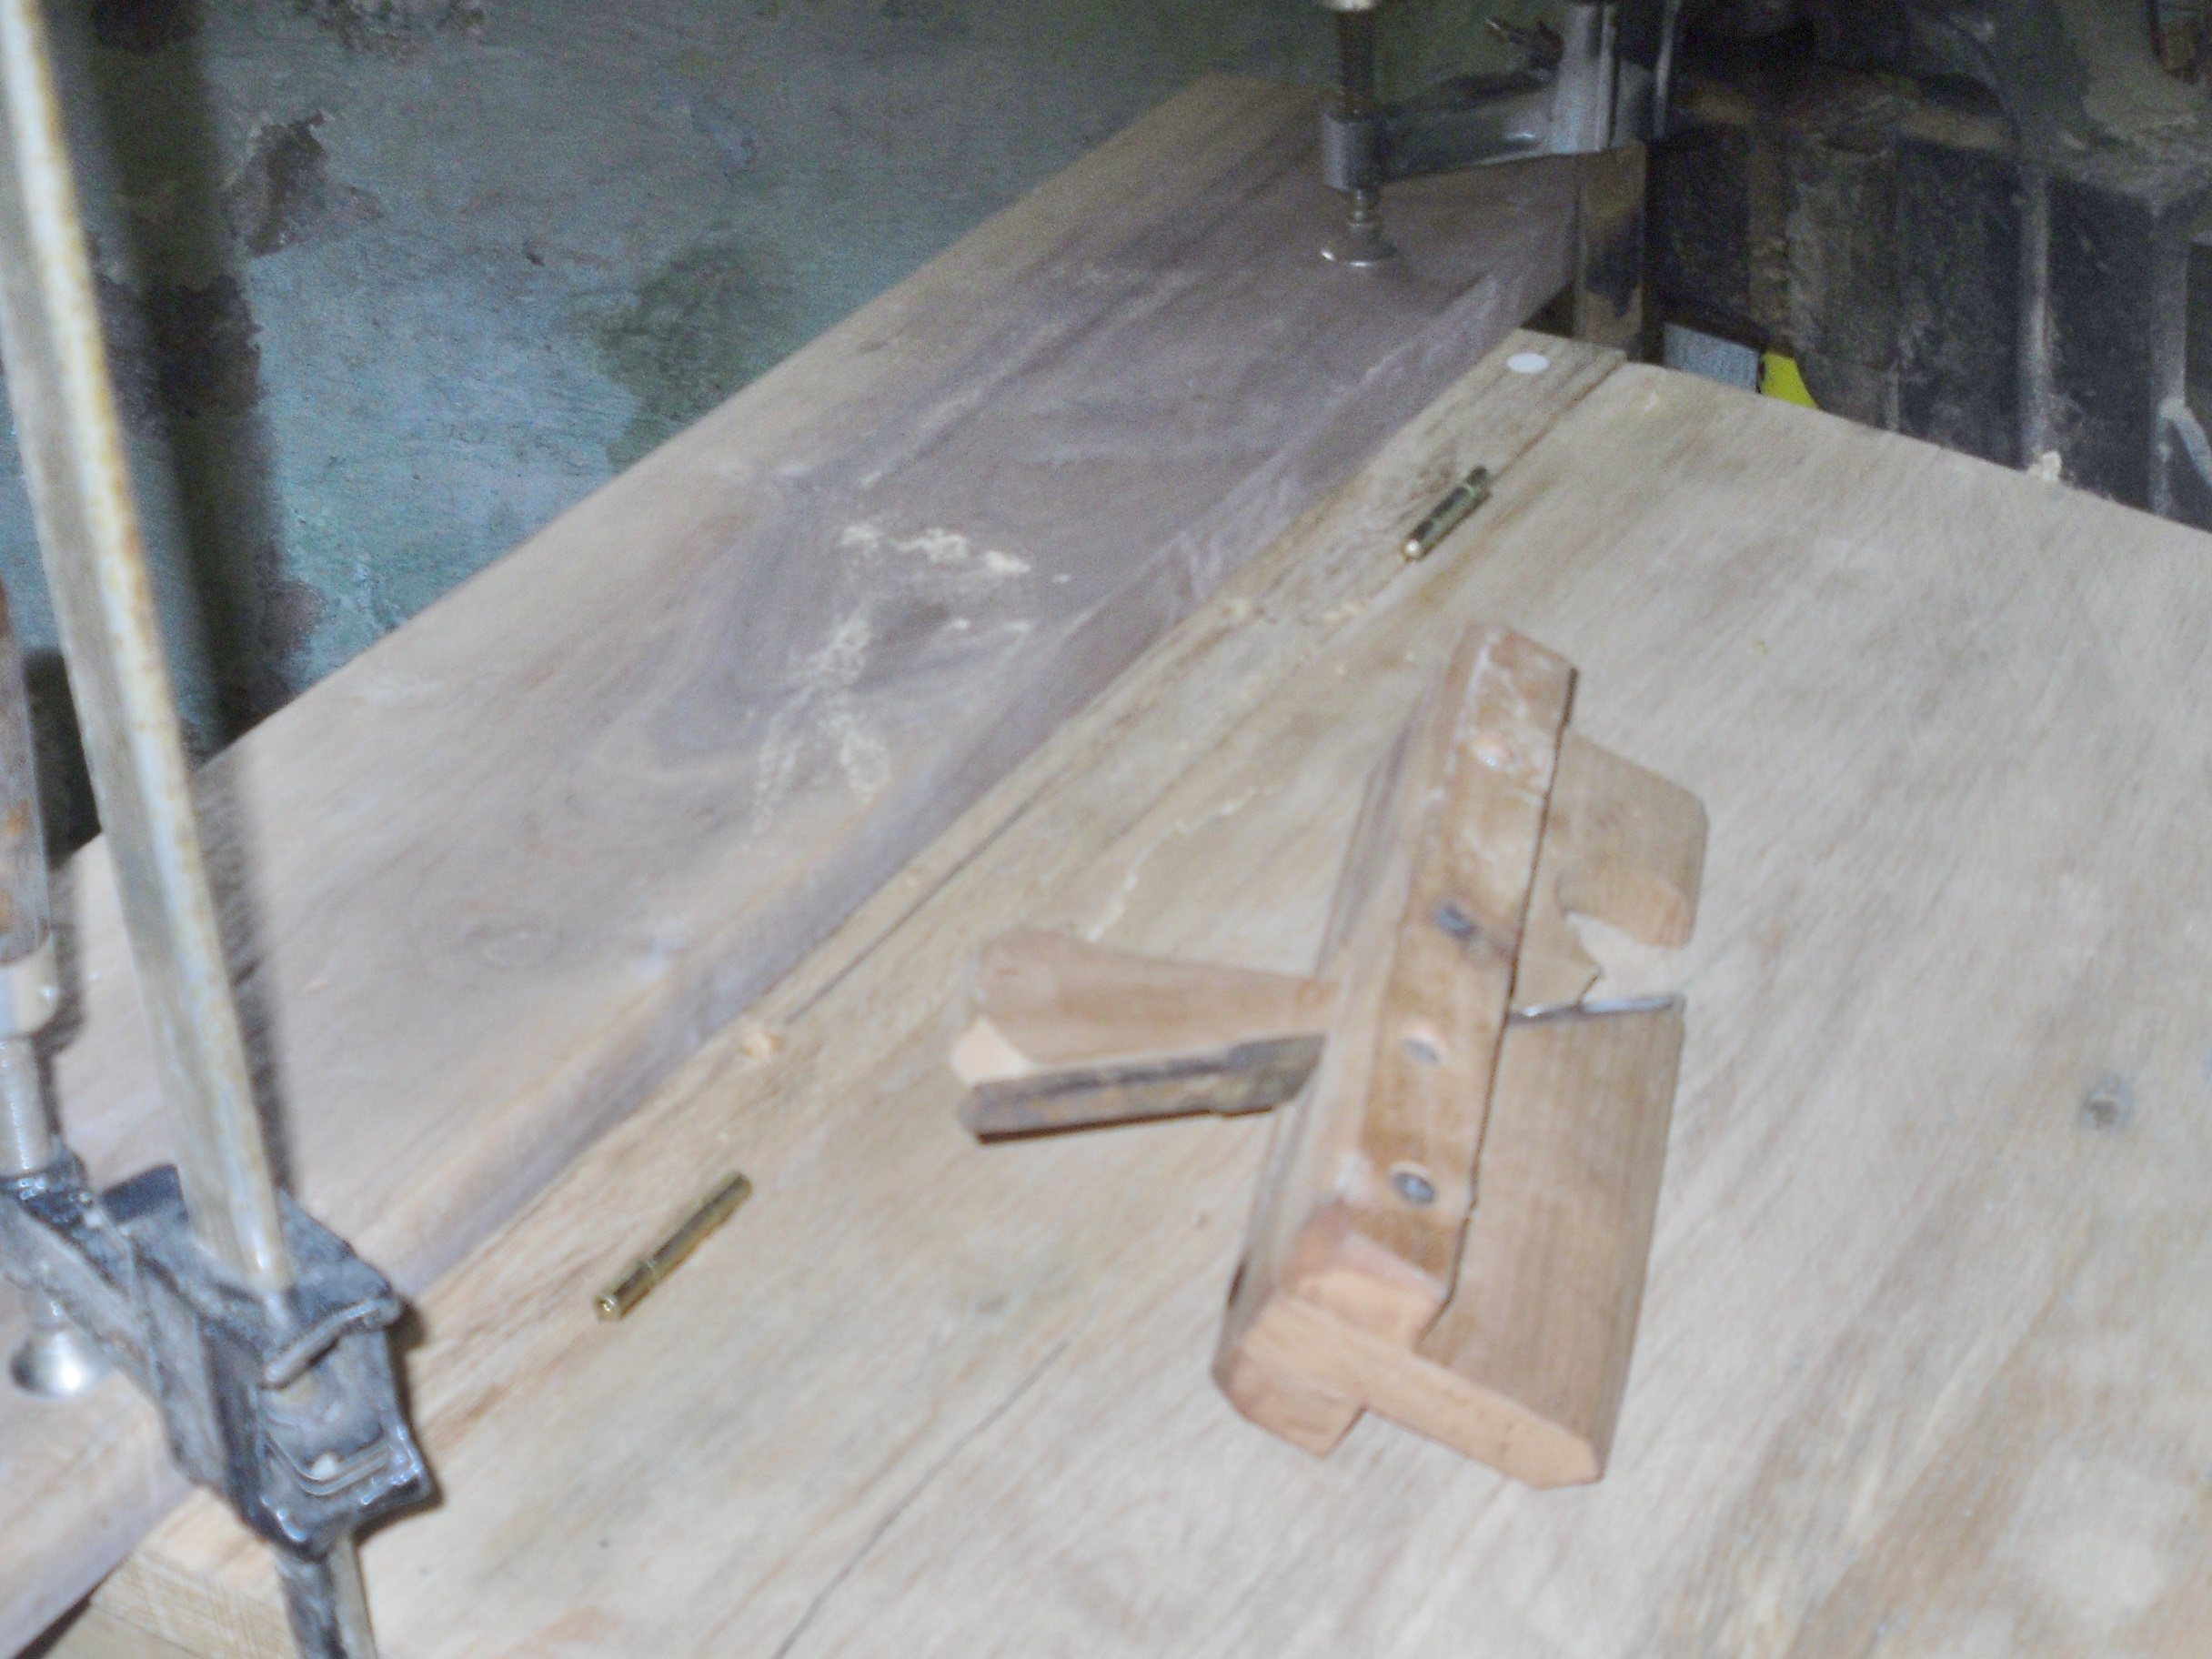 .So, a hand-made "Cove" plane, a straightedge, and a pair of drill holes to cut one groove. Drill a little bit to start the groove and end the groove. Straightedge to guide it along. 3/8" wide, by about the same depth. Hinges installed. Time for some BLO/Varnish mix?
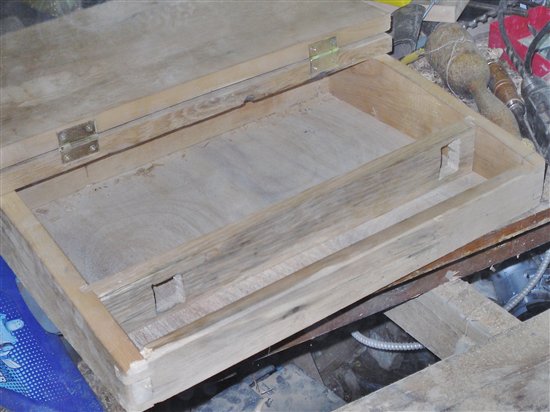 so, with one last look at the inside, Here we go.
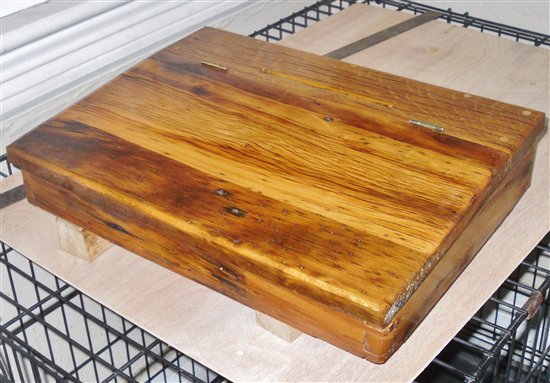 Front view. Nail holes and all. Slant part is a single board, not a glue-up.
 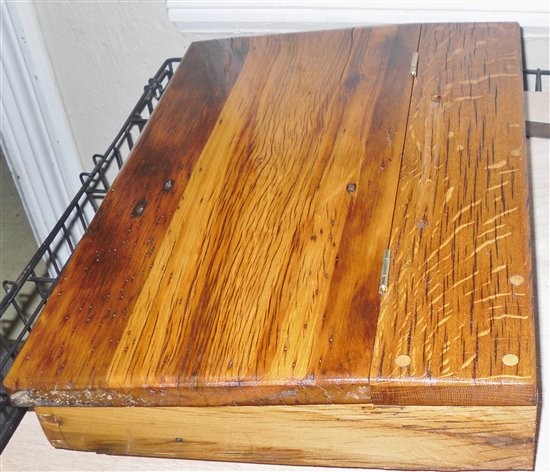 End view, note the growth rings on the slant part?
It took about three coats for the finish. First coat just soaked right in, into the middle of the board, that is. Second coat sealed that in, and the third, being just gloss varnish, gave it a nice shine. Just a pile of old Barn wood…
Here are some supplies and tools we find essential in our everyday work around the shop. We may receive a commission from sales referred by our links; however, we have carefully selected these products for their usefulness and quality.