We may receive a commission when you use our affiliate links. However, this does not impact our recommendations.
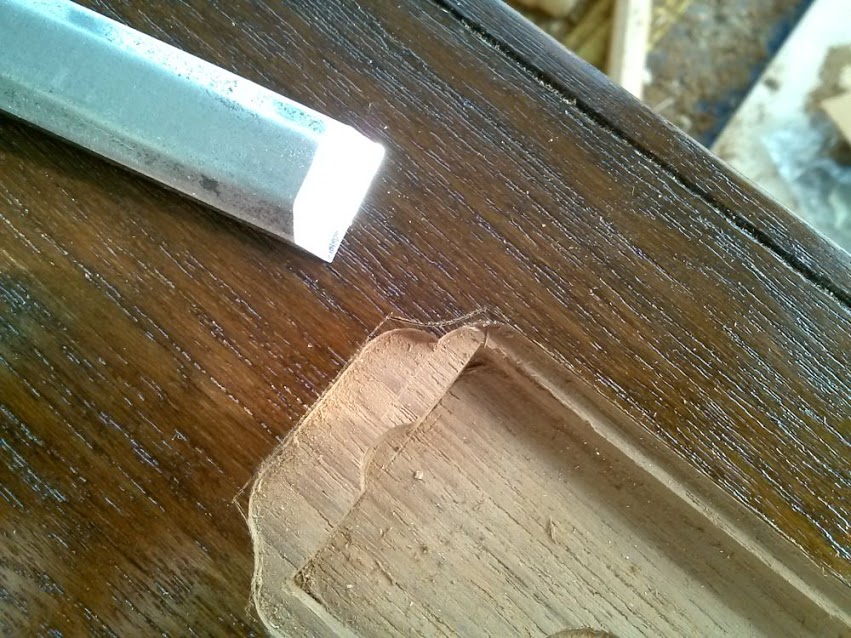
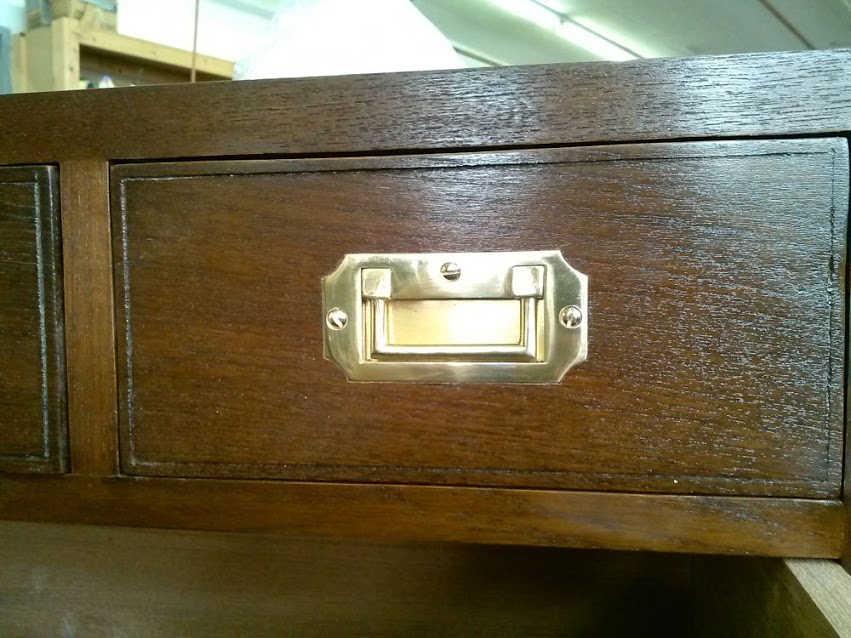
However good my template was I still had to recruit some hand tools for the task of final fitting it. You see, routing, even with the smallest bit will still leave you with round corners, and to square a round corner you will need a hand tool such as a chisel. More than this, not all handles are made the same. Even under the best quality control, and Paxton handles are made to high standards, there could be tiny variations between one handle and another. To trace the exact outline of the handle I used a small marking knife made by Lee Valley. I then used a chisel to cut the excess wood to the marked line. Next I pressed the handle in and secured it with screws. I drilled pilot holes to prevent the brass screws from breaking in the teak drawer front. In some cases I recommend lubricating the screws with wax in addition to pilot drilling. After I was satisfied with the results on the scrap pieces I began the actual installation of handles on the the drawers.
Here are some pictures of finalizing the work on the sample piece.
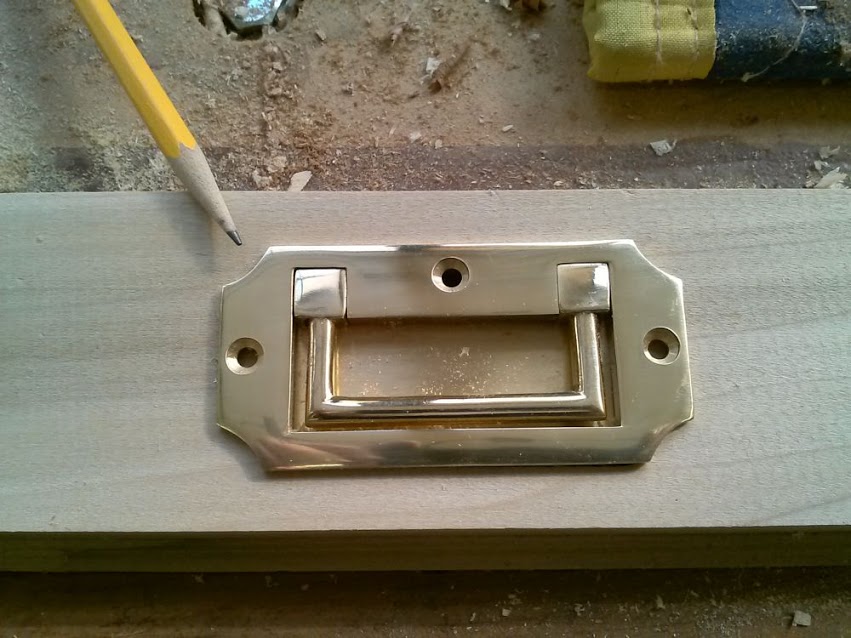
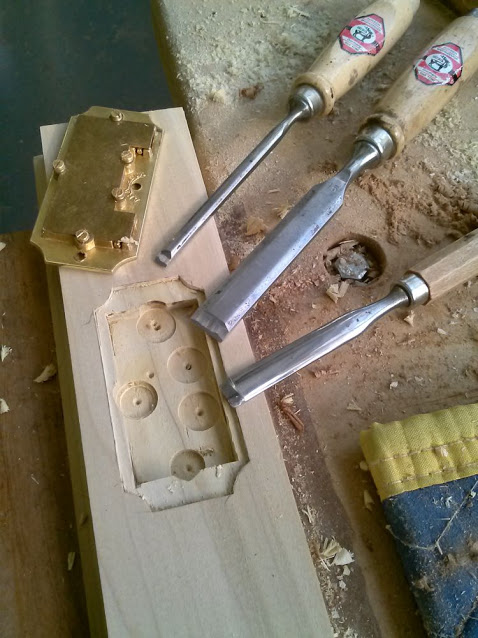
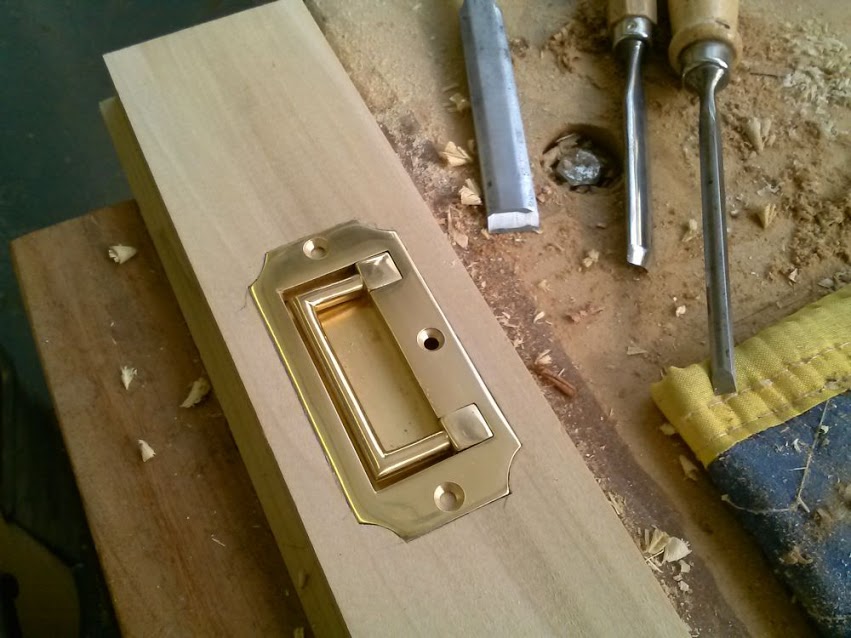
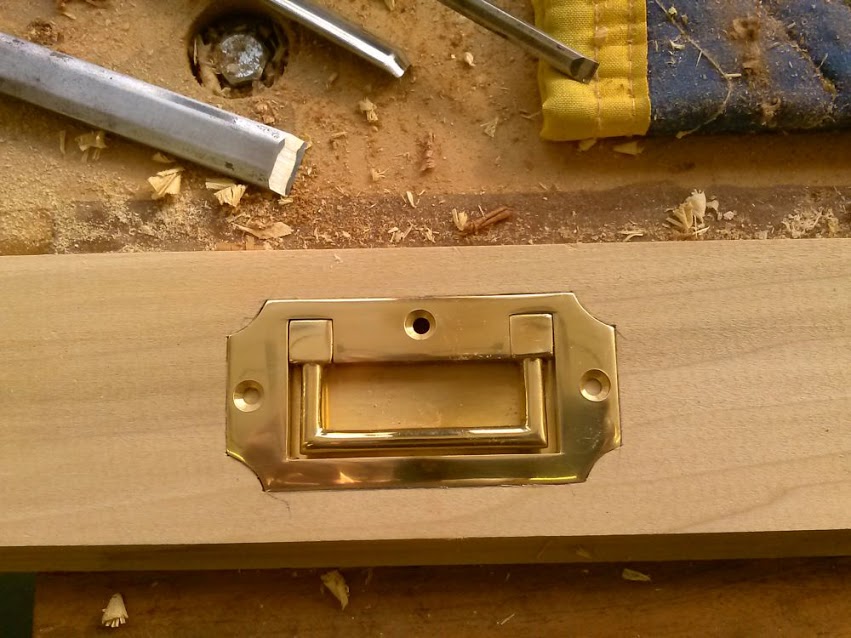
After the proof of concept was successful, I implemented my system on the drawers.
1. I placed the template with the casing insert and routed the first sink.
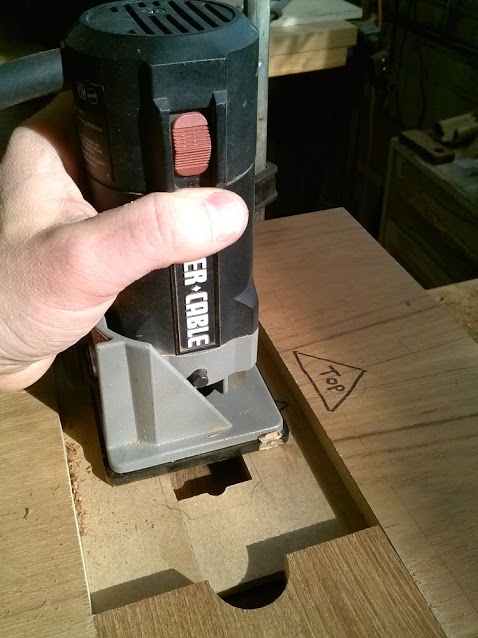
2. I removed the casing insert, placed in the facade insert, and routed the facade recess.
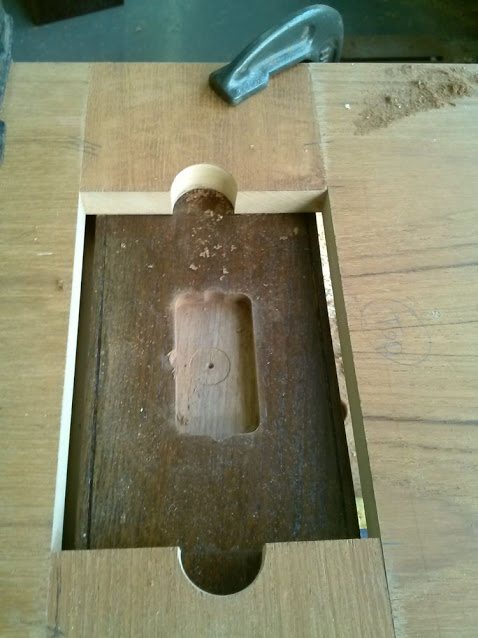
3. Following this, I removed the template's frame, placed the handle in the recess, and outlined its contour with a Lee Valley small marking knife.
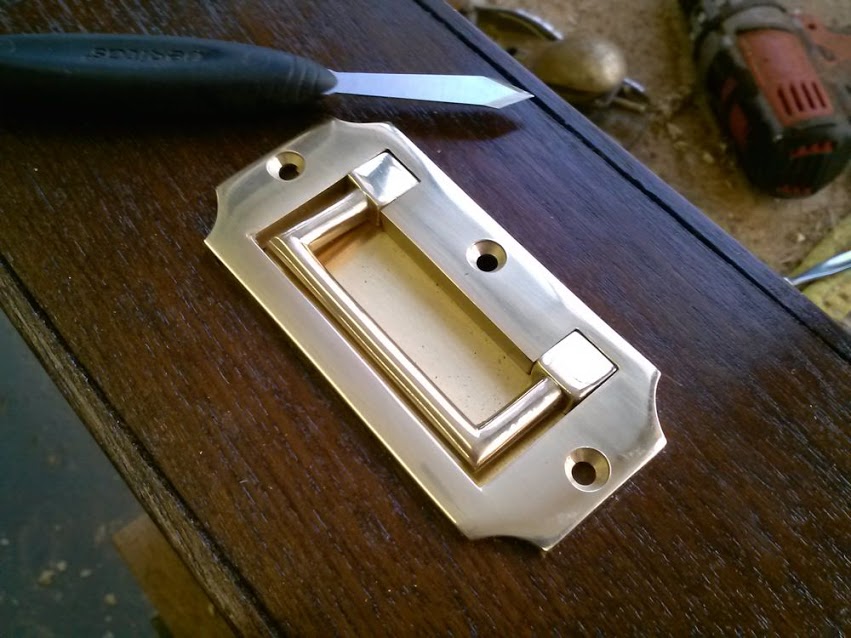
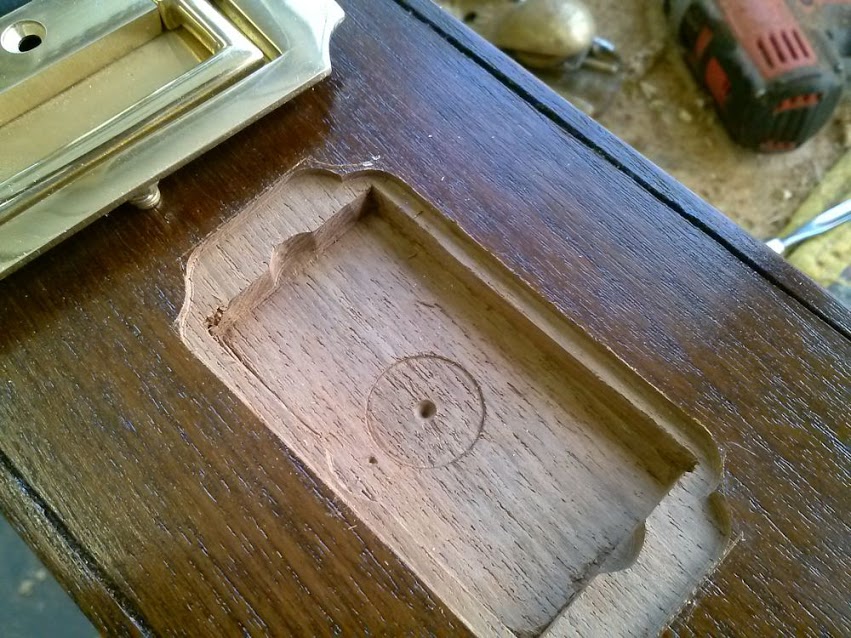
4. Using a bench chisel I cleaned the recess from excess wood and pressed the handle into place.
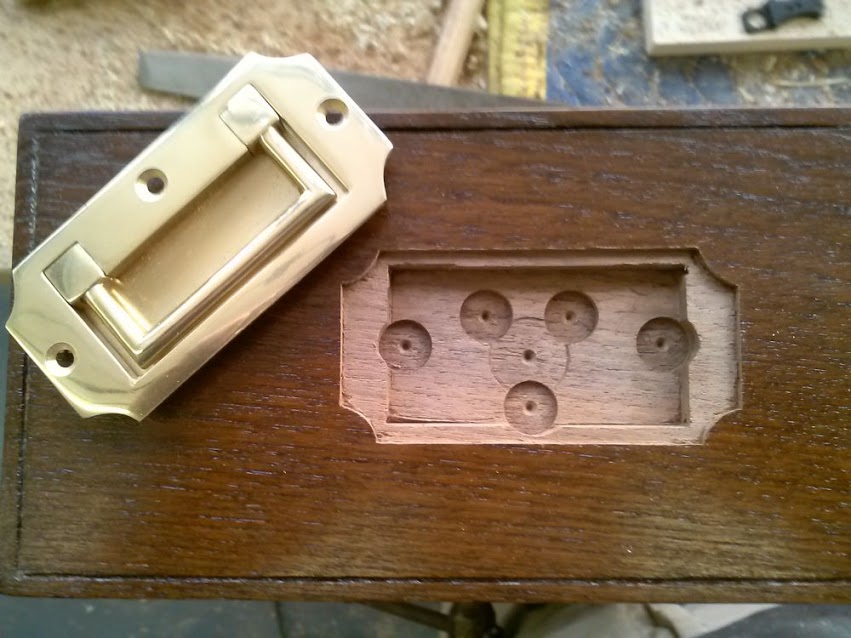
5. The last step was to instal the brass screws.
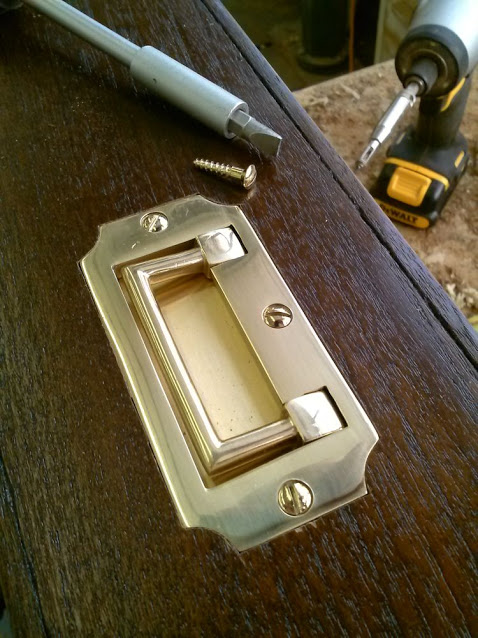
On my next blog entry I will show how I built the template for the large sunken handles and how I installed them.
Here are some supplies and tools we find essential in our everyday work around the shop. We may receive a commission from sales referred by our links; however, we have carefully selected these products for their usefulness and quality.


