


We may receive a commission when you use our affiliate links. However, this does not impact our recommendations.

Here’s a tip from Tim Henricksen, a fellow woodworker who has been building some six-board chests with me as I research this important early form of furniture.
One of the trickiest things to do when building a chest with nails is to clinch the nails’ tips so they bend back into the work and hold two pieces of wood together. Typically you clinch the nails that join the chest’s lid to two battens that hold the lid flat. You drive the nails through the battens and then through the top of the lid. Then you clinch (some say “clench”) the proud tips back into the lid. (See the photo for what the clinched nails look like.)
 With commercial cut nails, the tips are usually quite thick – especially in the long lengths you need for clinching. And the nails can be too hard. They can crack when you clinch them. Or just refuse to bend.
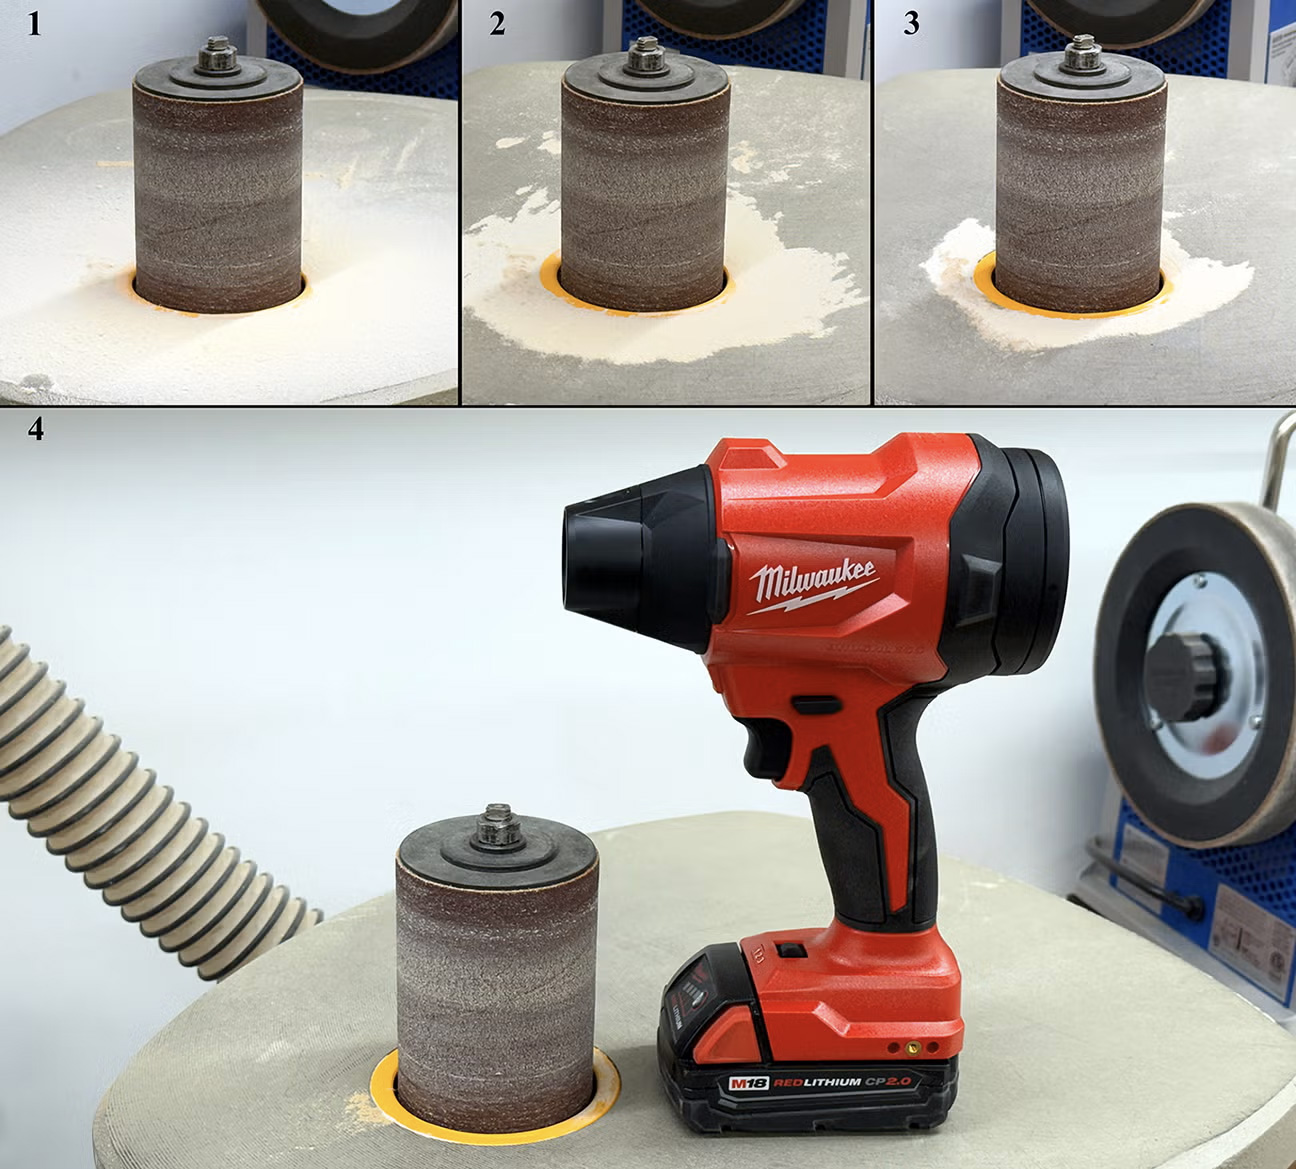
So Tim ground the tips of the nails, which made them thinner, pointier and softer. The heat from the grinder annealed the nails, making them very easy to bend over. In fact, they were so soft that you have to be careful. Without a pilot hole, the tips will easily follow the grain of your wood and bend in crazy directions.
I tried this several times tonight and was quite pleased with the trick. It took less than a minute to grind each nail to shape and they bent quite nicely.
— Christopher Schwarz
P.S. I’ve written a ton about cut nails here on the blog. Check out all my entries on this important fastener (free) by clicking here.
Here are some supplies and tools we find essential in our everyday work around the shop. We may receive a commission from sales referred by our links; however, we have carefully selected these products for their usefulness and quality.


I’m sure “Grind a Cut Nail to Improve Clinching” will shortly be a top title on Netflix.
For our wine cellar door, I built a plank-and-ledge door, and used 4″ door nails from the Tremont Nail Co.
The nails protruded thru by a full 1″, and I double-clinched them–that is, using visegrips, I bent the last 1/4″ of the tip to 90 degrees, then hammered the full length over so that last 1/4″ got pounded back into the surface, sort of like a staple.
BTW, I’m guessing that the expression “dead as a doornail” might have originated with clinched doornails because the clinching, along with the special return taper on a doornail makes it “dead”, or unmovable, once they’re done.
Chris, while it may be historically correct, having those nails bent over on that nicely profiled lid edge for all to see seems a shame. Why not drive the nail from the lid side and clinch on the batten, where it won’t be seen? I’d even be tempted to set the nail and fill the hole with putty. Mark
You might want to look at the nails that farriers use to shoe horses. After they’re driven through the shoe and the hoof, they’re clinched where they emerge on the side of the hoof. It’s possible, only because the nails are softer than the cut nails that were used for carpentry. I was able to get a handful from a local farrier. They’re perfect for attaching old forged iron hardware to a door. The heads may not be enough for the batten application you’re talking of.
I don’t understand why you would put a point on a cut nail .
The beauty of the cut nail is that it doesn’t split the wood because it has no point. So why would you put a point on it. Why not leave it flat, just anneal it with a small pencil torch?
chris all this recent talk of cut nails has prompted me to write. Last spring my brother sent me a box of woodworking treasures amoungst which were twelve boxes of Tremomt old fasioned cut nails sizes 3/4″ to 1,1/2″ courious I thought. Then in May I met you at Marc Adam’s, remember signing the “beast”?, and I saw your tool box I also bought the book ” The Anarchist’s Tool Chest” (another autograph). Looking around the morass of my workshop I feel fate is pushing me to build my own tool box using fifty plus years of aquired trappings. So in writig in front of my peers here’s my new years resolution, As God is my whitness I will be organized!
For the guru of all things hand made or not, you sure have very little understanding of metal and its properties. but, more so about tool safety and operation.
1.One never grinds with the metal (nail)facing in the direction that the grind stone is turning.
2 Do not ever grind or hold the metal so that it may get caught between stone and the tool rest.
3. Always keep the tool rest adjusted to within a 1/16 of and inch of the stone.
4. Never ever abuse the stone by grinding in one location so as to grind a depression in the stone. Doing so is not only not a safe practice but an expensive endeavor.
5.ALWAYS DOUBLE CHECK YOUR SOURCES BEFORE EXPOSING YOURSELF TO PUBLIC SCRUTINY AND LIABILITY.
I have been following your blog on the 6 board chest build and research. I thought that I would never build with nails again. However, I have decided to build several of these for family members. I have also realized that prior to this I have always crosscut my boards with a brass backed carcass saw. The only long hand saws I have that can cut a 10 or 12 inch board used in this chest are two panel saws; one a rip and the other a crosscut at 10 PPI. This may be a stupid question, but what would you recommend as a third crosscut saw to use so that I don’t necessarily have to go back over the end with a hand plane after cutting? Thanks.
An old scenery building trick from my younger days . . . Place a piece of hard metal underneath the wood where the nail is. When the nail hits the metal, it generally turns the point back into the wood. The metal pieces were called clinch plates.
Nice tip, but those Norton 3X wheels are awfully soft and friable for that!