We may receive a commission when you use our affiliate links. However, this does not impact our recommendations.
The legs for my hope chest were made from old furniture discarded by Harvard University. Harvard has a place called "Harvard Surplus Center", or as we used to nickname it, "The pound." There old, broken, or obsolete furniture, and lab equipment, are given to the public for free. The Pound is open once a week for a few hours. When the pound's gate opens, dozens of people stampede in to grab whatever they can put their hands on. I used to visit the pound from time to time to look for objects or material that inspired me. I also used to look for for shop furniture, lamps, hardware, etc that could make our woodshop at Eliot House more equipped.
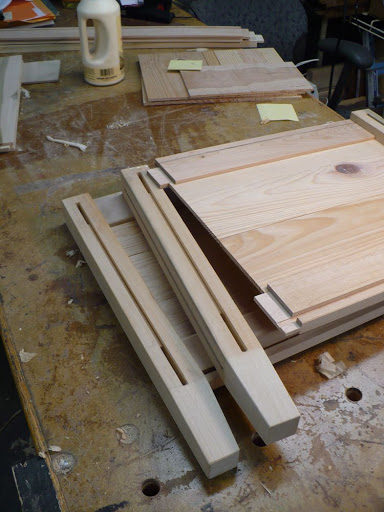
Such was the story of the legs on the Hope Chest. They used to be the legs of a tall science lab counter, made of poplar and included some mortises. After I saved the legs I milled, sawed, and tapered them. I then routed a groove in them that would accept the panel stock, and using a chisel I chiseled in each leg four new mortises to allow the rails tenons to fit in.
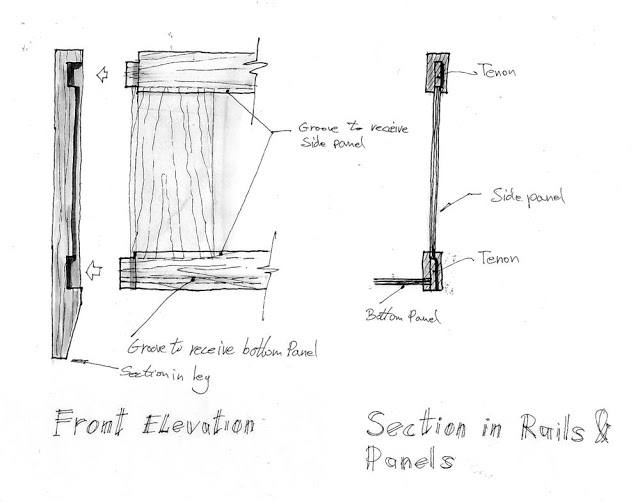
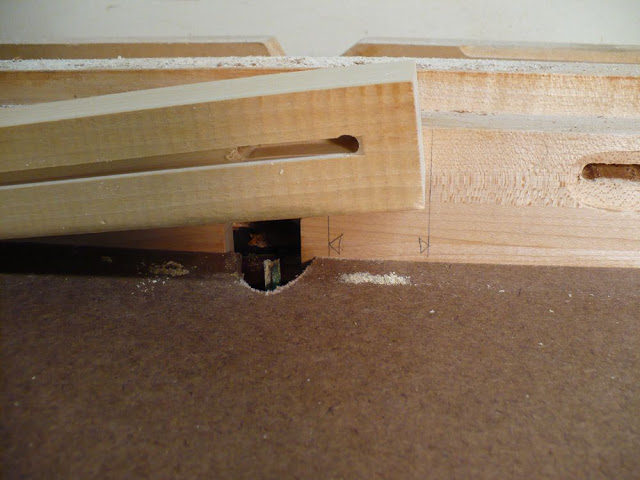
I designed the grooves and the mortises to be of the same thickness. I routed the grooves from beginning to end, then I revisited them to deepen the places where the mortises where located. I finished making the mortises by squaring their corners with a chisel.
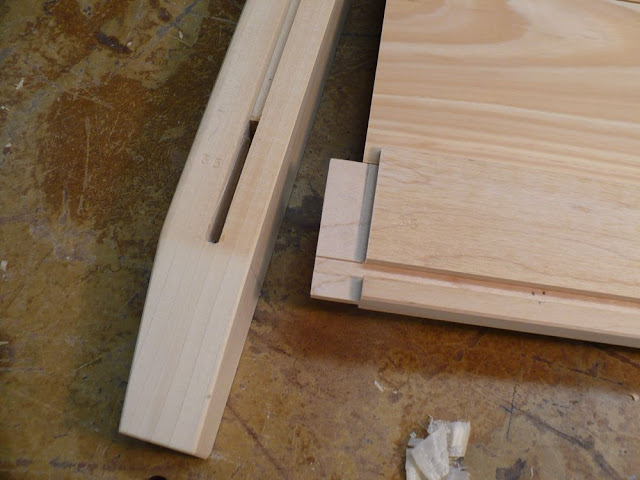
Here is a corner joint between the legs and the two rails that intersect it.
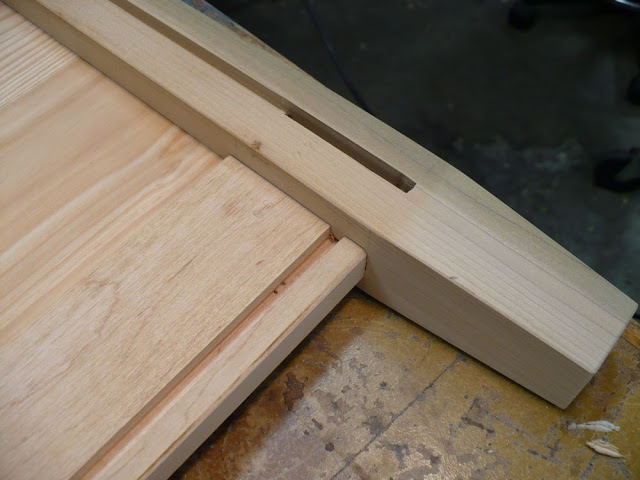
The legs are glued to the end pieces:
I decided to strengthen the case's bottom with extra thickness panels located in the middle and at the ends. These panels are acting as cross rails to prevent any future buckling of the case's bottom.. you just can't know what will end up being stored in a hope-chest. Early on your customers might put in just their comforter and an heirloom quilt, but as years pass by books, antiques, and a box full of spanish gold coins might find its way into the chest which will make is very very heavy.
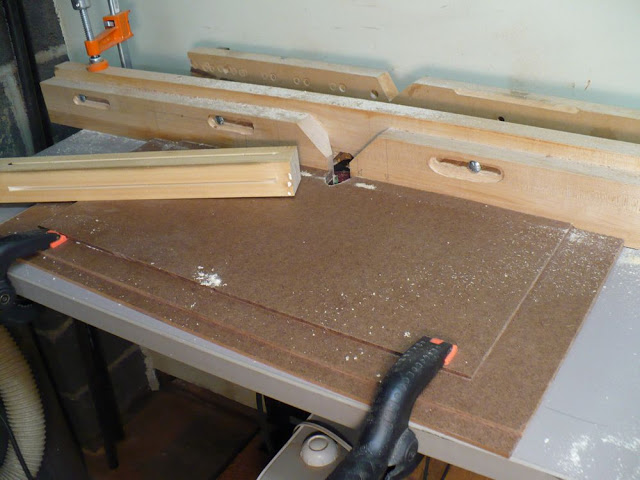
In the picture below you can see the dry assembly of the chest. You should always pre-assemble the piece without glue to find out if all the parts fit properly and to rehearse complex glueing processes such as this one.
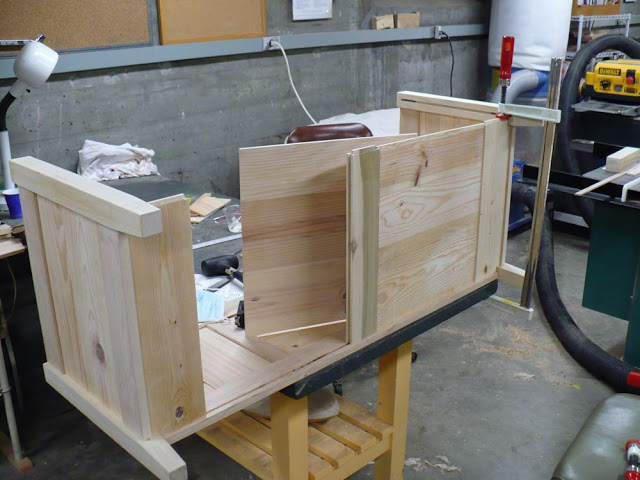
Gluing begins: The bottom is connected to the sides.

Next time I will show the completion of the case glue up.
Here are some supplies and tools we find essential in our everyday work around the shop. We may receive a commission from sales referred by our links; however, we have carefully selected these products for their usefulness and quality.