


We may receive a commission when you use our affiliate links. However, this does not impact our recommendations.
 I’ve spent the last couple days working on a project for our December issue. It’s a wall-hung tool cabinet and when I designed it, I included several drawers and arranged them for both function and for looks. To keep things interesting, there is some asymmetry to the drawer layout. I couldn’t leave well enough alone so I also varied the thicknesses of the shelves and dividers.
To make things go together easily in the end, there are dados for all the drawer dividers and shelves; some are 5/8″ wide, some are 1/2″ and some are 3/8″. The door has grooves that contain solid-wood panels. That door has the stiles and rails at a right angle to the front to provide some storage space, and the grooves stop within the dovetail joint at the corners. Those are 1/4″ wide.
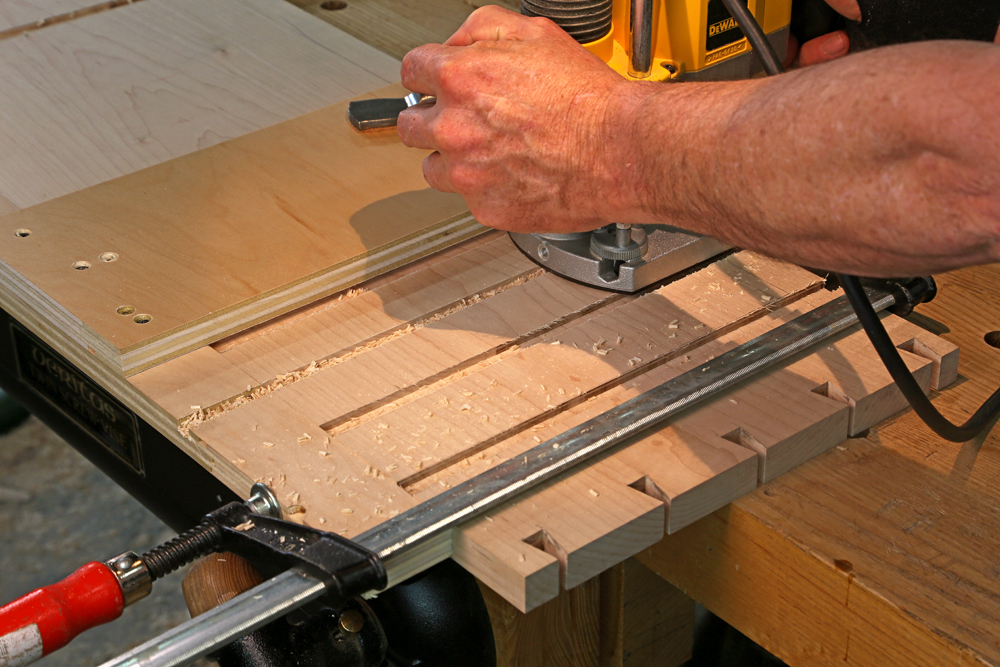
I started by marking the locations of all the grooves and dados on all the case pieces from a story board. With a complex case it is amazingly easy to get parts flipped around and put a groove in the wrong place. I ended the process extremely grateful of the invention of the electric router, and if I were king I would proclaim today as “Hooray For the Router” day.
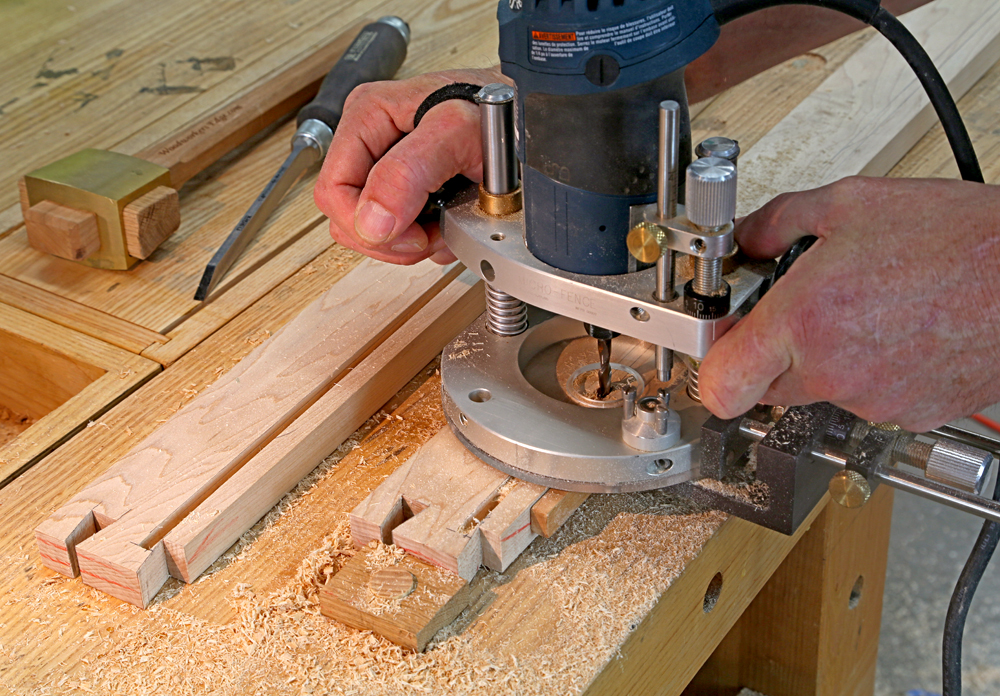
I don’t think there is a single tool that has changed woodworking more for the better than the router. There are a number of ways I could have made made these joints, either with hand tools or with other power tools. My reasons for using a hand-held router and a simple jig were these:
 I could see exactly what I was doing as I was doing it; I didn’t have to flip the work over to cut as would be the case at the router table or the table saw.
- I didn’t have to fuss with my setup, all I had to do was clamp the jig to my layout lines and I set the depth for each smaller size by dropping the bit to bottom out in a previously made cut.
- All my cuts are precise in width and depth and they are all square to the front of the case.
- The entire process didn’t take very long.
- All the cuts are where I planned to make them – I won’t need to deal with parts that magically “ended up” in the wrong location or the wrong size.
Routers are a popular subject to write about; they are an easy target for the hand-tool purist as well as a starting point for the uber-engineer and intricate jig-builder. In between those extremes are guys who just like to build stuff, and have it come out as nice as possible without lot of fussing around.
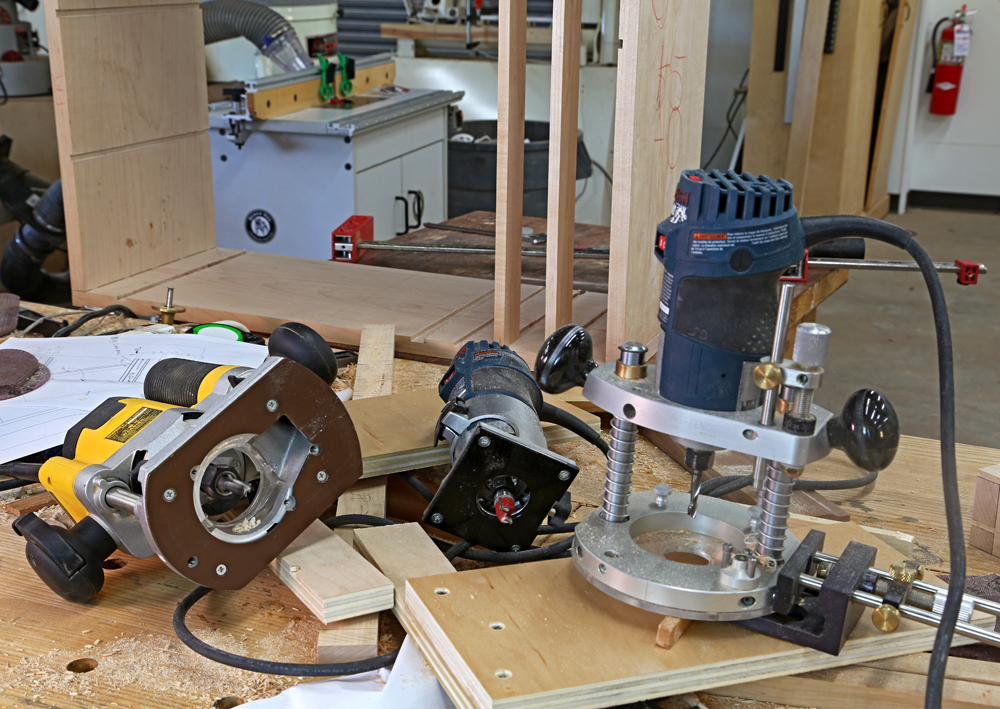
The router is a tool that does a lot of work, and does it well with a minimal amount of guidance. Like any tool it takes some time to learn what it does, how it does it and how to use it to your advantage. I can’t imagine working wood without a router, or two or seven.
– Robert W. Lang
readwatchdo.com
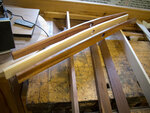
If you want a better idea of what I’m working on, this post shows images of the plan.
Most router jigs are way too complicated and take way too long to make. This post has a couple of short videos of jigs I have made. This post has a simple jig by Glen Huey. Glen knows almost everything there is to know about using routers efficiently. I get ideas from him all the time, and you can too if you go to our store and get Glen’s “Router Joinery and Techniques” video.
Here are some supplies and tools we find essential in our everyday work around the shop. We may receive a commission from sales referred by our links; however, we have carefully selected these products for their usefulness and quality.


Thanks for all your great articles, Bob.
I’ve been admiring the blue plunge router you use in this and other projects.
Can you reveal the make and model? Thanks!
I totally agree Bob.
I made a project a while back that was very complex (for me) and the router saved me a lot of frustration.
I can’t wait to see your finished project.