We may receive a commission when you use our affiliate links. However, this does not impact our recommendations.
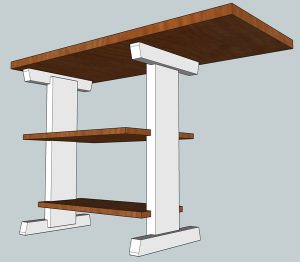 I got a good start on my kitchen island over the weekend…but then Monday came along and work intruded. Loath to let my momentum falter, I decided on sawdust for lunch instead of my usual diet of Diet Coke and pretzels.
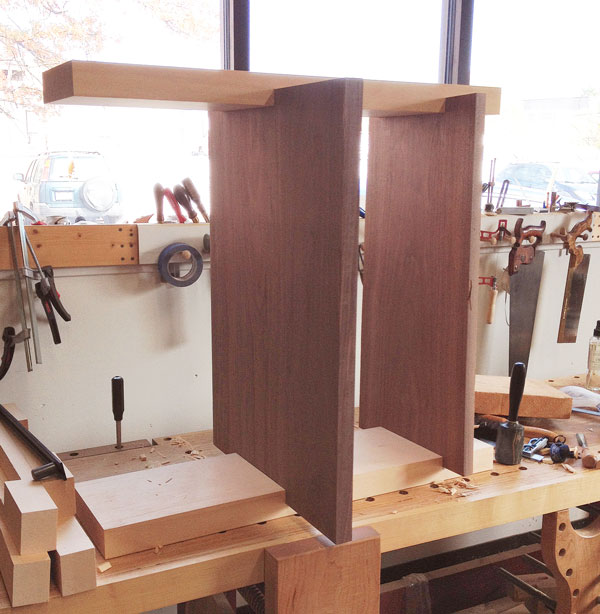
So I headed to the shop to cut the dados for the two “floating” shelves; the top one will hold the microwave, the bottom one will likely be quickly covered with little-used mixing bowls and cat hair.
After knifing in a line for the top of each dado location, I grabbed the nearest piece of wood I knew was straight and flat – a test piece from my cabinet build in the current issue – and used that as a fence to guide my sawcut (I should have made it easier on myself by cutting it a bit shorter; that would have allowed me to use the full 18″ of my sawblade…but I didn’t).
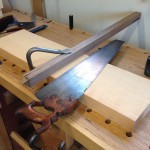 Why use a fence? While I’m reasonably good with a handsaw, a little insurance never hurts – and these dado will be visible on all sides, so there’s no getting away with adding wedges if things are too loose. Plus these are 1″-deep cuts across a 9″ workpiece. I’m reasonably good…but not that good.
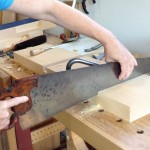
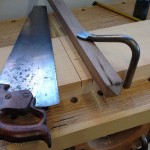
So, I used a 12″ adjustable square at the layout line to make sure my fence was square, then secured the fence in place. And, after triple checking the hold of the holdfast to make sure the fence wasn’t going to move on me, I simply butted the sawplate against the fence and held it flush thereto with my off-hand as I cut one wall of the dado.
Typically, I’d overcut at the bottom of the dado by a smidge, just to make sure I get all the way down to the floor across the entire width. But typically, a dado is covered by something else – a face frame, for example. With these, I was careful to stop cutting right at the bottom of my layout lines, and I checked the far side often as I neared bottom. Why? With my backsaws, I “know” level; when I hit the layout line on the near side – the side I can see – I am confident I’ve hit it on the far side, too. Not so with a tapered handsaw; this is not a tool I typically use for joinery – but it’s the only crosscut saw I have that can handle this size workpiece.
With the first wall cut, it’s best to use the actual mating piece (in my case, the shelf) to mark the location for the second wall. But these pieces are too big and heavy for me to feel comfortable simultaneously holding them perfectly in place and marking. So I – gulp – measured. Very carefully.
Then I repeated the square-fence-secure-saw regimen. (Note: If you use the mating piece to mark the second wall, be sure to cover your line with the fence – the layout will marked to the outside of the mating workpiece, so if you remove the line, your dado will be too loose.)
The waste removal is almost exactly the same as for the open mortises: Chisel, chisel chisel, router plane. Then, it was time for a test-fit – and time to go back to my desk.
I’m hoping I can steal away to the shop tomorrow for an hour to cut the angles on the feet and top supports.
— Megan Fitzpatrick
@1snugthejoiner
Here are some supplies and tools we find essential in our everyday work around the shop. We may receive a commission from sales referred by our links; however, we have carefully selected these products for their usefulness and quality.




love the work bench
Might be a trick of the camera, but is the wider of the two shelves also thicker? (I’m trying to figure out why you didn’t order up a side of tablesaw and dado blade.)
Why can’t you have the soda and pretzels in the shop?
Congratulations! You have achieved SHELF-ishness.
Are the edges of the legs/uprights angled in, or is that my imagination?
My lunches are never so productive. Nice.
Looking good!
So does the table come with the house when it is sold? 🙂