


We may receive a commission when you use our affiliate links. However, this does not impact our recommendations.
Before I developed the tool tote project, I did some online research and discovered that there are two major trends in the design of simple wooden totes: (A) Those whose tall end-walls flank the side walls and (B) those whose side-walls flank the end-walls. This raised the question: Which of the two designs would better suit our project?
When I design a project for my students, especially when teaching my young students, I always try to anticipate challenges and then develop procedures to overcome them. I try to evaluate:
- Are all the required tasks essential for the project? Can I make things a bit simpler and more predictable to contribute to a successful outcome.
- Can I come up with a project that is malleable enough so it can tolerate spontaneous or unintended changes, and can it posses an ability to compensate for mistakes that will certainly happen, especially with young students?
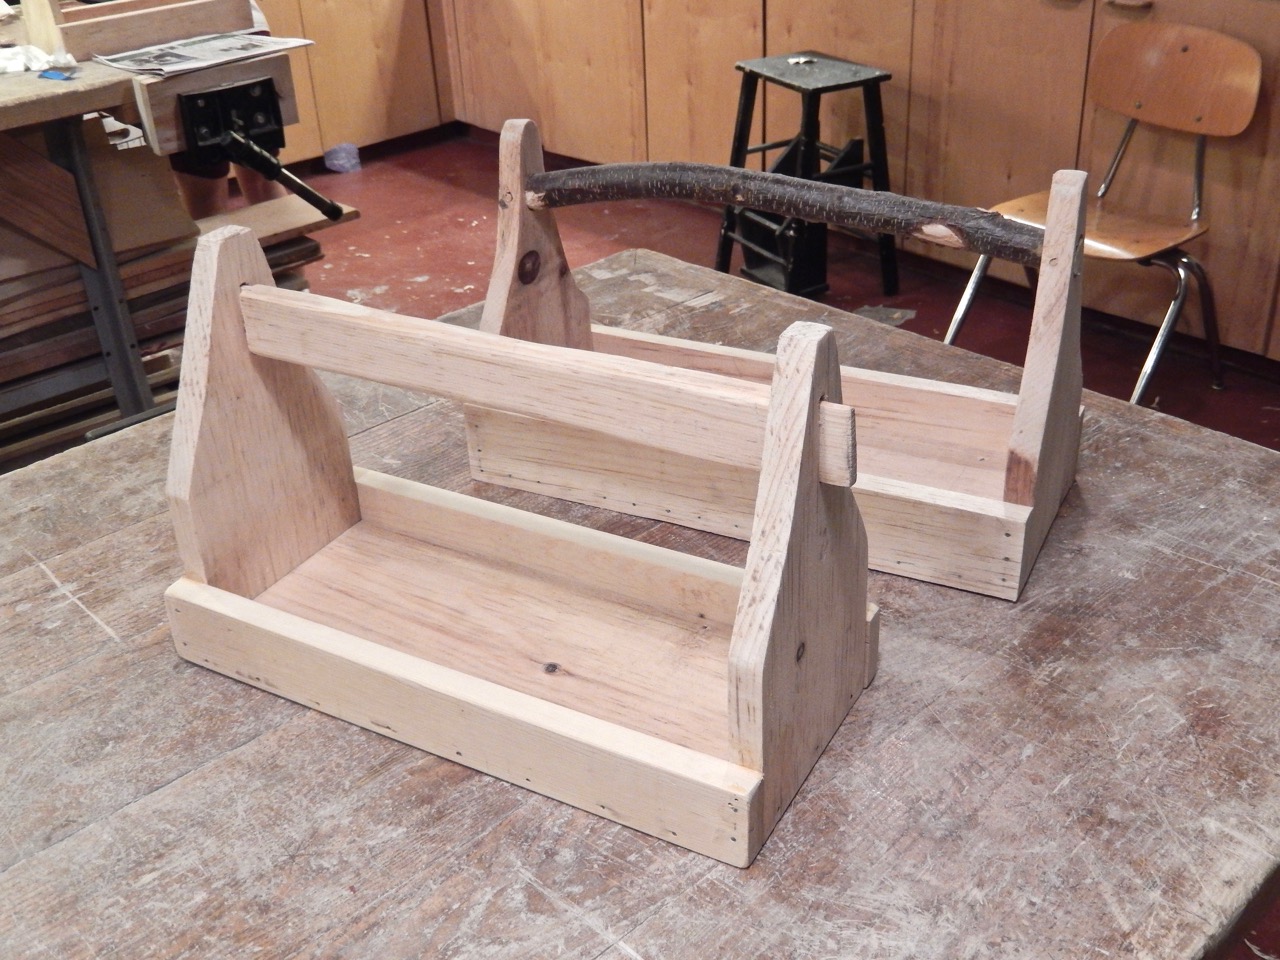
So when I developed our tote project I asked myself: What is the best design to ensure maximum success for this kind of a hand tool project? After a few sketches it occurred to me that design B is the simplest of the two as it requires only two critical cross cuts of the “mother board”, cuts that will provide a right angle butt joint between the two end-walls and the bottom of the tote. This design tolerates variations in the side wall length as well as out-of-squareness of their end grain cuts. It would not matter that much if, by mistake, a student cut one or two of the side-walls longer (or shorter) than needed, since after we glue and nail them we can trim them flush with the end-walls using a flush cut saw followed by a file. As you can see from my drawing, in option A (the more complicated option) the students have to accurately cut both the bottom and the two side walls. In addition, I found another disadvantage in design A, the joints between the side-walls and the end-walls are end-grain to long-grain, which render them weak. In contrast, option B incorporates long grain to long grain joint. Further, the nails that reinforce the joint in option B hold better than if driven into end grain, like in option A. Therefore, the advantages of option B, simplicity and strength, convinced me that this design will cater better to my students.
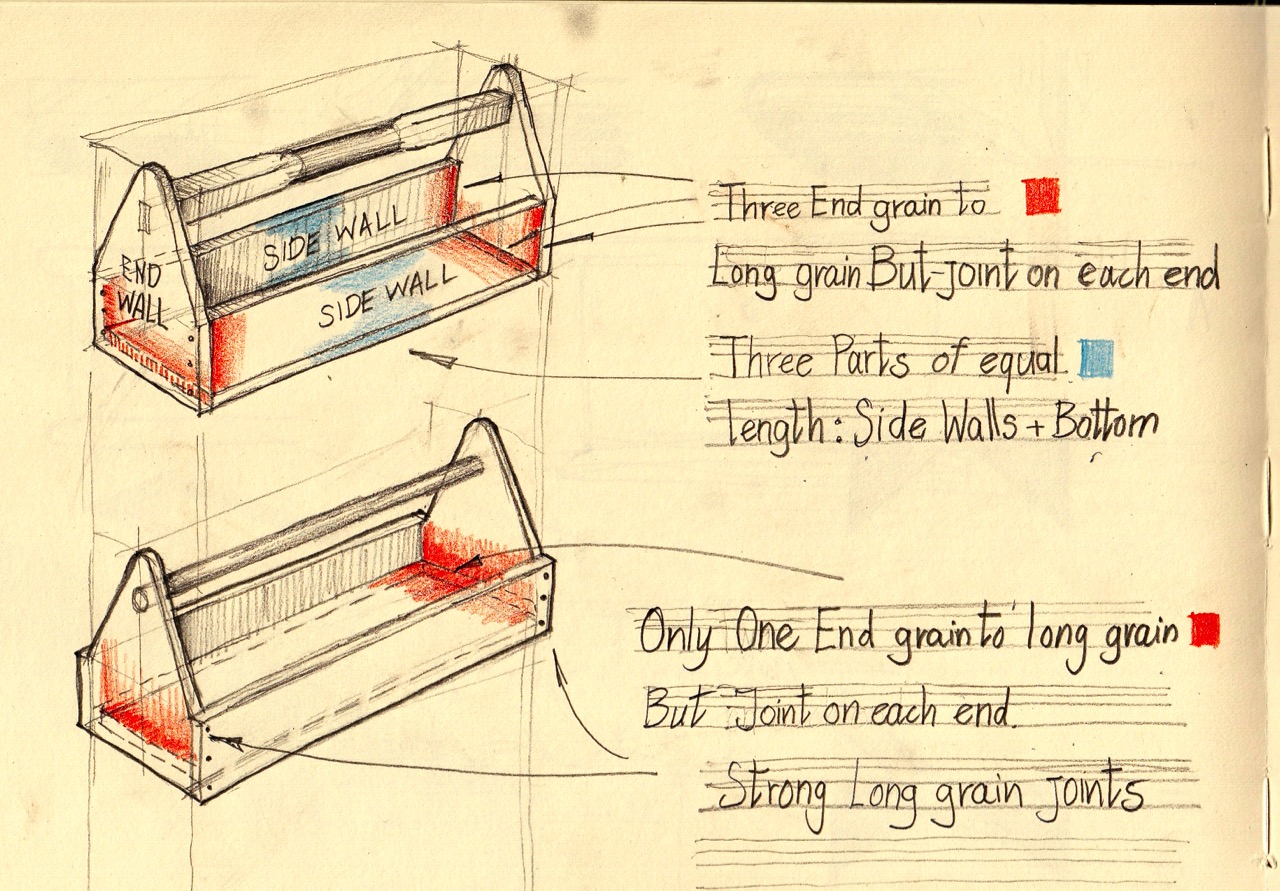
Option A above, option B below. Pin this drawing!
A few words about the building sequence
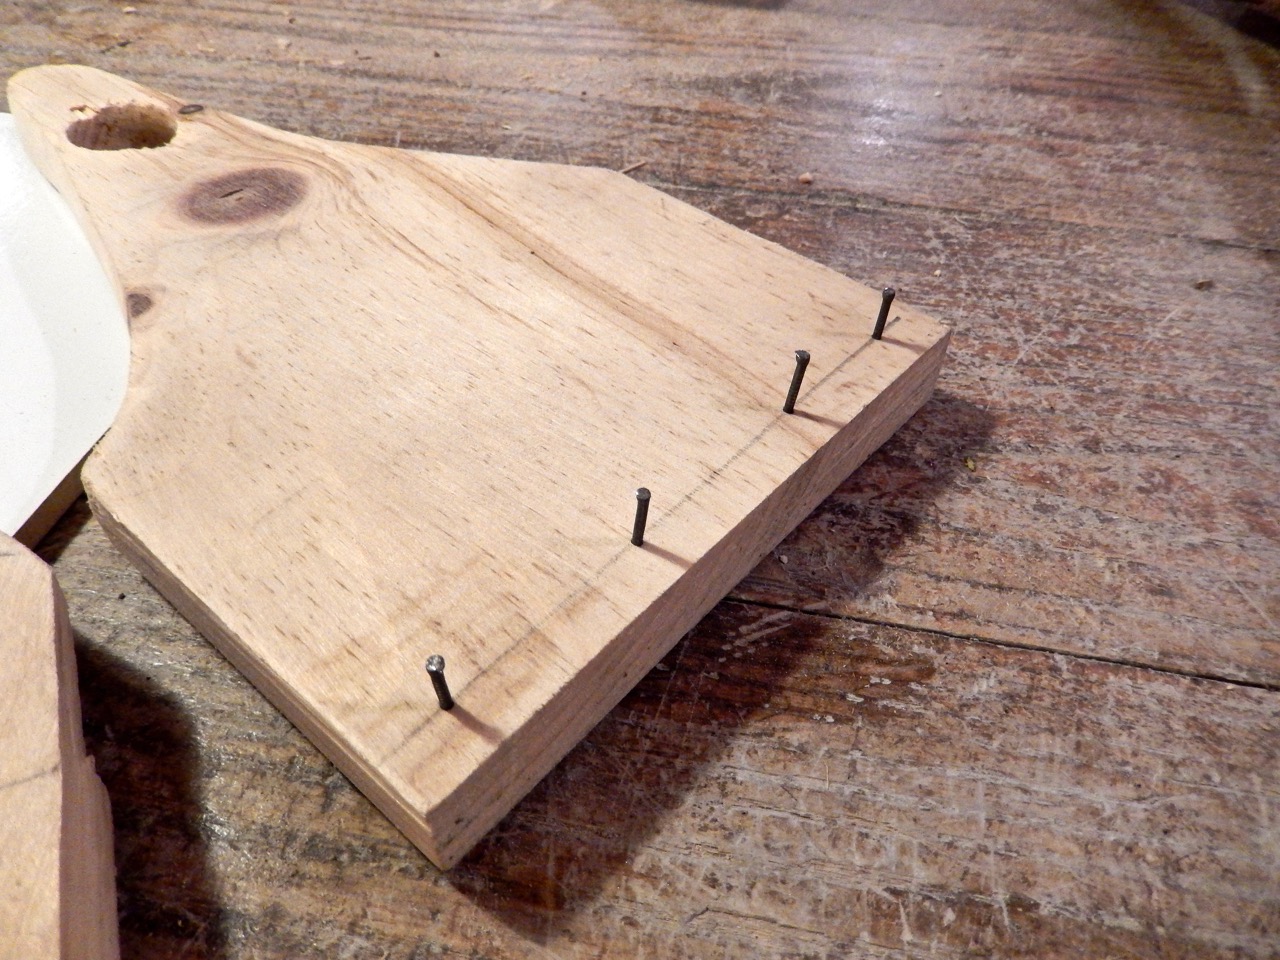
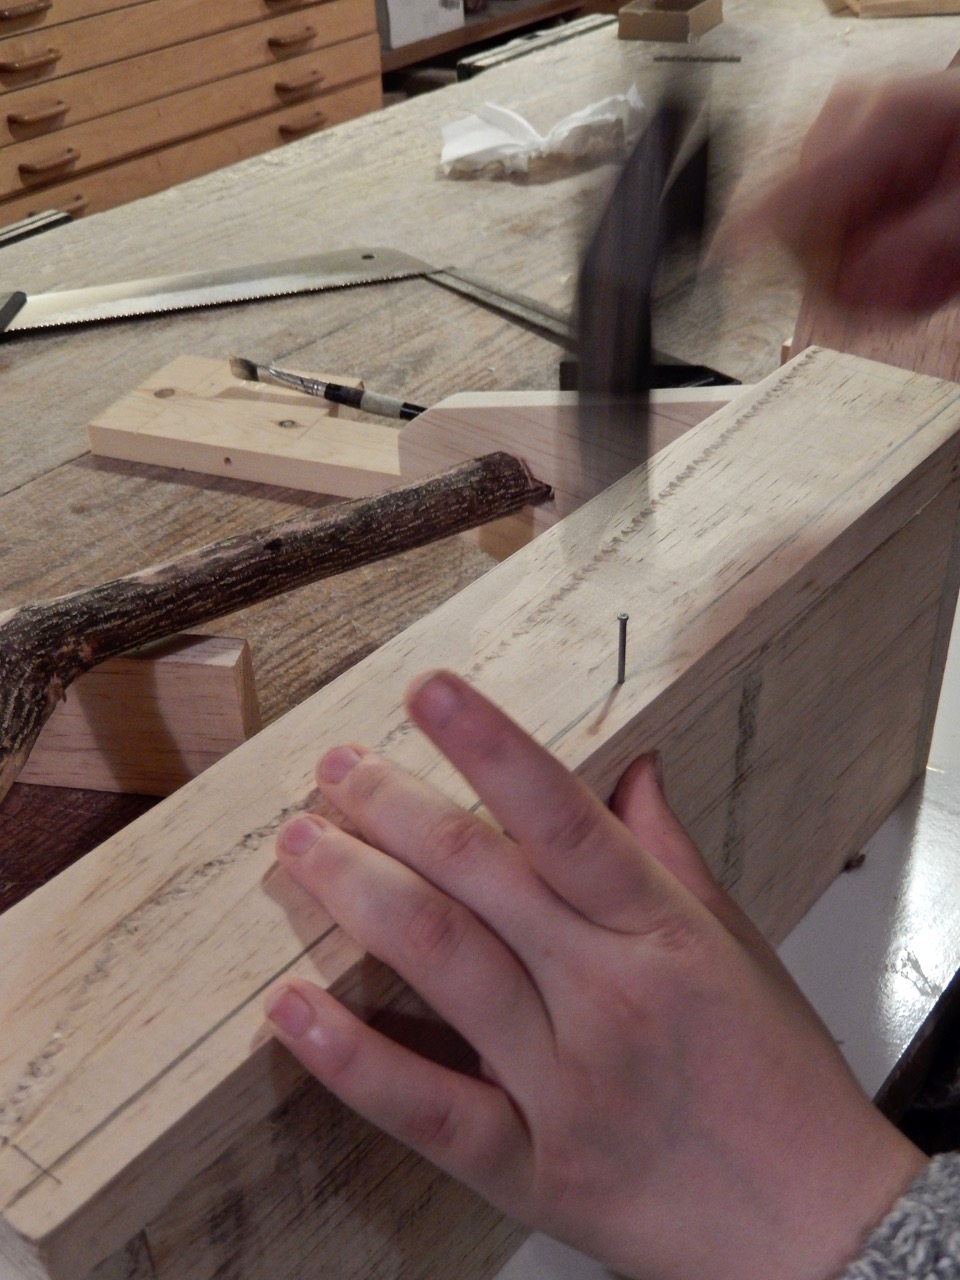
After all of the parts were cut and shaped, we marked the placement of the nails. I taught my students how to rely on their fingers and a pencil in order to carefully lay a parallel line on the edge of their board. Next they drove the nails through the end-wall until the tip of the nail poked through the other side — just a tad.
Then we brushed some glue on the tote bottom’s end grain, positioned the lower corner of one of the end-walls parts above it (we relied on the poked nails to add some grab) and drove the nails home with a hammer. Next we inserted the handle and repeated nailing the adjacent end-wall onto the other end. Then we continued with gluing and nailing the side walls. After the glue dried, we trimmed the necessary parts flush before sanding and finishing with shellac.
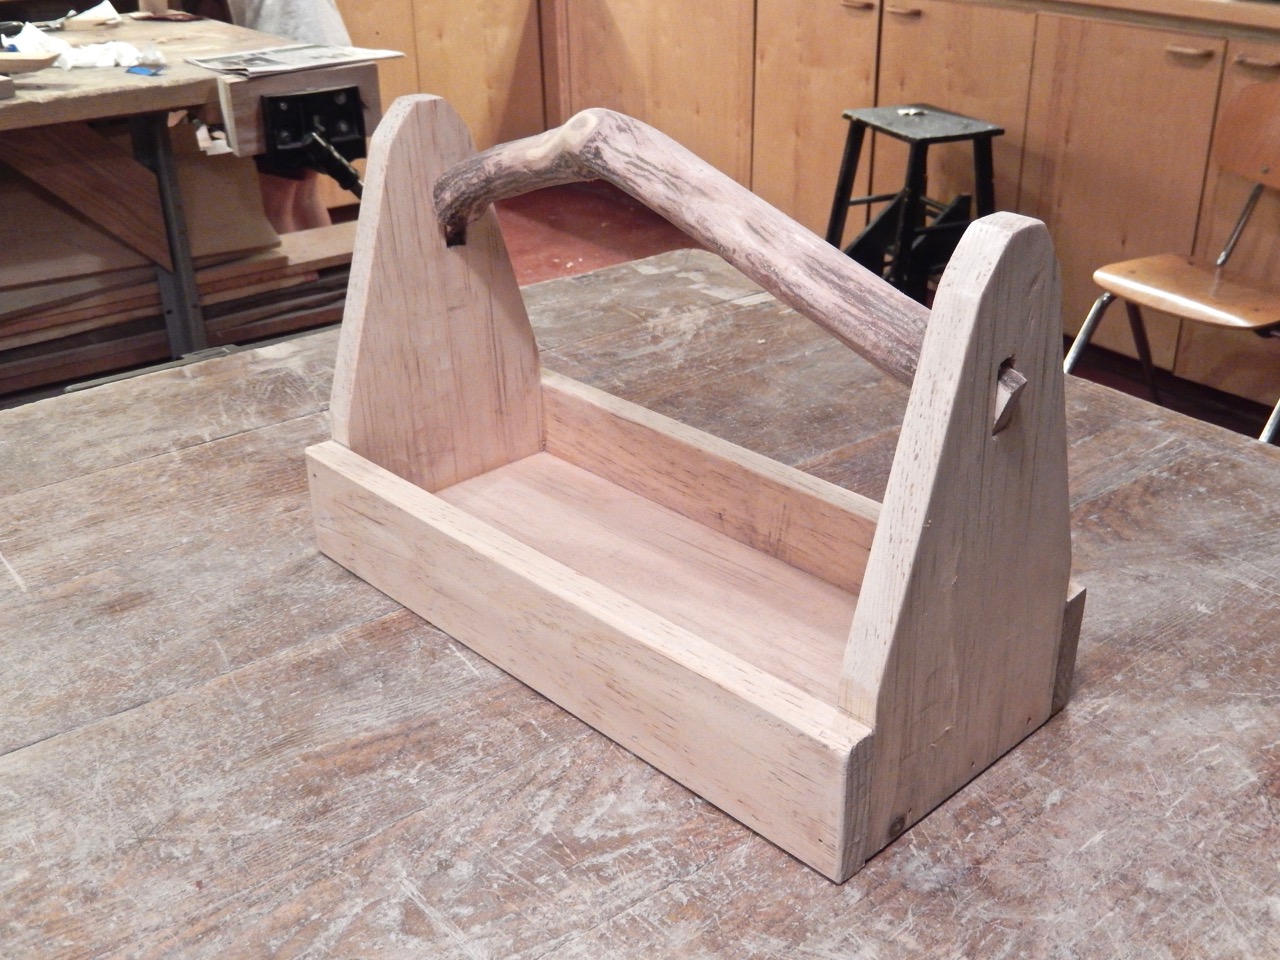
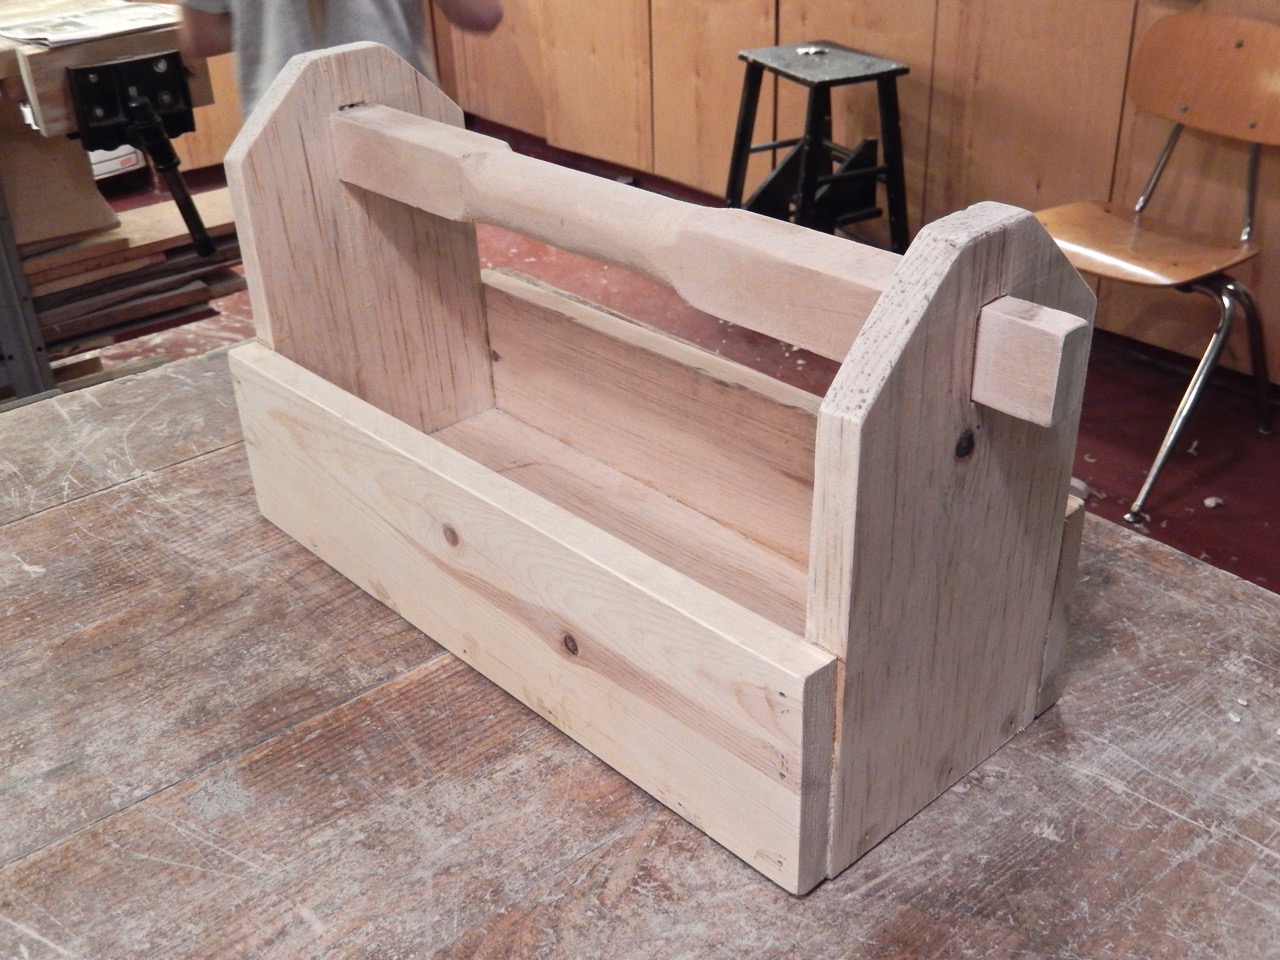
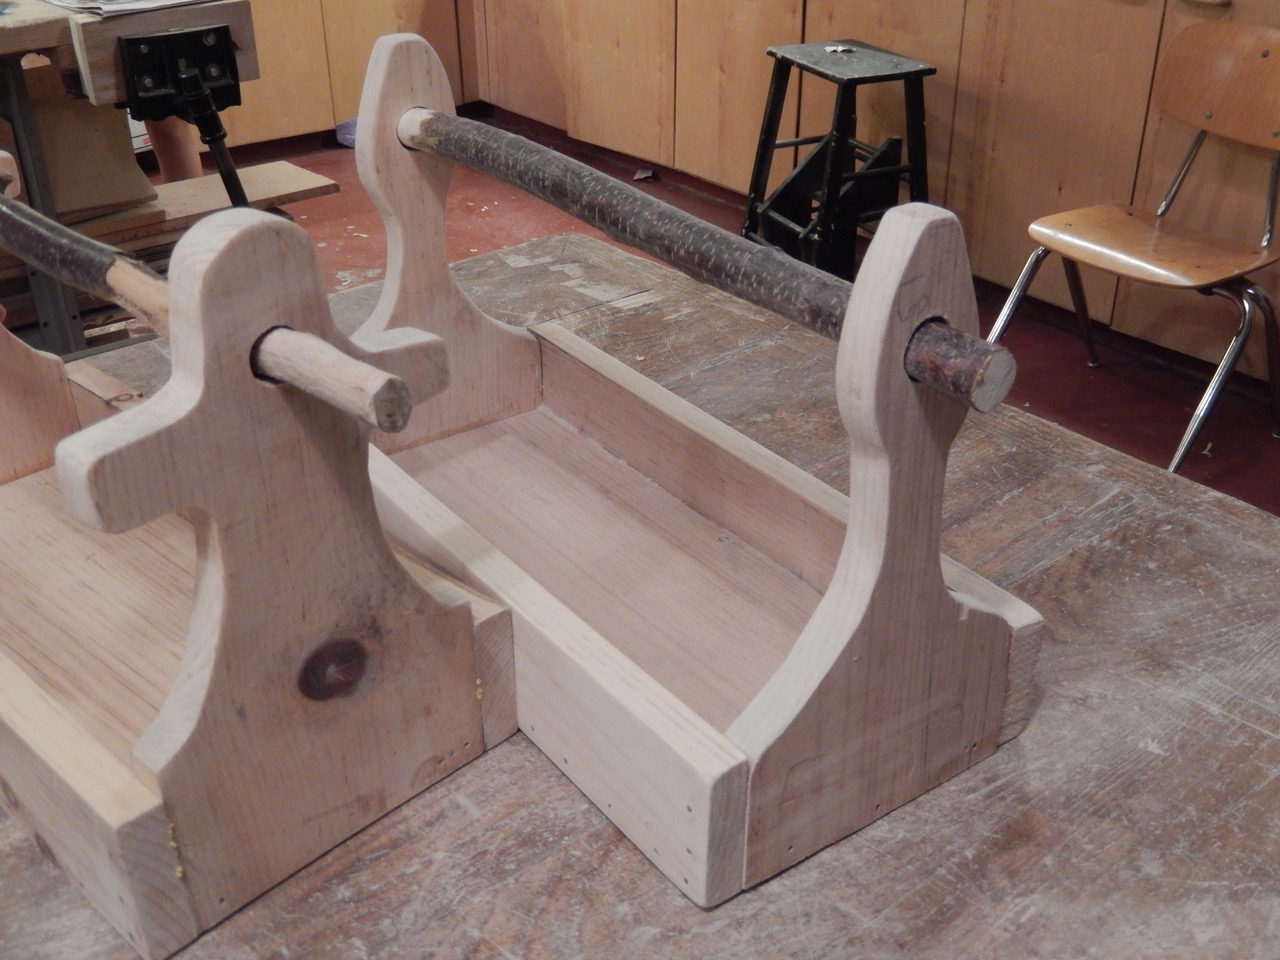
Planning ahead and trying to predict eventualities (with students, you will always be surprised) is very important at any level of teaching. In conclusion, I must say that we have forded this project quite successfully and, as you can see form the images bellow, our students have done a really nice job.
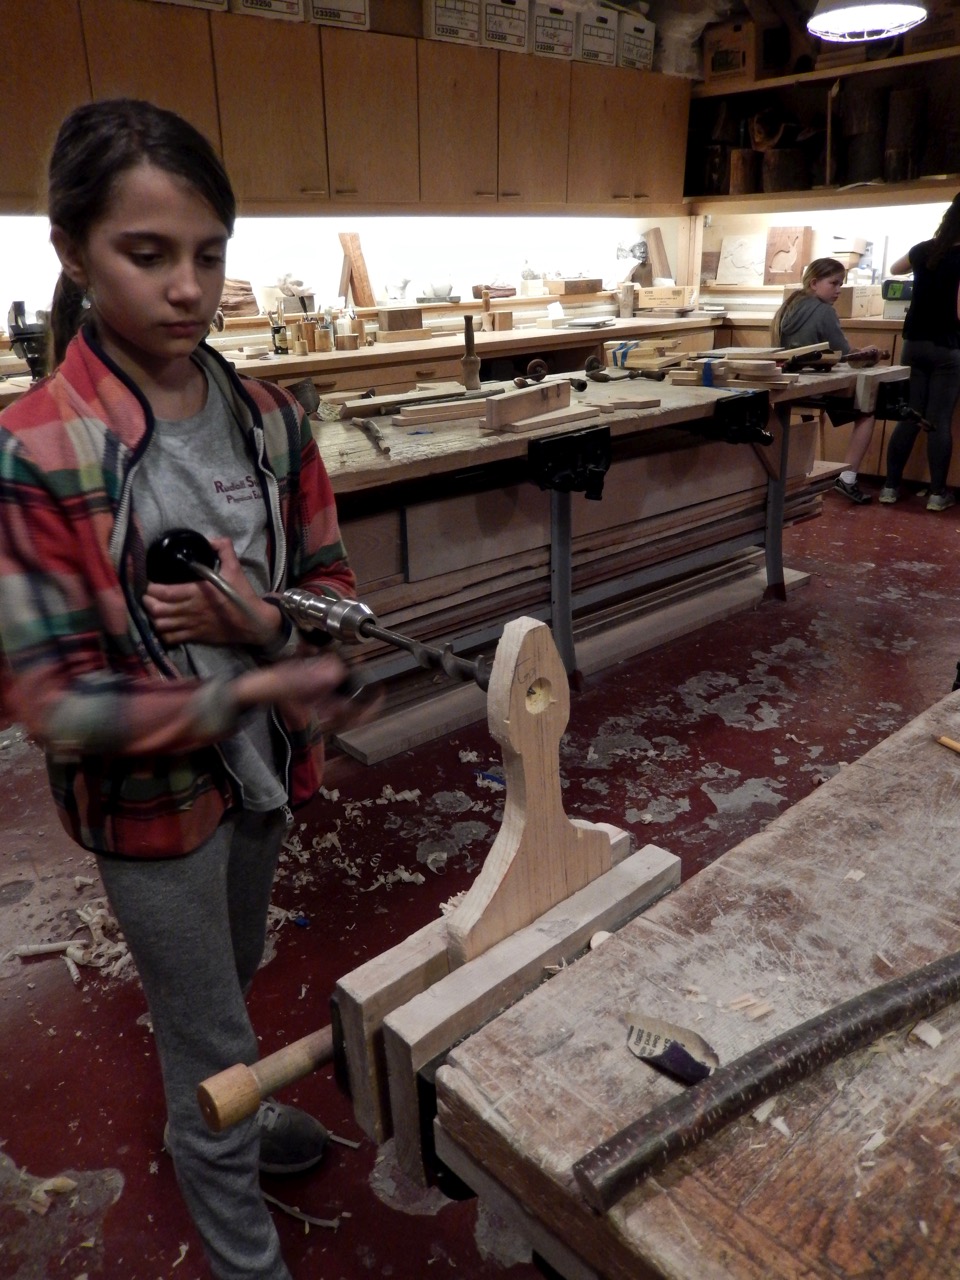
Laura is using a bit brace to drill a hole into the end-walls for her handle.
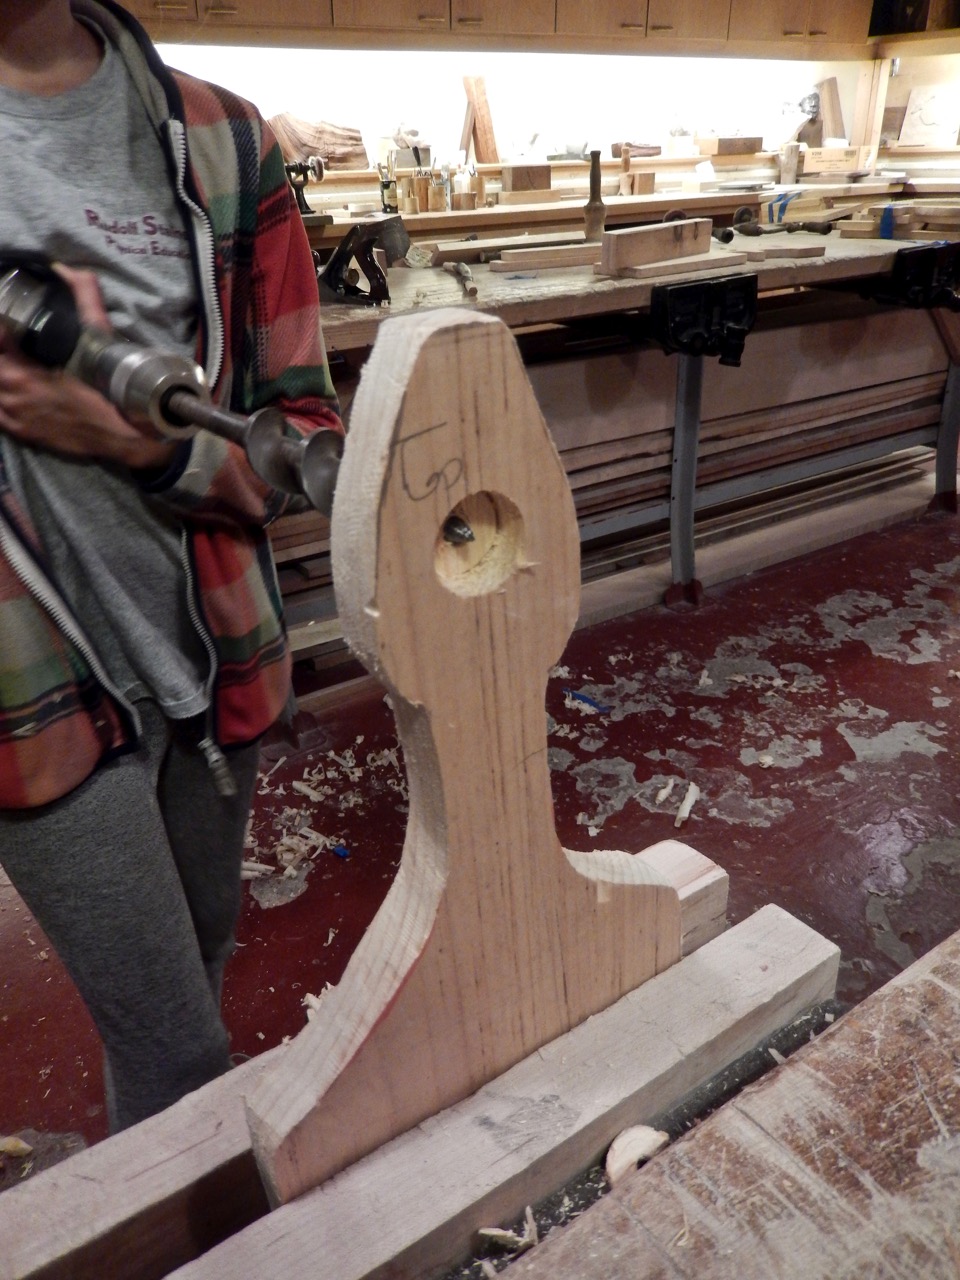
Completing drilling the hole from the other side to avoid tear-out

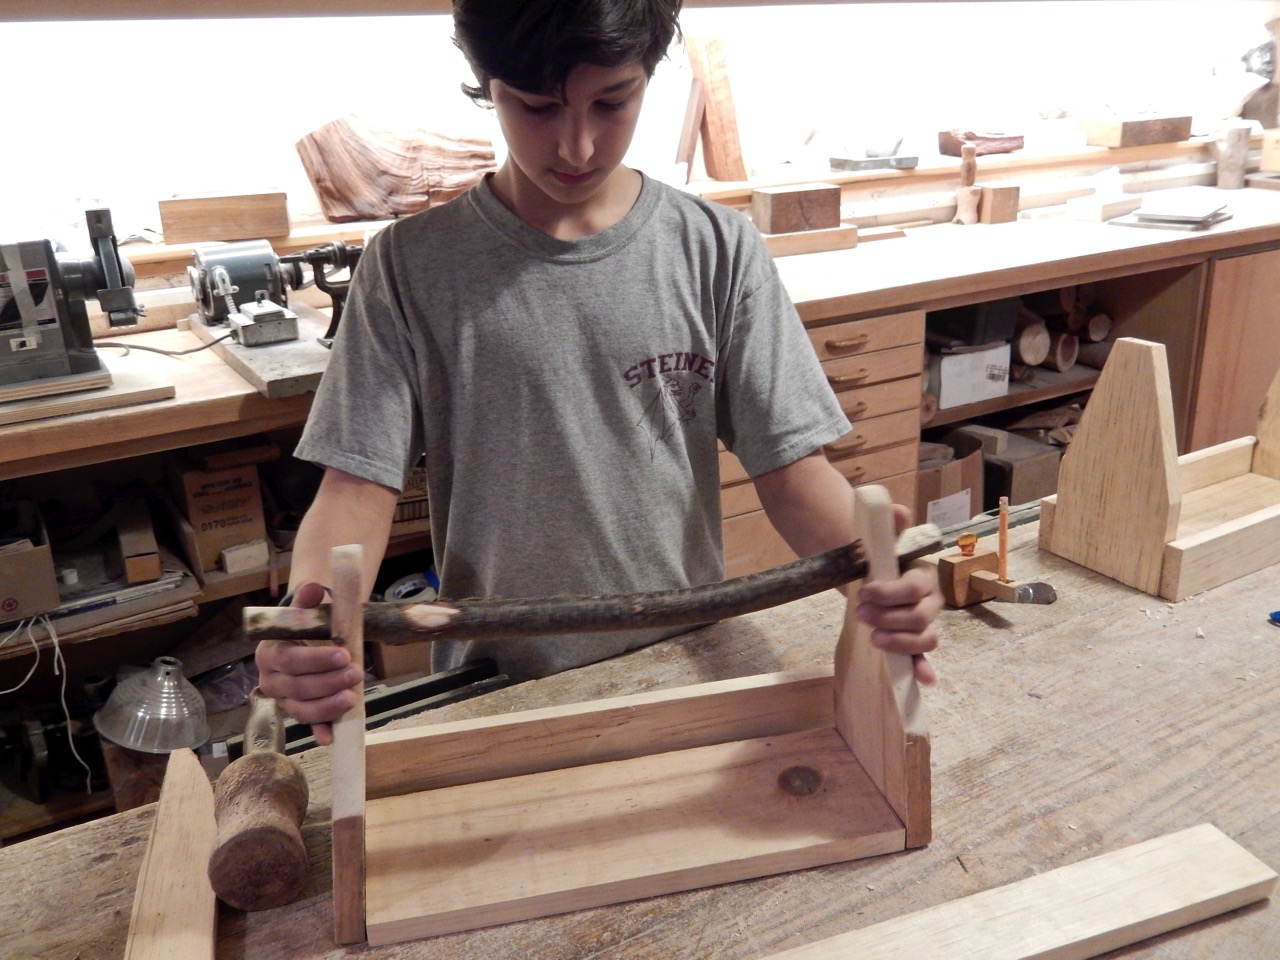
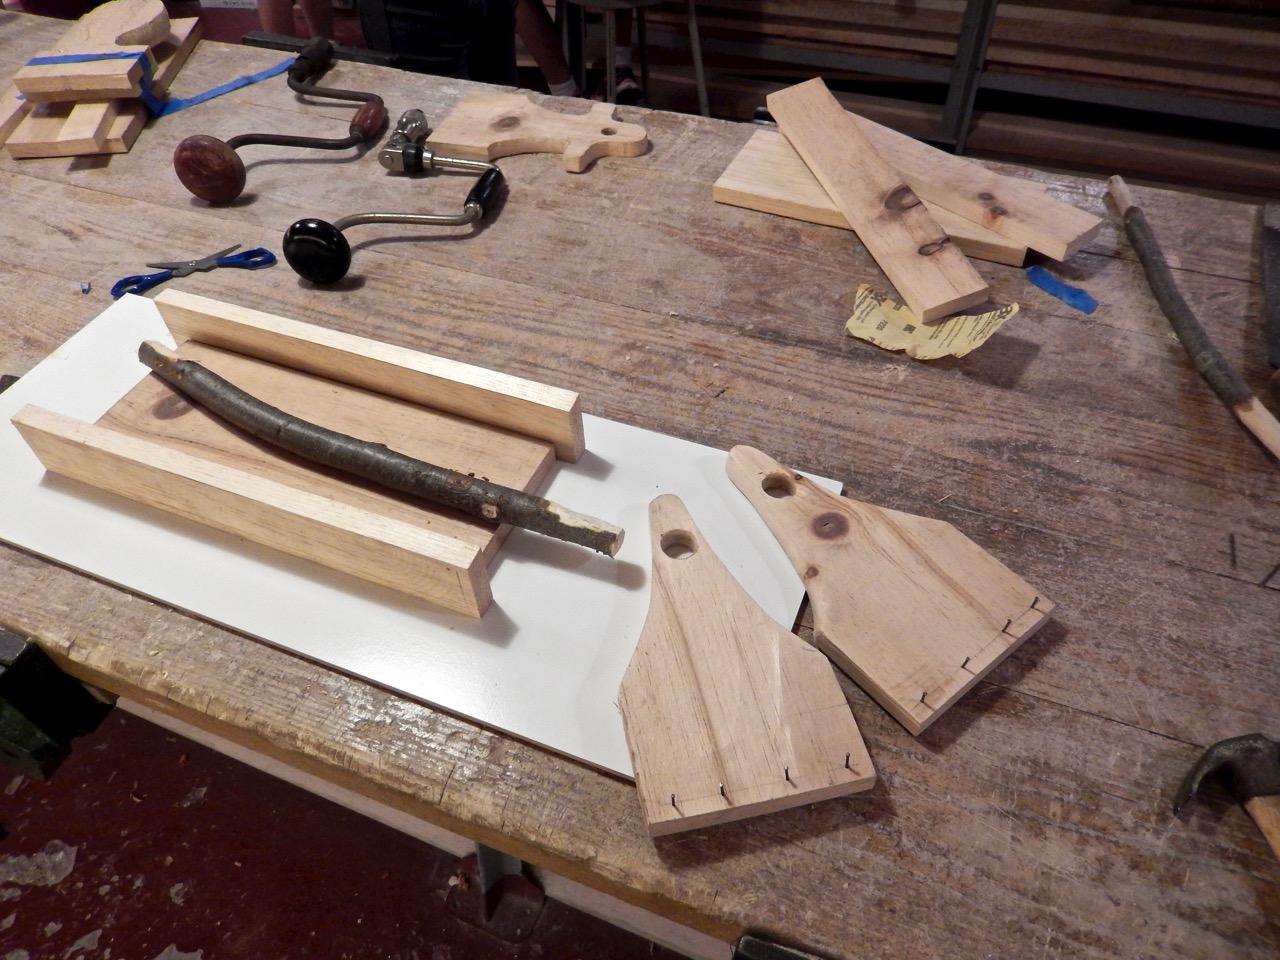
One of my students in the process of making a tenon at the end of his handle stock.
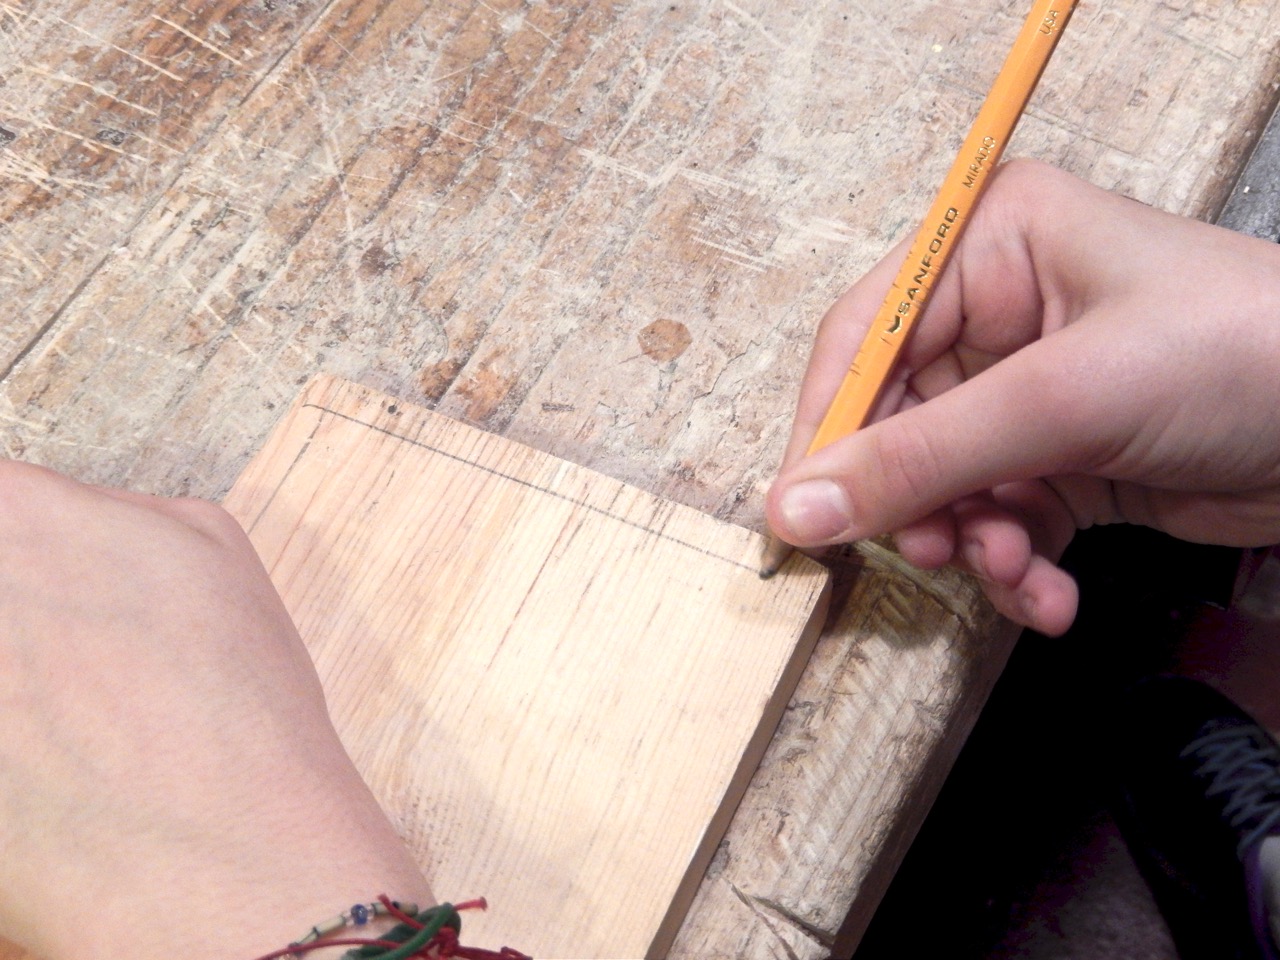
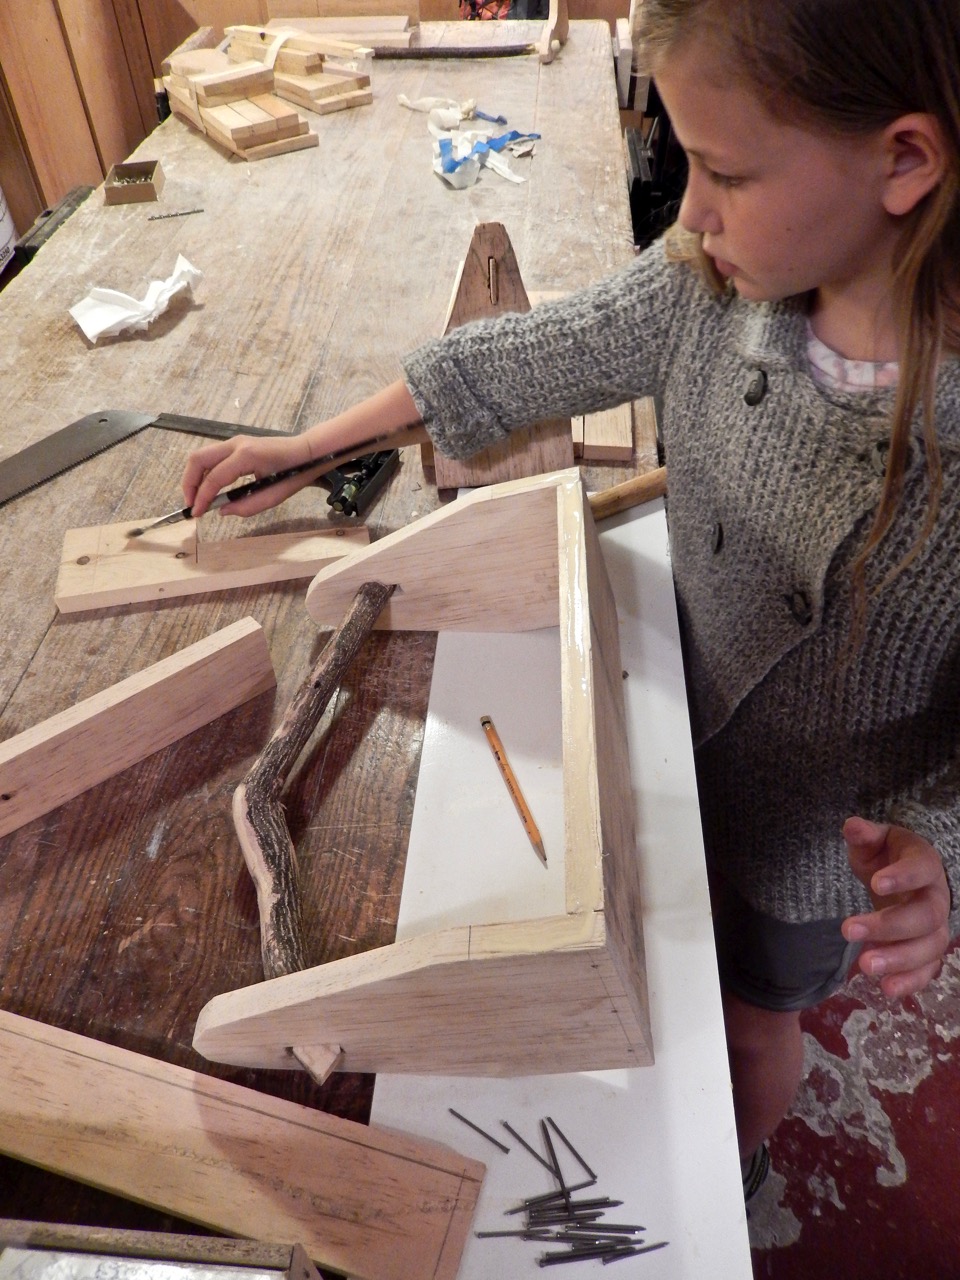
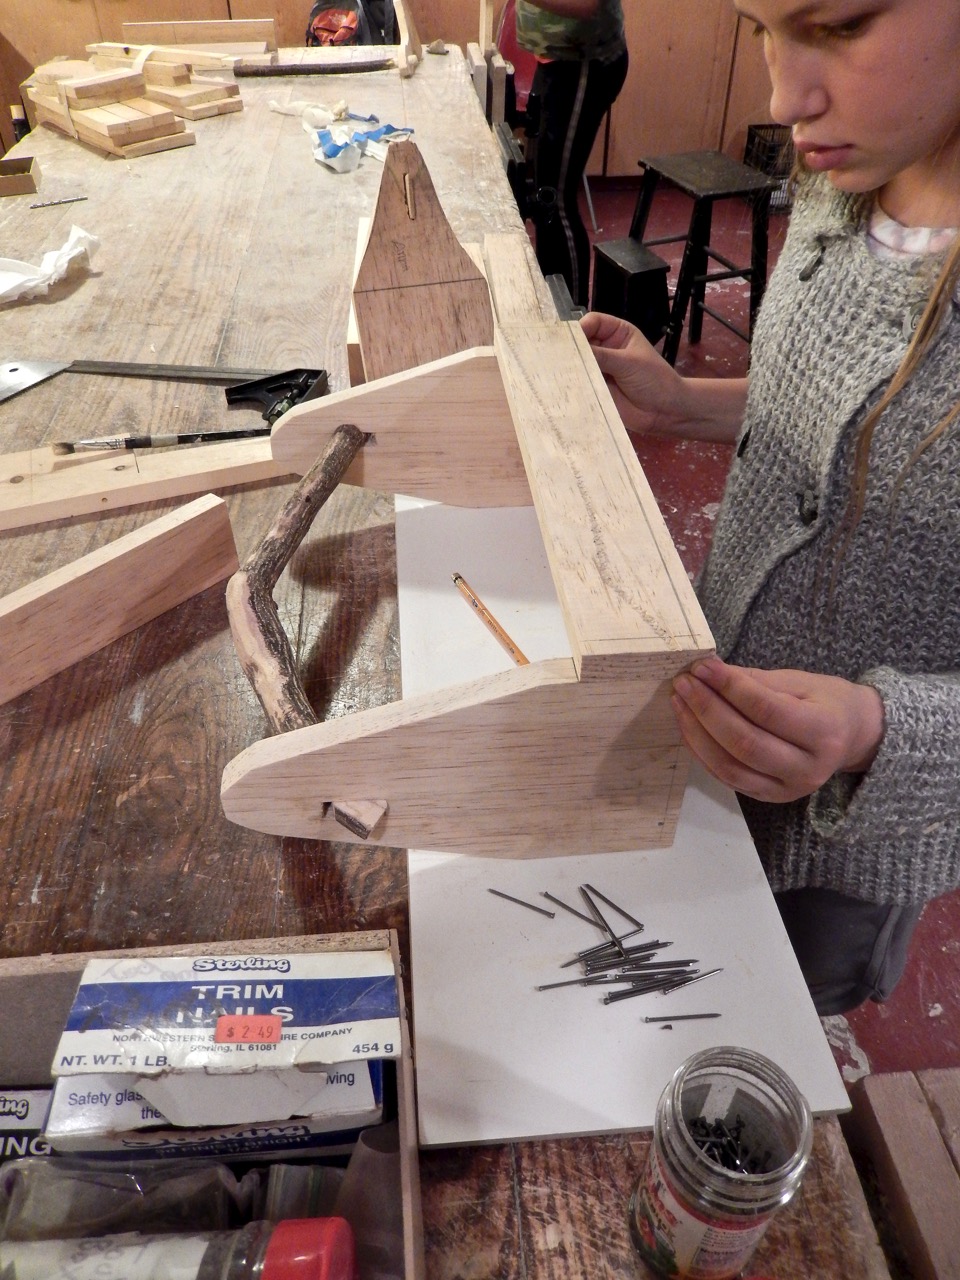
With a pencil extended out from the middle finger (or index finger) and held secure with their thumb, my students were able to lay a parallel line on the edge of their parts. Onto this line they have nailed the parts together.
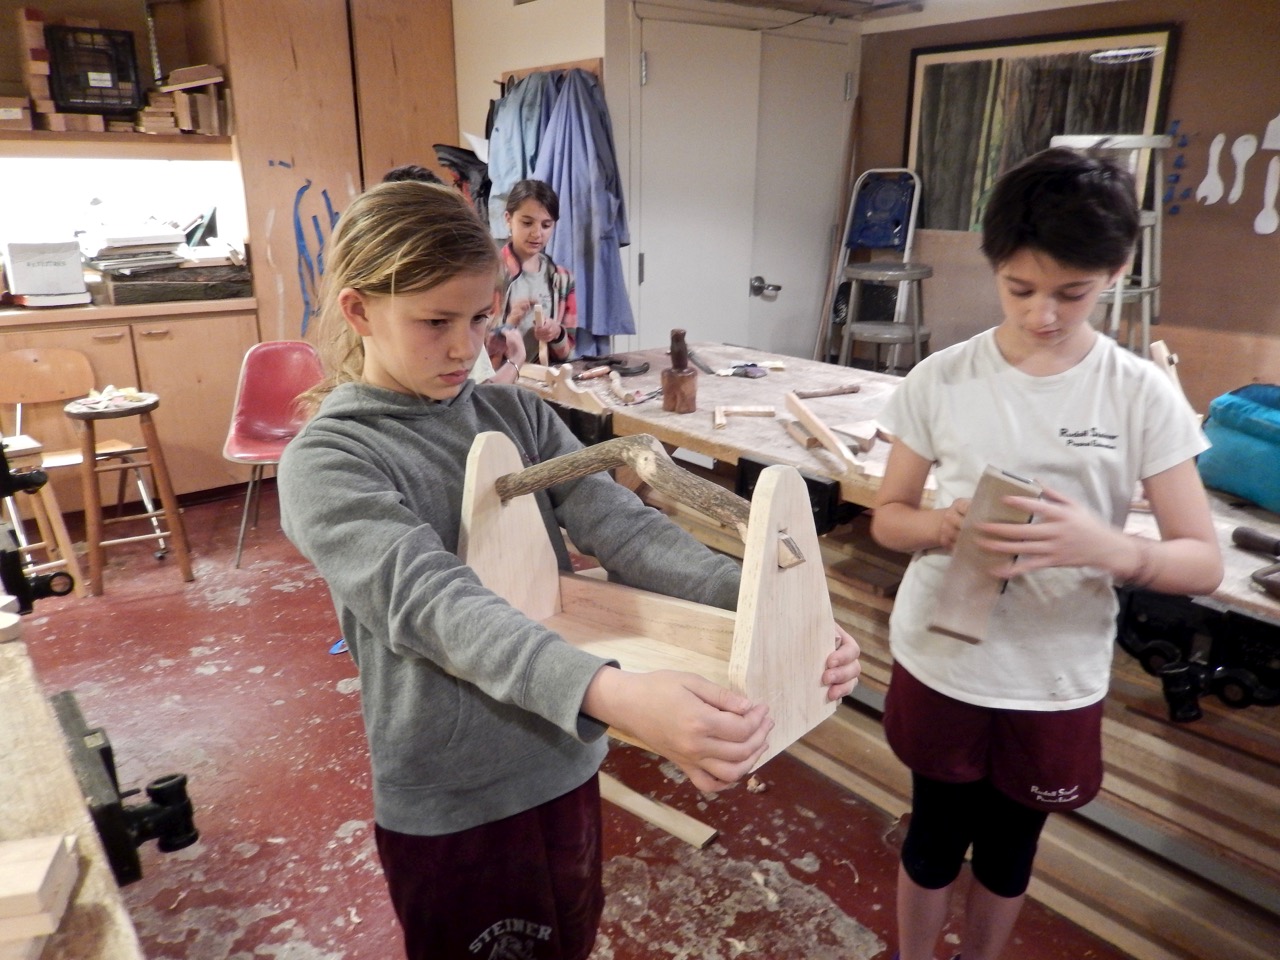
Eithan is checking all his prats prior to gluing and nailing.
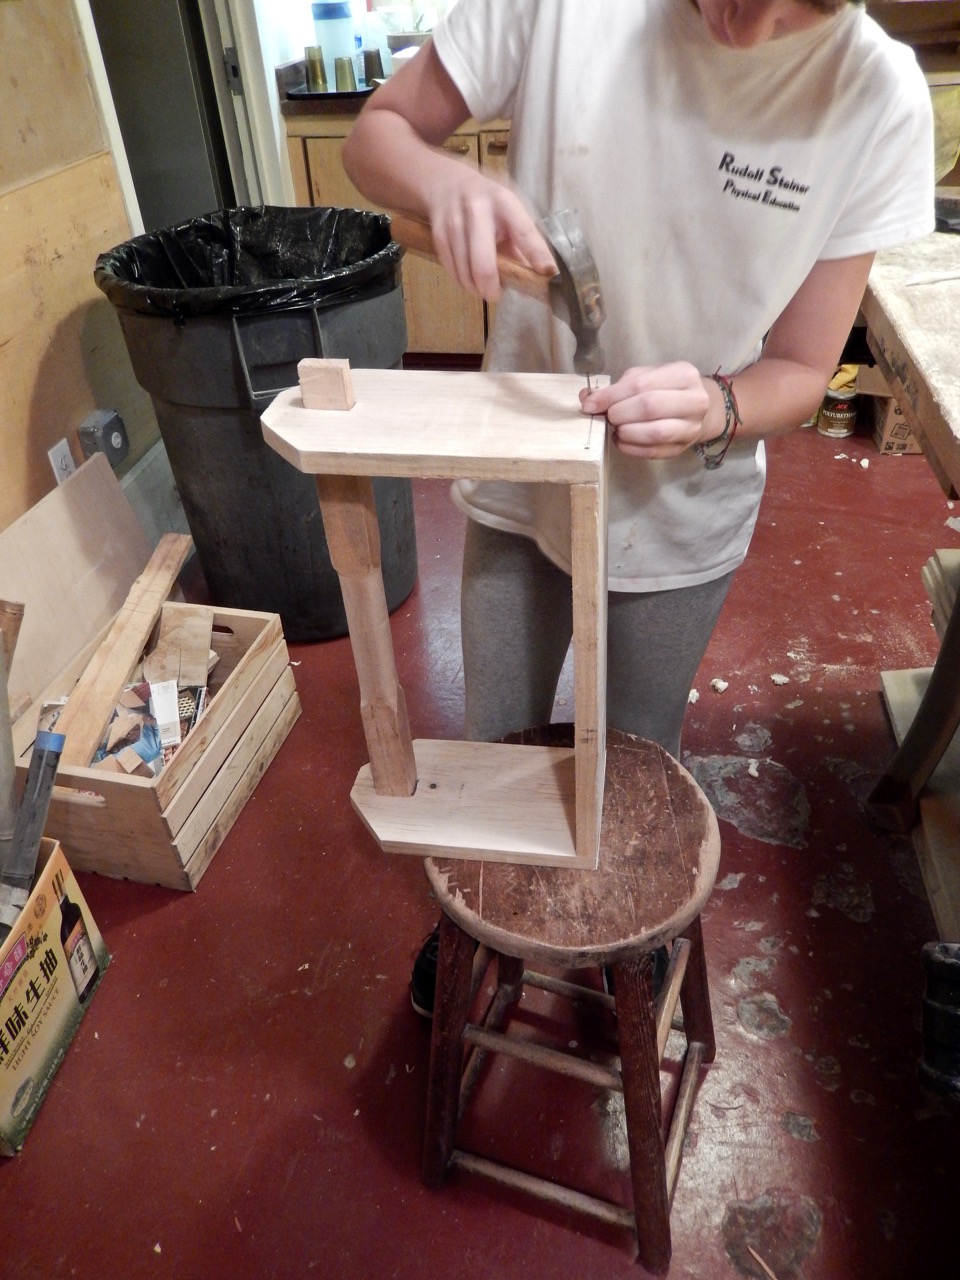
Coco is nailing her end-walls to the tote’s bottom.

Sofie moments before gluing and nailing her parts together.
Brushing glue on the edges of the bottom and the lower third of the end-walls.
Positioning the side walls.
Driving nails eliminate the need for clamping and add long term strength to the structure.


 Click on this link to read Part 1 of the story
 Interested in making your own tool tote? Check out “I Can Do That!” season 1, part 2 at shopwoodworking.com to see how you can make one from big box retailer materials.
Here are some supplies and tools we find essential in our everyday work around the shop. We may receive a commission from sales referred by our links; however, we have carefully selected these products for their usefulness and quality.


I agree with all the reasons given for using option B, but I think the no.1 reason to use it is the strength and load transfer ability of the sides nailed perpendicular to the bottom…and then the load transfer to the ends.
This seems like a wonderful project for my grandson to store and carry around the hand tools I’ve set aside for him to use. At what age would you think he should be ready to complete it, assuming some grandfatherly supervision?
Nice project for the kids, and well thought out. However, it’s butt joint, not “but joint”. i’e’ one piece butts up against the other.
“Eithan is checking all his prats prior to gluing and nailing.”
So young to learn Prior Planning Prevents Pratfalls during project assembly…
I love these posts Yoav. Please keep them coming.