


We may receive a commission when you use our affiliate links. However, this does not impact our recommendations.
In two weeks I’m moving to a new workshop (ground-floor storefront, yay!). But last night as I was trying to get to sleep I realized that I wasn’t going to be able to prop the lid of my tool chest open against a wall.
Most old tool chests that I have seen don’t have any mechanism to keep the lid open, though these mechanisms do exist. Most of the time, woodworkers just prop the lid against a wall. I used to have a chain on mine, but it would droop in the wrong place at times and eventually came off. Good riddance.
So I swiped an idea from Jameel Abraham of Benchcrafted. Last year he made some gorgeous hand-filed lid stays for some tool chests in his family. Check out his procedure here.
I have miles of trim to paint and install this week, so I had to settle for a more rednecky solution with bits of material I had on hand.
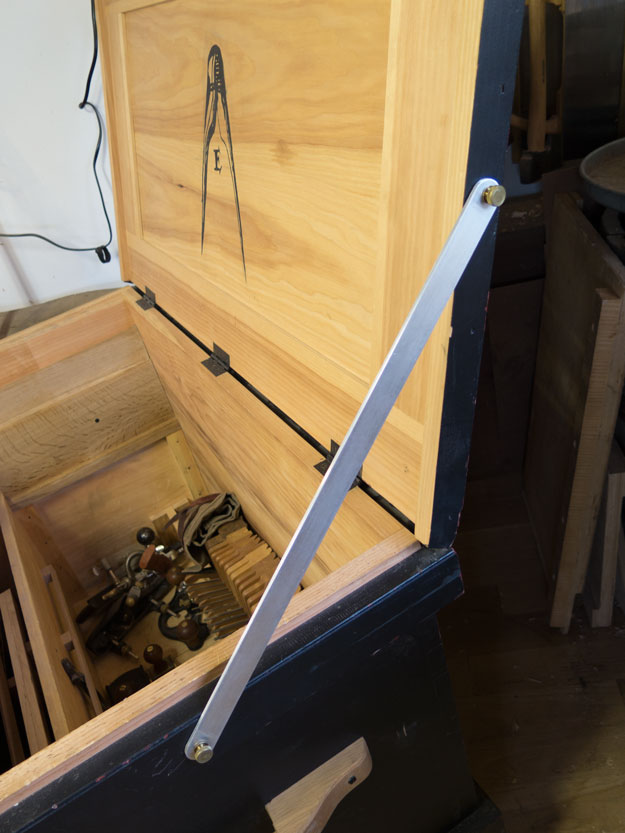
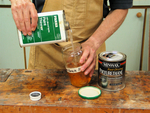
My lid stay consists of a piece of flat aluminum 1/8” x 1” x 20” that was left over from a previous job, plus two 1/4-20 threaded inserts and two 1/4-20 x 1” knurled brass thumbscrews.
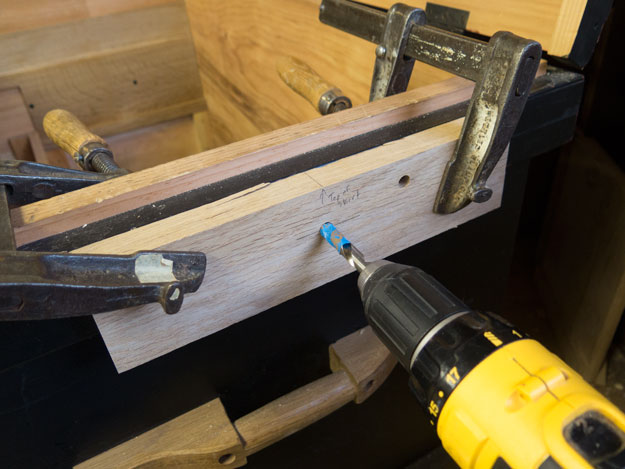
Installing threaded inserts is no fun. The best way to do it (if you can’t use a drill press) is to make a little doweling jig shown in the photo above. The 3/8”-diameter hole guides the bit true into the top skirting material of the chest. I positioned the holes so the lid tilted back about 15°, which is about how I like it.
Then I drilled the same hole in the dust seal on the tool chest’s lid.
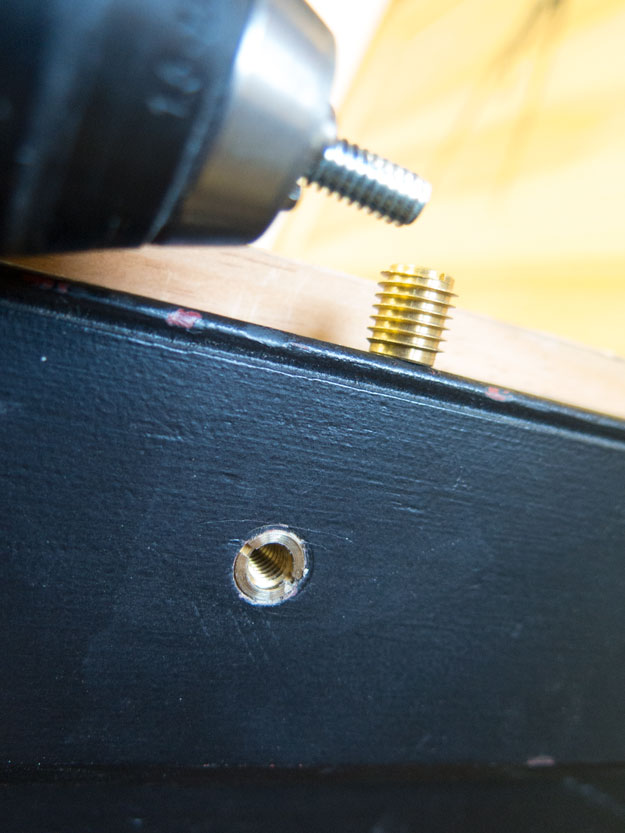
Next up is installing the brass threaded inserts. I don’t recommend you use a screwdriver to do this, despite the fact that they are slotted for a driver. The tendency is for the insert to wander and rip up the surface of your work.
Instead, take a 1/4-20 bolt and saw off the head. Chuck the threaded section into a cordless drill and then thread the brass insert onto the bolt until it touches the jaws of the chuck. Now you can slowly drive the insert into the pilot hole without too much wandering or damage.
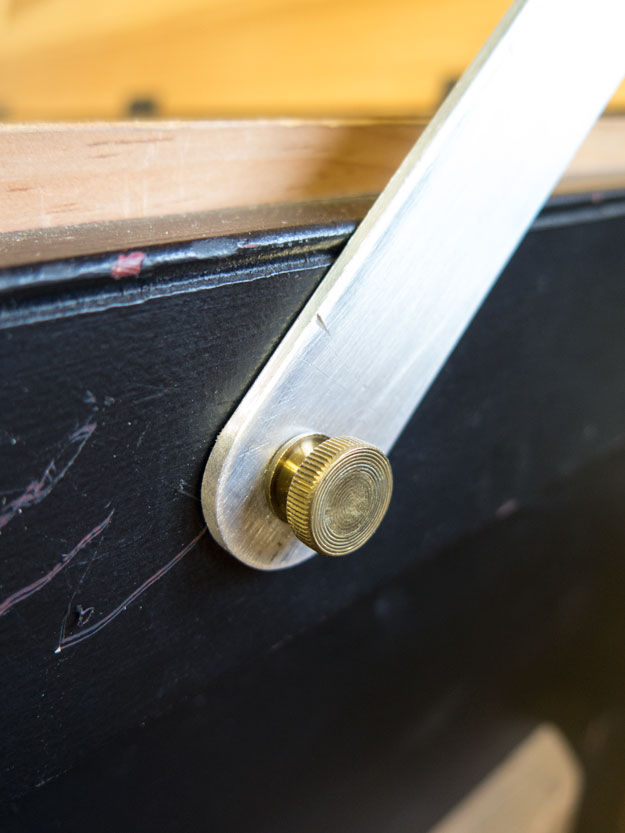
The rest is simple. Drill two 1/4”- diameter holes at either end of your aluminum bar. File and sand it until it looks acceptable. A dense hardwood would also work, as would steel (which is what I would have used if I had any).
Then use the thumbscrews to affix the lid stay.
The lid will stay open, even if you knock the stay. And it takes just a moment to unscrew one thumbscrew and close the lid.
— Christopher Schwarz
Here are some supplies and tools we find essential in our everyday work around the shop. We may receive a commission from sales referred by our links; however, we have carefully selected these products for their usefulness and quality.


Chris,
Wit little thought, The bar could modified into lock also.
Paul
Chris
Wit a little planning, Builders could fit this brace “inside” or fit hasp on outside.
to lock the box
I love those threaded inserts and knurled thumbscrews. They’re so handy, I buy them by the handful or more at a time. I even splurged and bought a tool from Rockler ( http://www.rockler.com/power-drive-threaded-insert-tool-power-drive-threaded-insert-tool ). The advantage of the tool over a bolt with the head cut off, is that in the rare circumstance that you need to remove the insert, the tool easily does that too. It has small nibs that engage with the slots in the inserts. The first time I used threaded inserts was about 15 years ago when I made a crib for my grandson. I used threaded inserts to make it easy to dis-assemble the crib into five main parts for storage.
Your metal bar looks like a vast improvement over a chain that can get in the way, and over time can yank the retaining screws out.
Good idea. You know if you notched bottom or top hole you could just loosen one screw and pivot the arm out of the way. If it were me (and it isn’t) I would angle the notches so that the force of the lid leaning back would help seat the screws in notch bottom.
Eric
I have a wooden tool box from around 1930 and they uses leather attached to the inside of the lid and side of the box. I figured it would be a pain as it would stop the lid from closing, but the leather has been well trained and only folds to the inside of the box. I know it was from at least 1930 as it came with a 1930 calendar thumb tacked to the inside of the lid.