We may receive a commission when you use our affiliate links. However, this does not impact our recommendations.
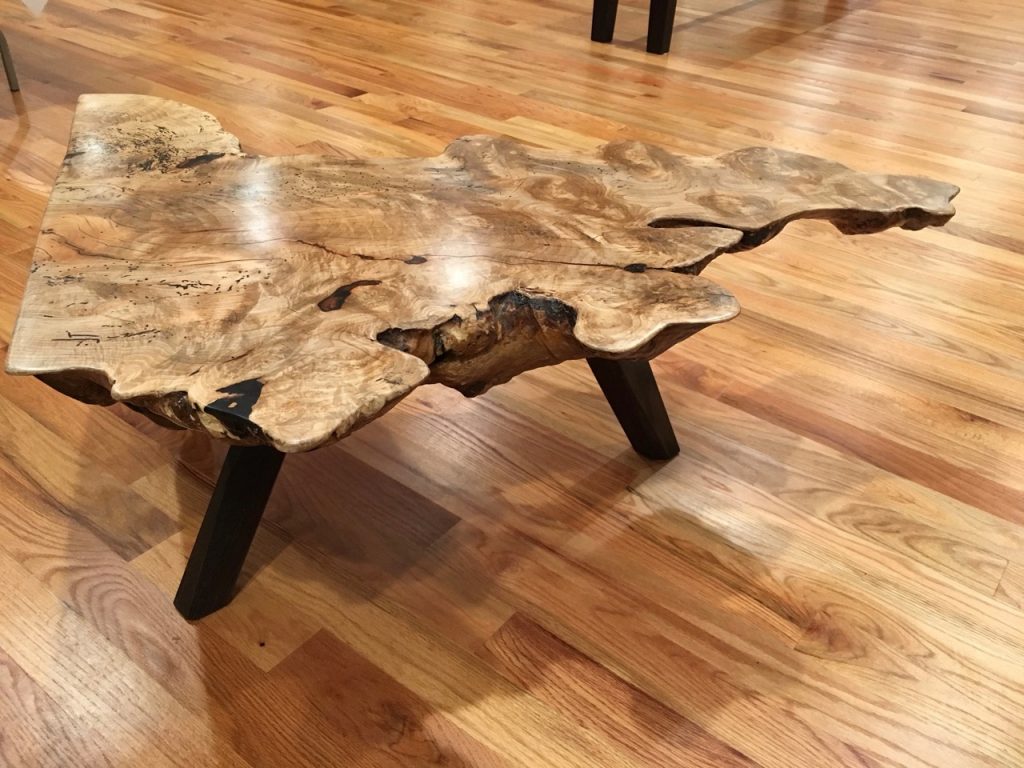
A Coffee Table From a Burl Slab, Part 1
A Coffee Table From a Burl Slab, Part 2
After all the legs were glued into place we were ready for the last step: trimming their length so that the table would stand level on the floor. First, we needed a location with a flat and level surface we could use as a reference.
We checked the workbenches and the table saw and concluded that the table saw’s auxiliary table was flat and leveled, so we placed the three-legged table there. (A flat and leveled floor, a shop assembly table, or even a kitchen table can all work too.)
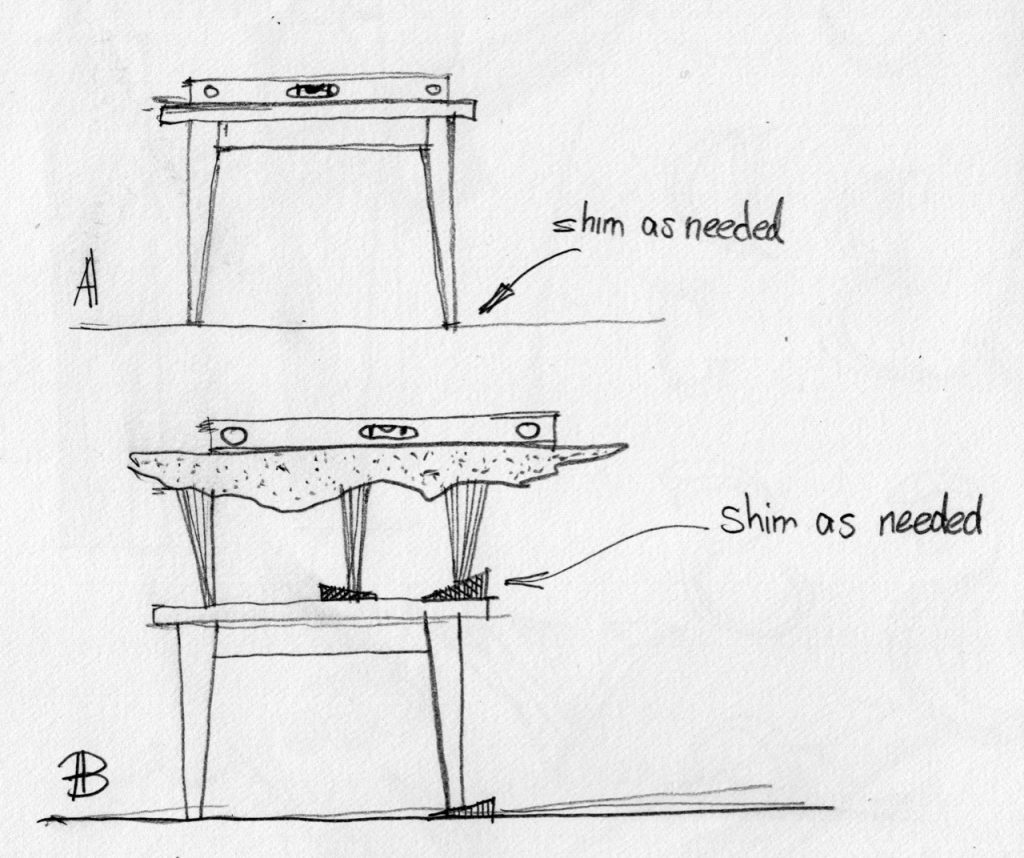
To find out if your reference surface is level, place a long level (A) across and along its surface and shim the legs/base as needed until both readings shows that it is level.
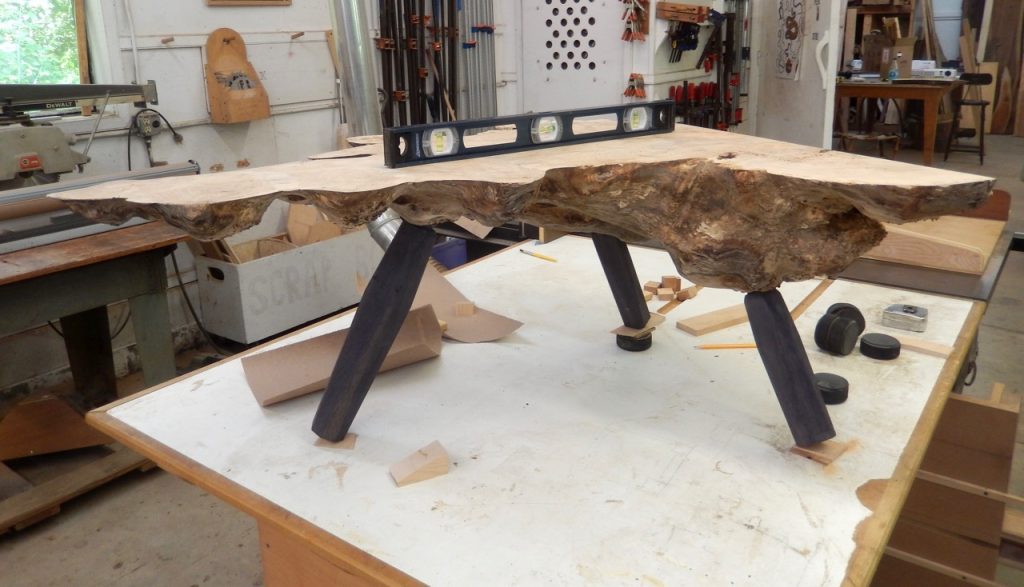
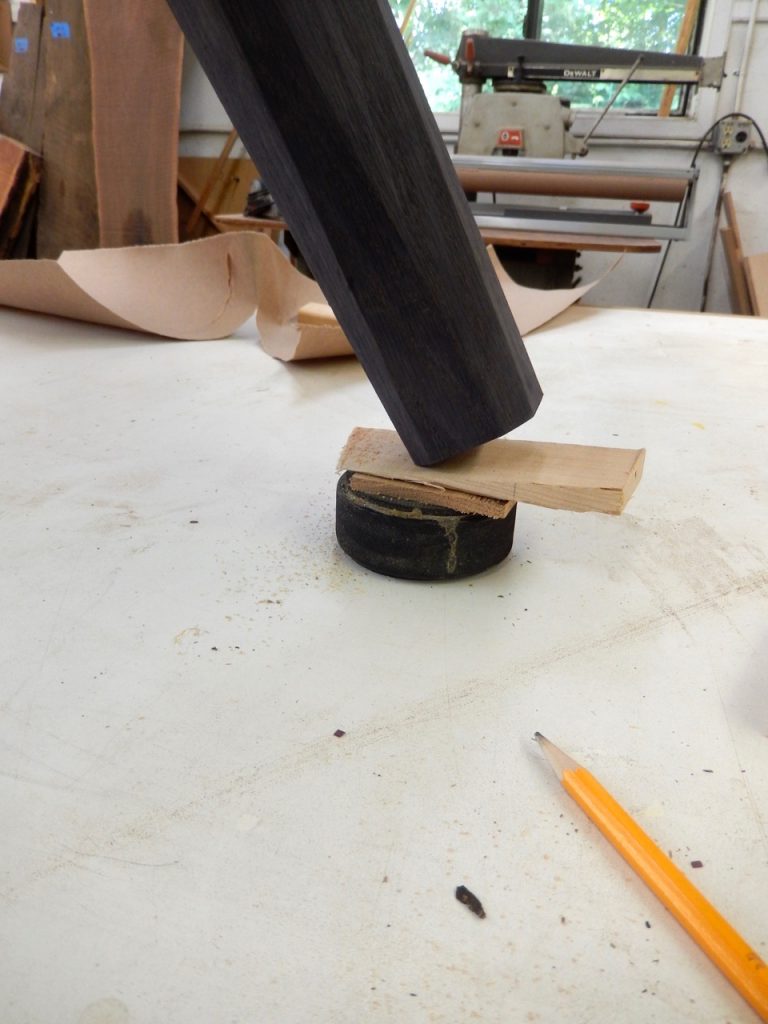
After Helder placed his table on top of the table saw we shimmed the two shortest legs until the top was level. Use a long level and, by alternating it along and across the tabletop and adding shims as needed, you will be able to find the sweet spot when it is level and stable. Our goal is to shim the furniture progressively until both the furniture top and the reference surface underneath are coplanar (See sketch [B]).
After leveling the coffee table, Helder ran a pencil mounted on a spacer block around the circumference of each of the legs to make a line.
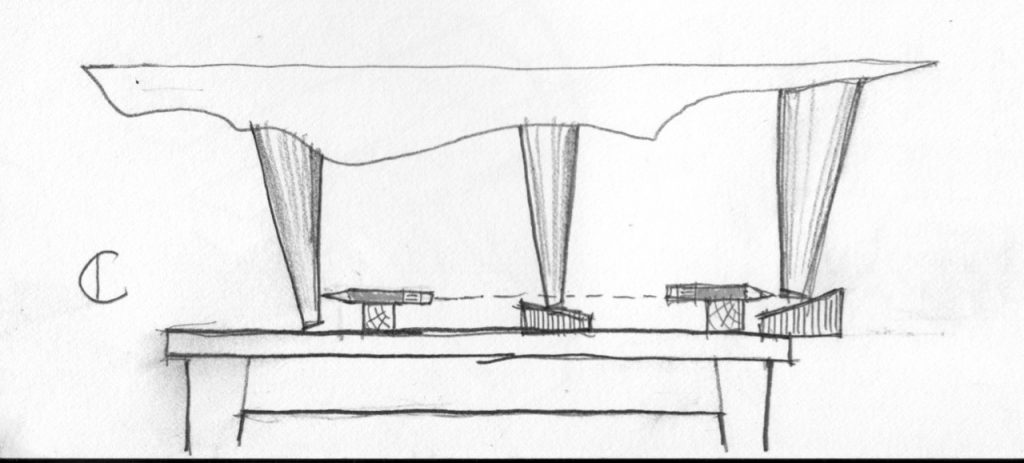
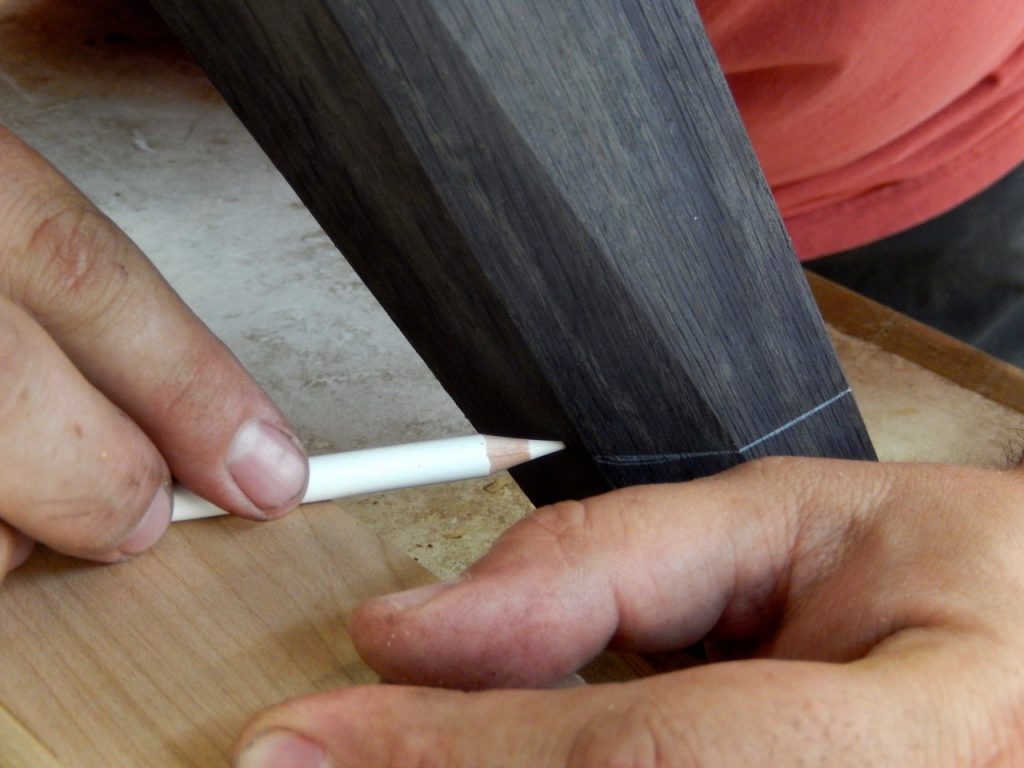
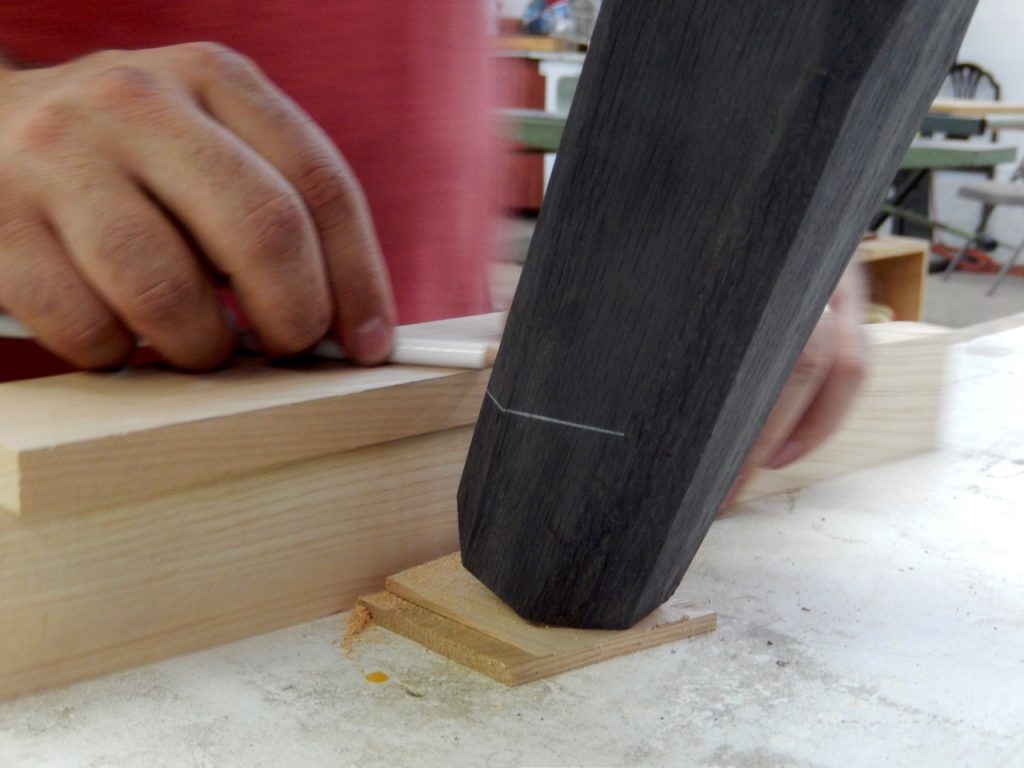
Then he sawed off the excess wood and chamfered the corners.
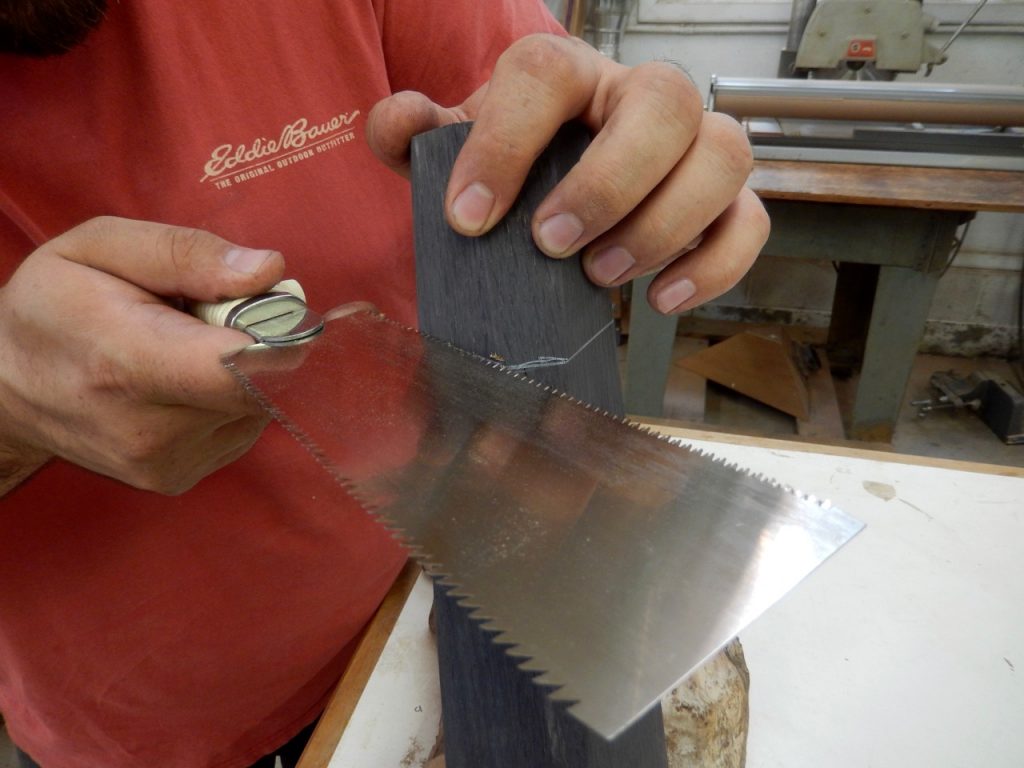
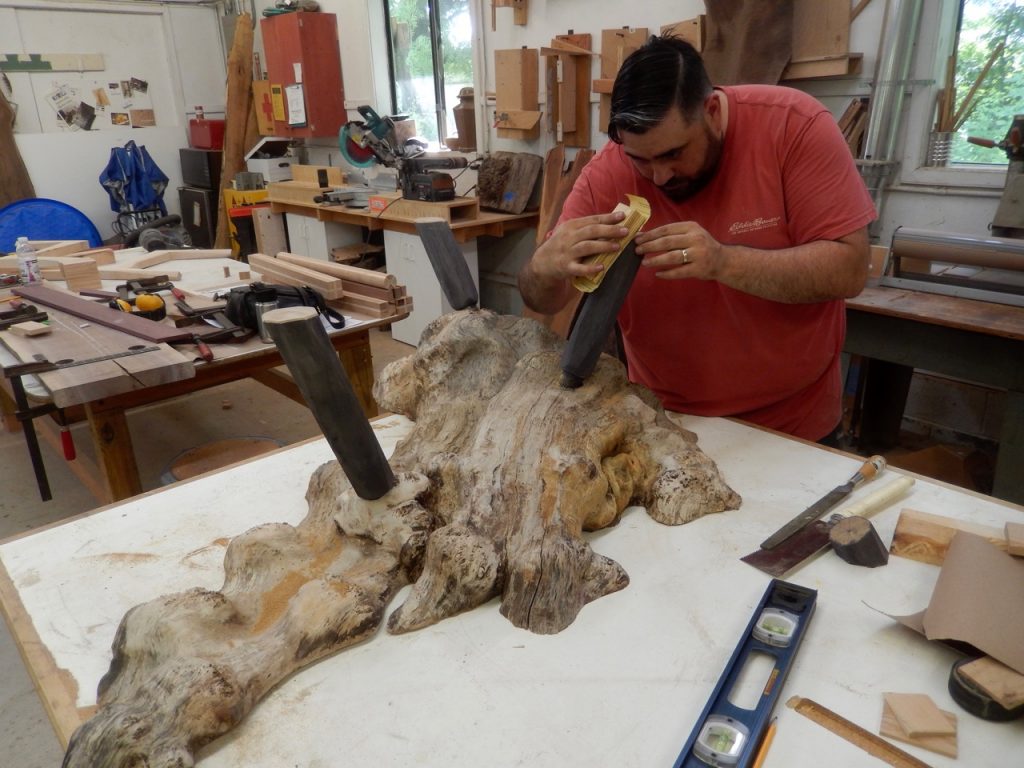
By the time our class concluded (after five busy days in the wonderful and beautiful NJ/Pennsylvania countryside), the table was completed – short of a few coats of varnish on the top.
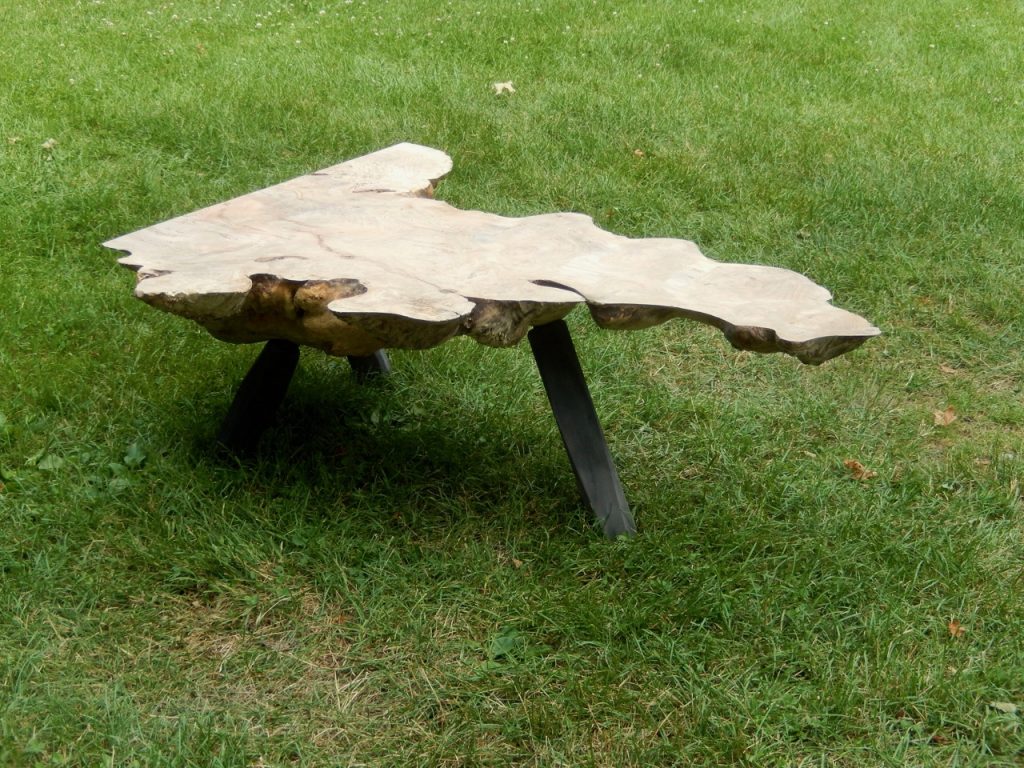
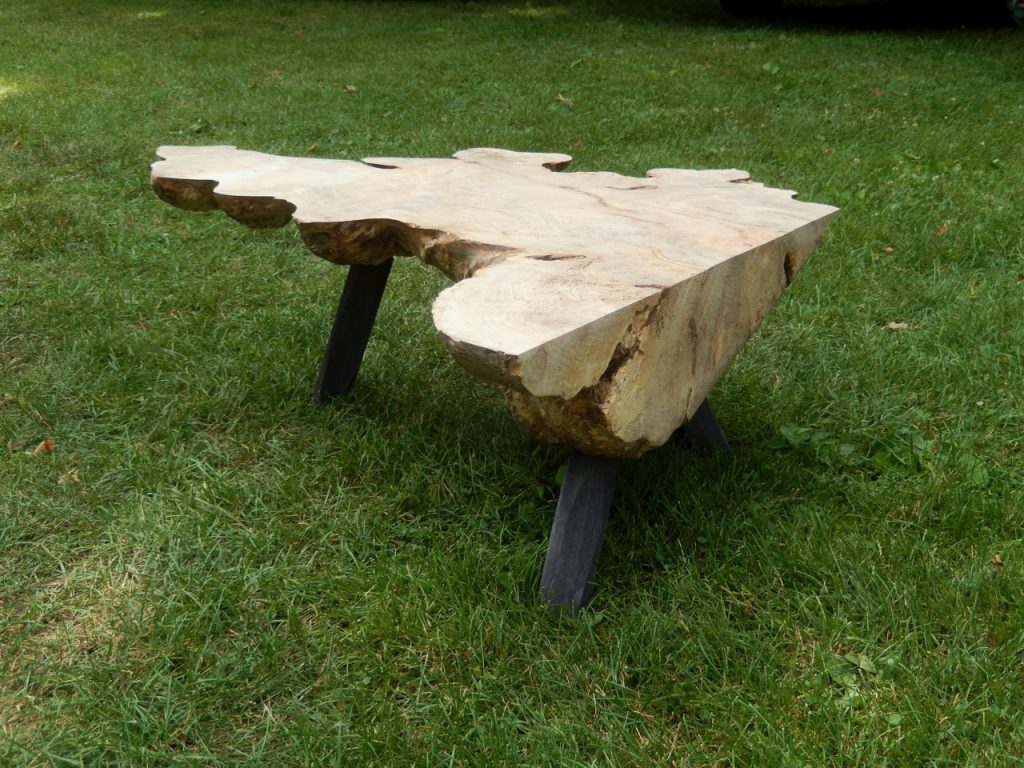
A few months later Helder emailed me some pictures of the finished table. It looks fantastic and worth every bit of effort that Helder put into it.
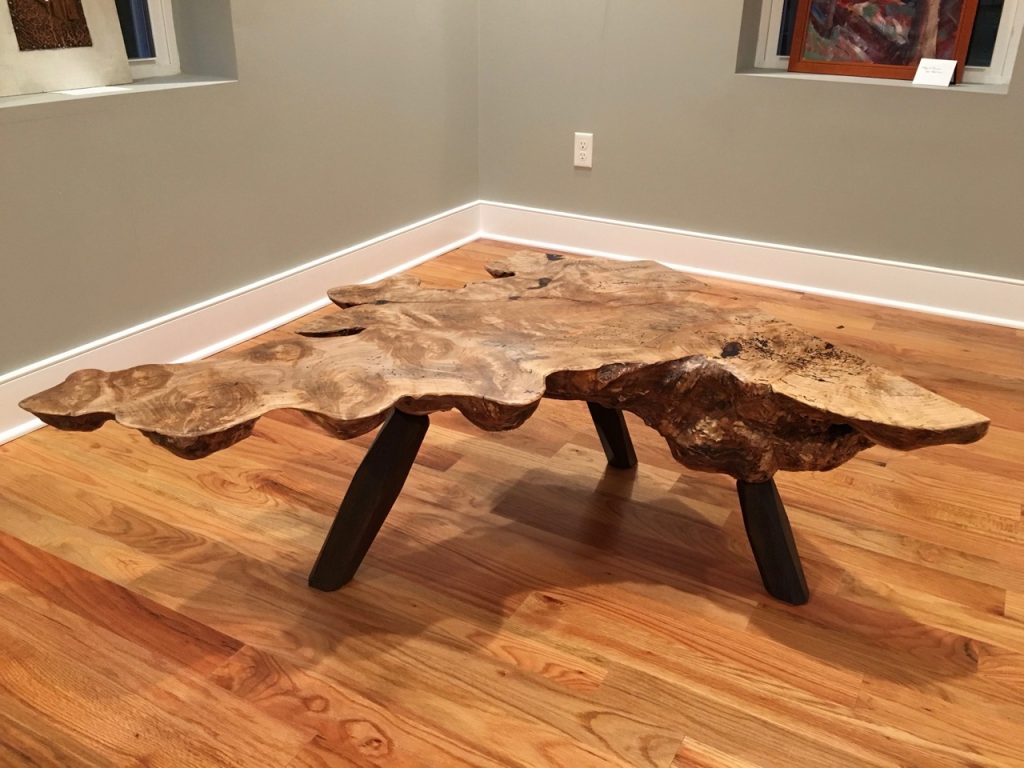
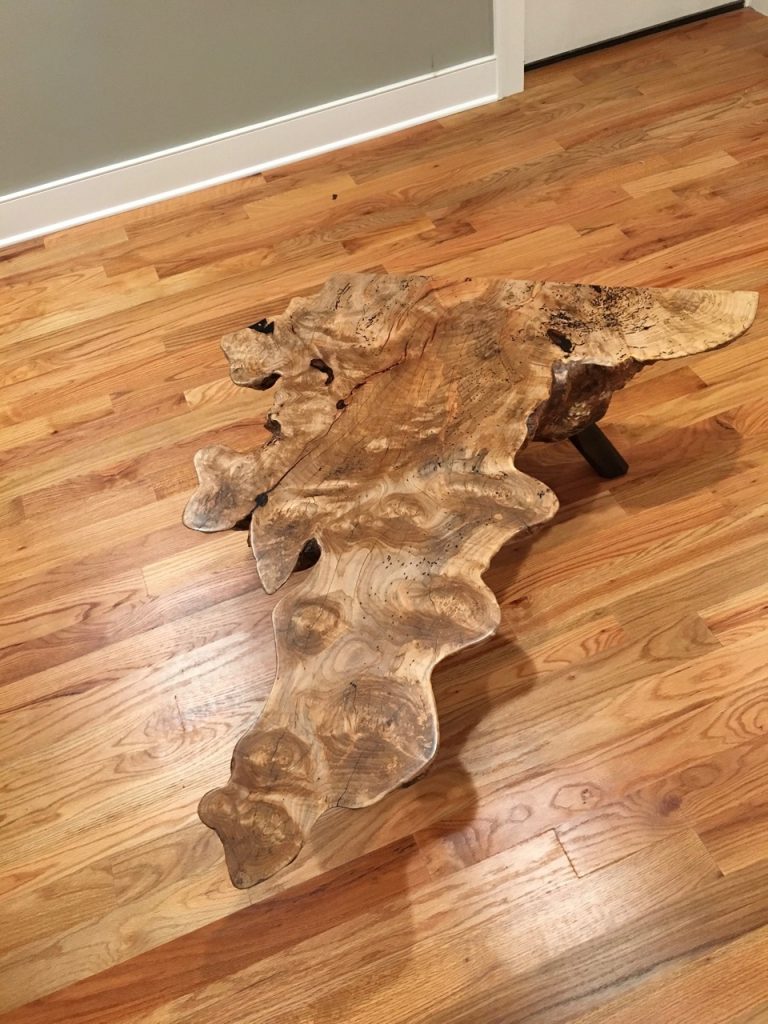
This summer I am heading back to Peters Valley and the Delaware Water Gap National Recreation Area to teach another class on live edge furniture. I can’t wait to see what my students will come up with this time…
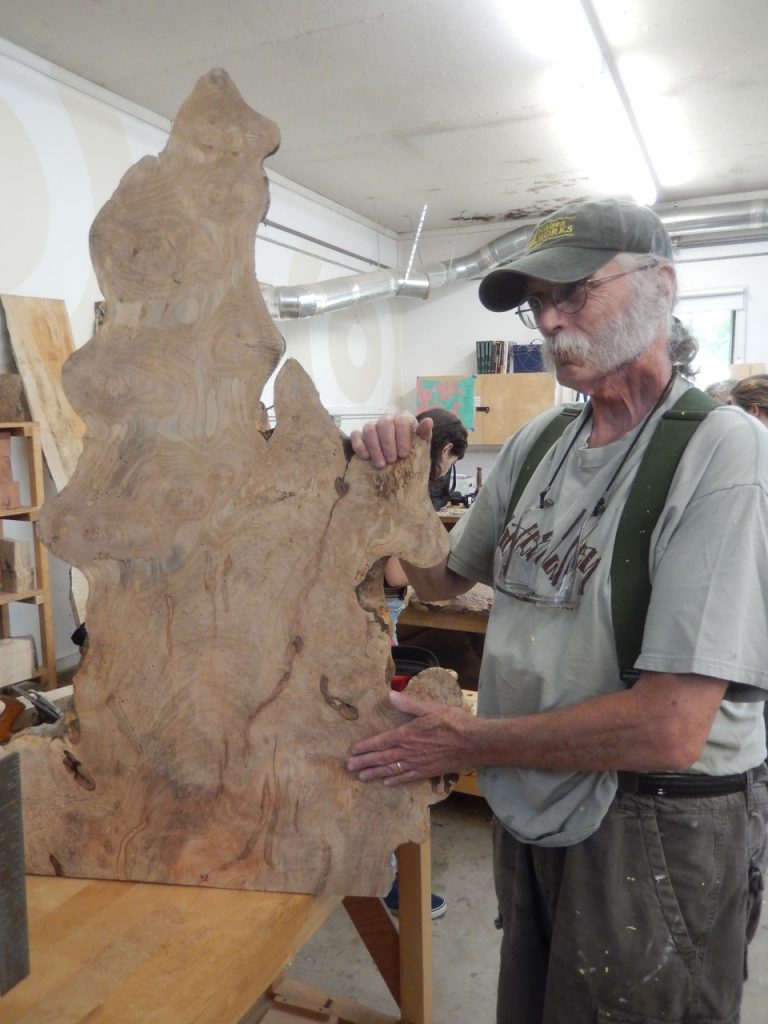
Gary McNabb, with one of the beautiful slabs that he provided for my class, and which became Helder’s table. I can’t wait to see what treasures Gary is going to find for us this summer.
Here are some supplies and tools we find essential in our everyday work around the shop. We may receive a commission from sales referred by our links; however, we have carefully selected these products for their usefulness and quality.


