


We may receive a commission when you use our affiliate links. However, this does not impact our recommendations.
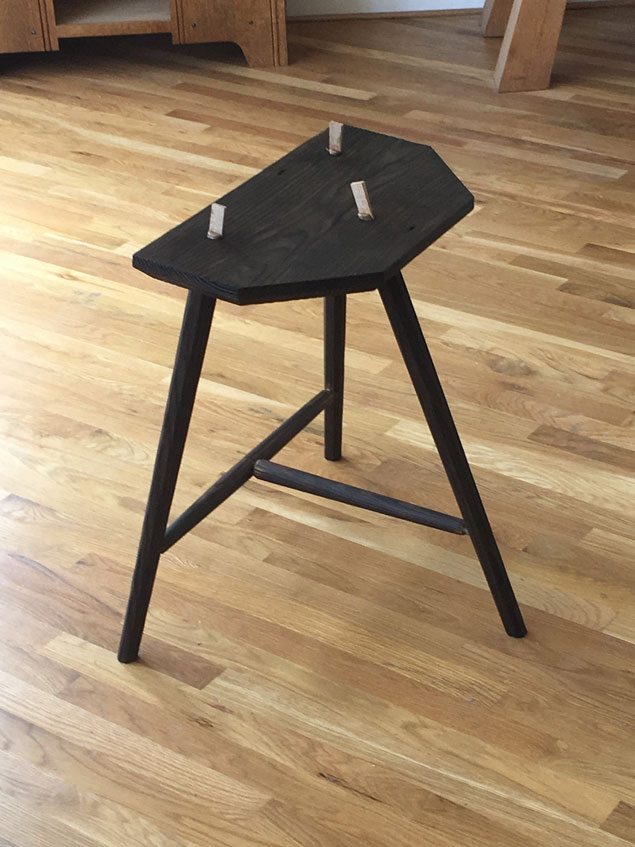
To move forward with my design for a three-legged stool, I had to look back to my past work. Though the above stool might look a lot like the other designs I’ve shown here, it is significantly different (or really similar if you’re familiar with my past designs).
Here are some of the major design changes and the history behind them.
- Yellow pine. I have a long history with yellow pine; it’s what we built our houses on our farm with. It’s the material I turned to in 1999 to build my third workbench (heck I used it in my first workbench, which I built with my grandfather when I was about 10). I love yellow pine for its structural characteristics and that it’s dang cheap. You can build two of these stools from an 8’-long 2×12, which is about $9 at my home center.
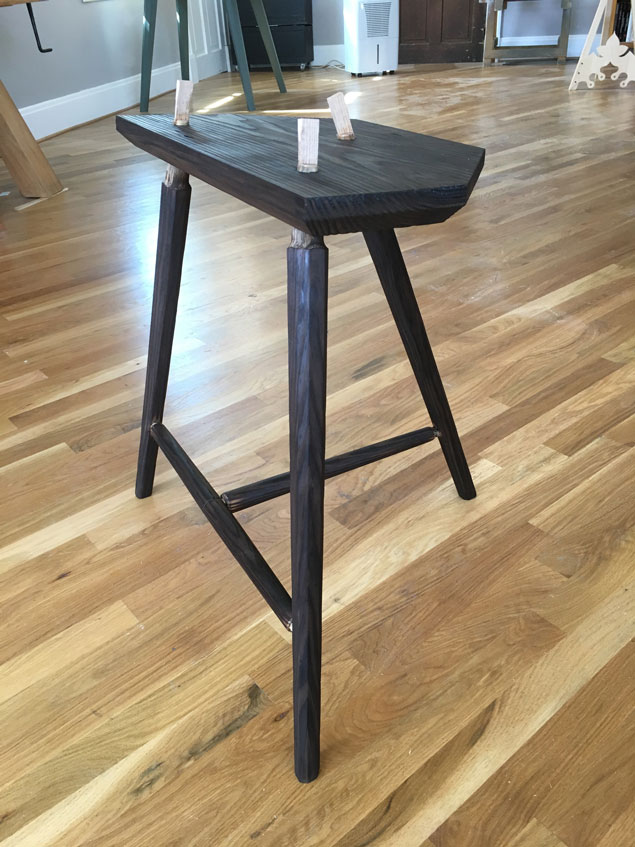
- Straight octagonal tapers. With my previous stool designs, I experimented with double tapers – both double-tapered octagons and double-tapered turnings. For this stool I returned to the shape I’ve used in my chairs for more than 10 years: An octagonal leg that tapers from 1-3/8” at the top to 7/8” at the floor.
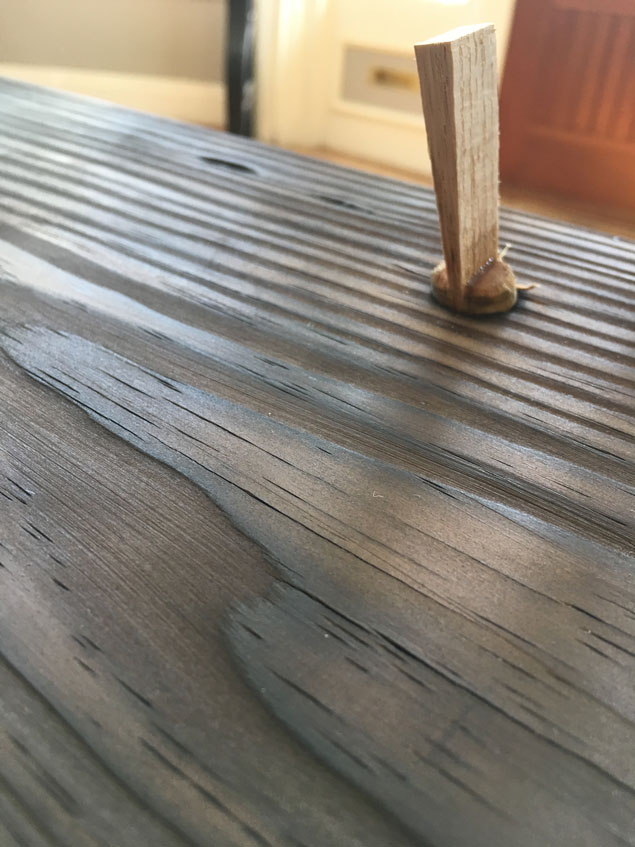
- A charred finish. Yellow pine is fairly homely when it’s flat sawn. And it’s homely because the earlywood and latewood are quite different in density and color. I decided to capitalize on that with some Japanese finishing techniques I’ve experimented with for more than two years. (To read more about this process, check out Seth Gould’s great article on the technique in the April 2015 issue of Popular Woodworking Magazine.)
- Lightened and simplified. I made several attempts to bulk up the undercarriage of this stool to make it indestructible. Then I went back to my mantra, thinned the legs on a prototype and found the stool was plenty strong.
The photos here are snapshots with my phone – taking pictures of three-legged things with compound angles is a challenge. It looks much more graceful in person (promise). After the glue dries, I’ll trim the tenons, touch up the finish with a gas torch, wax it and call it done.
— Christopher Schwarz
Here are some supplies and tools we find essential in our everyday work around the shop. We may receive a commission from sales referred by our links; however, we have carefully selected these products for their usefulness and quality.


I’m a little surprised that you don’t have some problems with moisture content in the lumber store 2x4s.
So out west (where I am) we can’t get SYP. Do you think Doug Fir would work as well?
Looks good! One question: Tapered or straight tenons?
Ok, I had it backwards in my head.
Just curious, did you check out Tage Frid’s design for a three legged stool? BTW, I dig the blackened pine. Also, I’ve seen some pretty cool results with sandblasting too. Turns the surface into a topo map of early and late wood.
Did you make the back of the stool’s seat higher than the front or is that just perspective?
Those wishing for a bit of guidance on dimensions can find some here (for an earlier version): https://blog.lostartpress.com/2017/03/05/staked-high-stool/