We may receive a commission when you use our affiliate links. However, this does not impact our recommendations.
Sketch first. You have to draw before you can saw.
As with woodworking skills, design and drawing skills take practice.
For many woodworkers, design seems like a leap into the unknown. It’s one thing to teach our hands to saw to a curved line; it’s quite another to summon our eye to conjure a fair curve.
It’s easy to imagine hand skills as a series of tasks we master step by step, yet design somehow seems like squishy ground. But ask yourself this simple question: “Did I take up woodworking as a creative outlet?” If the answer is yes, what’s holding you back? Why stop short of the most rewarding part of our craft?
Here’s a little secret: Hand skills don’t appear out of thin air. They are only possible because we possess inherent ability, and combine that ability with technique and practice – in much the same way we possess inherent design ability just waiting to sprout. Sketching is one proven method to nurture your designer’s eye and unlock your hidden potential.
It All Begins with a Sketch
A common excuse I hear is, “But I can’t draw!” Nonsense. In the first grade you learned to draw letters and numbers that allowed you to express ideas and stories. Think of sketching as a way to tell a story with objects in space instead of words. Don’t think of sketching as a fine art (or fine drafting) exercise, but as a visual way to shape an idea and help your mind sort through possibilities.
Sketching taps into two powerful abilities that lie at the heart of design. One is what artists sometimes call “flow” or the ability to zero in. Sketching helps us shed distractions and bring our minds into an intense focus. Second, sketching is key to visualization. You can only design what you can see and those chicken scratches flowing from your pencil become building blocks for your designer’s eye.
Keep it Low-tech to Start
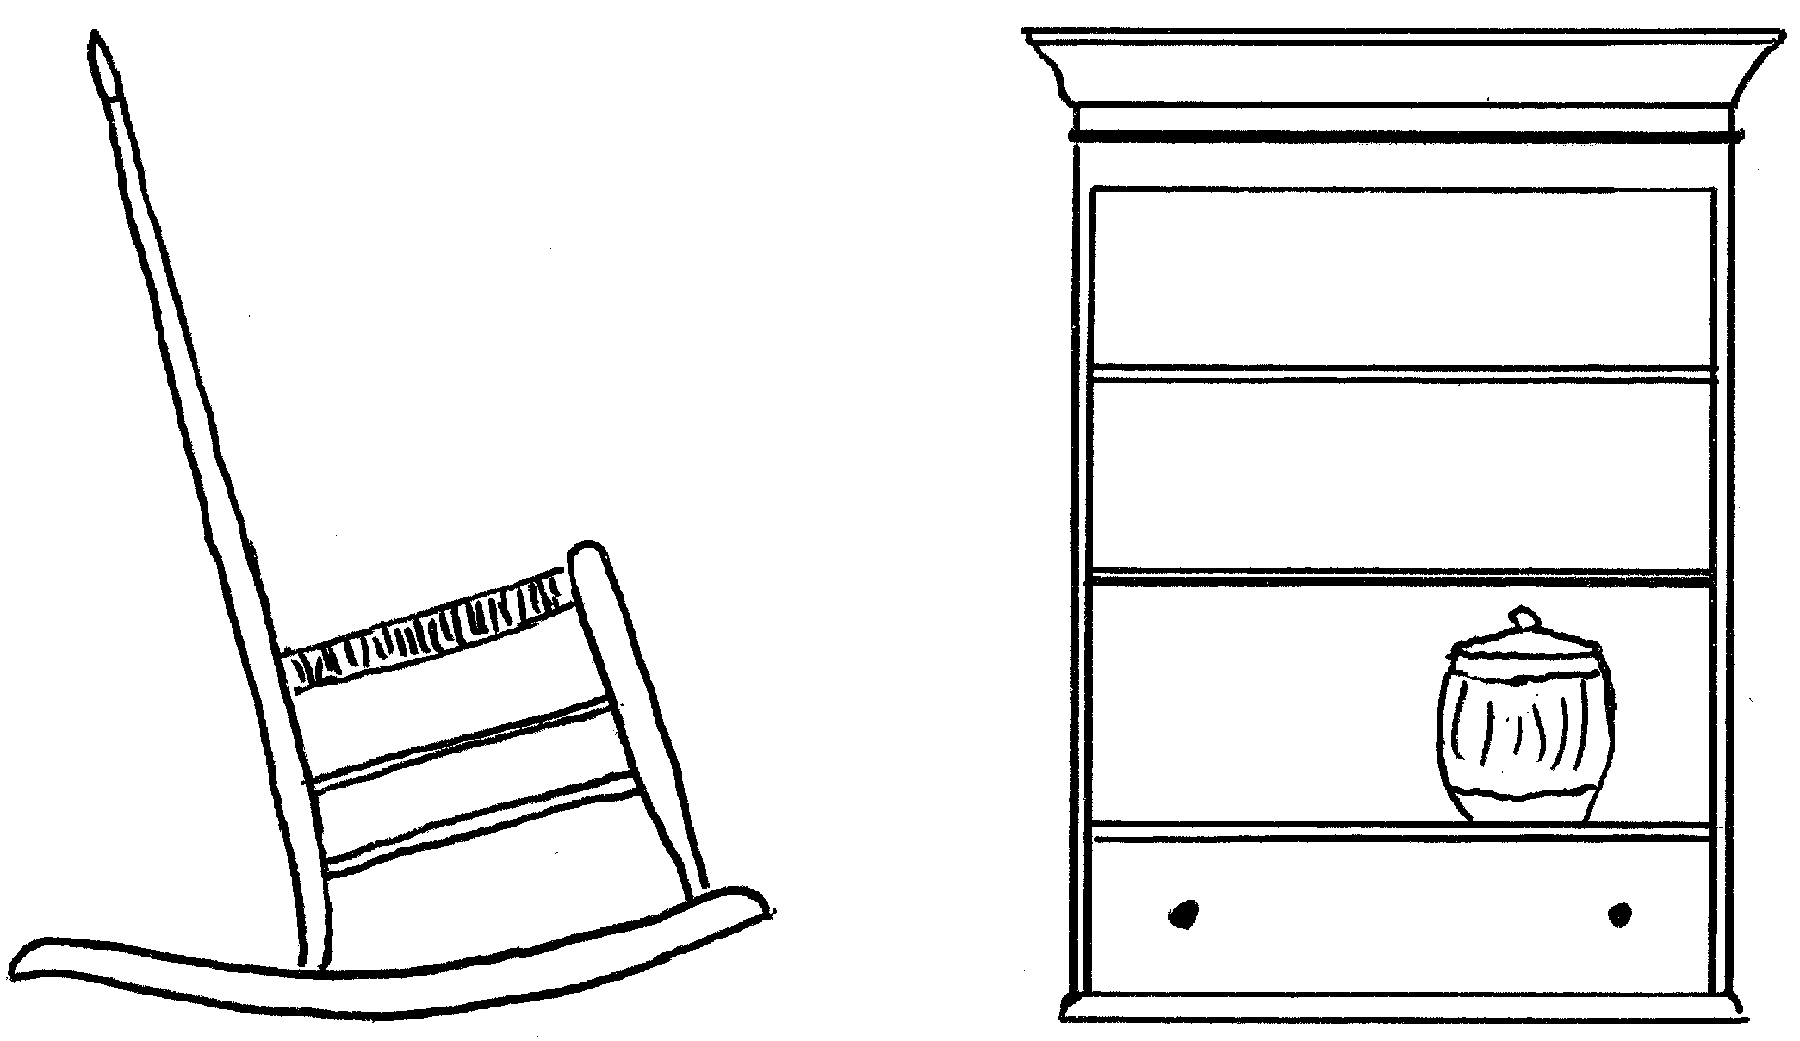
On view. Limit your initial sketch to the most prominent view. For a rocker, it’s the side profile. Most case pieces, however, are defined by the façade.
I sketch using an old-fashioned pencil and paper – but not because I’m technically challenged. My reason is that hand drawing creates a clean connection to my inner eye. Somehow my brain responds to the image unfolding from the tip of my pencil and the feedback of graphite rubbing against paper. My drawing kit includes a drawing pad with paper that has a bit of tooth to it, a straightedge, a pair of dividers and a black pencil that leaves a good strong line without smearing.
The key to successful sketching is to minimize distractions and keep it simple. If you are new to sketching, don’t complicate matters by attempting to draw in perspective or think you need to see a finished design roll from your pencil. Begin with a few key steps that build one upon the other.
Ideas from the Morgue
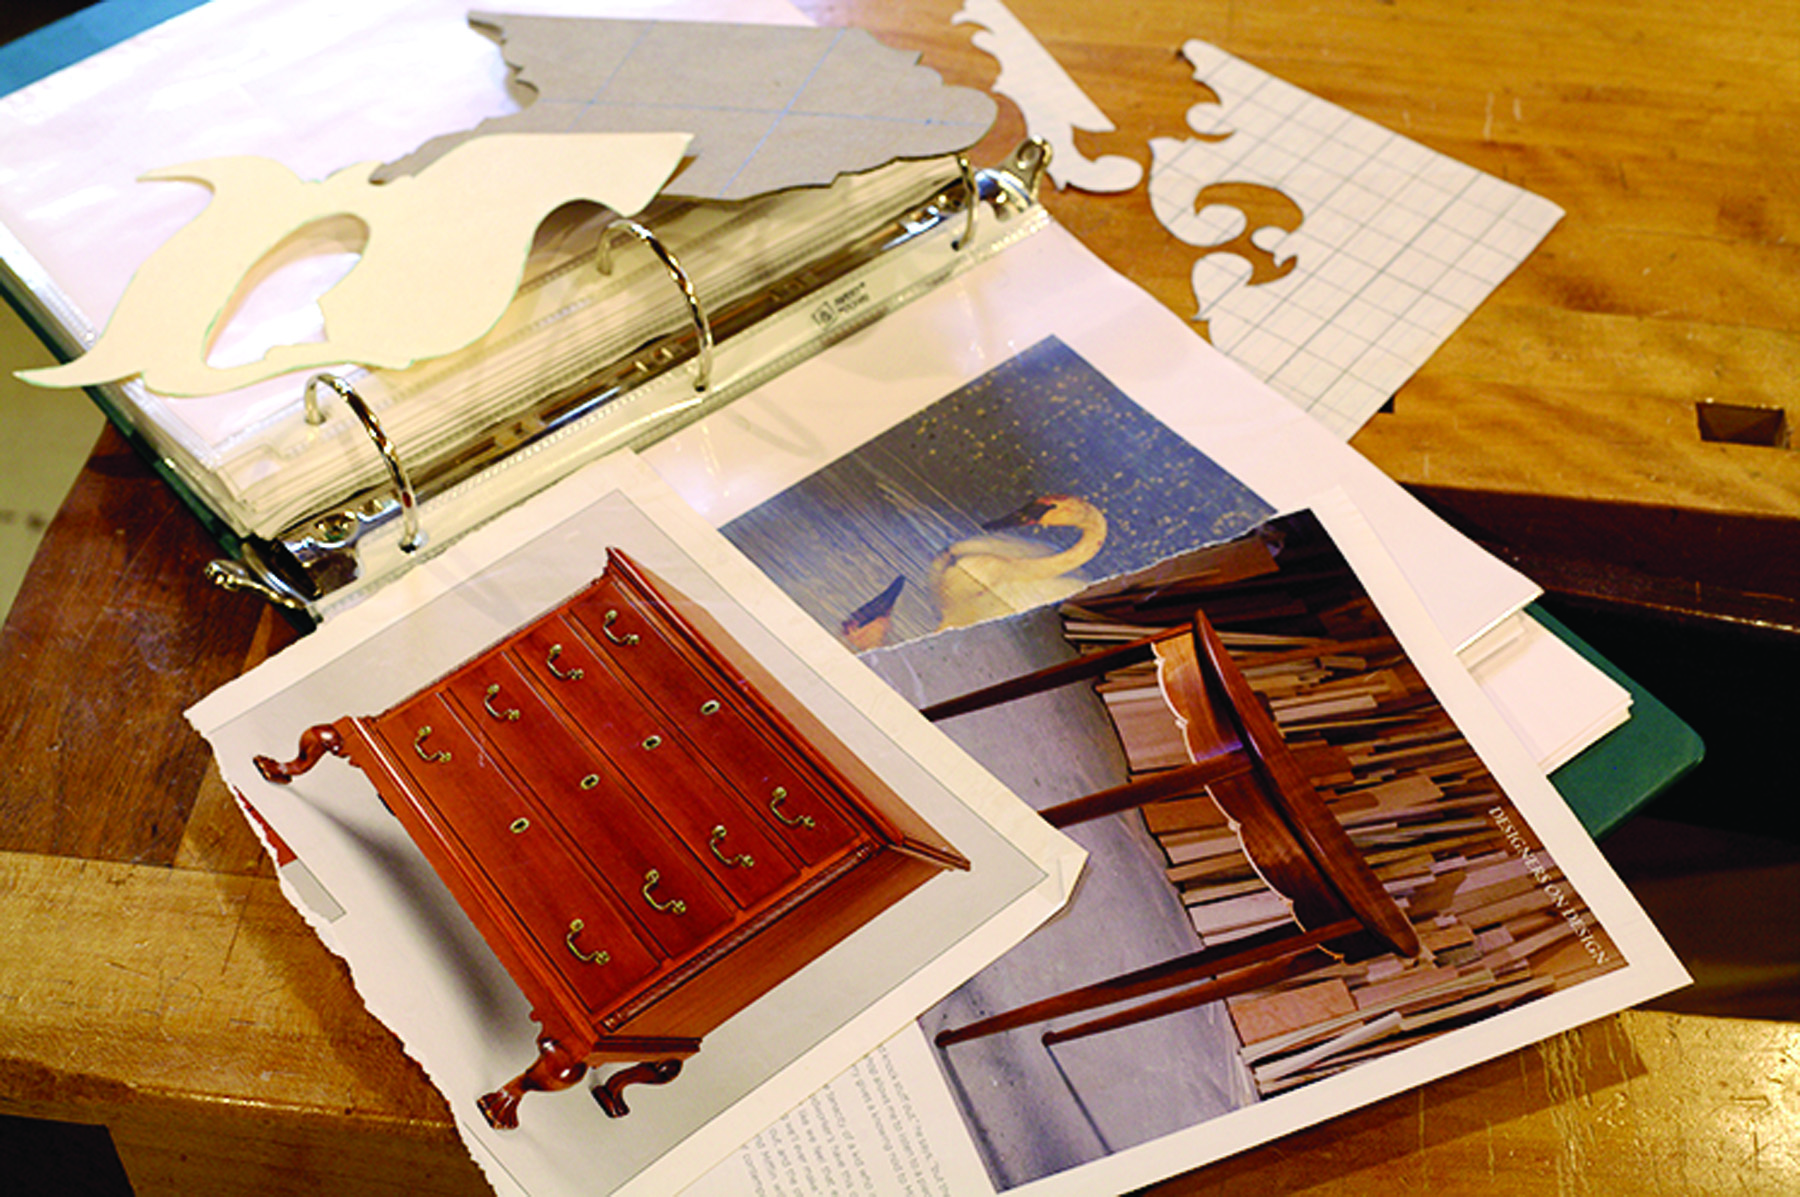
Inspiration files. Although I have more furniture books than most libraries, this binder is a handy treasure chest packed with clippings, patterns and inspirational photos.
The word morgue might conjure up some creepy images, but it’s also a term to describe a collection of ideas, pictures, articles or material for future use. I have a library of furniture reference books, but in addition I keep a morgue, a thick binder full of clippings from magazines. It’s packed with images and ideas I find inspiring and might never locate again if I had to sort through an ocean of old magazines.
This, along with my library, is a helpful resource in the early stages of the design process. I like to take a backward look at what’s been done before. Always asking the question, “What have we learned?”
I look for ideas that excite me as well as investigate the best joinery practices. This backward look fills my imagination with possibilities – sort of a pre-study to inform and inspire the eye before moving forward.
Application

Vertical divisions. This sketch for a hanging tool rack is divided vertically to make space for storing handsaws at the top and small cubbies on the bottom.
Start by drawing the signature view of the project. For a rocking chair, handplane or boat hull, the signature view is the side profile; for a case piece it’s often the front view or façade. Begin by roughing in the overall form on just that one signature view, setting aside the other views for the time being. Questions about other views such as details of the side and top may answer themselves once the front view takes shape. Bring the other views in as the story unfolds.
To establish the boundaries of the façade, I like to use a rectangle based on simple ratios to block in a form. By that I mean a simple rectangle such as 1:2, 2:3, 1:1, or 3:5 (ratio between heights to width). These simple shapes have been used since antiquity to undergird a design and were held to be aesthetically pleasing.
But more important, with a little practice these simple rectangles are easy to visualize internally. You can close your eyes and picture a square (1:1 ratio) in your mind or a double square (2:1 ratio), so these simple shapes give the mind something to latch onto. This rectangle will correspond to functional dimensions. For example a sideboard is often 40″ high to fit our human frame but the width might be 60″ to fit the wall space it’s intended to fill. In that case, the simple rectangle that defines the form would be a 2:3.
Once the overall boundaries of the façade are established, organize it vertically. We’re telling a visual story so it helps establish the major divisions from bottom to top, creating a story with a beginning, middle and ending. In practical terms this means establishing the major parts that divide the vertical space such as the base, open space below a case and drawer or shelf space.
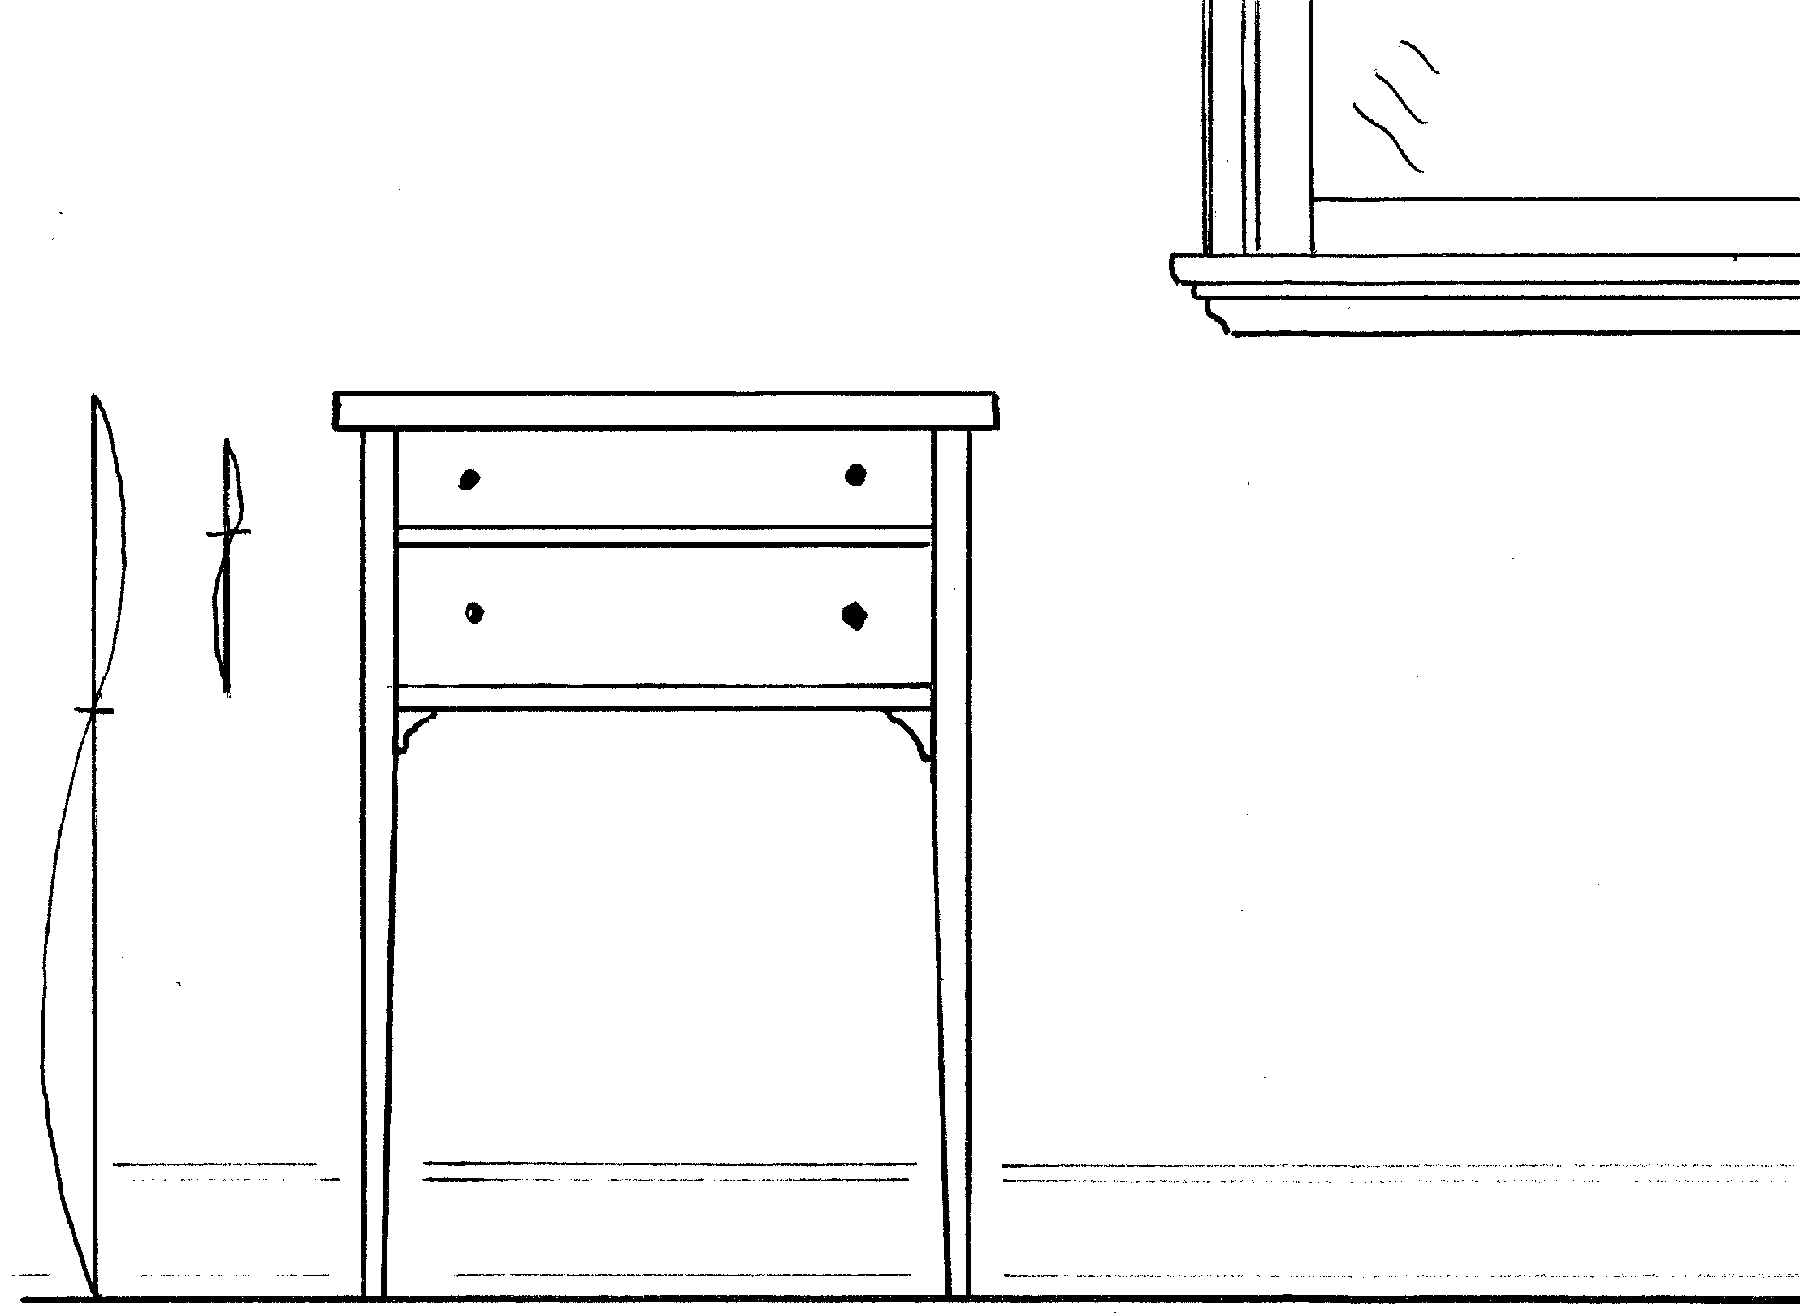
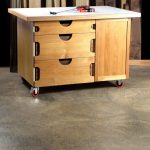
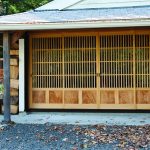
Scale. Add something familiar to give a sense of scale. This baseboard and window in the background gives a sense of how this small table will mesh in the room setting.
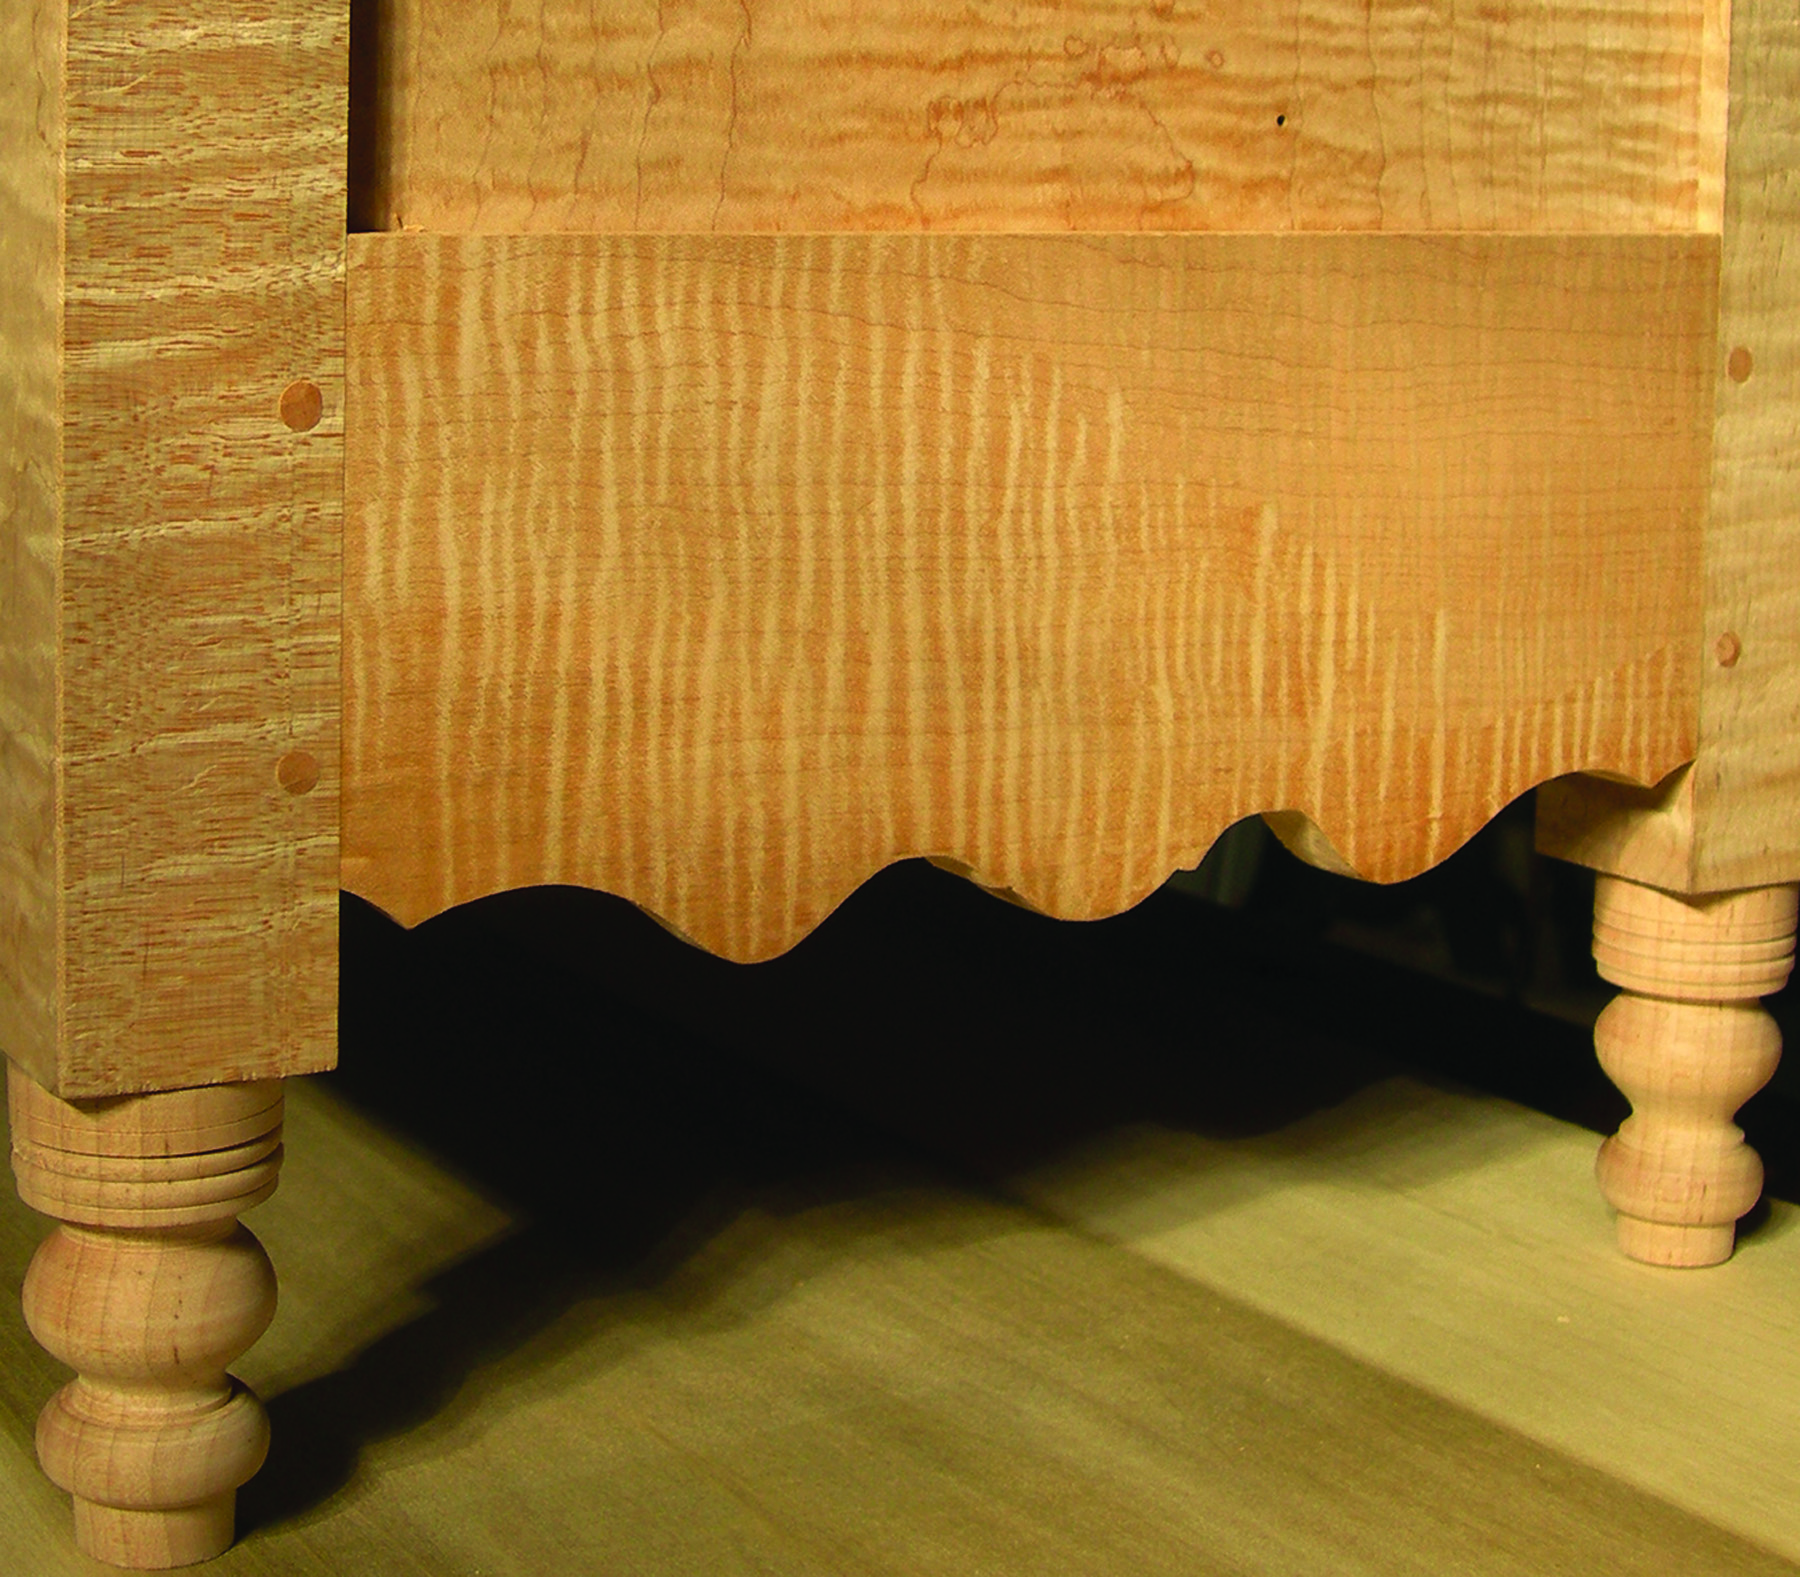
When the vertical space is organized, it’s much easier to flesh out details such as the thickness of legs, shelves or drawer details. This is also a good time to introduce curves or give a hint of a carving or inlay detail. This façade view is key to establishing the scale and proportions of many of the elements that will follow.
Here’s a quick tip: A sense of scale on a small drawing can be a tricky thing to imagine. Sometimes I add in a lamp or vase (to scale, of course) that might rest on the top, or a bit of the interior architecture such as a chair rail or window from the background. This will help you imagine how your design occupies space.
Once the façade begins to take shape, move on to the side view. Just remember that as the design begins to gel in your inner eye, you may revisit ground you already covered again and again, gradually zeroing in on your finished design.
Here are some supplies and tools we find essential in our everyday work around the shop. We may receive a commission from sales referred by our links; however, we have carefully selected these products for their usefulness and quality.