We may receive a commission when you use our affiliate links. However, this does not impact our recommendations.
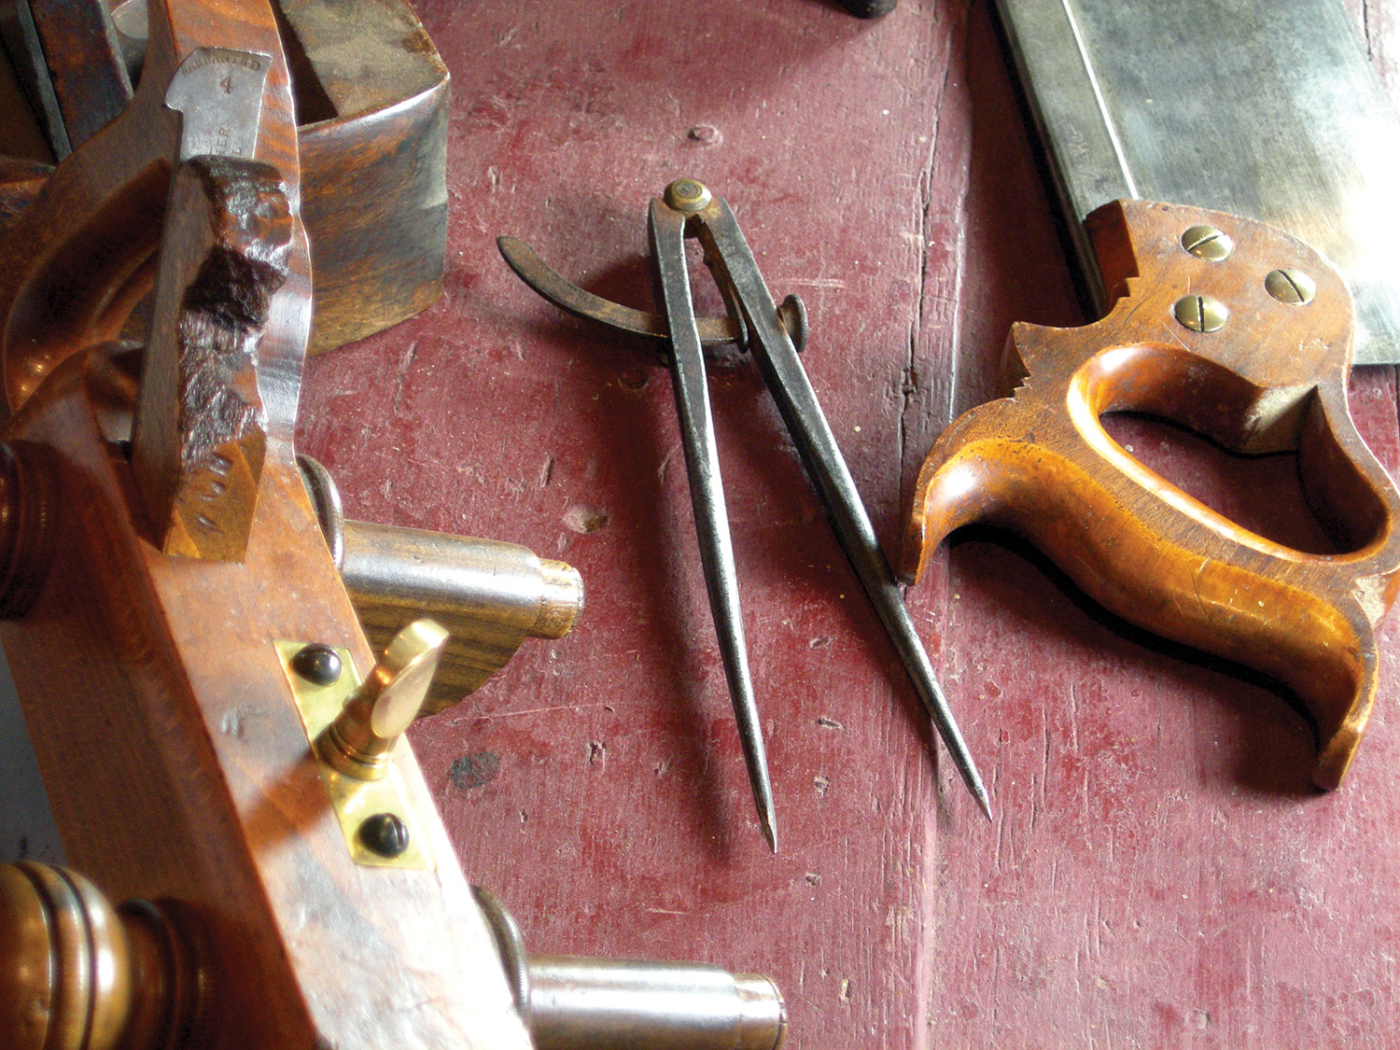
Time-honored tool. Dividers were the “go to” design tool for every branch of traditional woodcraft.
Unlock your creativity with this humble tool.
How comfortable would you be giving up your tape measure? If that puts you in a cold sweat, I can relate. Time was when I worked only from prints, taking careful measurements to make accurate parts. I thought design was for the talented few – those folks blessed with a good eye. Here’s a little secret: Some are born talented but many acquire design skills much the same way as learning to cut dovetails. It’s a matter of building foundation skills and a little practice.
Lesson number one: Get acquainted with your new instructor – the simple, humble pair of dividers. They’ve been rightly called the “tool of the imagination.” In pre-industrial craft, artisans used this simple pair of pointed legs joined at a fulcrum both to explore and apply proportions. Dividers were the stock-in-trade for all the woodworking crafts: carpenter, cabinetmaker, wheelwright and everything in between.
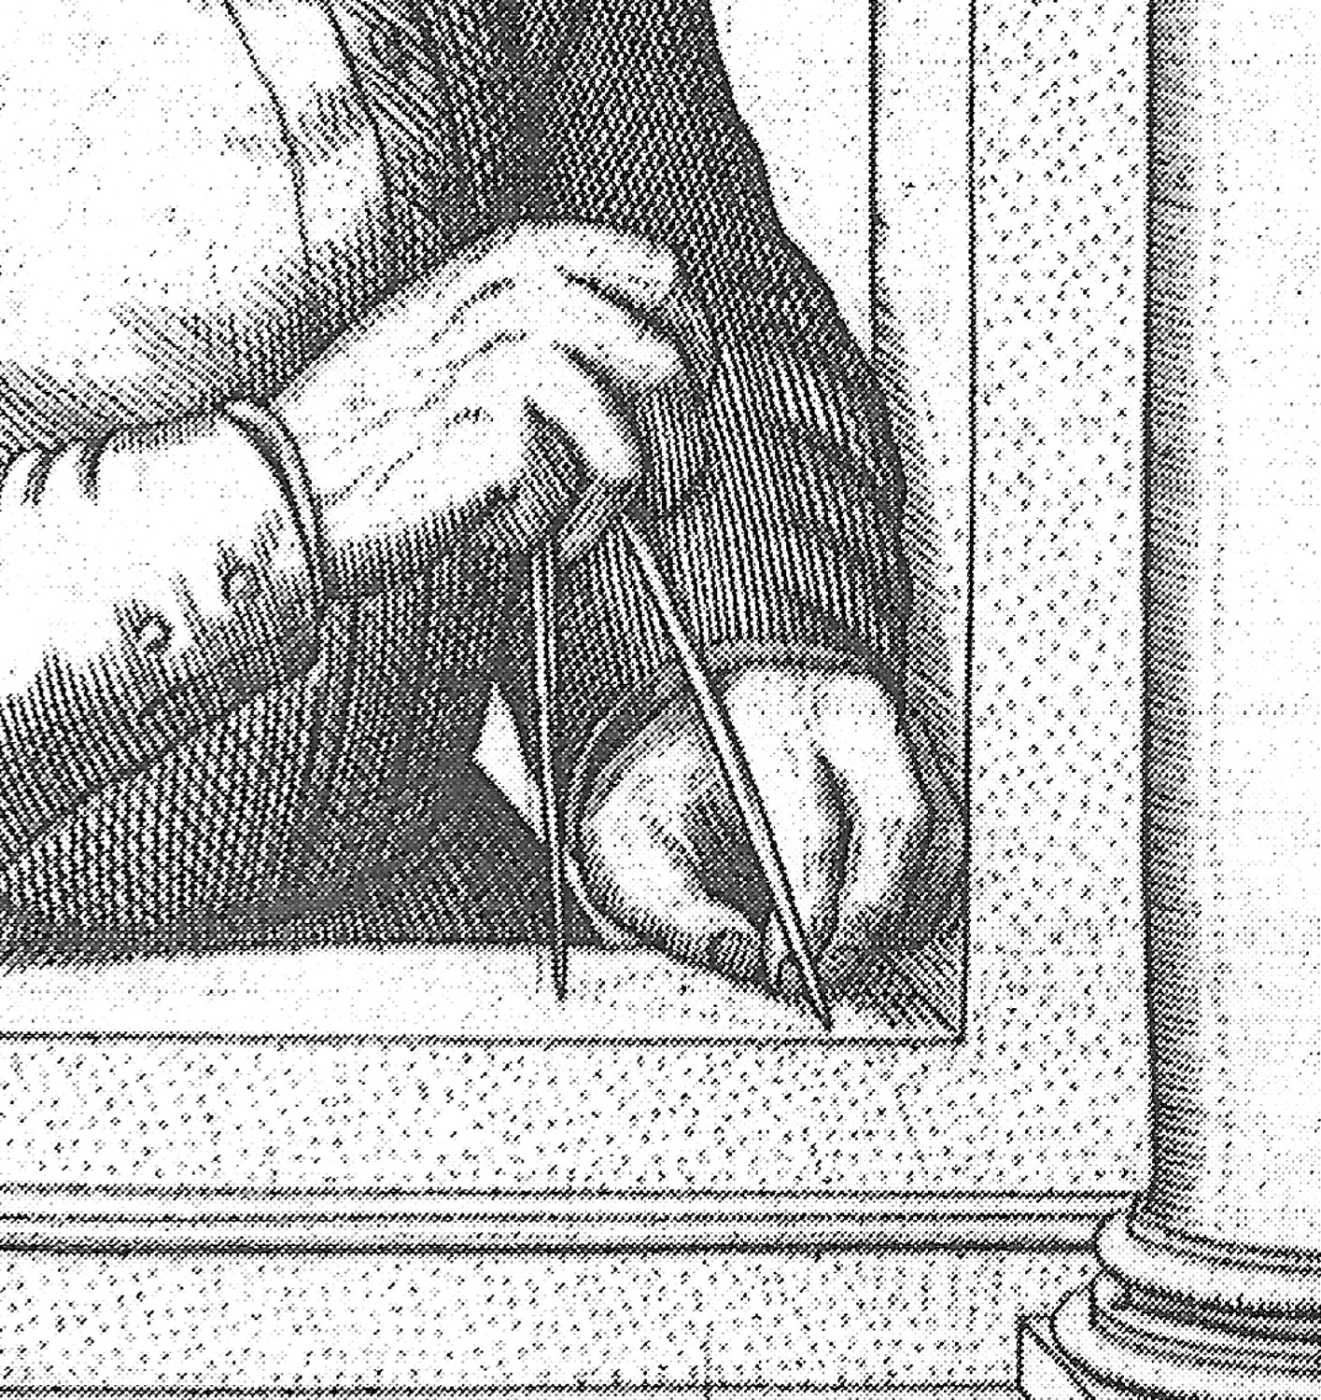
Exploring the past. Designers used this tool to explore great masterworks.
So how did this once-common tool find itself pushed to the back shelf, relegated to little more than a symbol of the craft? Much has to do with a sea change in our approach to design in the modern workplace and the division between designer and artisan. In the pre-industrial workshop, the journeyman or master played a major role in the design process. He not only built the chair or table but worked out the proportions and details with the aid of his trusty dividers. As industrialization and mass production changed the landscape, workers specialized. Design duties shifted toward engineers, while craftsmen increasingly worked to specifications from a drawing. Emphasis shifted from working out the proportions at the workbench to copying numerical measurements and tolerances from a print.
Down, But Not Out
Yet somehow dividers held on as a quick and accurate layout tool. My own first professional encounter with dividers came 35 years ago when I entered a formal apprenticeship to become a machinist. We started with a small kit that included some layout tools. Among those was a shiny pair of 6″ (length of the legs) Starrett dividers. I quickly learned basic layout skills not unlike many of the methods used to lay out wood. The metal was painted with a blue or red dye and layout lines were scratched on the surface.
Dividers were used in tandem with a precision scale. Referencing a drawing, the points were adjusted to the markings on a ruler then transferred to the work, accurately marking circles or locations for drilling holes. Still, this is a modern adaptation, a simple data transfer from someone else’s design. It’s more like using dividers to play a musical recording – far short of actually creating music.
Keys to the City of Proportions
Dividers are the key to understanding proportions then applying that knowledge to your own work. In simplest terms, proportions are how one part relates to another and how it relates to the whole. Proportions are about creating a harmony or unity so all the parts flow together visually.
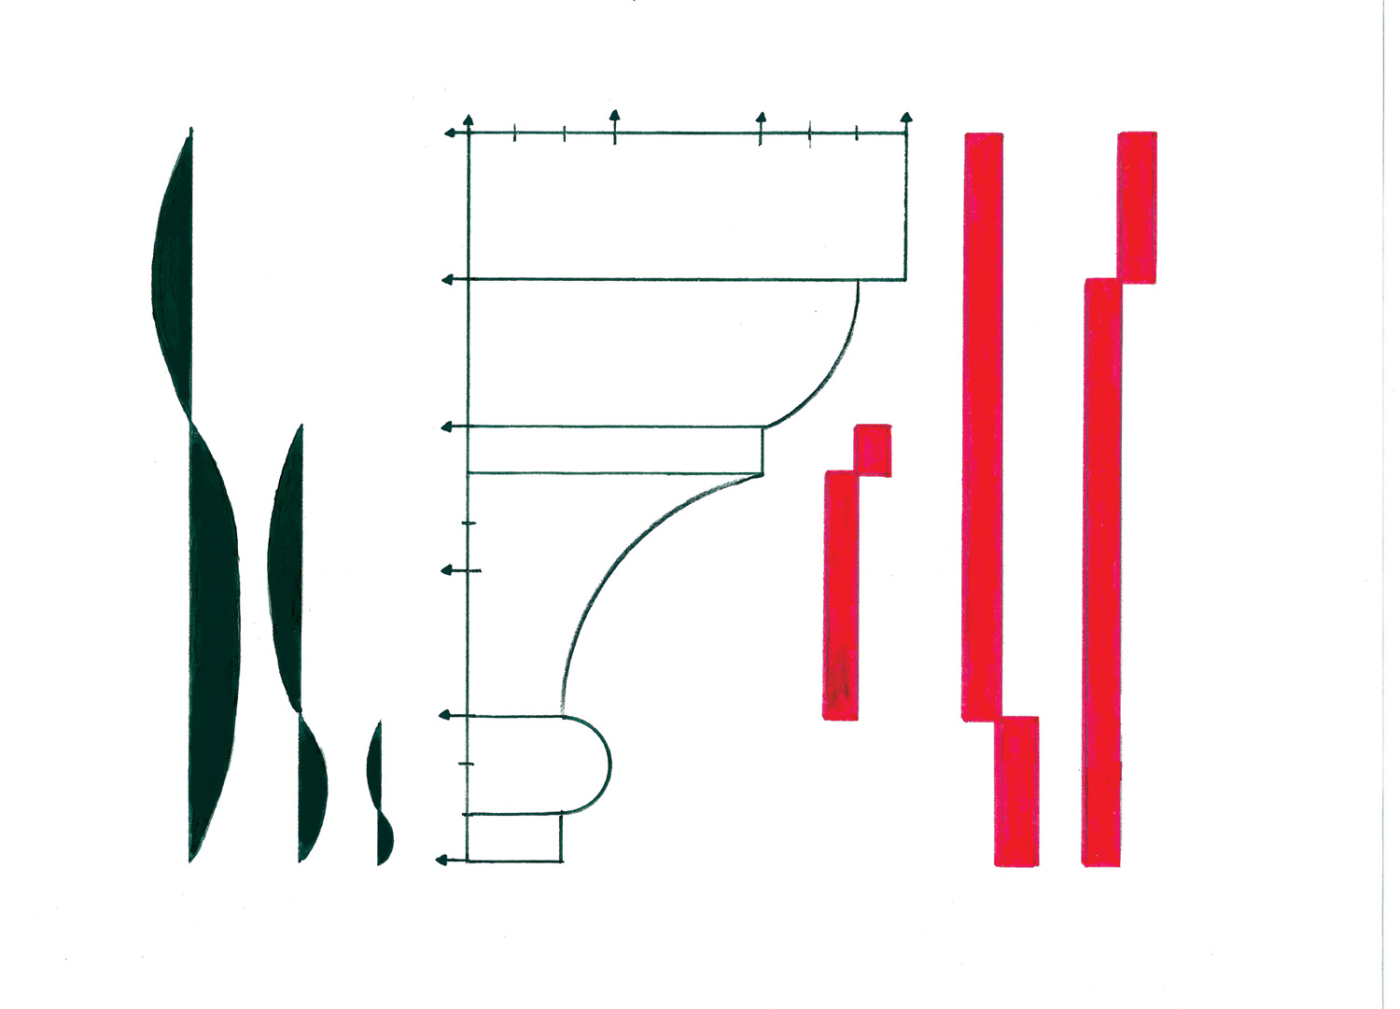
Proportional points. This complex moulding profile is organized around simple proportions stepped off with dividers.
Pre-industrial artisans used proportions to organize a design, often expressed in simple ratios laid out with the aid of a pair of dividers. Here’s a great example. The drawing of a complex moulding profile (above) is based on a design by James Gibbs (circa 1732). Note the lack of dimensions – only simple divisions. This moulding could be 2″ high or 12. What is important is that these divisions are key in understanding how the parts are sized or proportioned in relation to each other. The overall height is divided into five parts and the width into three. Note that some of those major divisions are again sub-divided further.
For such a simple moulding there is a lot going on proportionally. On the left I’ve indicated how the parts are divided into major and minor elements, one part complementing the other. On the right I’ve indicated with the red bars how proportions are used to punctuate. Punctuation is used to create a beginning, ending or border. Step these off with dividers and see if you can uncover the proportions.
Every element in this form is proportionally linked to its neighbor as well as to the whole. Aspiring designers were traditionally encouraged to explore known works with proportional excellence in order to train the eye. This knowledge then became second nature.
Application
I have a good-sized coffee can in my shop filled with dividers but in reality most work is done with just two sets or pairs of dividers: 6″ and 4″. I use two distinct sizes for a reason. It always seems one ends up set to a proportion I want to come back to, and the other is available to adjust and work out a design. Using two sizes helps me keep track of which is which.
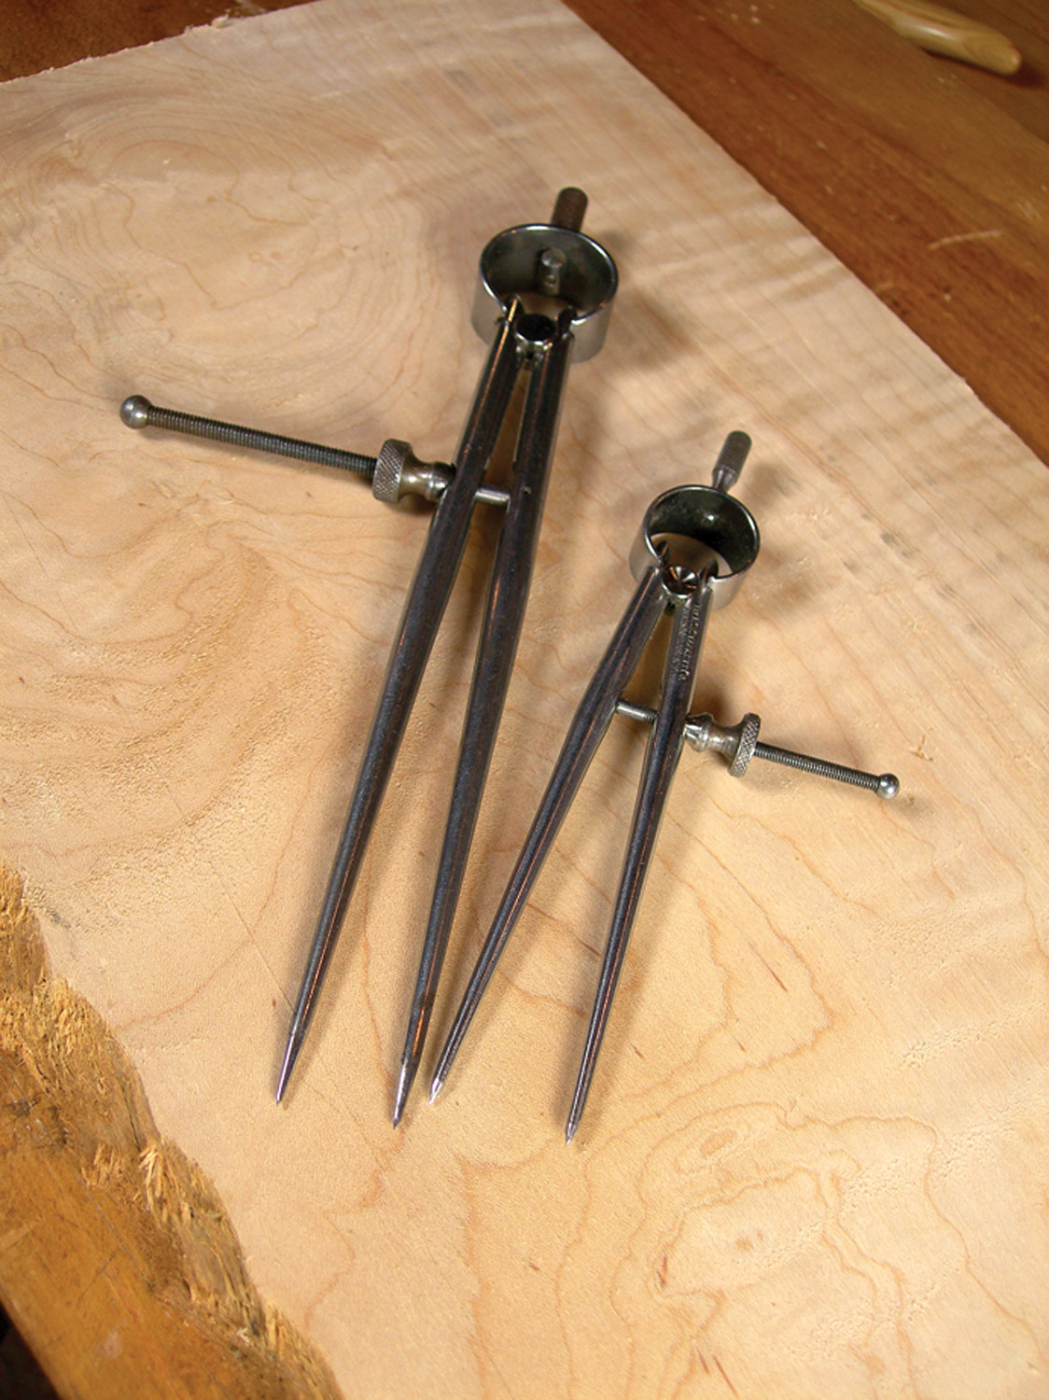
Tracking use. Using two different-sized tools helps to keep track of important settings.
You can easily sharpen divider points on a piece of sandpaper or a sharpening stone. It’s also helpful when buying dividers to check to make sure the points are equal in length. If they are off, grind them the same length and re-sharpen. Actually, unless you drop them on concrete, they can go many years without a touch-up.
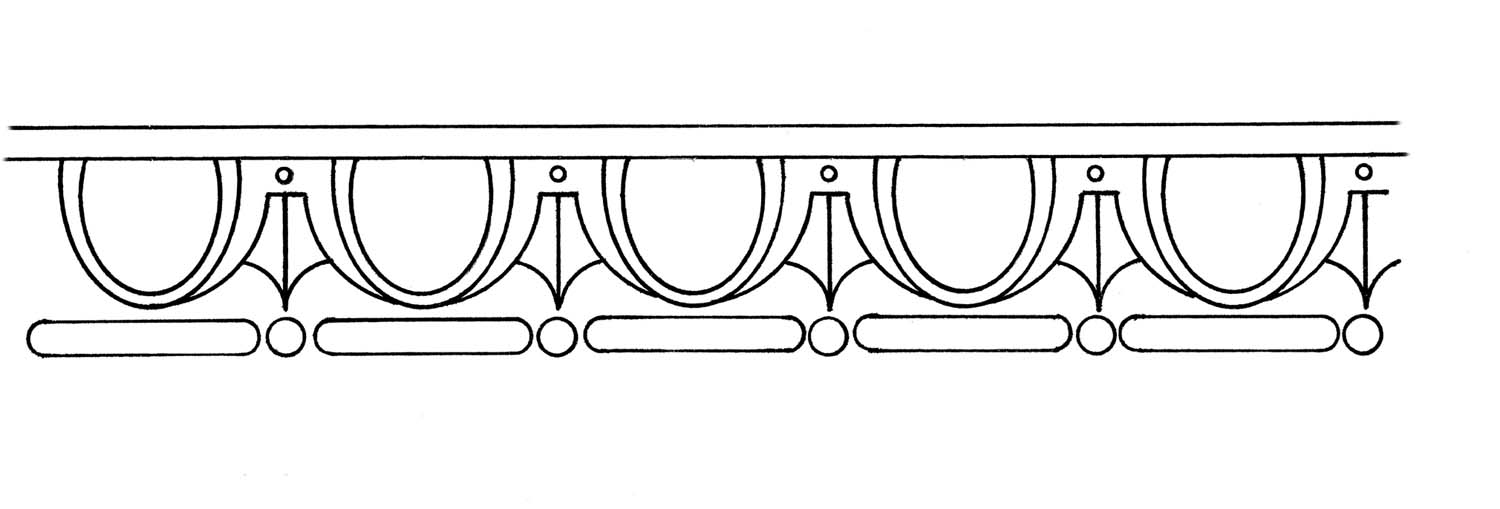
Simple steps. Stepping off repeat elements such as these egg-and-dart carving patterns is made simple with dividers.
Avoid extending the points much beyond 45°. You lose accuracy when the points engage at much beyond that angle. If you need to step off large divisions, switch to a larger tool or simply double the divisions. Instead of stepping off four times, try eight. For stepping off repeat elements such as an egg-and-dart carving pattern or a string of dovetails on a wide blanket chest, nothing comes close.
They can be tweaked ever so slightly to shrink the pattern or stretch it to perfectly match the workpiece. You can adjust a pattern so it comes up to a mitered corner with a nice transition and not at an awkward random spot.
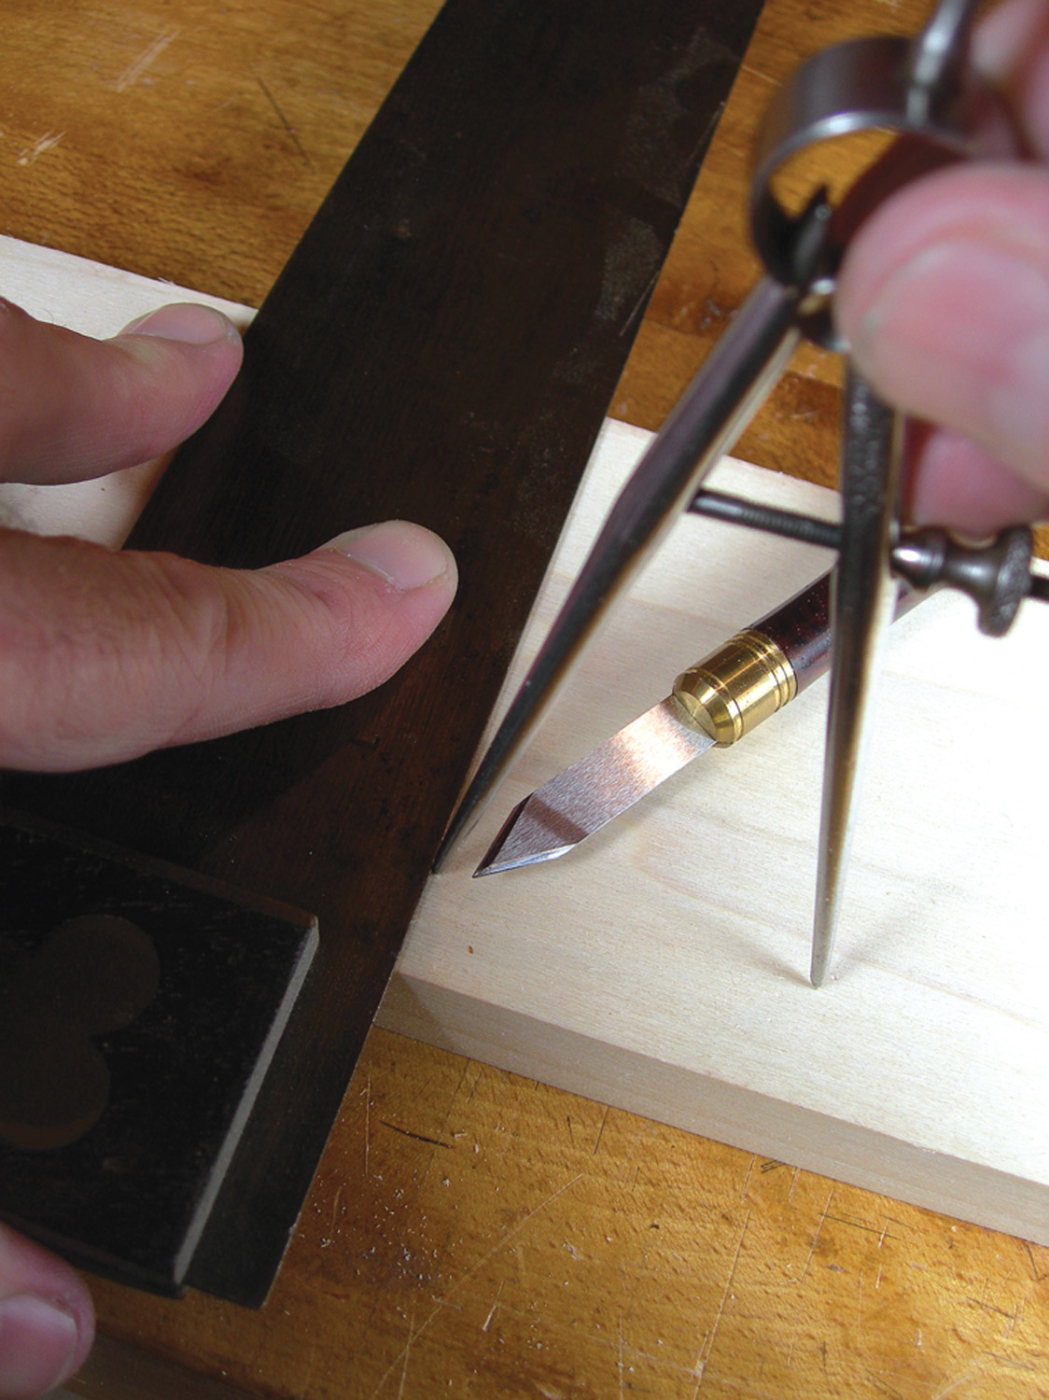
Negative points. Pressing the dividers into the work creates an indent for the marking knife.
Finally, divider points can be pressed into the work to provide a small indent which acts as a register for a pencil or marking knife. No doubt this was important in the pre-industrial shop under poor lighting, but I find it helpful today when my eyes struggle to see detail even under gobs of wattage.
Something wonderful happens when you start exploring with dividers and using them to lay out proportions in a design. You’ll find yourself thinking and seeing proportionally – a sure sign your eye for design is awakening.
Here are some supplies and tools we find essential in our everyday work around the shop. We may receive a commission from sales referred by our links; however, we have carefully selected these products for their usefulness and quality.


