We may receive a commission when you use our affiliate links. However, this does not impact our recommendations.
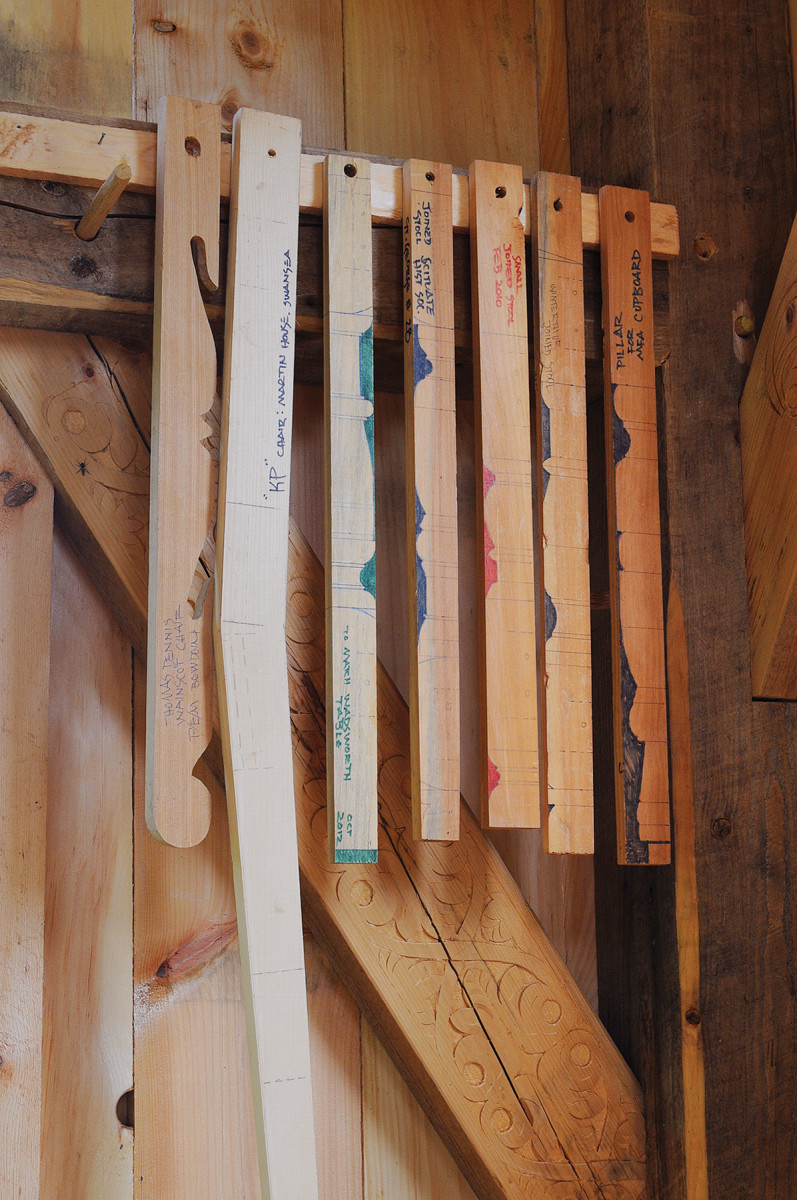
Story sticks. On one piece of wood, you can usually record most of the information for a ladderback chair, joint stool or joined table. For a wainscot chair, you’ll want multiple sticks.
Measured drawings for some, story sticks for me (and others).
I once had a job making a couple of wainscot chairs and chests for the National Park Service. After barely surviving the paperwork it took to get the job in the first place, I was then confronted with the horrible task of making and submitting measured drawings for each item. “What?” I asked incredulously. “Can’t I make those after I build the pieces? It would be easier that way….”
Sounds backward, I know. But I never really learned to work from drawings. I see the beautiful, full-scale drawings students produce when I visit places like the North Bennet Street School or Phil Lowe’s Furniture Institute of Massachusetts, and I’m always impressed with the patience and attention to detail they represent. But I lack those attributes, and my approach is more seat-of-the-pants than planned and prepared.
My earliest projects were ladderback chairs, and the way that Jennie Alexander and Drew Langsner taught that craft was with a “stick” instead of a drawing. Sometimes called a “story stick” by carpenters, this single item can contain all the information you need to build your furniture piece.
Ladderback Chairs
It starts with a narrow length of straight, flat wood – just a bit longer than the rear posts of the chair. Mark the location of the mortises for the rungs and the slats, and scribe the height of the front posts. You need to know the diameters of the parts, but that can be a number either in your head or written on the stick. You can record the different lengths of the front, side and rear rungs on the back.
Most of the shaved ladderbacks I used to make had only two different lengths of rungs – one size for the sides and rear, and a longer front rung length. In that case I use a notched stick for sawing this stock to length. No numbers, no paper.
When I got to turned chairs, I still used sticks. I made one for each chair I built, recording the turning profiles, diameters, mortise locations and any other details I needed. Often the rear post’s turning would be on one side, and the front post’s on the reverse.
In my work, the chairs were reproductions of period pieces, so I began with careful measuring of the originals. I had sketches on which I recorded the pertinent information but, instead of then turning that data into a measured drawing, I turned it into a stick. Some craftspeople do both. The sketches end up filed in a notebook, which I rarely need to dig out.
Wainscot Chairs
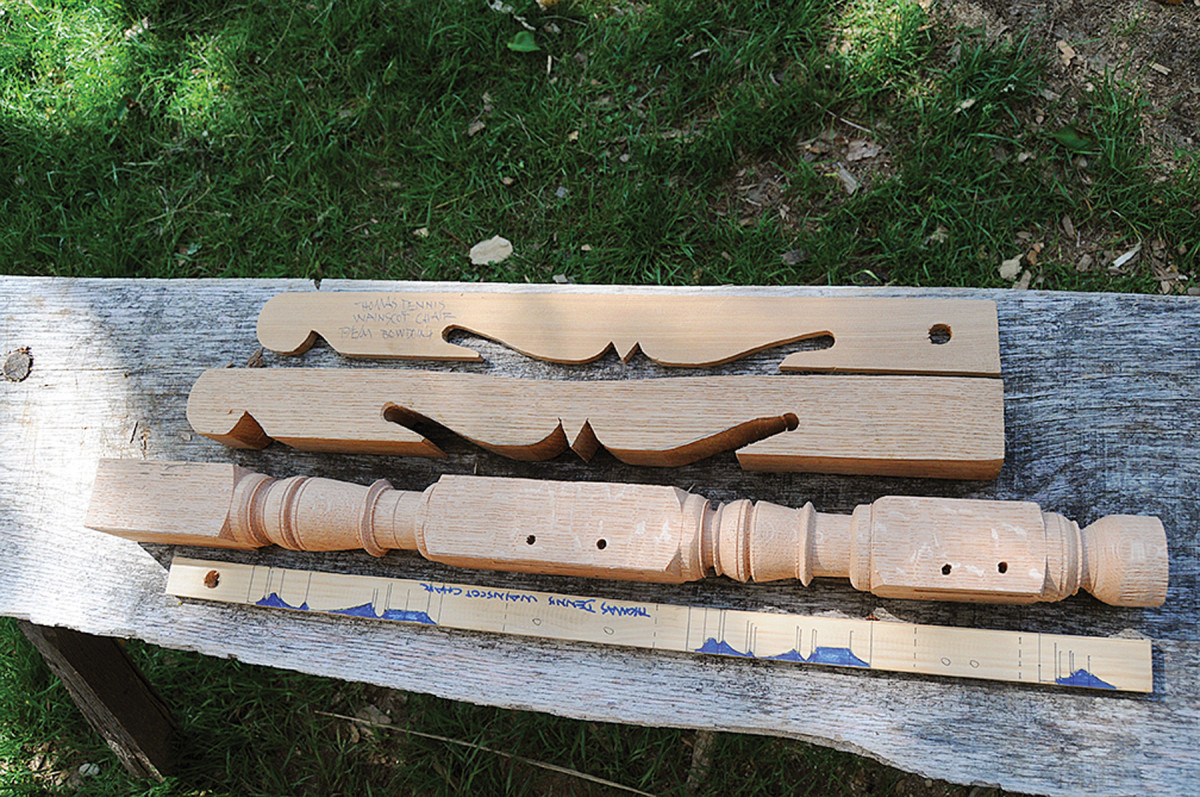
Wainscot chair. A chair of this type requires multiple sticks. Here are shown the sticks for the front legs and the scrolled arms, alongside a workpiece for each.
Wainscot chairs require more sticks than either turned or shaved chairs. They need one for the profile of the rear post. This one, in addition to being a record of mortise locations and heights, is also a template for the canted rear post. These are hewn and shaved, not bent like smaller, lighter chairs.
Because the front posts are straight and run up higher than the straight section of the rear post, you can’t record their details on the back of the rear post’s stick. So the front post needs its own stick, as does the scrolled arm. Wainscot chair arms are always scrolled and curved in their profile, so this stick is more of a template than a story stick. It does record the location of the tenons at the rear and the mortise where the scrolled arm meets the front post, but it is principally a pattern for shaping the arms.
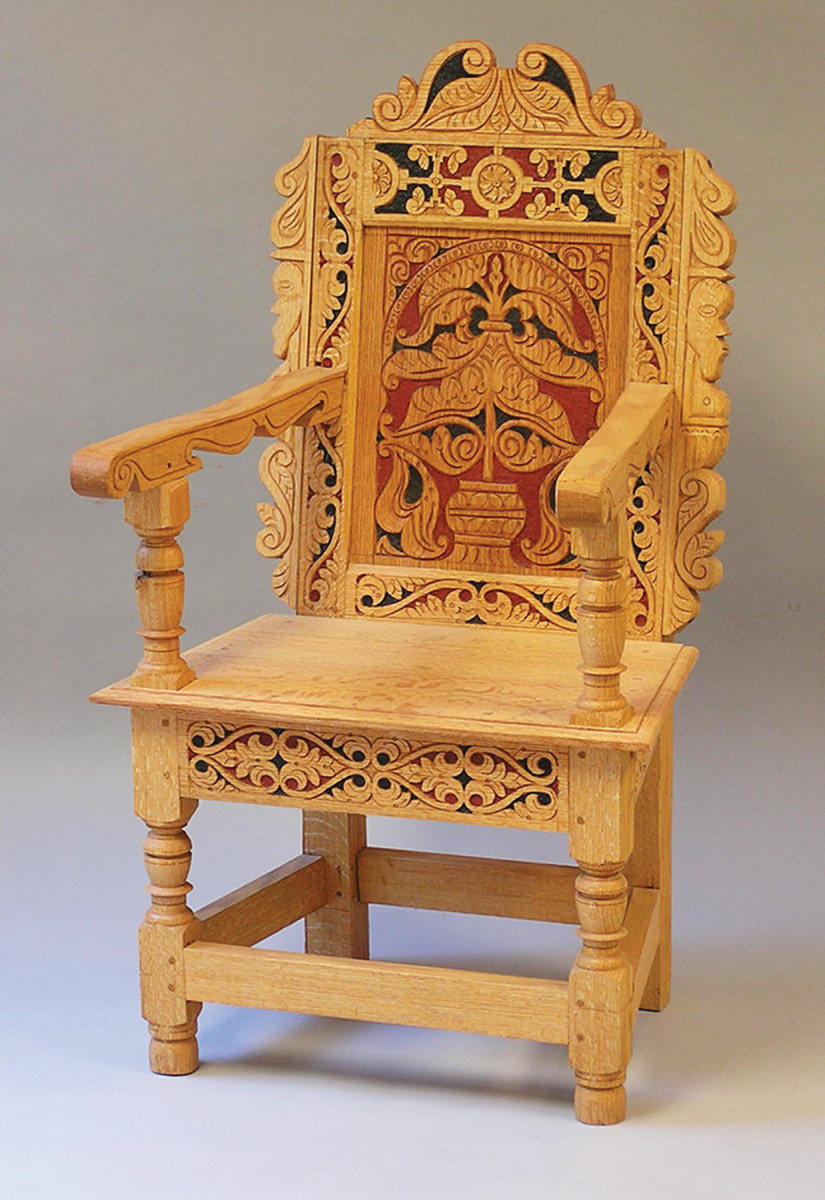
Finished. No piece of paper was harmed in the making of this wainscot chair. Most of the pertinent information to build it came from a trio of sticks hanging in the shop.
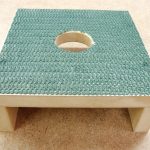
Beyond that, a wainscot chair needs a record of the seat plan. With the front of the chair wider than the rear, the shape of the seat and the lengths of the front, side and rear rails are critical.
If I made one style of wainscot chair over and over, I’d just scratch it on the wall and there it would be. But I rarely make the same wainscot chair more than a couple of times. So that this information is on paper, I just keep a notebook of photos for each chair (and any other furniture form) I study. The seat plan goes with the photos.
Sometimes I’ll lay out a half-plan of the seat, full-scale. I’ve scribed this on extra planks of wood, the workbench or any other flat surface large enough. When desperate, I’ve laid it out on illustration or mat board too. The seat plan is used to set an adjustable bevel for marking the shoulders of the side rails and aligning the mortise chisel for chopping the joints for these rails.
Joint Stools
Joint stools are one stick each – a record of the turning pattern and joinery locations – and written on the stick are the rails’ lengths (short and long) as well as the angle for the joinery on the sides of the stool. Often these angles are scratched on the wall, along with a notation about what stool, date, etc. that angle belongs to. Seats are made to overhang the assembled frame, so no need of a record there.
Joined Tables
Joined tables are even easier – their joints all use 90° shoulders – so all I need are the turning details, joinery locations and rail lengths. When I record these lengths, it’s the shoulder-to-shoulder length that’s the critical dimension, not the overall length of each rail. I know to add 3″ for the two tenons, not more (though it can be a little less).
Casework

Transfer. To make a joint stool, I just grab its stick off the wall and transfer the marks to the workpiece. Here, I’m marking out a leg.
I’ve never carried this method of planning over to case furniture, although I know some woodworkers do use sticks for case pieces. It might have to do with splitting and riving my stock. When building a frame-and-panel chest, the panels are the hardest pieces to find in a log. The format of the chest is essentially fixed in tradition: vertical stiles, horizontal rails, muntins between the rails and panels filling the spaces.
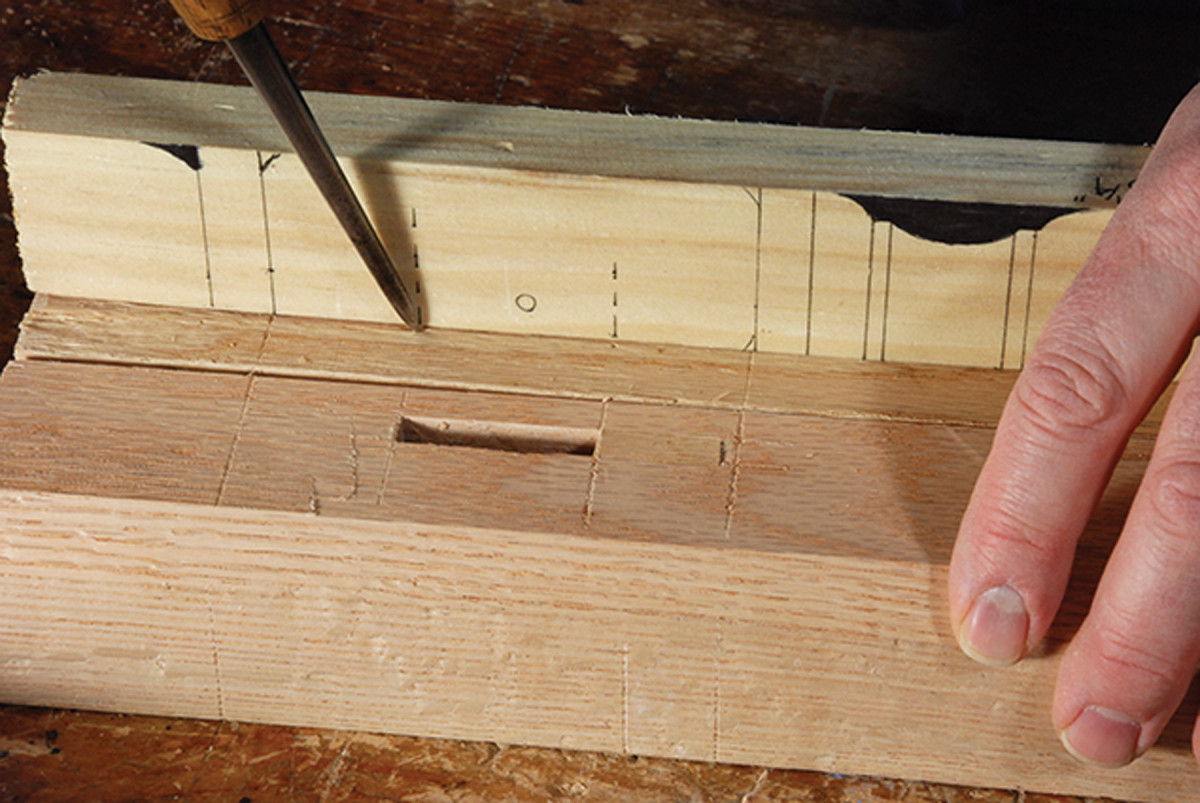
Close-up. To lay out the mortises for this joint stool, I have lined up the stick and the first leg I cut as well. It’s worth checking that they both agree.
It takes a pretty large log to get a radially-split panel more than 10″ wide. I approach an oak log with a desired size of panel in mind, but the tree sometimes has other ideas. Three panels are almost a standard, but I’ve seen and cut chests with two, four or five panels across the chest’s front.
So I tend to work with what the log gives me. Because you can’t tell what’s inside the log until you split it, I rarely make plans.
Here are some supplies and tools we find essential in our everyday work around the shop. We may receive a commission from sales referred by our links; however, we have carefully selected these products for their usefulness and quality.