We may receive a commission when you use our affiliate links. However, this does not impact our recommendations.
 Cutting miters so they are ‘just right’ is a problem faced by all woodworkers. Here’s how to sneak up on the perfect miter with scrap wood and a plane.
 Cutting miters so they are ‘just right’ is a problem faced by all woodworkers. Here’s how to sneak up on the perfect miter with scrap wood and a plane.
You find yourself in a quandary. To ensure that you don’t cut a miter too short, you end up cutting it just a bit too long to fit. You wish you could trim it shorter by just a shaving or two, but the moulding is too small to plane, reliably, freehand.
If you’re working with a power miter saw, you might be able to correct this cut if the moulding is held in place perfectly, but it is easy to cut too much off and the blade might deflect during the cut, spoiling the angle. If you’re working with a hand miter saw and miter box, it’s difficult to get an accurate cut that’s thinner than the width of the saw’s kerf. This is when you should turn to a shop appliance known as a miter shooting board.
A shop appliance, you ask? Like a washing machine? No, I’m using the term “appliance” in the general sense: “A piece of equipment for adapting a tool or machine to a special purpose” (Merriam-Webster). In the world of hand tools, what some people might call “jigs” usually are called appliances.
In this case, the special purpose of the miter shooting board is to enable you to plane a miter in an accurate and controlled manner. Indeed, with this appliance you can quite literally correct the length and/or angle of a miter one shaving at a time.
Shop appliances have great value. If you are already working with hand tools, you may be encountering unnecessary difficulties without the right appliance for the job. If you are not generally interested in hand tools, that may be due, in part, to not realizing their capabilities when used with appropriate and time-tested appliances.
I’ve chosen to focus on the miter shooting board because it is an appliance that could be useful to almost every woodworker – even those who have no interest in hand tools.
Simple Jig; Easy to Use
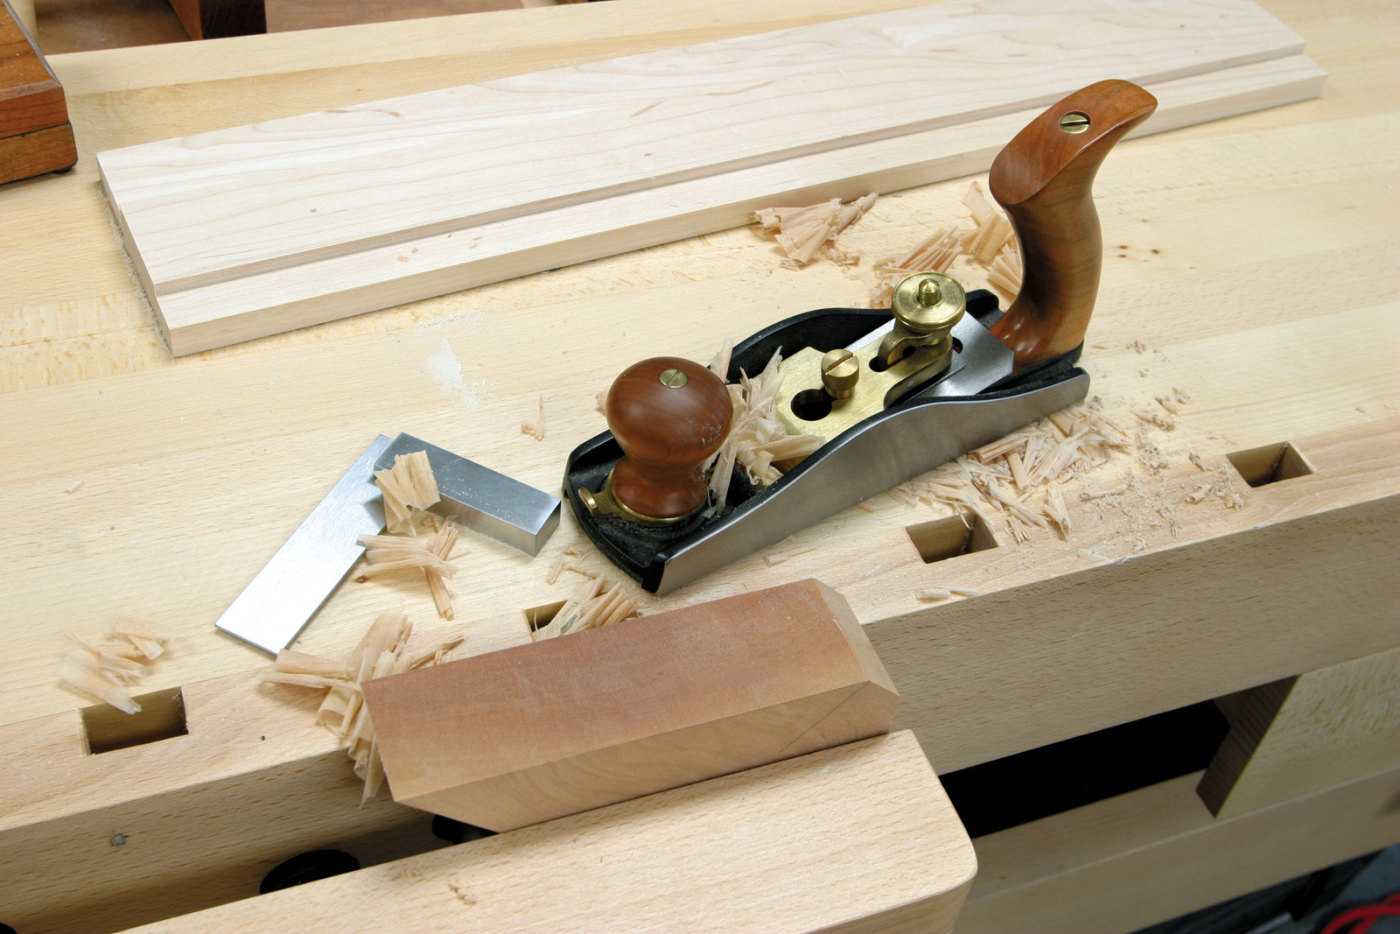
The basic idea of a miter shooting board is simple. At one edge is a wide, shallow rabbet in which a plane (block, miter, etc.) rides. The bed of the rabbet supports the plane’s cheek (sometimes called the “side wing”), and the shoulder of the rabbet guides the sole of the plane. A stop, or stops, set at 45° are affixed to the upper surface of the board. The material being planed is held against the stop while the mitered end is planed. The height of the rabbet’s shoulder needs to be fairly minimal in order to make use of most of the cutting edge of the plane iron.
Build a Miter Shooting Board
There are a number of ways to construct a miter shooting board. The simple version (shown below) takes a minimal amount of material, skill and time to build. Yet it contains the basic features needed to experience its potential usefulness.
 The construction is self-evident, though a few aspects deserve comment. It’s important that the stop pieces be positioned at a true 45° angle. This needs to be laid out and checked carefully with a miter square or sliding bevel you know is accurate. (In my next column I’ll show you how to do this easily with a compass and a scrap of wood.) Using a pair of stops allows planing from both directions (a useful feature), and the placement shown allows the stops to reinforce each other against the planing stresses.
While this version can be satisfactory, there are drawbacks in the long term. First, the manner in which the two base elements are assembled provides for unequal moisture movement from the opposite faces of each piece. This can lead to the appliance going out of true. Careful material selection (quartersawn and straight-grain) can minimize this. And, within reason, it can be disassembled and the pieces re-trued, from time to time. There are other alternative forms of construction that address these issues.
Second, the means of attaching the stops doesn’t anchor them securely. Though this can largely be overcome by installing them in housings such as dados, the problem of cross-grain construction remains.
An Improved Shooting Board
As always, there is a better way. This stop block is more secure and avoids the difficulties of cross-grain construction. It consists of a single piece of wood that’s mitered on both ends so that its grain orientation is identical to that of the board it’s attached to.
The stop block can be planted on the face of the guide piece, but is better secured by installing it in a housing.
Using hand tools to obtain the accuracy required for this housing and the guide block might seem difficult or mysterious. So I thought it would be worthwhile to touch on the critical aspects of this process.
Start by cutting the housing. It does not need to be deep (1⁄4” at most), but the shoulders need to be accurate. This begins with accurate layout, knifing the shoulders with a reliable miter square. The space between the shoulders at the narrow end isn’t critical. Primarily, it needs to be wide enough to allow passage for your tools during construction.
Establishing the shoulders could be done straightaway with a saw. But in such a critical situation and with relatively long shoulders, I prefer to saw, freehand, slightly to the waste side of the knife line. Then, after the balance of the waste is removed, clean up the shoulder through vertical paring with a sharp and wide chisel. You could clamp a straight batten or metal straightedge to the board to guide your chisel, but I can better see my progress relative to the knife line if I do it freehand.
By assuming a relaxed and balanced stance you can usually get a pretty good sense as to when you are holding the chisel vertical for this paring. You can check this with a small square if you are uncertain.
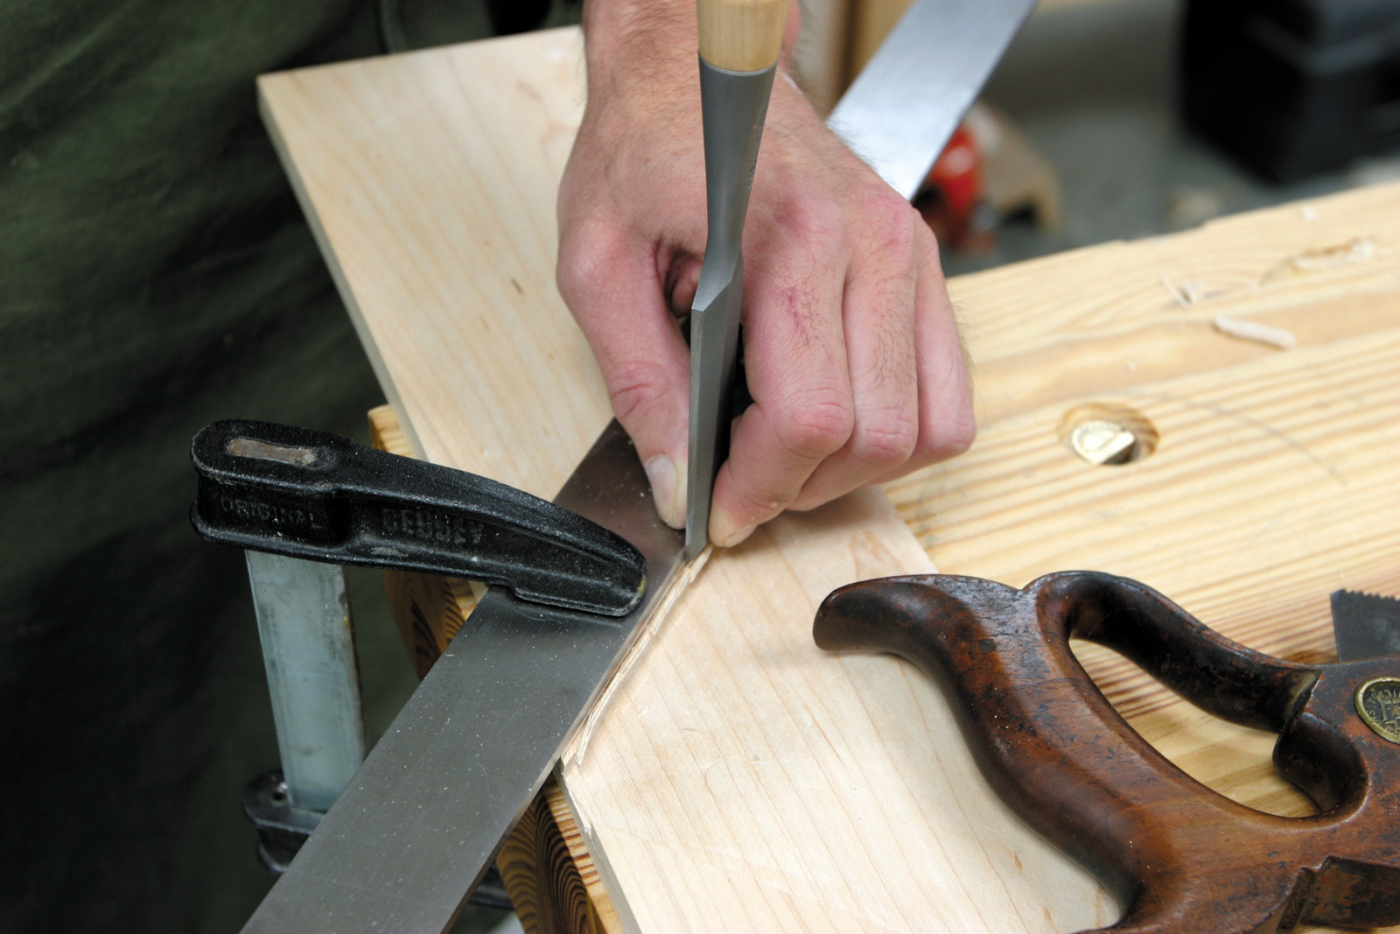
Mark your 45° angles using a knife. Clamp a steel straightedge against the knife line and chisel away your waste. Or pare to the line freehand.
The shoulders need to finish accurately at 45° and with nothing to obstruct the stop block from registering solidly against them when in place. While it’s good practice to aim for achieving the required accuracy the first time, in this instance you have the luxury that you can, within limits, simply knife a new line and try again.
Stop Block has Critical Angles
The material for the stop block needs to be somewhat wider than its finished width to allow you to do final trimming after arriving at an accurate fit of the critical miters.
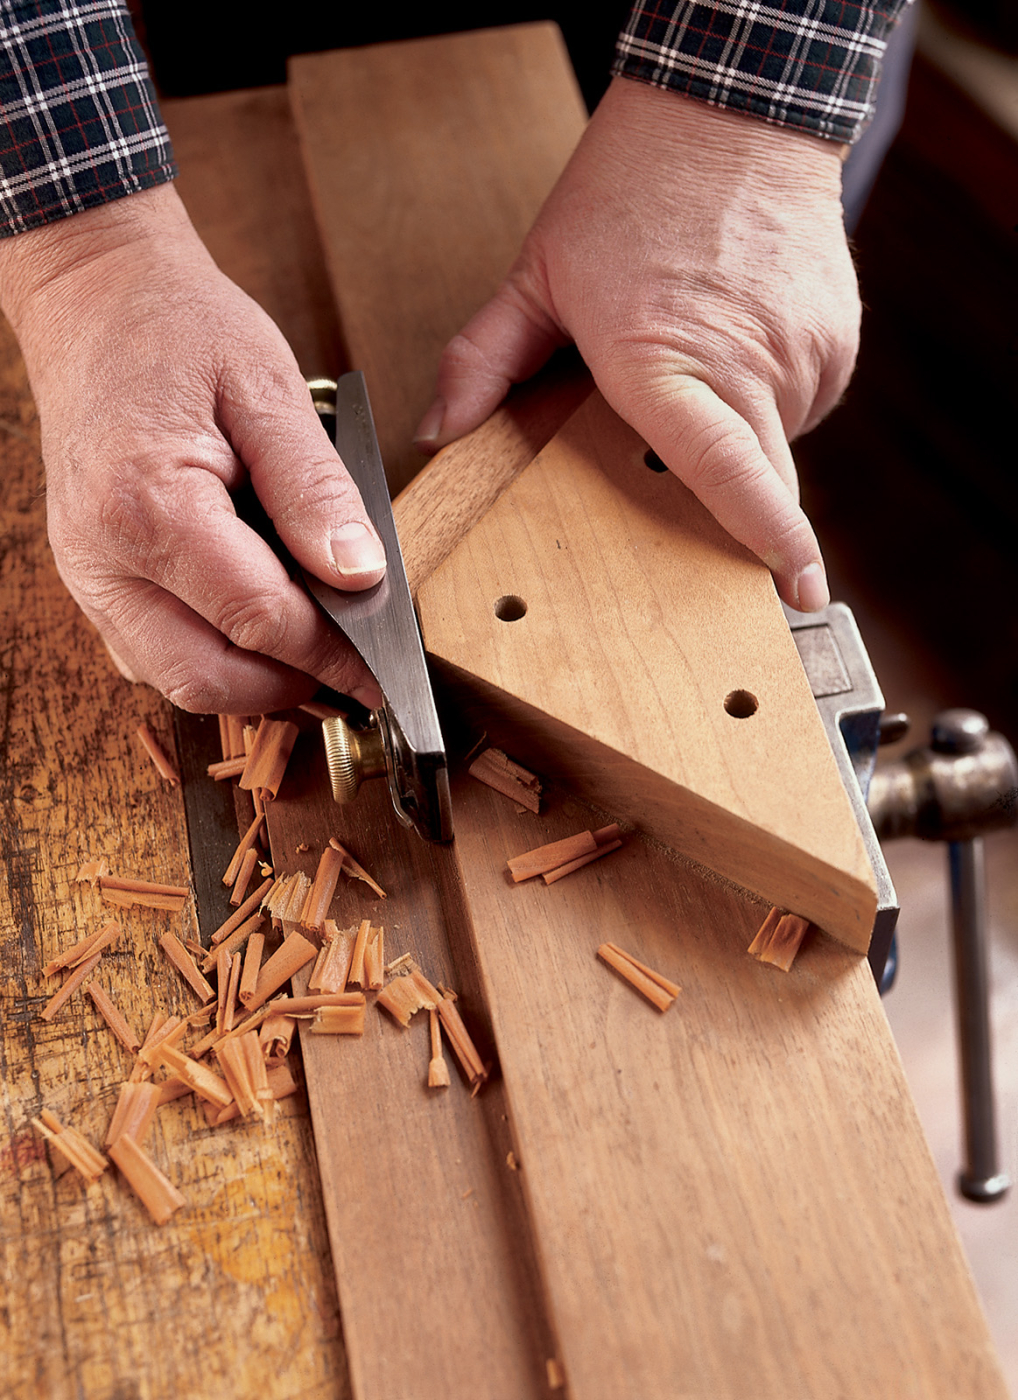
First, mark out one of the mitered ends and saw it as close as you feel comfortable. Then, with a sharp and finely set block or miter plane, clean it up. You want to keep it fairly close to 45° (for the sake of grain orientation), but the critical factors are that it be flat and square to the face that will attach to the shooting board. Then, allowing enough space to have some width for final trimming, lay out the other miter at a right angle to the miter you’ve just established on the stop block.
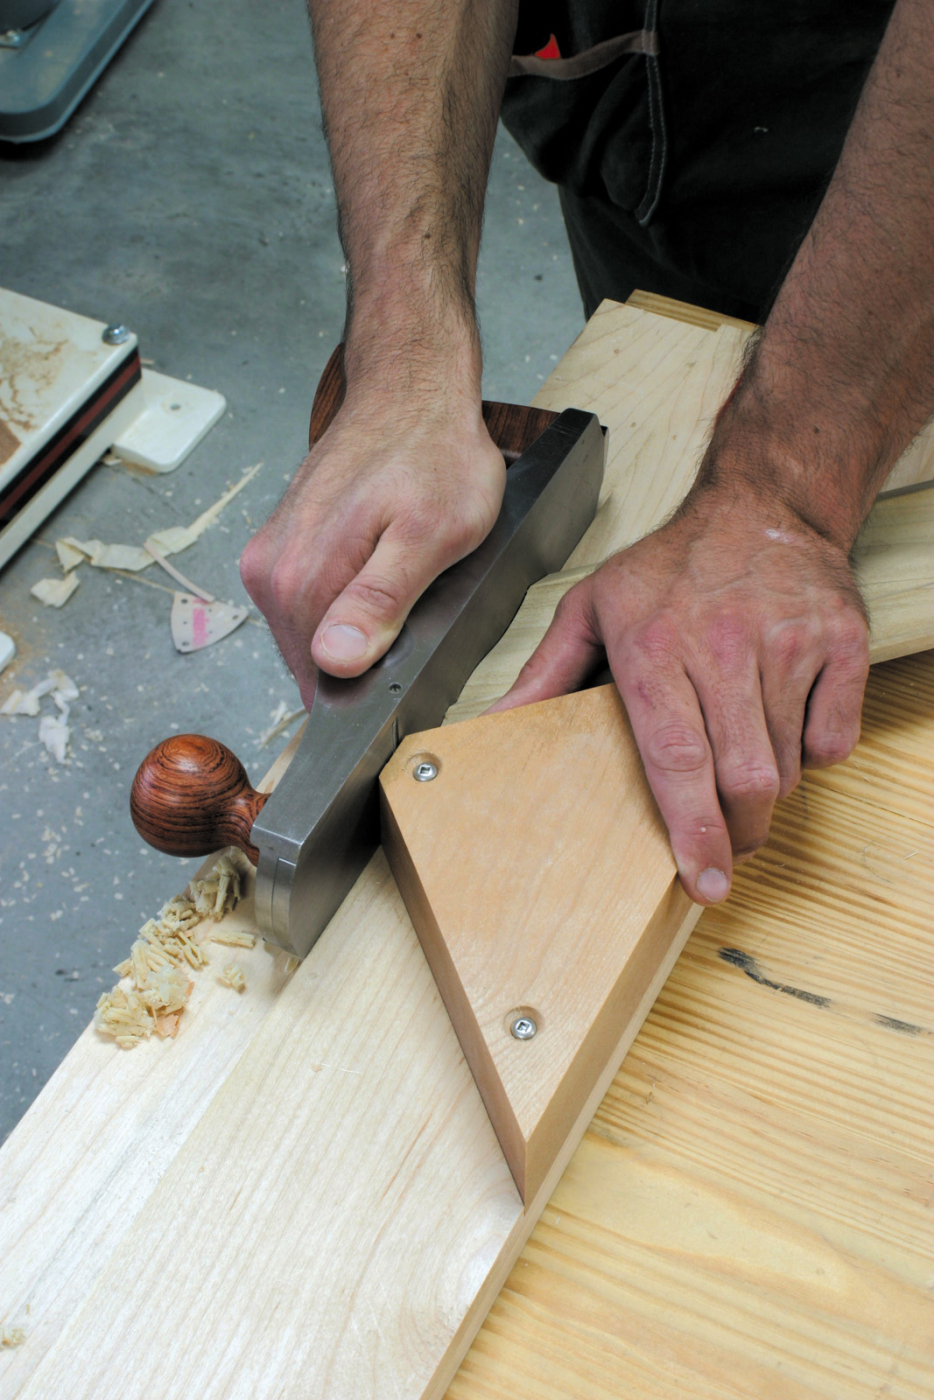
Cut your stop block as close as you dare and then plane it to a perfect fit in the triangular housing you just chopped out.
Again, saw as close as possible and true the second miter up with your plane. This miter needs to be not only square to the lower face and flat, but at a true right angle to the first one. So, it’s a little more critical. But there is some forgiveness in that you can continue to plane to arrive at the necessary accuracy as long as you have sufficient width.
Finally, test the block’s fit in the housing (make sure it reads accurately) and trim so its nose is in line with the guide shoulders and perpendicular to the bed. Install the stop block with screws (no glue) and you have a very accurate and serviceable miter shooting board.

Test your stop block against your housing; plane until you have a perfect fit.
Take it for a Test Drive
A miter shooting board is simple to use. You hold the work in place against the stop block with one hand, and push or pull the plane with the other. Always work so that the plane pushes the work against the stop block.
The miter shooting board is most obviously useful when doing inside mitering. In this case, the far edge of the miter is fully supported by the stop block. While it’s easy to assume that it wouldn’t be as useful for planing outside miters, I believe that to be a mistaken assumption. A sharp iron set to a fine cut will minimize any tear-out when shooting outside miters.
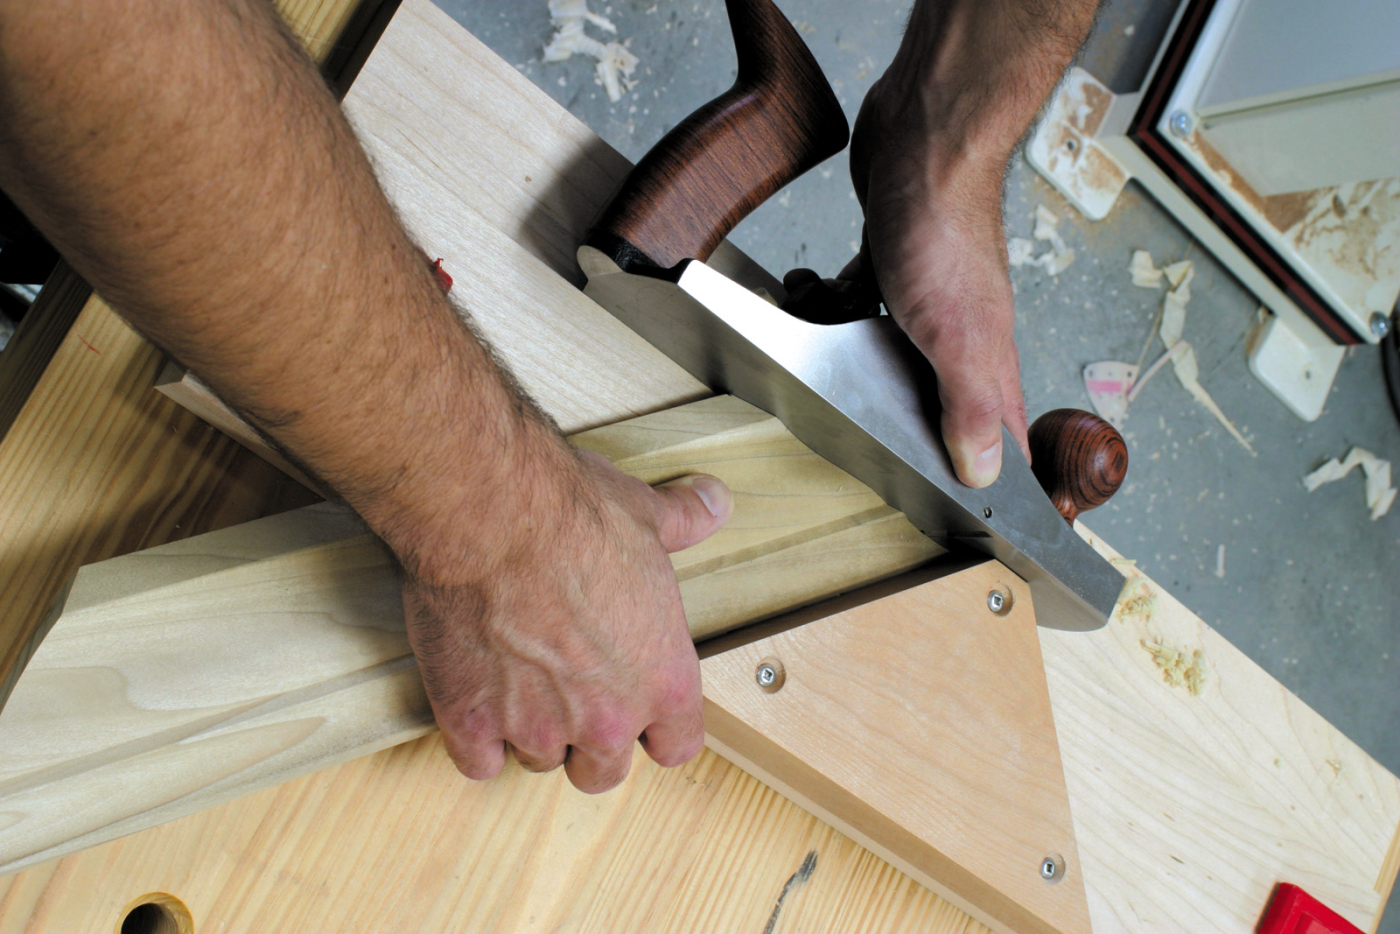
In use, the miter shooting board is used with the plane always pointed toward the stop block.
I had been building furniture for a few years before I finally built my first miter shooting board. Though I occasionally considered it before, there was always a question as to whether it would be worth taking the time. After just a few passes with my plane in fitting up the first miter, I was amazed at the control and accuracy provided by this simple appliance. My only regret was that I hadn’t made one years earlier.
Here are some supplies and tools we find essential in our everyday work around the shop. We may receive a commission from sales referred by our links; however, we have carefully selected these products for their usefulness and quality.