We may receive a commission when you use our affiliate links. However, this does not impact our recommendations.
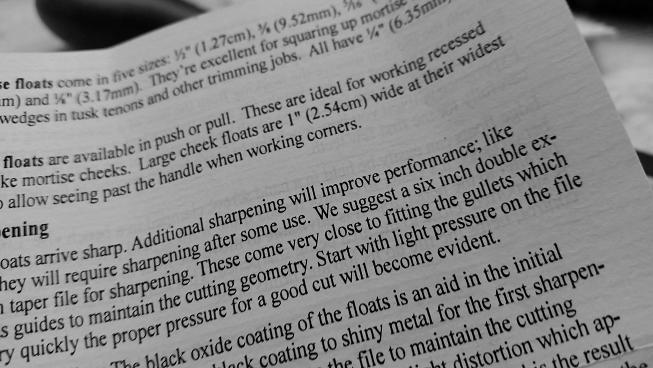
I never thought a float would provoke the level of interest it did when I mentioned in my last post that I would need to sharpen it. I was interested to note how different people had contrasting opinions on how they would expect it to arrive. So here’s what you can expect: “Additional sharpening will improve performance” (so says the manufacturer).
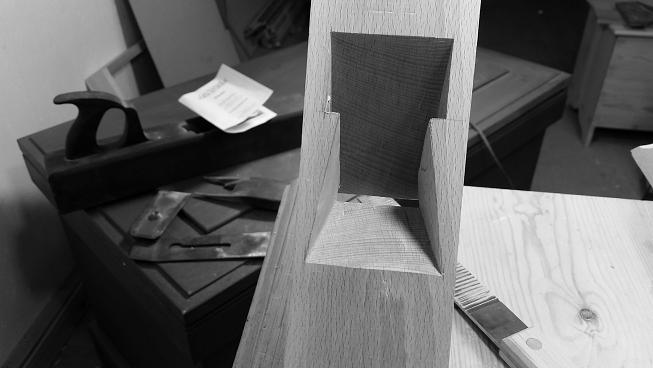
This is a bed float so it needs to be pretty darn sharp as it’s trying to engage with the 45° bed on beech. Using a typical joiner’s float when working across the grain within a mortise, the level of sharpness does not need to be quite so high and I think in standard trim it’d be just about good to go – but this is a bed float so to sharpening!
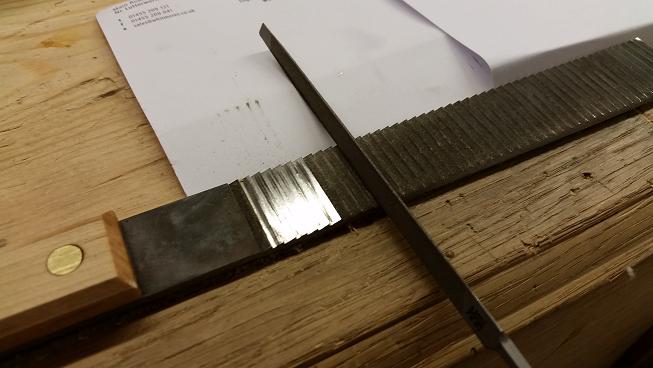
Fortunately the information provided with the float is concise and comprehensive, giving anyone a pretty good chance of improving over the standard offering. I did a few teeth to see if my attempt at sharpening would prove fruitful. Heartened by the results, I then knocked up a very basic jig shown within the literature.
The jig is simple enough and well worth doing to make sharpening easy. However this float is a touch bent, not much, but enough to make me side clamp it in the jig, and clamping the handle raised the float up and made it springy.
Sharpening is pretty easy. The reference surface of the teeth gives you a pretty reliable guide to follow. I did not feel the need to joint the teeth; just a few light swipes were all that was needed. I’m reliably informed these floats are very well tempered to combine ease of filing and a good edge; from what I’ve experienced I think that’s a very fair statement. And that’s it. Don’t fear the partially sharp float; just budget in the cost of a file and a bit of your time to get it the way you like it.
If you fancy embarking on making a plane like my Mathieson reproduction, a bed float makes life much easier. All the surfaces within had so far been refined with chisels and although they were OK(ish), the float really allowed fast refining and levelling with a great deal of control. I did have the option of making a float. One method I had read about in George Ellis’s “Modern Practical Joinery” was to use an old file, draw the temper out of it, file in the teeth and then retemper it. Or as was mentioned in the comments, make some from mild steel. All valid approaches. But for me, I have to be careful so as to not be distracted from my main goal – the plane. So I’m grateful that that someone is making traditional planemakers tools. It means having a go is easier and more within my reach; thank you Lie-Nielsen!
Next up will be cutting out the relief for the cap-iron screw and making the wedge, along with some prep of the iron. Here’s a quick video on the float.
— Graham Haydon
Here are some supplies and tools we find essential in our everyday work around the shop. We may receive a commission from sales referred by our links; however, we have carefully selected these products for their usefulness and quality.


Hi Graham
I’ve used the LN joinery float for several years. It does a great job fine tuning tenon cheeks, and has been most helpful with plane beds as well.
The float is easy to sharpen, and you have done a good job of representing this. One factor I would like to add is that the face needs to be flat, and one treats it the same way as when jointing a saw blade prior to sharpening. This is especially important when you have a slightly bowed blade, as in your situation here. The teeth need to be at the same height, otherwise you will cut a depression. So I would take a flat, wide file to the teeth side of the float before sharpening to first ensure that they are all the same height.
Regards from Perth
Derek
Nice post Graham, I can see many other uses for these floats. Plane is coming along nicely mate, nice job