We may receive a commission when you use our affiliate links. However, this does not impact our recommendations.
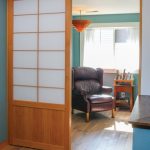
1. On the left I sprayed a very thick lacquer with too little air pressure, which caused severe orange peel. I cleared this up on the right by thinning the lacquer and increasing the air pressure.
These are in addition to the spray gun being out of tune.
I’ve written previously about problems caused by your spray gun. Just because your gun is tuned well doesn’t necessarily mean you will always get good results. Other things can go wrong. Here are five of the most common.
Orange Peel
The big one, of course, is orange peel. It’s not possible to completely avoid this flaw, but it is possible to come so close that the defect isn’t noticeable.
Orange peel can occur with any finish and is usually caused by spraying too thick a liquid with too little air pressure. When stated this way, the solution is obvious: thin the liquid or increase the air pressure.
If you’re using a spray gun with air supplied by a turbine rather than a compressor, you won’t have much control of air pressure; you’ll probably have to thin the liquid.
Another cause of orange peel is holding the gun too far from the surface or moving the gun so fast you don’t deposit a fully wet coat. The best way to determine the proper distance and speed is to watch what’s happening in a reflected light.
By arranging lighting and positioning yourself so you can see a reflection on the surface you’re spraying, you will see when the finish isn’t going on properly. Then you can make the necessary adjustment.
Dry Spray
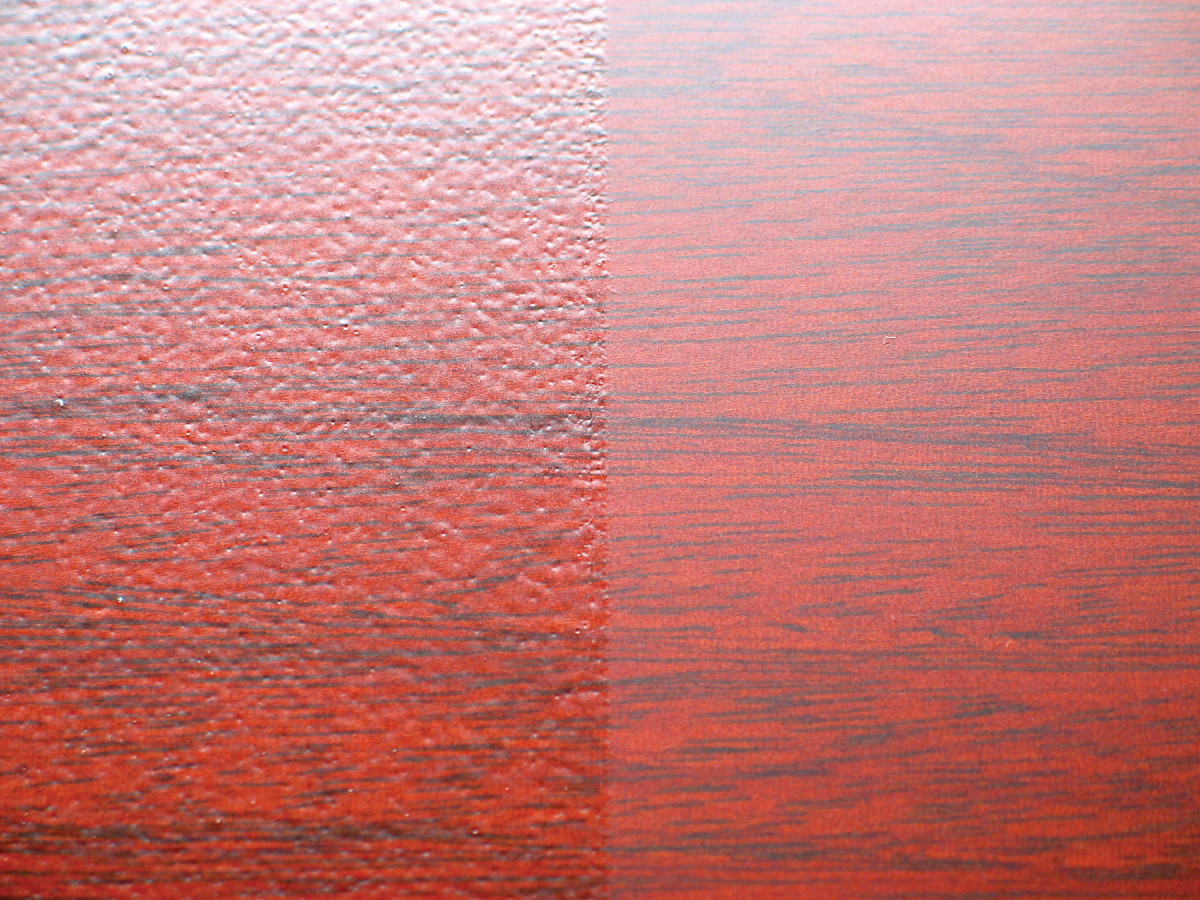
2. To show what dry spray is, I added some acetone to my lacquer to speed the drying and sprayed it onto the panel at a low angle. The left side looks and feels sandy.
Dry spray is overspray that settles on the surface after the droplets of finish have dried in the air. Dry spray produces a sandy look and feel and occurs most commonly at the edges of a spray pattern when the finish is drying too fast. It also occurs when the finish bounces off the surface and then settles back onto it after both the finish and the bounce back have begun to dry.
Dry spray occurs only with fast-drying finishes and is especially likely to happen when spraying the insides of cabinets, boxes and drawers where there’s more bounce back and turbulence.
The obvious cure for dry spray is to slow the drying of the finish by adding a retarder—that is, a slower evaporating thinner. Because the finishes that dry the fastest thin with lacquer thinner, the appropriate retarder is lacquer retarder.
Lacquer retarder can also be used with shellac if you want to slow its drying. Xylene can be added to conversion varnish to slow its drying.
Don’t add more retarder than necessary, however, or you may extend the drying time so much that the finish will collect dust and show press marks for hours or even days.
Blushing
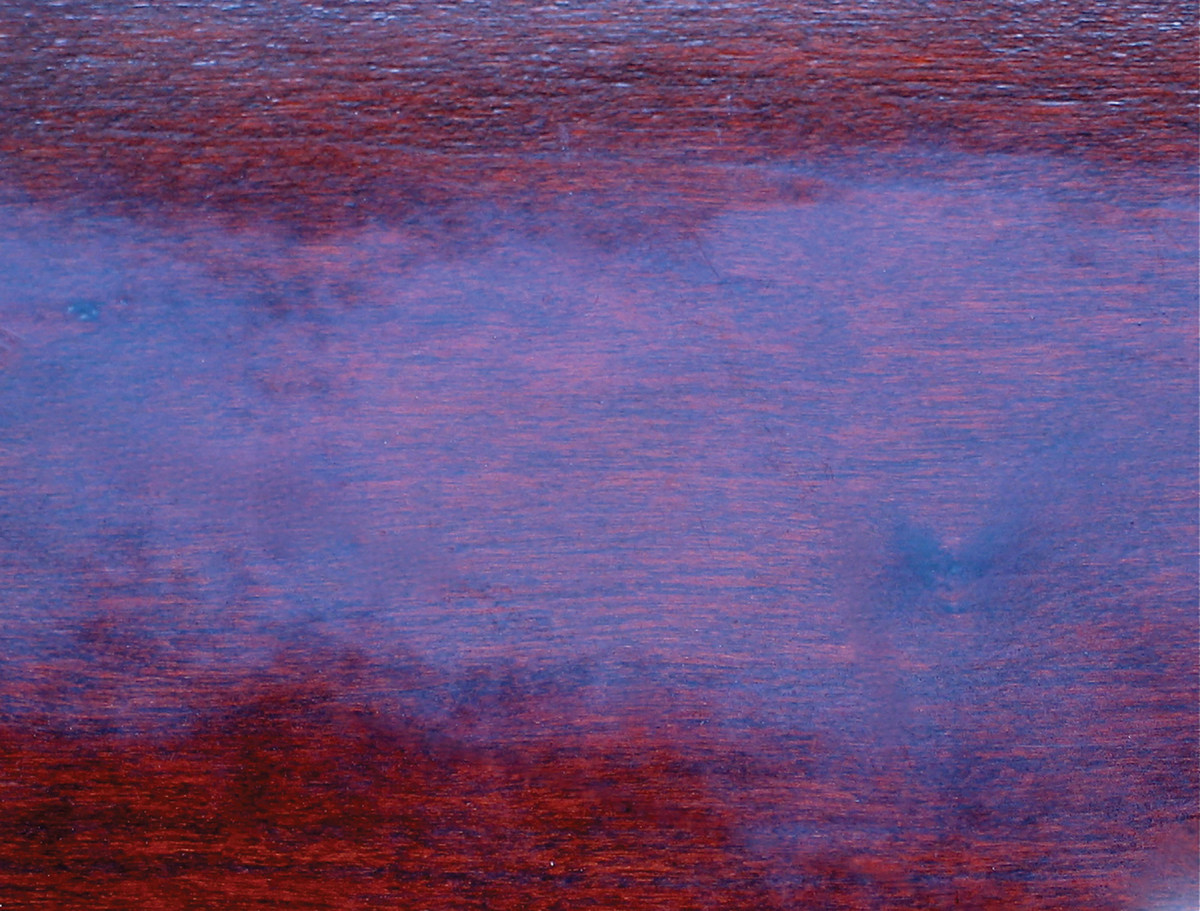
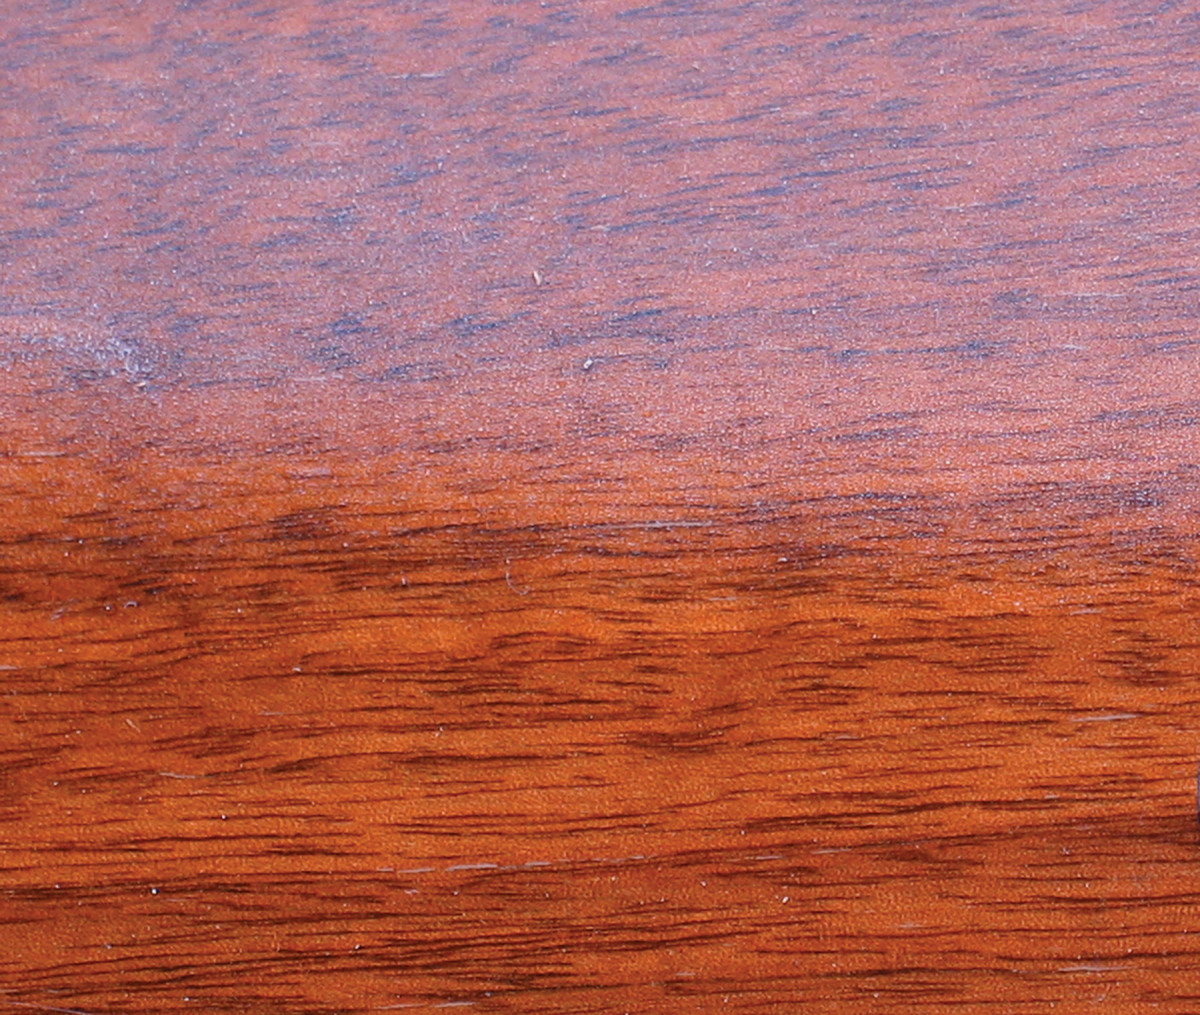
3. Fast-drying finishes such as lacquer and shellac “blush,” or turn milky white when sprayed in humid weather. To prevent this you need to slow the drying by adding lacquer retarder.
Blushing is a spraying problem because it only occurs with fast-drying finishes that thin with lacquer thinner or alcohol. Blushing doesn’t occur with varnishes or water-based finishes that are brushed.
The milky whiteness of blushing is caused by moisture in the air condensing into the finish and then, upon evaporation, leaving air voids that refract the light and prevent it from traveling through the finish. The discoloration is most likely to occur, of course, in humid weather.
Conversion varnish rarely blushes, and oil-based varnish, polyurethane and water-based finish never blush (though water-based finish can turn somewhat opaque if applied very thick).
To avoid blushing in lacquer and shellac, add lacquer retarder to the finish before applying it. The retarder slows the drying process so the finish can still pack down and eliminate the air voids after the moisture has evaporated.
The downside of adding retarder is that it slows the overall drying of the finish, which slows your production and could lead to dust problems, runs and press marks. For this reason, don’t add more retarder than is needed to avoid the blushing.
If you get blushing and it doesn’t come out on its own within a couple of hours, spray some retarder (as little as possible to clear up the finish) onto the surface to “open up” the finish and allow it to pack down solid and eliminate the voids. Spraying regular lacquer thinner (or alcohol onto shellac) may also work on a drier day. You can also rub the finish with steel wool or an abrasive pad to remove the finish nearest to the surface, where the blushing occurs.
Finish Doesn’t Harden
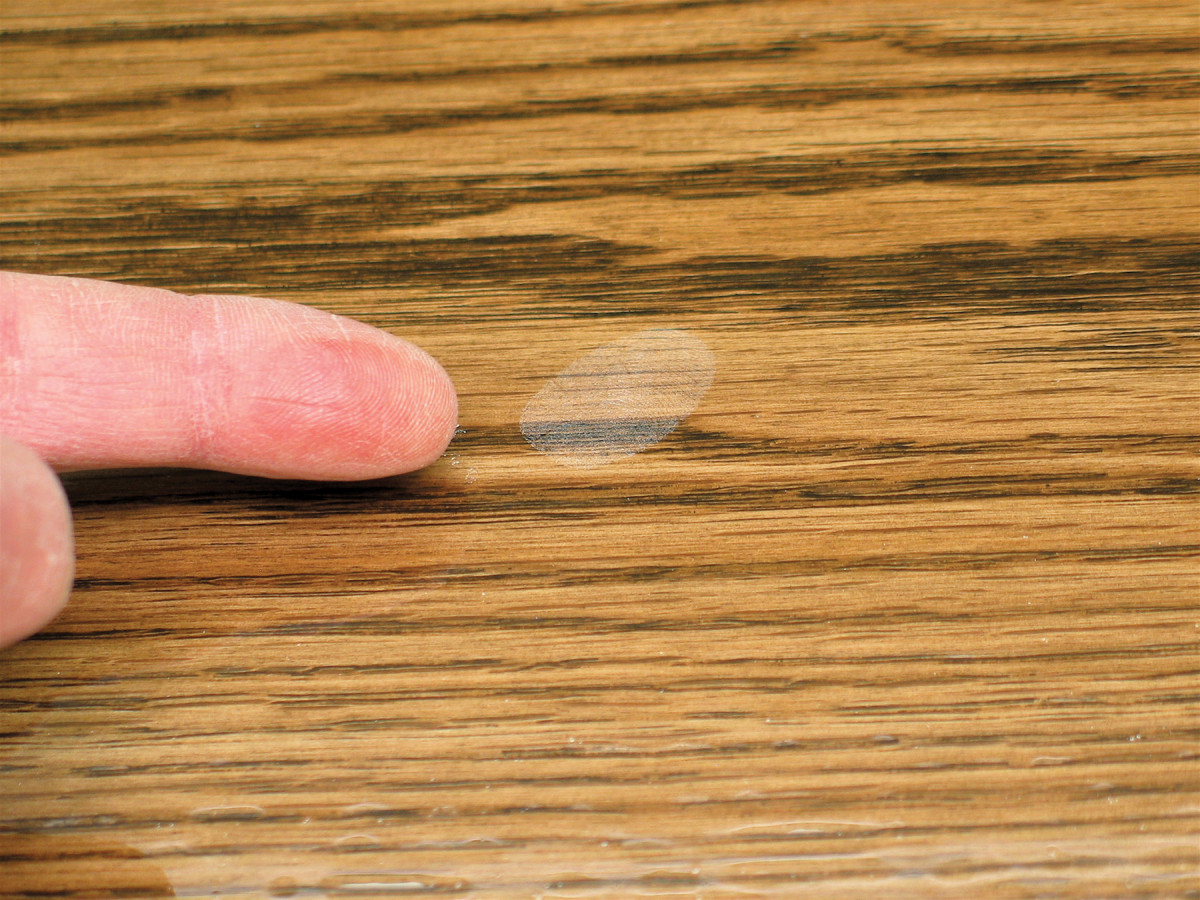
4. If you slow the drying too much, or if your shop is cold, the finish won’t harden in the normal time, and it will mark when something (like my finger in this case) is pressed against it.
There are two causes for the finish not hardening within a normal time frame. The first is that you have added lacquer retarder to solve one of the problems described above. The second and most common is that you’re working in a cold environment. Either way, the finish will show pressmarks easily.
Cold temperatures slow the drying of any finish. Only finishes that thin with lacquer thinner can be adjusted to dry normally in these conditions. The way to do it is to add a little “fast” or “hot” lacquer thinner to the finish to get it to dry faster. These lacquer thinners are usually available from auto-body supply stores. You can also add acetone, which is widely available. If you live in an area that complies with strict VOC laws, you can switch to 275 VOC lacquer, which is made with a lot of acetone.
Poorly Coated Edges
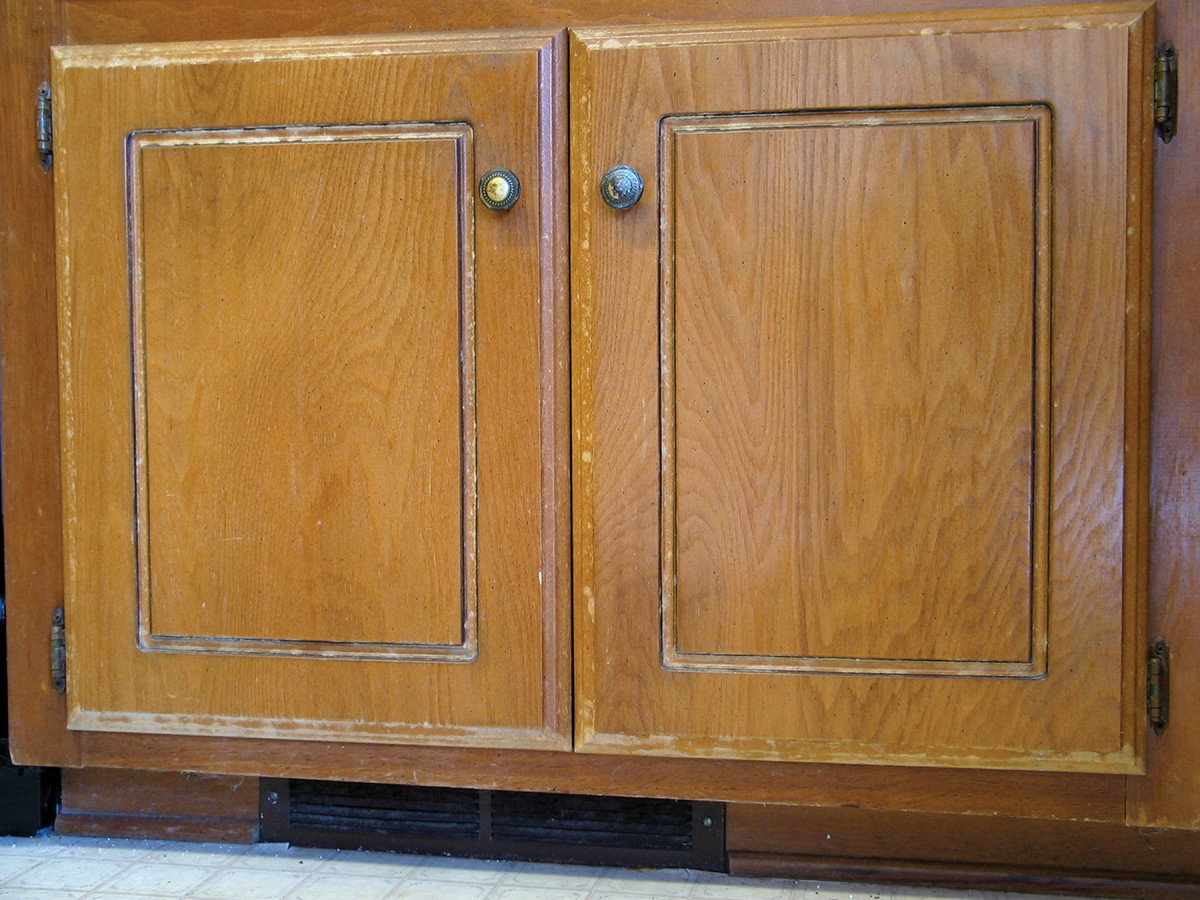
5. A common problem when finishing cabinet doors is not getting a thick enough finish on the edges. Especially under sinks, this can result in the finish peeling long before it should.
Not getting enough finish on the edges of cabinet doors leads inevitably to peeling, especially under sinks. Inadequate build on edges is a spraying problem because it rarely happens when brushing a finish.
You have to be fully aware of the problem to avoid it, but once you’re aware, avoidance is easy. It’s just a matter of spraying full coats of finish onto the edges, holding your spray gun at a straight-on angle.
Many finishers hold the spray gun at a 45° angle when spraying edges and this doesn’t deposit enough finish. The end user will begin to experience problems within several years.
Here are some supplies and tools we find essential in our everyday work around the shop. We may receive a commission from sales referred by our links; however, we have carefully selected these products for their usefulness and quality.