


We may receive a commission when you use our affiliate links. However, this does not impact our recommendations.
 There are a few ways to cut a waterfall miter on the table saw. To determine which way suits you best, you first need to determine whether your furniture is built from a slab where both edges are “live” or from a slab that has only one live edge. I have built both types of furniture and know that both design approaches can yield functional and beautiful pieces. A live edge piece with one natural and one straight edge is better suited to be placed against a wall, while one with an all-natural edge looks coolest as a stand-alone piece. But as always, it’s all in the eye of the beholder. Though one thing is for sure: it is easier to cross cut a miter on a live edge slab that has only one live edge because you can rely on the opposing straight edge for both mitering and for creating the miter’s concealed reinforcement (such as hidden wooden keys embedded into the miter).
This post will cover how to cut a waterfall miter on the table saw, using a live edge slab with one straight edge.
Using a Crosscut Sled
Since a lot of readers have access to a table saw, I will assume that you have a crosscut sled and one or two miter gauges. For those who use a European style panel saw with a big and reliable moving wing, your life is going to be easier…
 The easiest way to miter on a table saw is to butt the slab’s straight edge against the cross cut sled fence closest to you and push the slab over the tilted blade.
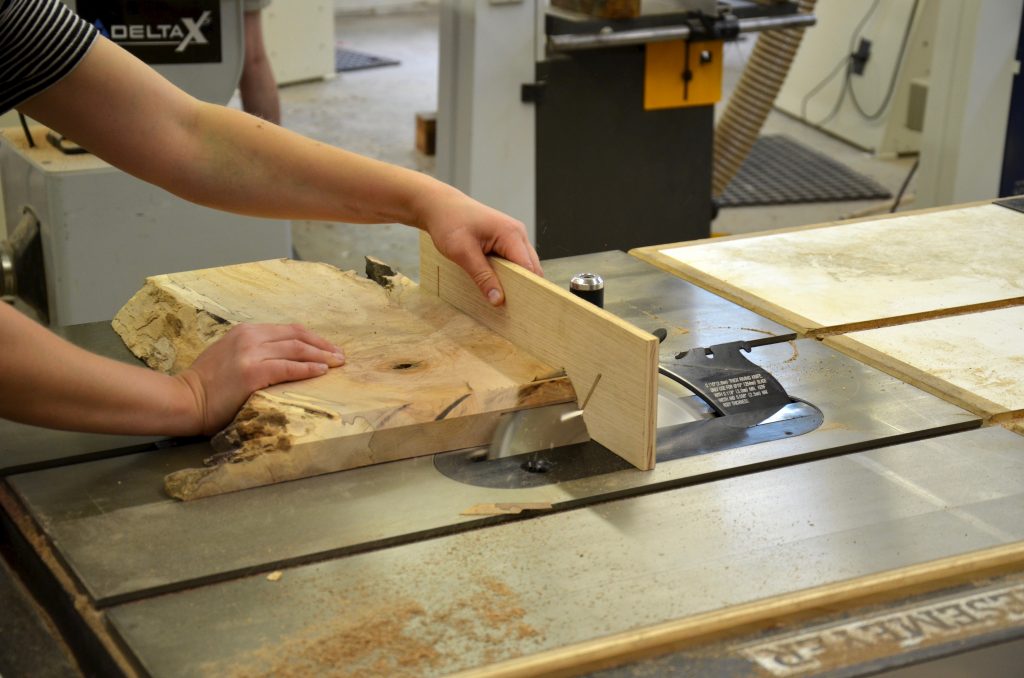
Once you finish cutting the first bank of the miter you will have to pick up the cut-off slab and reposition it against the sled’s fence that is farthest away from you (shown below). If you are sure you can apply enough force to lock the slab against that fence throughout the second mitering operation go ahead and do it. But beware that mitering can be tougher than regular crosscutting. It is especially harder when your slab is thick. As more surface of wood is in contact with the saw blade, more friction is created and more force is needed to push the slab through. This is why I would recommend pressing the slab to the sled with toggle clamps or makeshift brackets to stabilize the slab and ensure a safer cut.

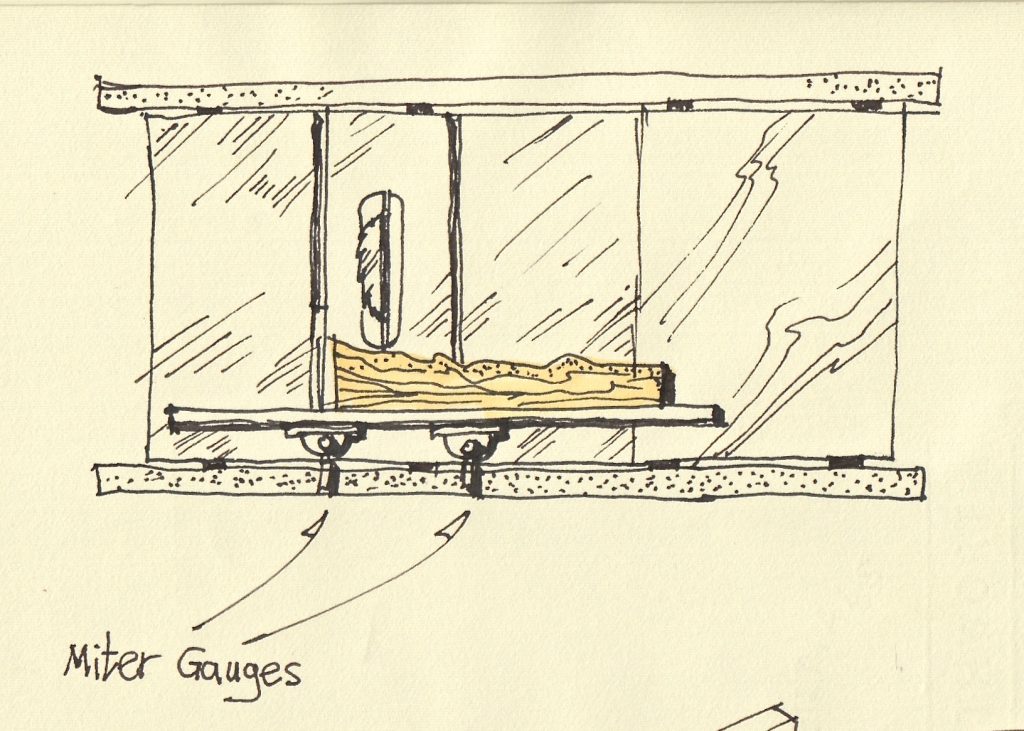
Using Miter Gauges
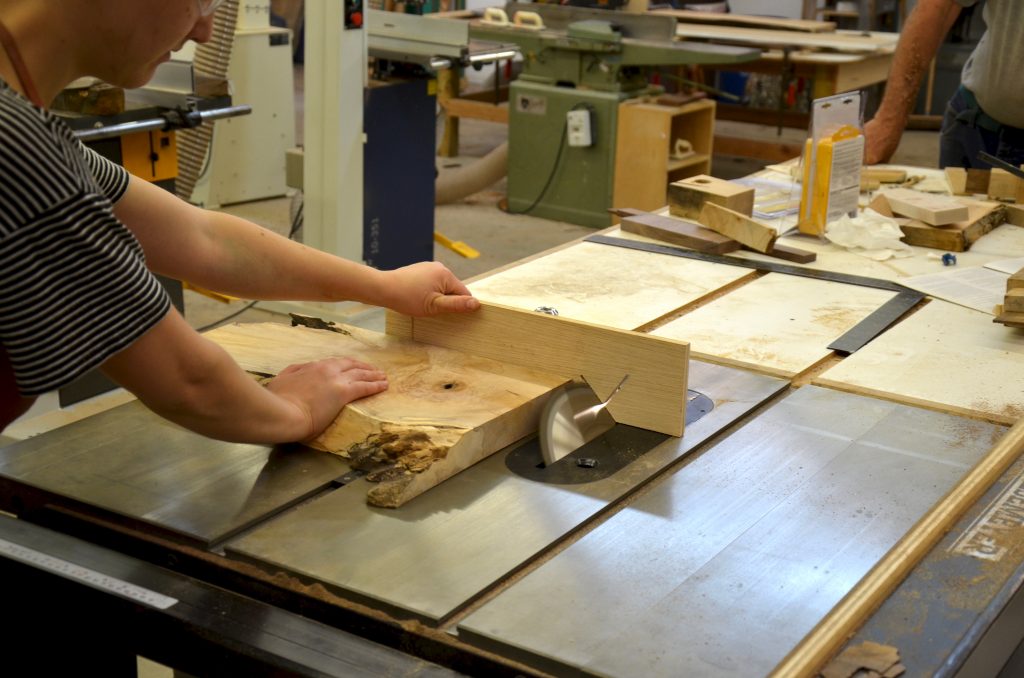
If you don’t have a cross cut slab adequate for the mitering job, you can screw a fence made of hardwood onto two miter gauges in order to provide you with support through the cross cutting. The picture at the top of this post shows how we did that.
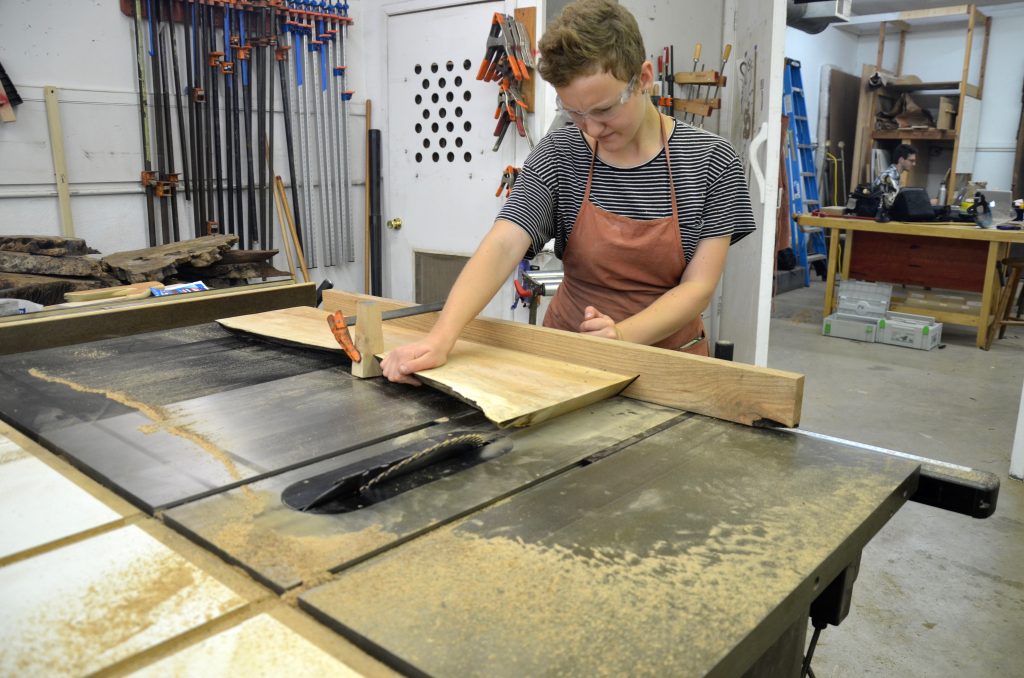
Before Anneloes mitered the longer portion of our slab, she crosscut the slab into two portions: the long one, which later became the coffee table’s top while the shorter one ended up as the leg. To support crosscutting, then mitering the top’s bank we used an oak fence screwed onto two miter gauges. The two gauges provided adequate stability for safe crosscutting of our thick maple slab.
We added accuracy to the mitering by clamping the slab to the fence with a tailored cut bracket.
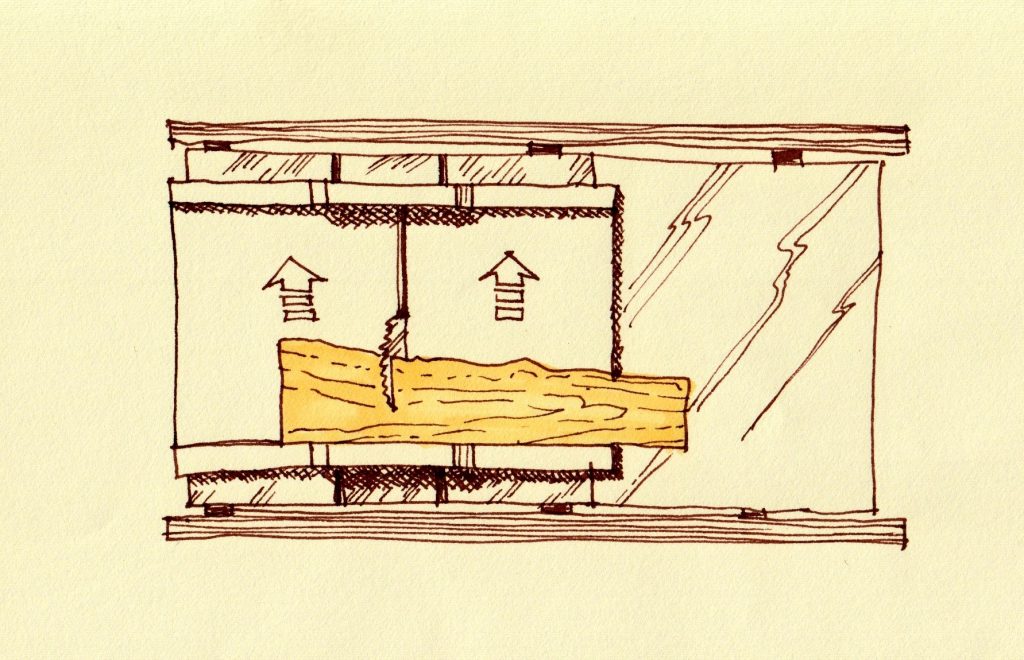
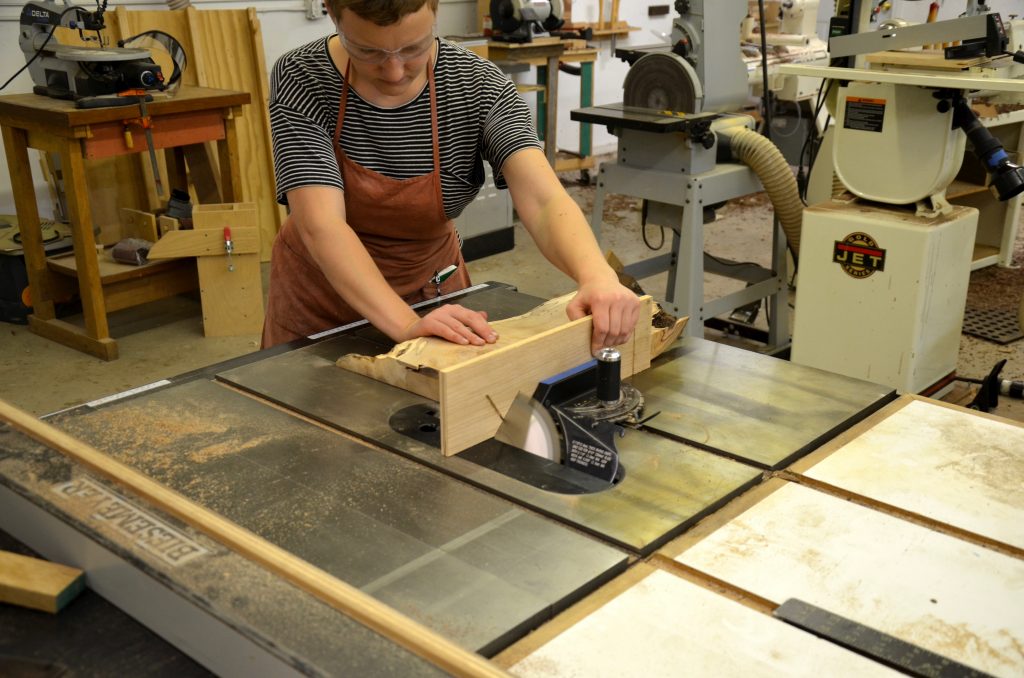
When we needed to miter the shorter portion (which became the table’s leg) Anneloes placed the piece’s top face down on the table saw. Then she tucked it against the fence of one miter gauge. This remaining portion was short enough that one miter gauge placed in a reverse configuration was ok. For some of you this might seem a risky operation because we are used to having the miter gauge’s fence closer to us. But as long as you approach this technique with care you should be fine. This way of cross cutting is by the way very common on European style panel saws.
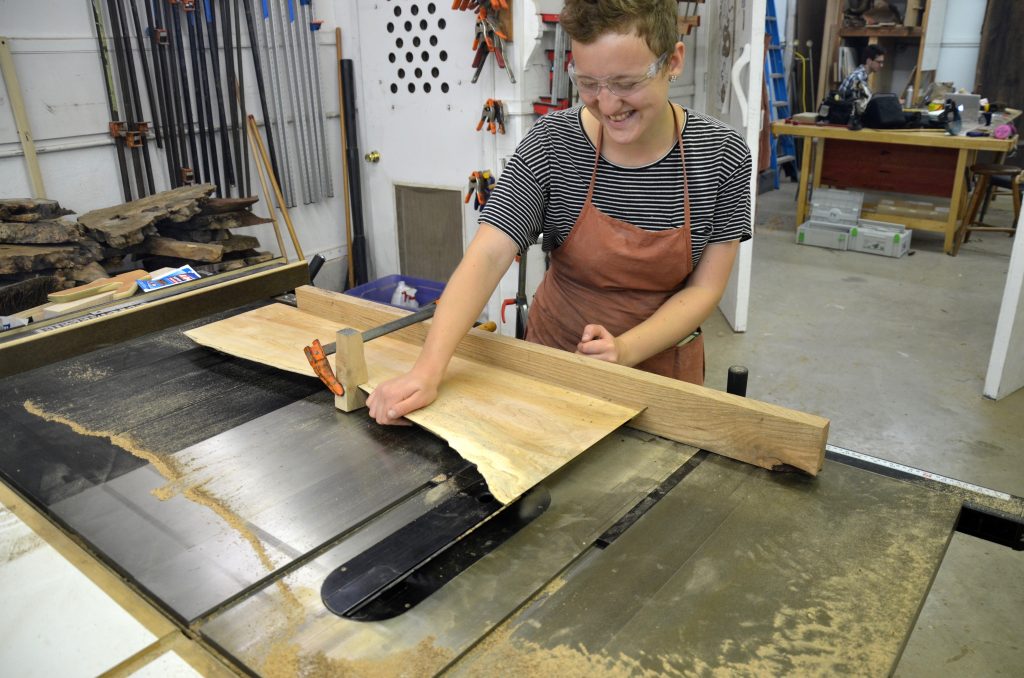
Anneloes began this operation with extra caution by mitering a narrow portion of the miter to asses the risk, and only when all seems manageable she repeated the cut and completed it creating a nice 45 degree miter with minimal burn marks.
In the next post I will show how to cut a waterfall miter in a slab with two natural edges.
Here are some supplies and tools we find essential in our everyday work around the shop. We may receive a commission from sales referred by our links; however, we have carefully selected these products for their usefulness and quality.


