


We may receive a commission when you use our affiliate links. However, this does not impact our recommendations.
Last week I showed the first project that was completed during my live edge class at Peters Valley. This week I will show you Mark’s table.
The Top
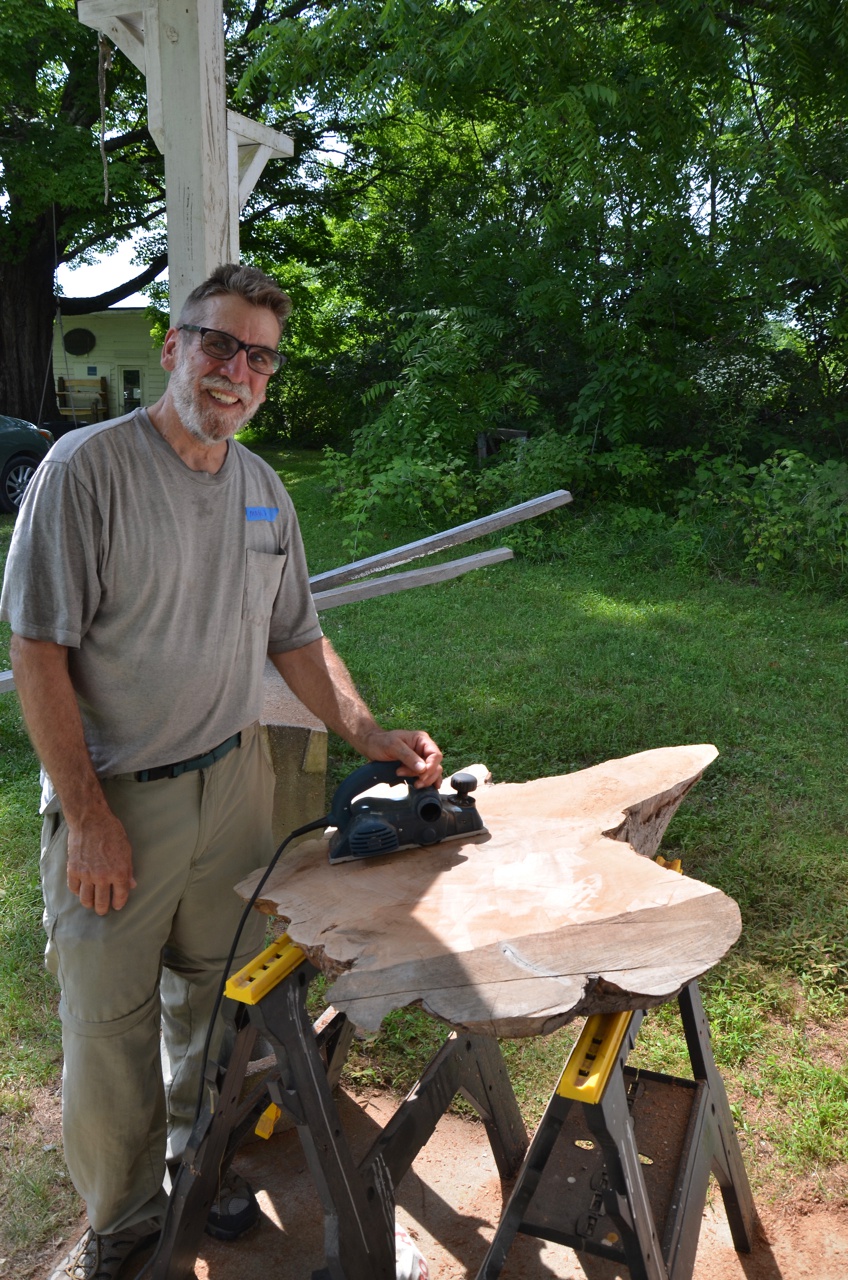
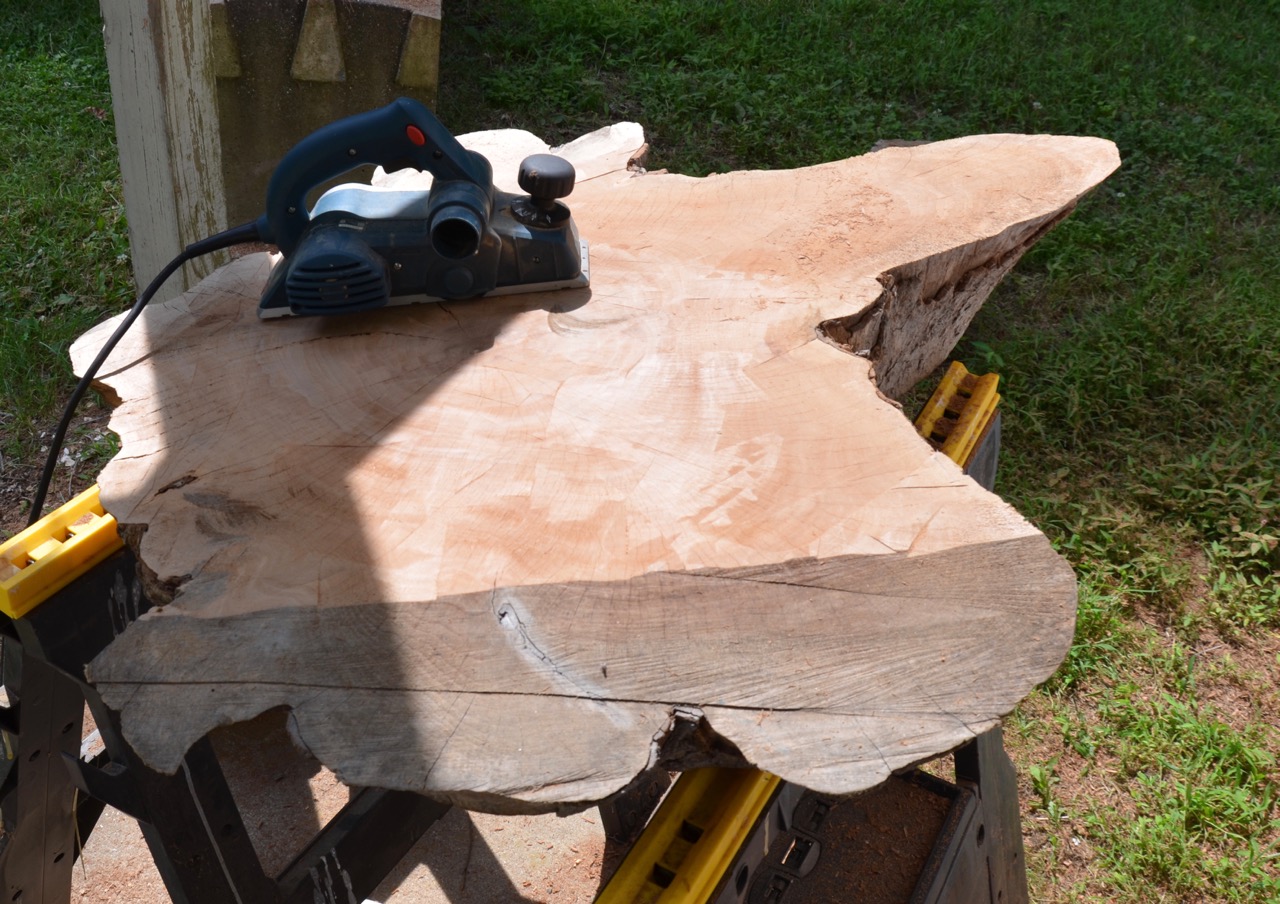
Mark found a rugged cross-cut slice of a sycamore tree that was cut down near his home. His slice was wide and impressive and originated from the base of the tree, just above the roots. The arborist who cut it just wanted to fell the tree and did not intend to saw a perfectly parallel cut for a coffee table top, hence we had to deal with two major challenges. First, the slice was in the shape of a wedge. Second, the broader face of the slice was all messed up with marks from the chainsaw’s crisscross paths.
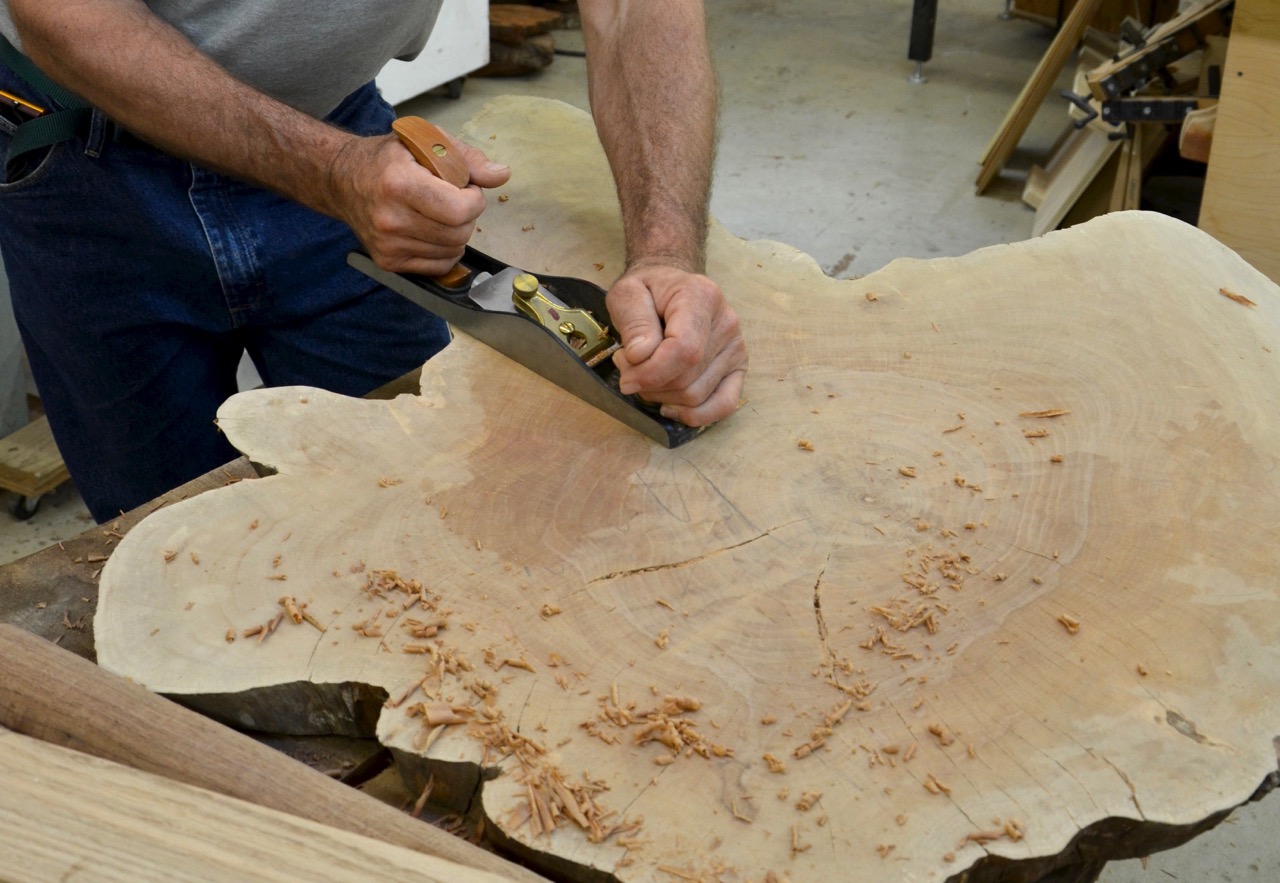
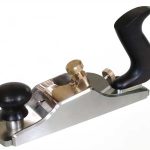
In order to start this project we came up with an effective surfacing strategy that called for an electric hand-held planer followed by a Lie Nielsen #62 plane. After this, Mark sanded the surface with a belt sander and began to think about what kind of base he should make.
We discussed a few approaches and zoomed in on something that Mark felt excited about – turning four splayed legs and installing them under the top in appropriate locations.
 The Legs
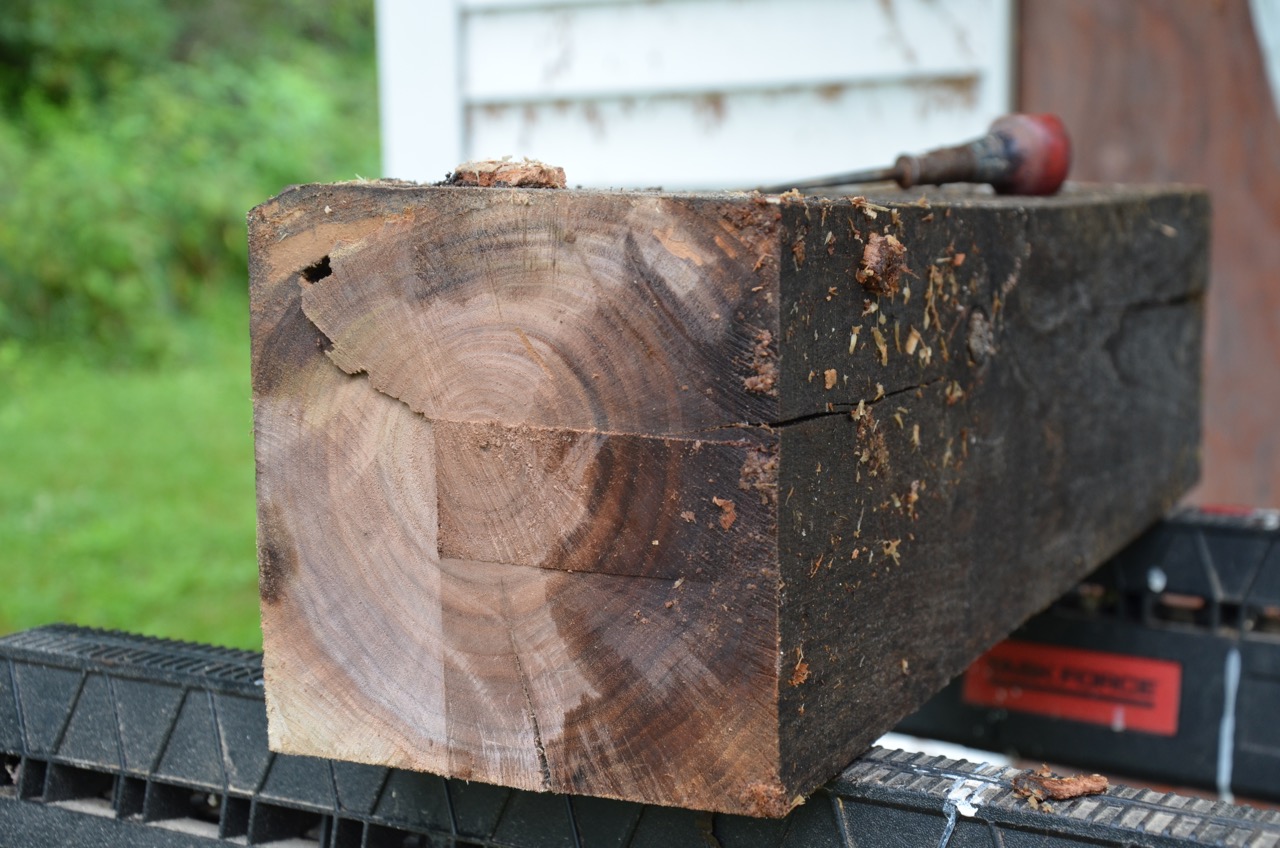
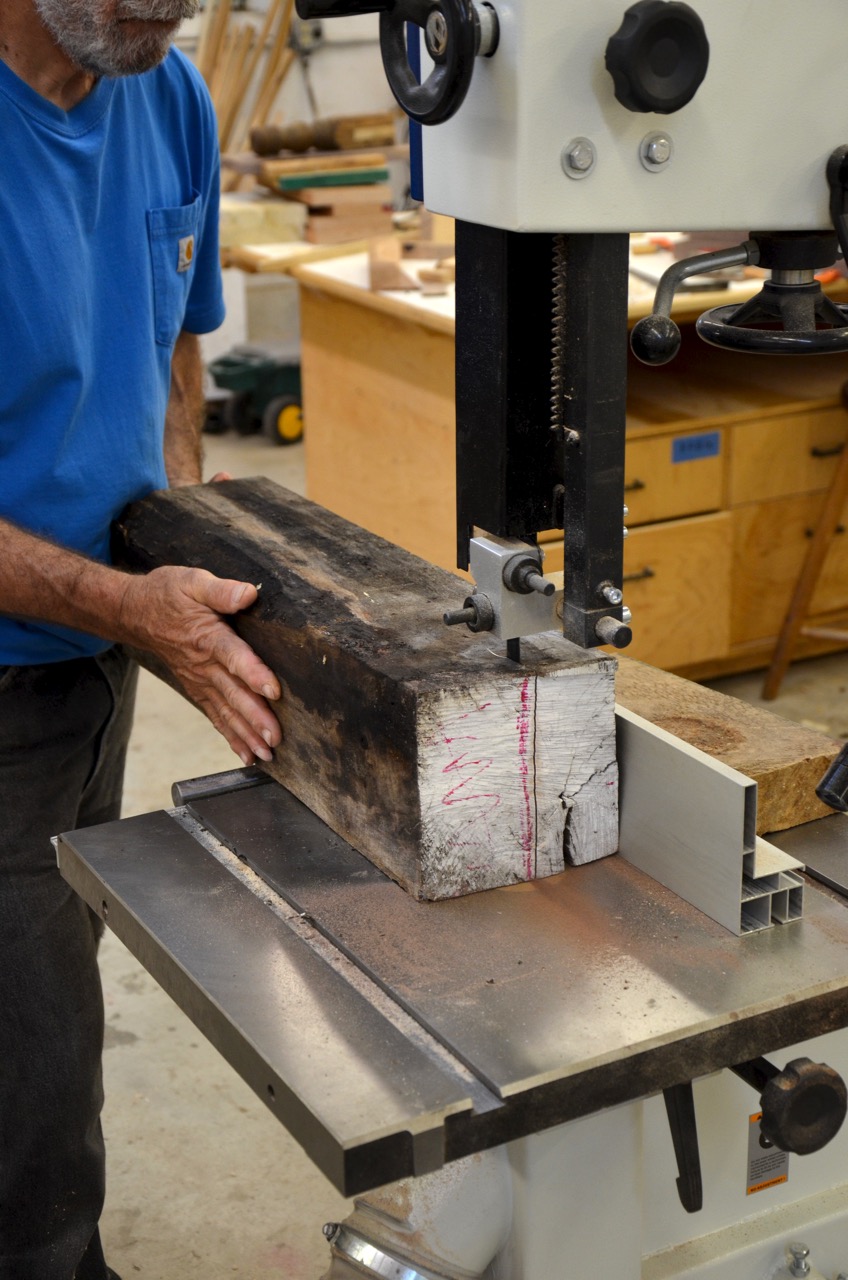
Next, Mark and I looked for some lumber candidates for the legs. As fit for a reclaimed project, we decided to adopt an abandoned walnut beam that we saved from a pile of miscellaneous beams and scrap that laid on the ground behind the woodshop. As we picked up the beam, a snake, whose late morning nap we interrupted, launched at Mark. The creature missed him and slithered away…yes reclaiming wood comes with some inherent risks.

After he snatched the beam from its previous reptilian owner, we discovered that it was partially wet (not surprising for a beam that was exposed to the elements), and that a half a dozen or so insects had made it their home. Undiscouraged, Mark set forth to resaw the beam into four parts and turn each one on the the lathe.
Next time I will show how Mark turned his legs, installed them, leveled them and finished the table.
 If you are interested in designing and working with live edge lumber, check out this previously recorded webinar from Yoav, “Urban Woodworking: Designing One-of-a-Kind Furniture” at shopwoodworking.com.
Here are some supplies and tools we find essential in our everyday work around the shop. We may receive a commission from sales referred by our links; however, we have carefully selected these products for their usefulness and quality.


Great top.I’ve made a couple of thee with asian chestnut but radial splits can be a challenge. I love sycamore but don’t know if it suffers similarly. I prefer using limbs for legs. A couple of split “Y”s tacked together yield a four legged table. I have used large 1′ hemp rope to form an apron where the legs are tied up underneath the top. Can’t wait to see the finished product.
Howdy-
Are you not worried about this cross-cut piece of Sycamore splitting as it dries? Hopefully it won’t the piece looks great! Good Work!