


We may receive a commission when you use our affiliate links. However, this does not impact our recommendations.
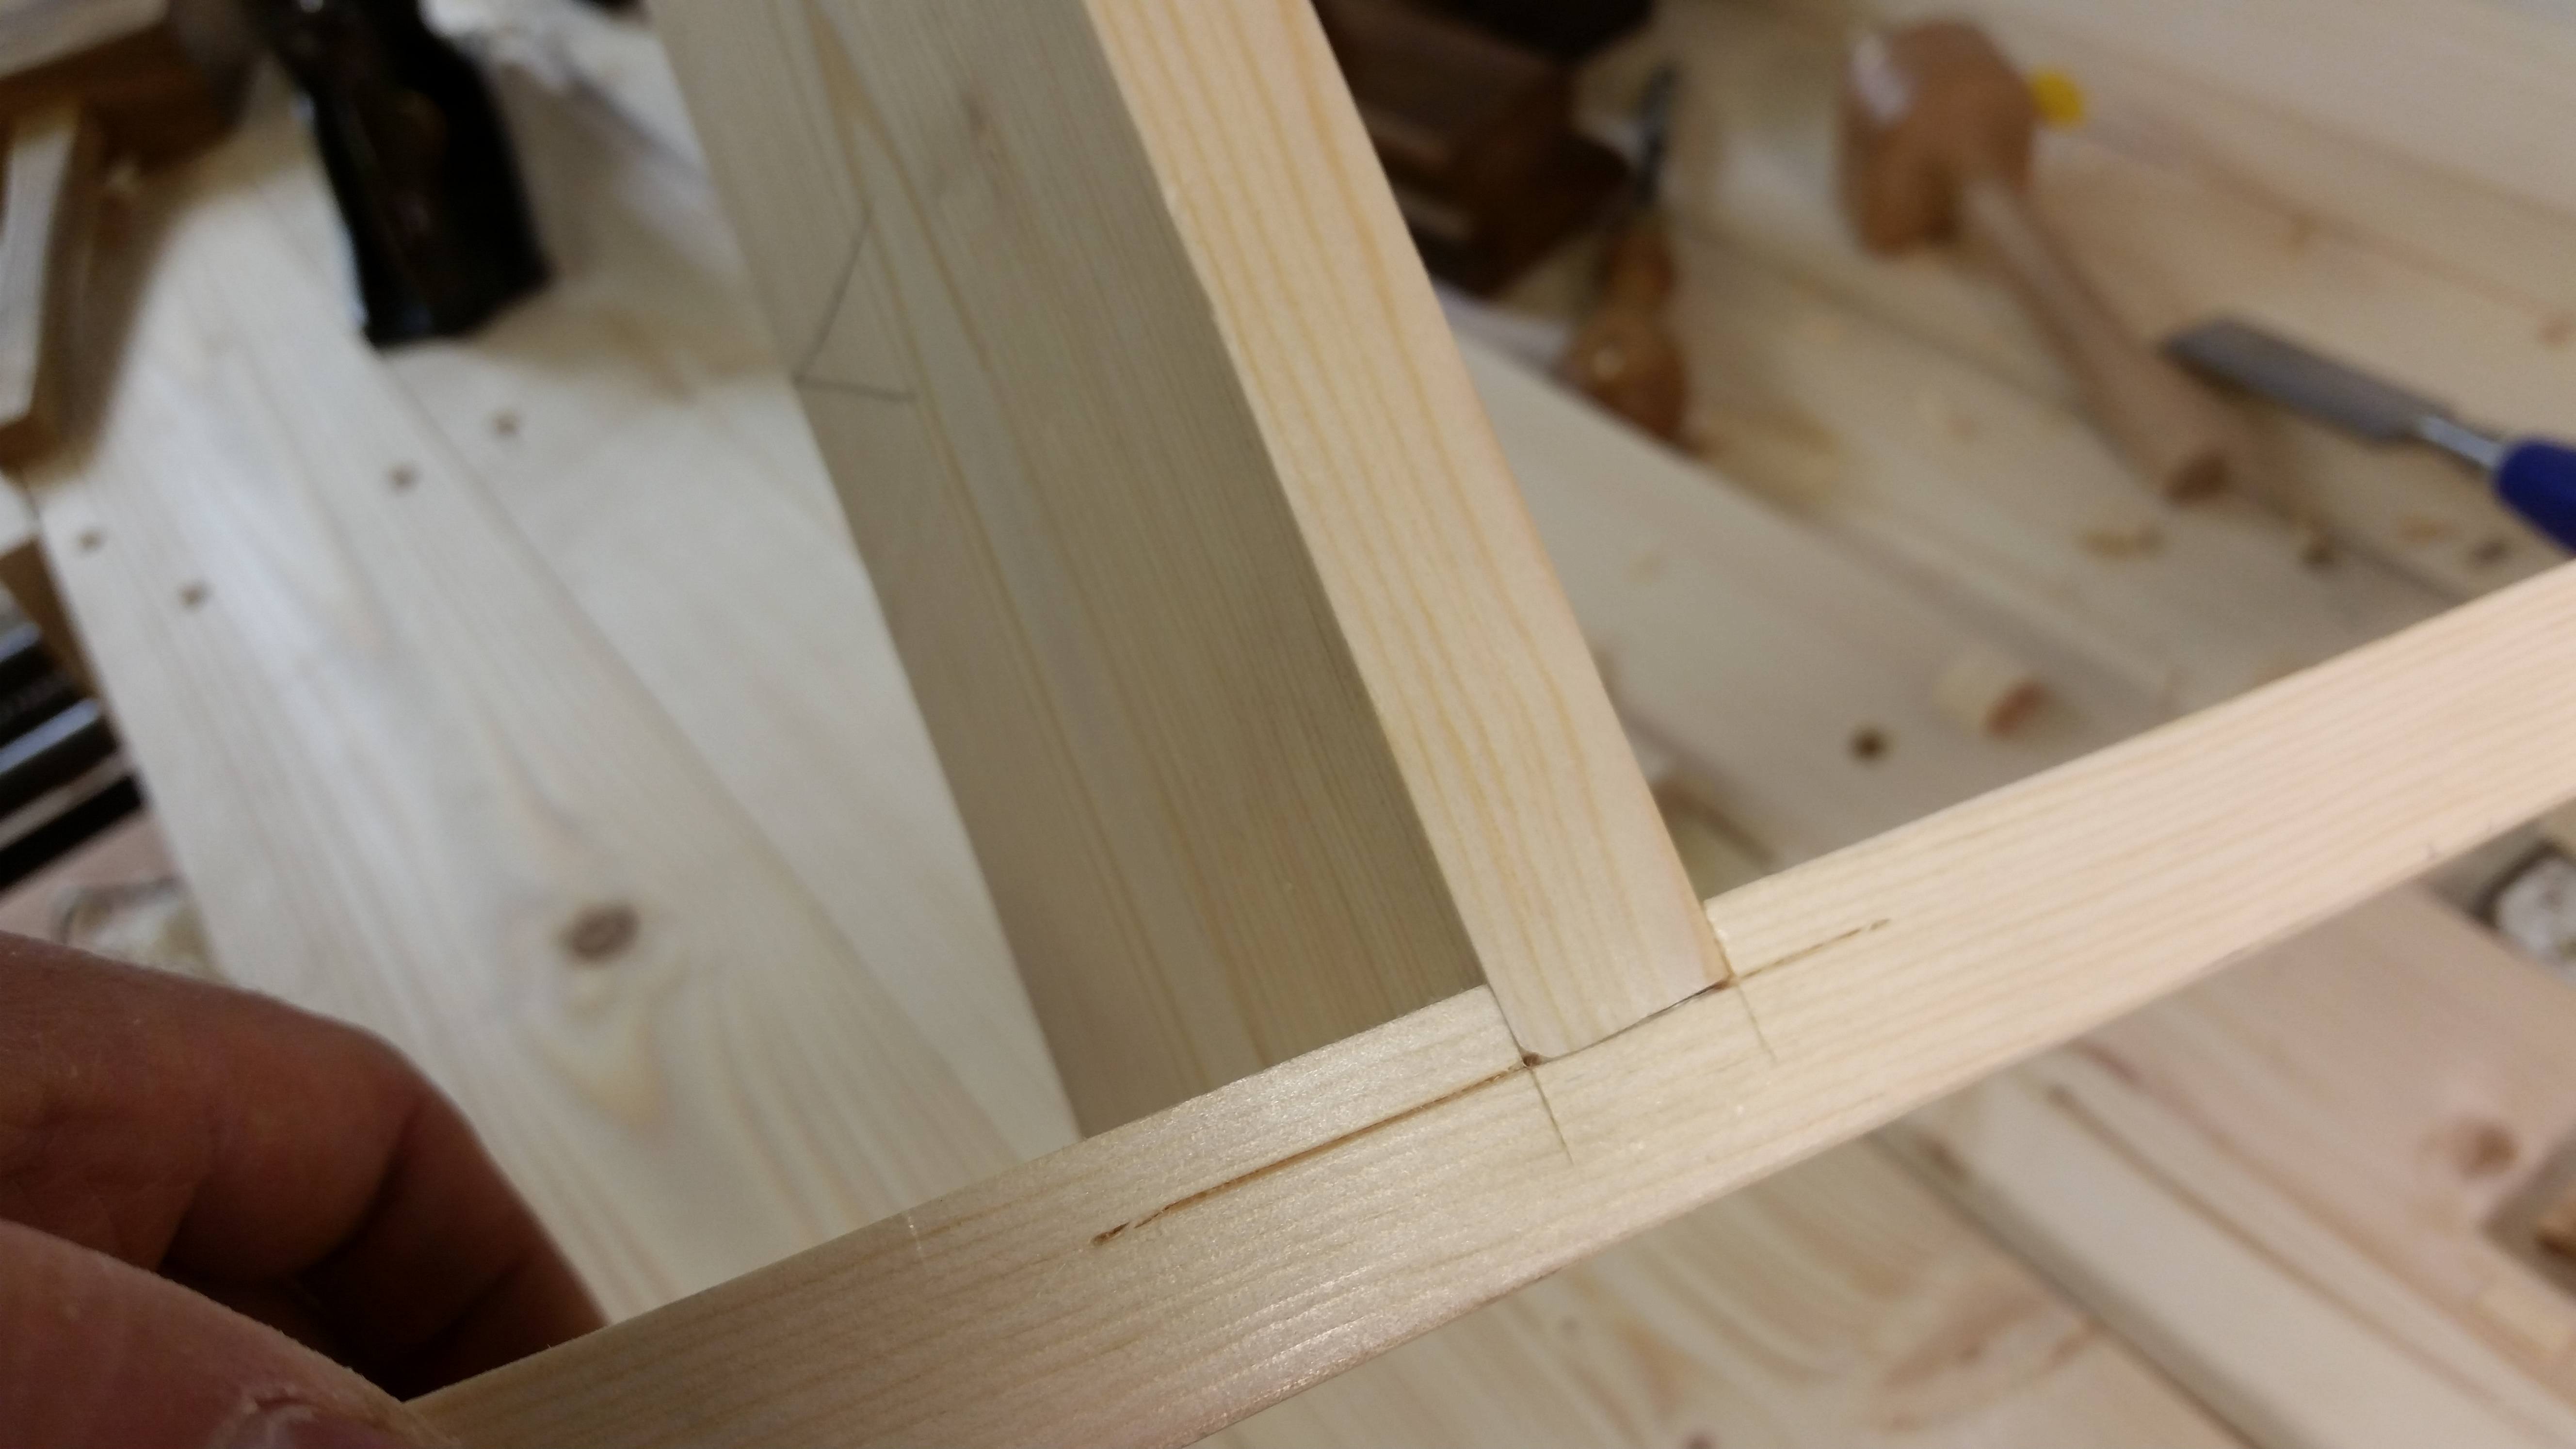
Making joinery by hand is a satisfying process, so I thought I’d share a method for hand made dado joints. In the early days of my apprenticeship we would practice joints on short ends of pine, getting used to the tools and working through the steps required to make a joint by hand, but without the pressure of thinking about an actual project. Getting excellent results was important and that’s why I start with a picture of what could be described as a somewhat less-than-perfect joint. However, once you start seeing handmade joinery in the field, on both furniture or carpentry applications, the above becomes quite normal.
If you’ve ever been around when something old needs repair, you’ll start to notice similar things on hand made joinery. It’s not indicative of shoddy work, it’s a way to be effective with your time and to allow brisk progress with no detriment to the final job. One of the great things about handwork is that the approach can vary greatly to suit the task. All it takes is a little practice to get the hang of handmade joinery and then use it effectively within your workflow.
In addition to the photos you can watch the process in a video at the end of this post. I wanted to be plentiful with the photos because sometimes it is easier to take in information via images.
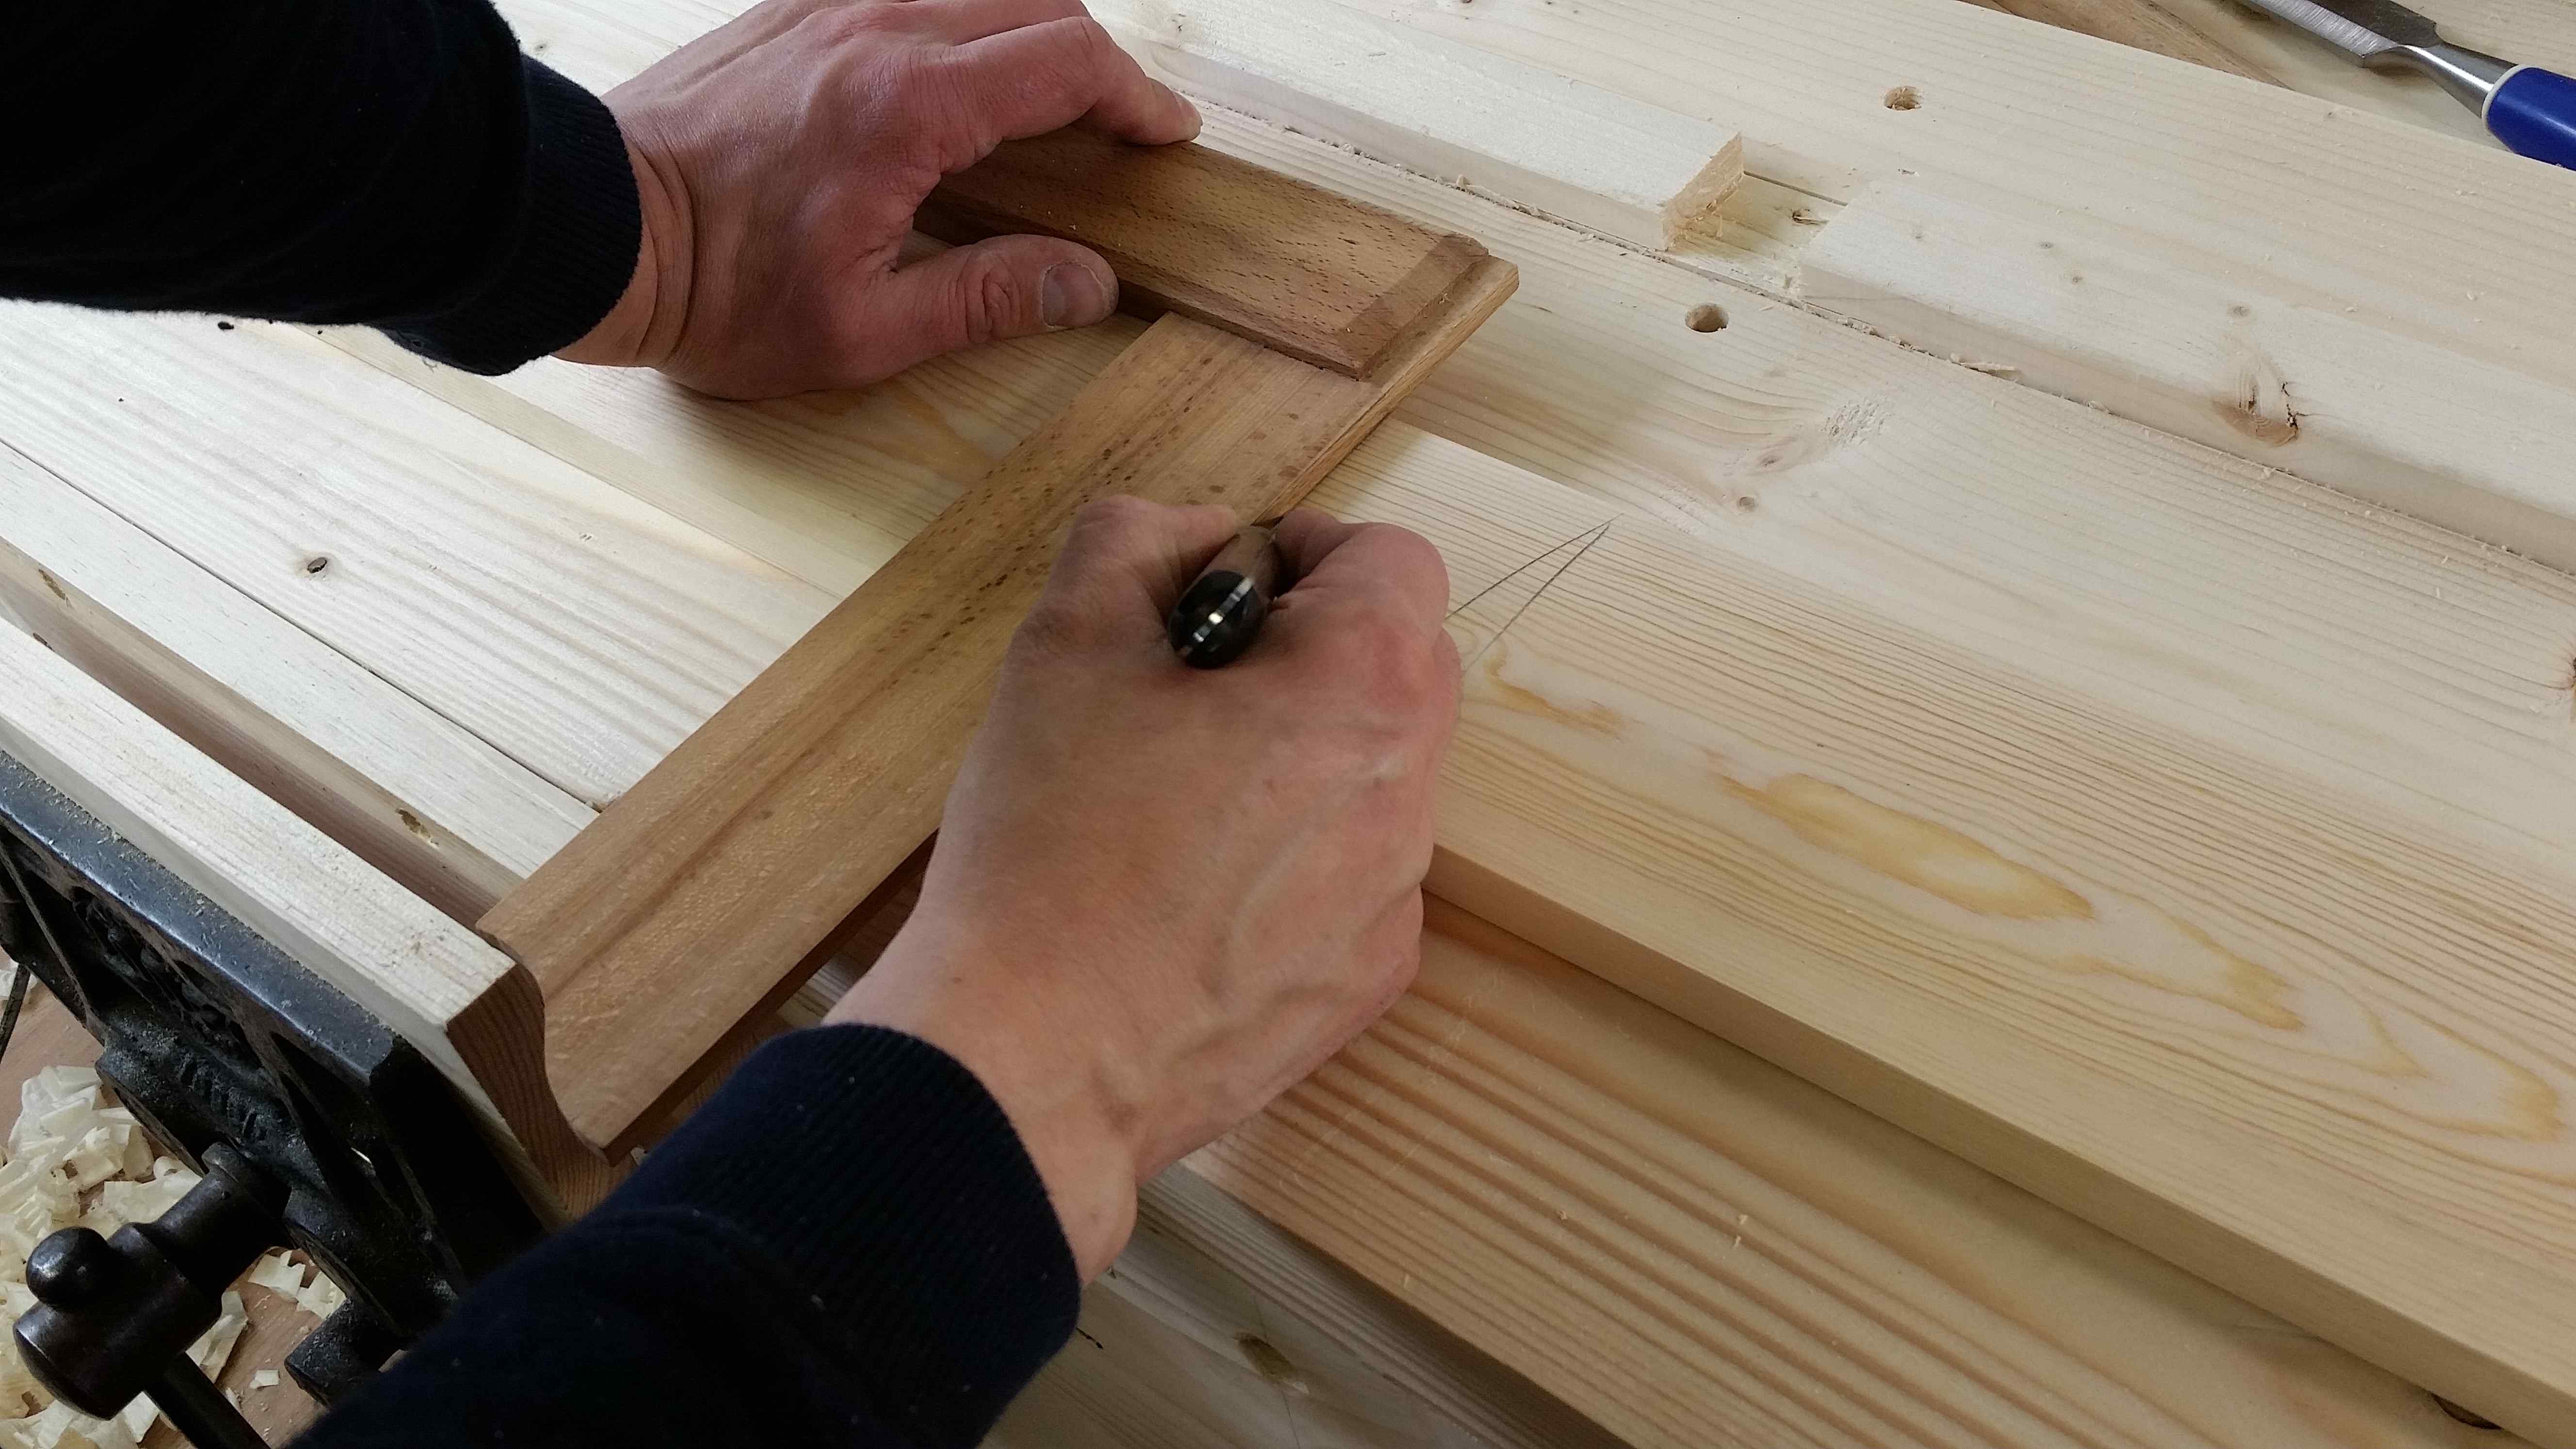
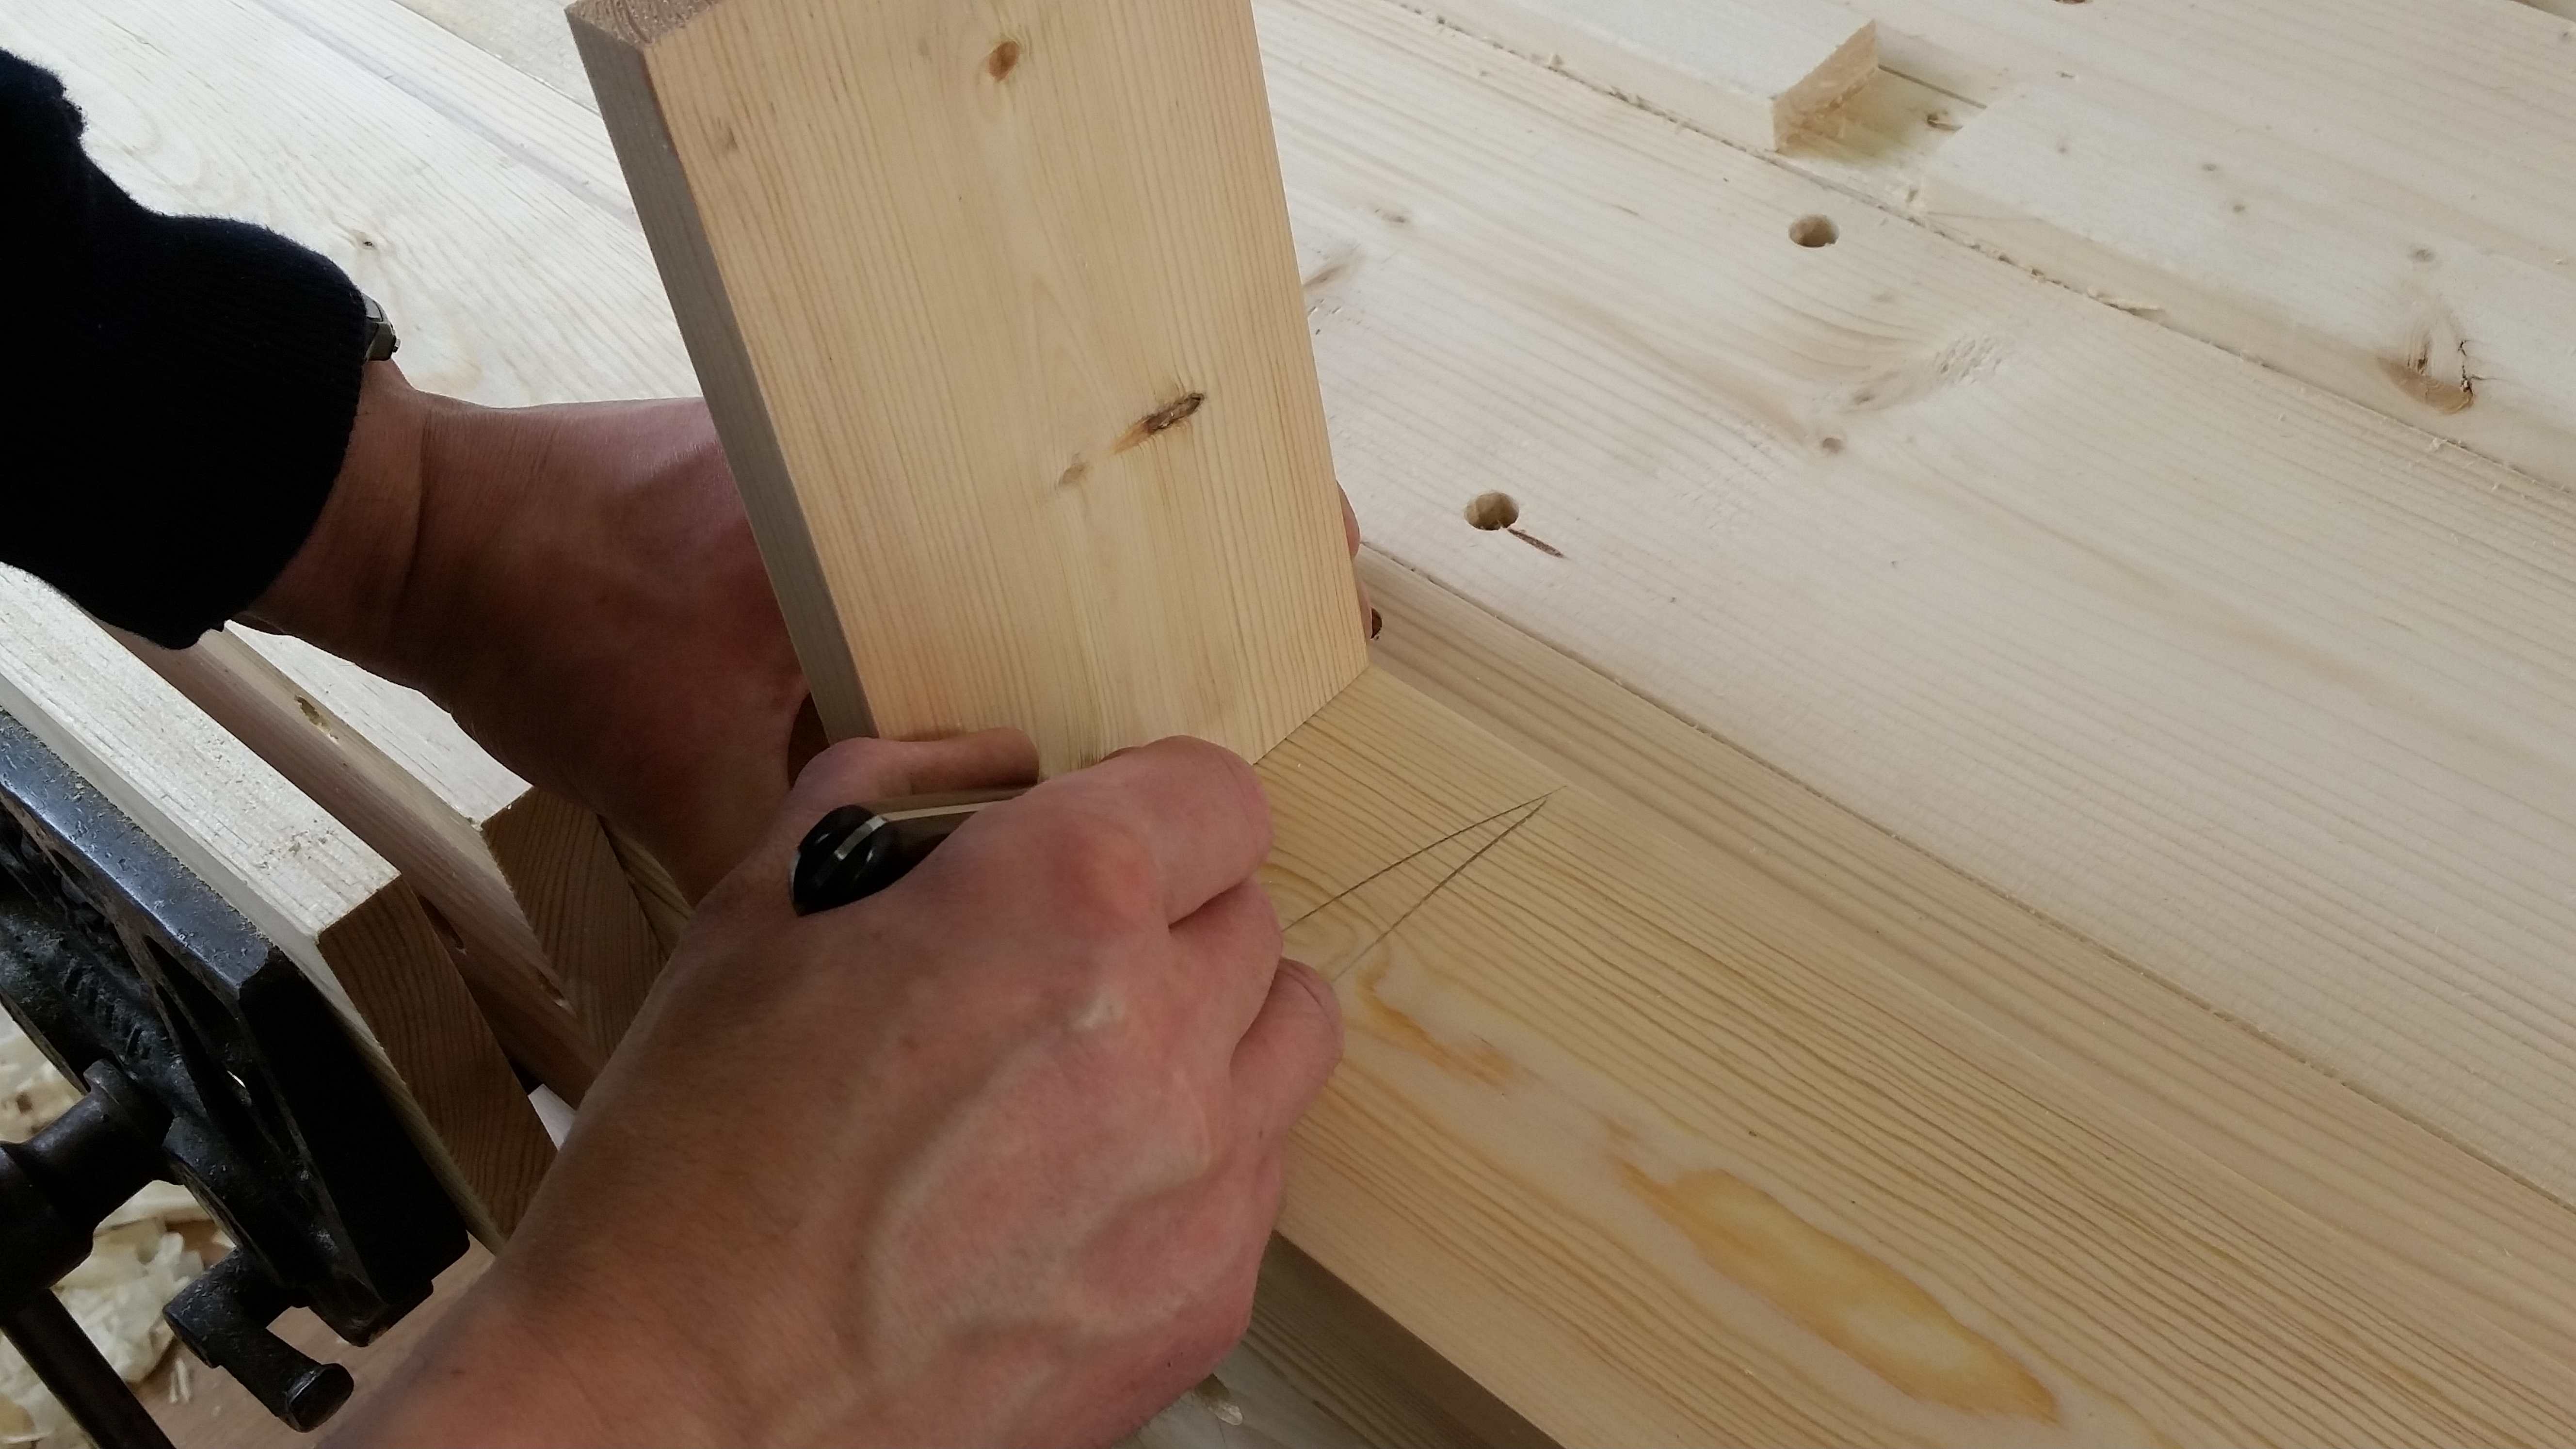
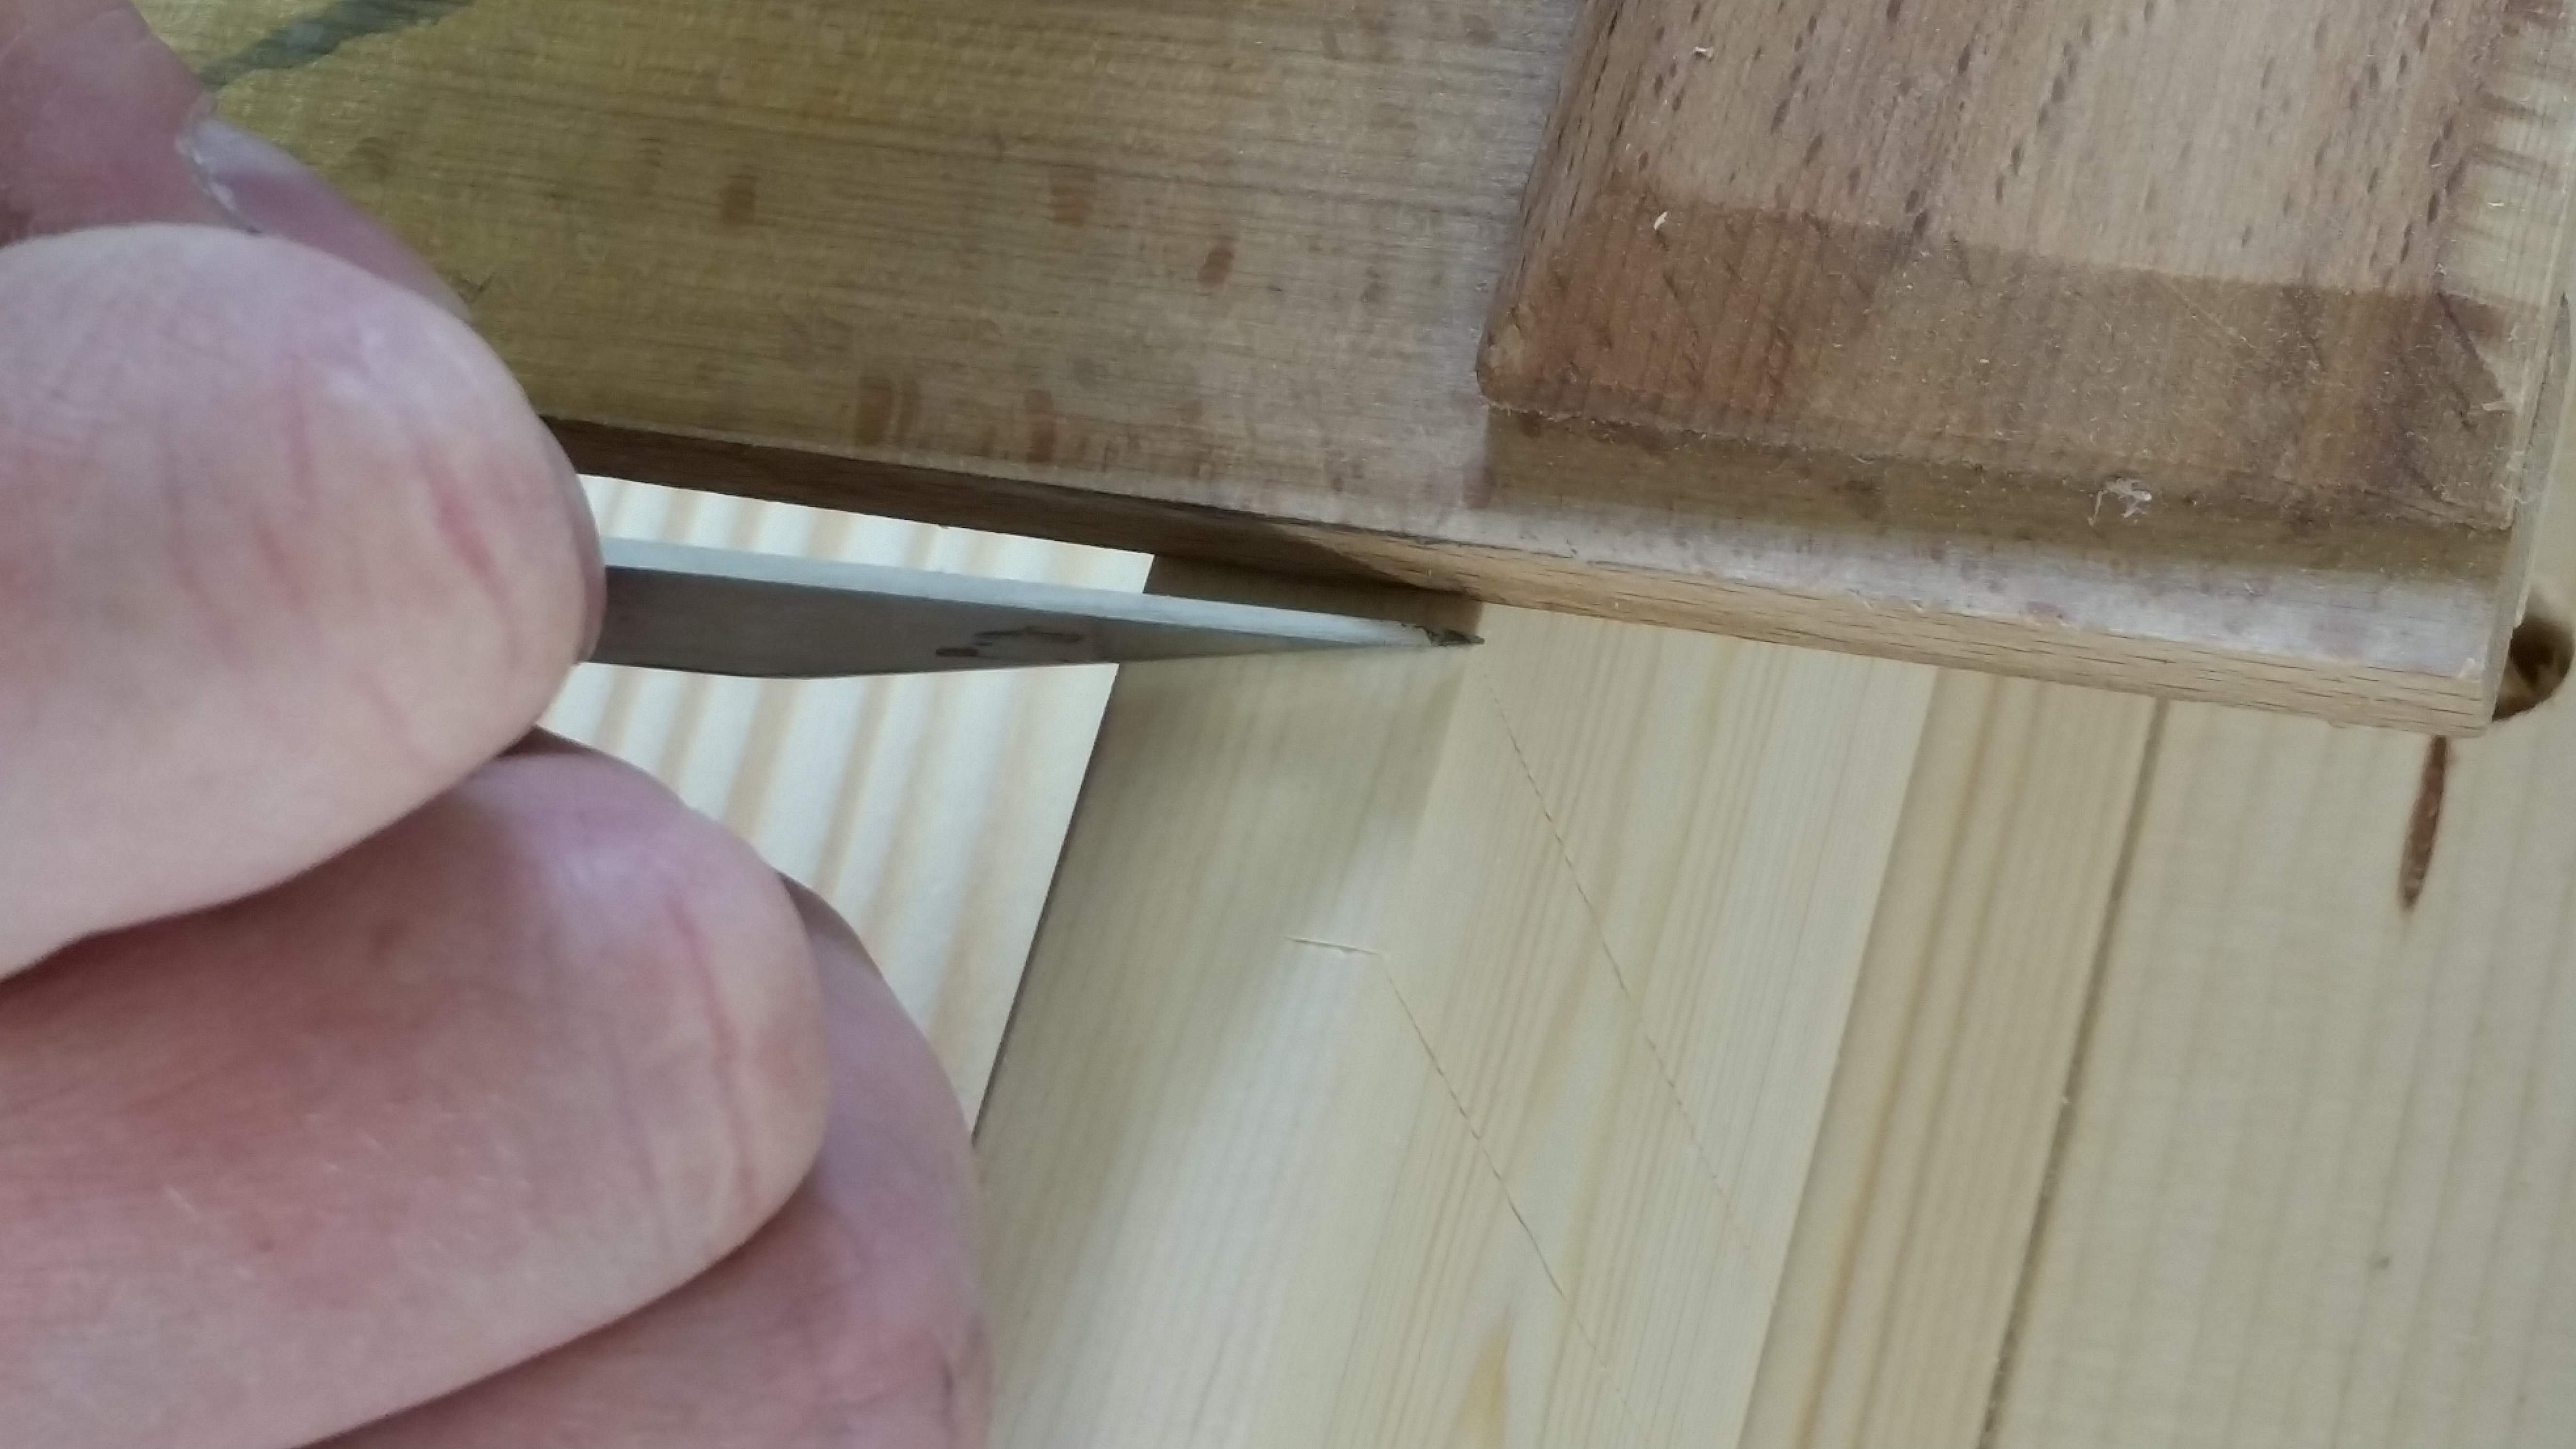
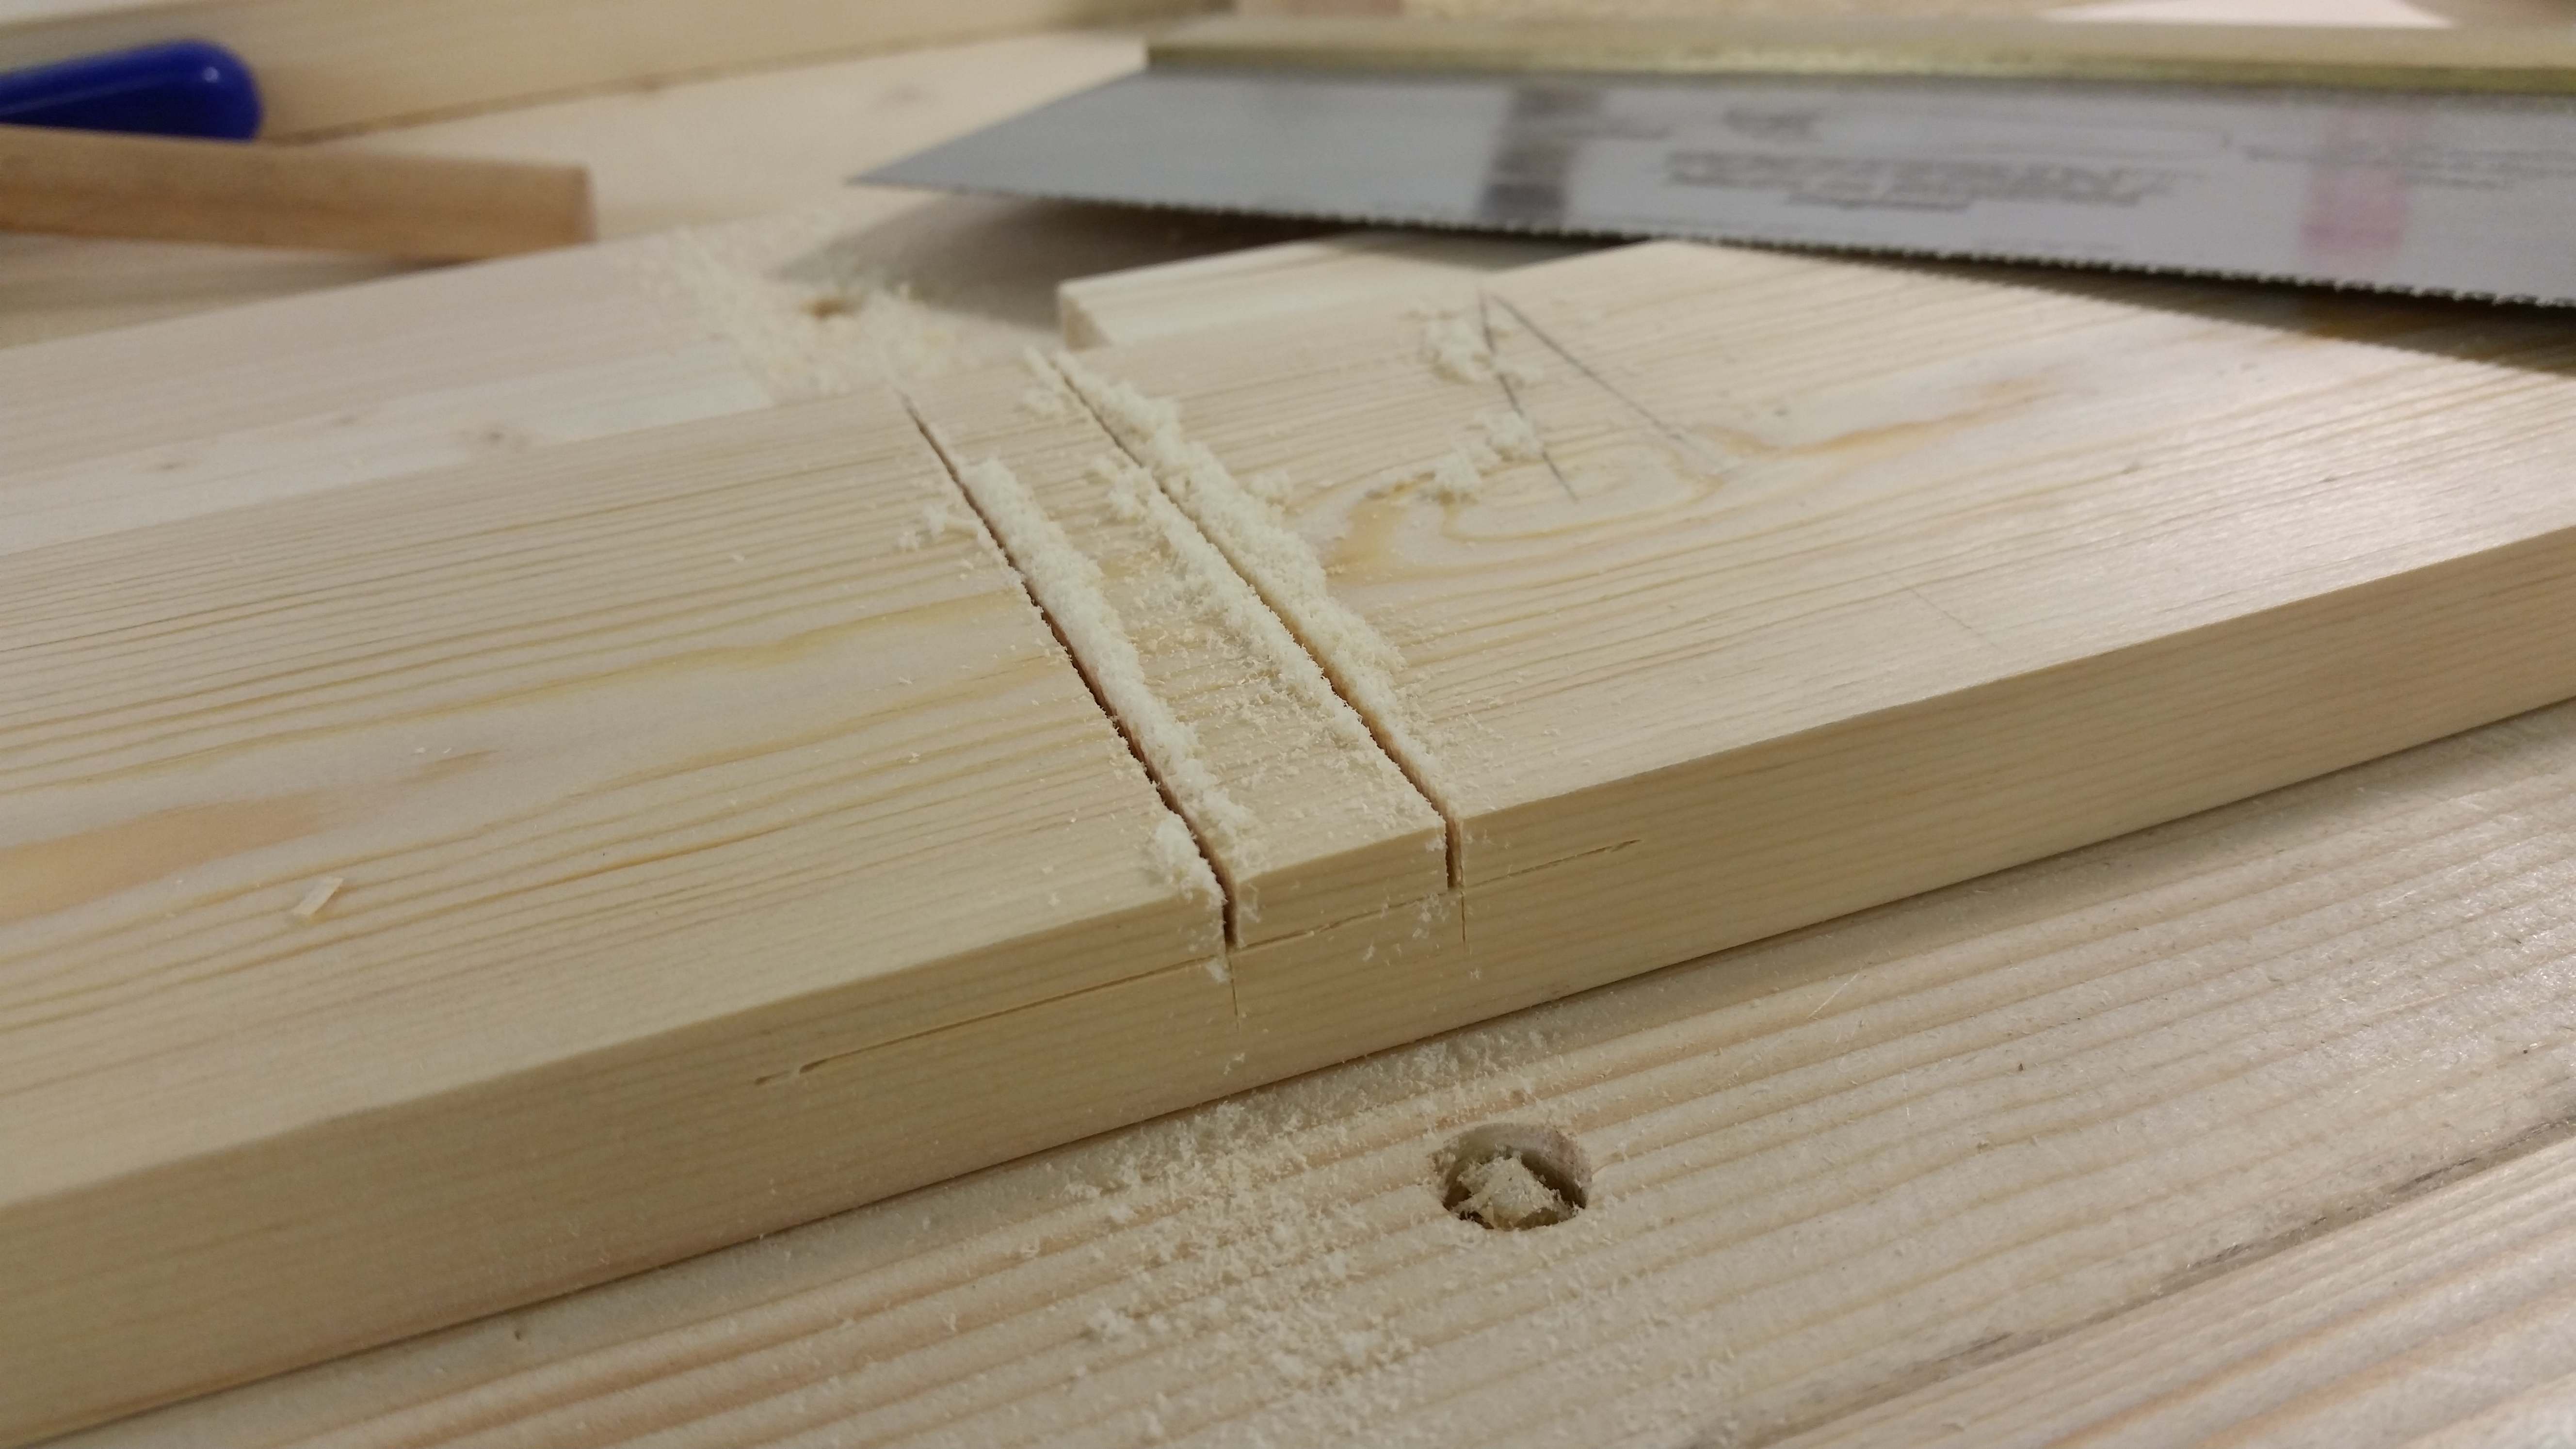
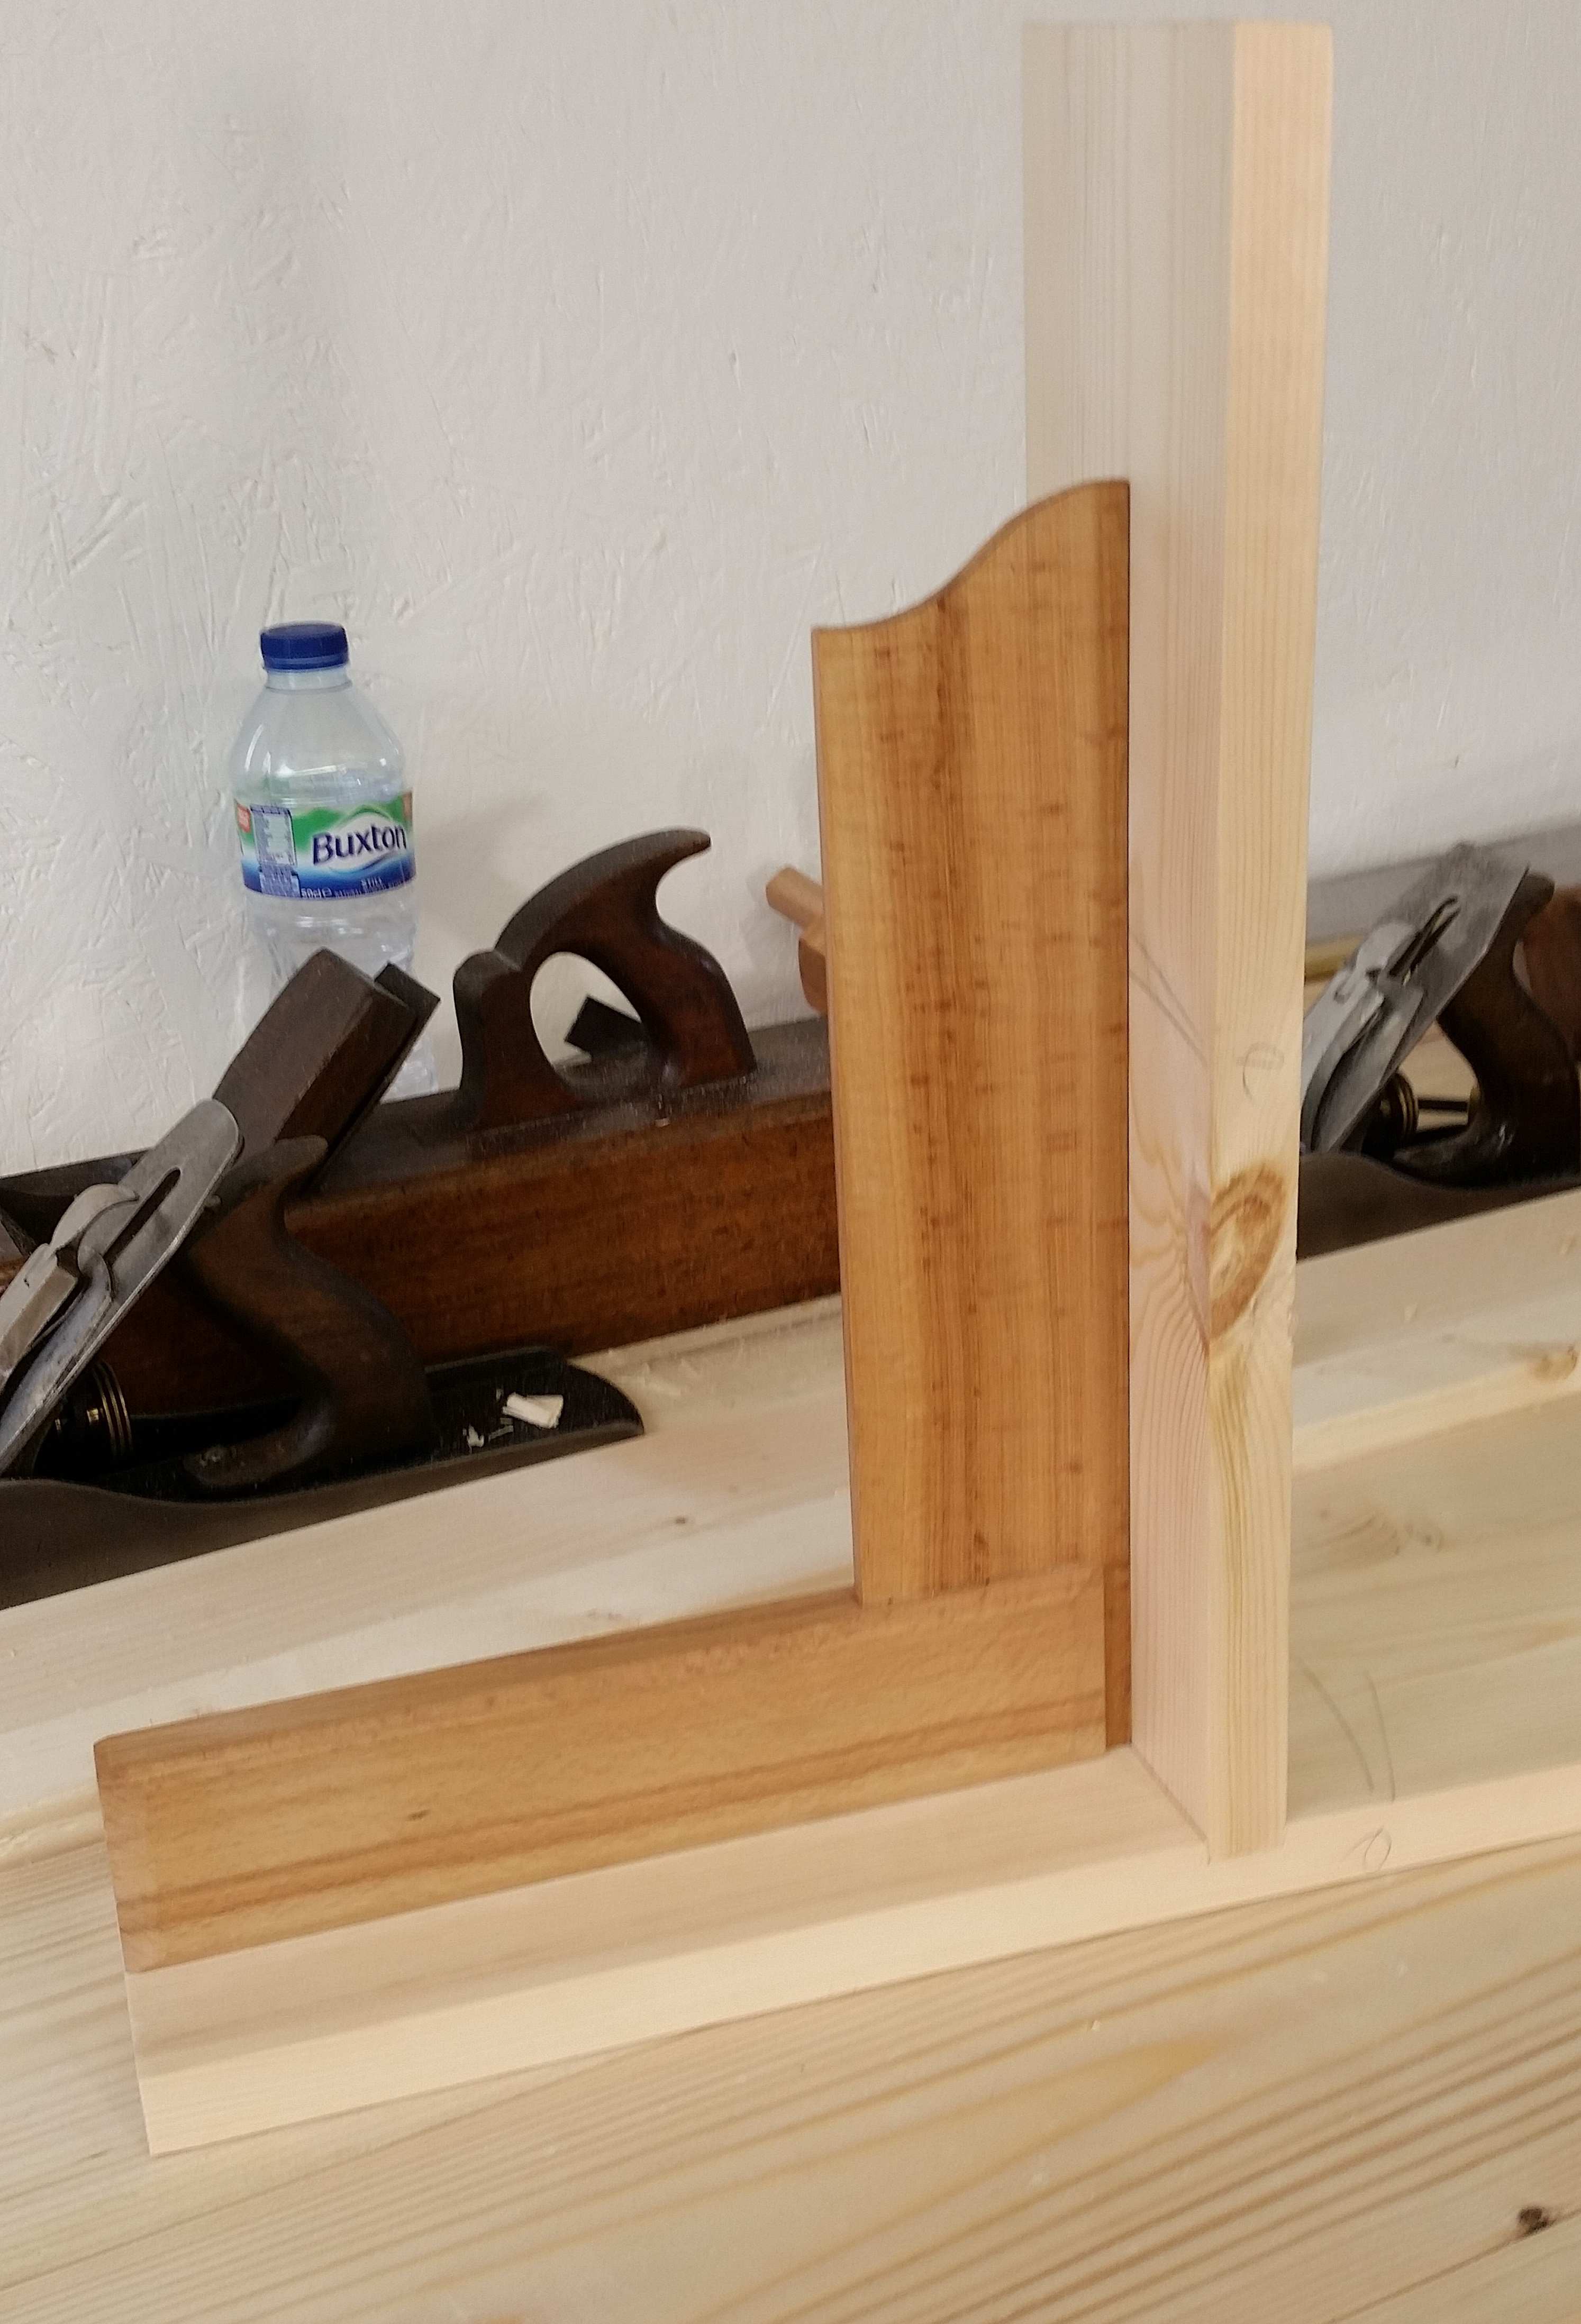
So to the dado joint (I get nailed every time I don’t call this a housing joint by my fellow Brits). The first step is to apply face side and face edge marks to ensure the square and gauge have a defined point to reference against to each time. I then strike a knife line, starting with light pressure on the knife and then a couple more passes, with slightly increased pressure on the knife.
If the section of wood that is going to be fitted into the dado is easy to position next to the knife line then use it, just obscure the line and then define the second knife line as before. If using the wood to be joined I’d measure it and apply the second knife line.
Hopefully there will be two sharp lines across the wood. Now ready for the next step.
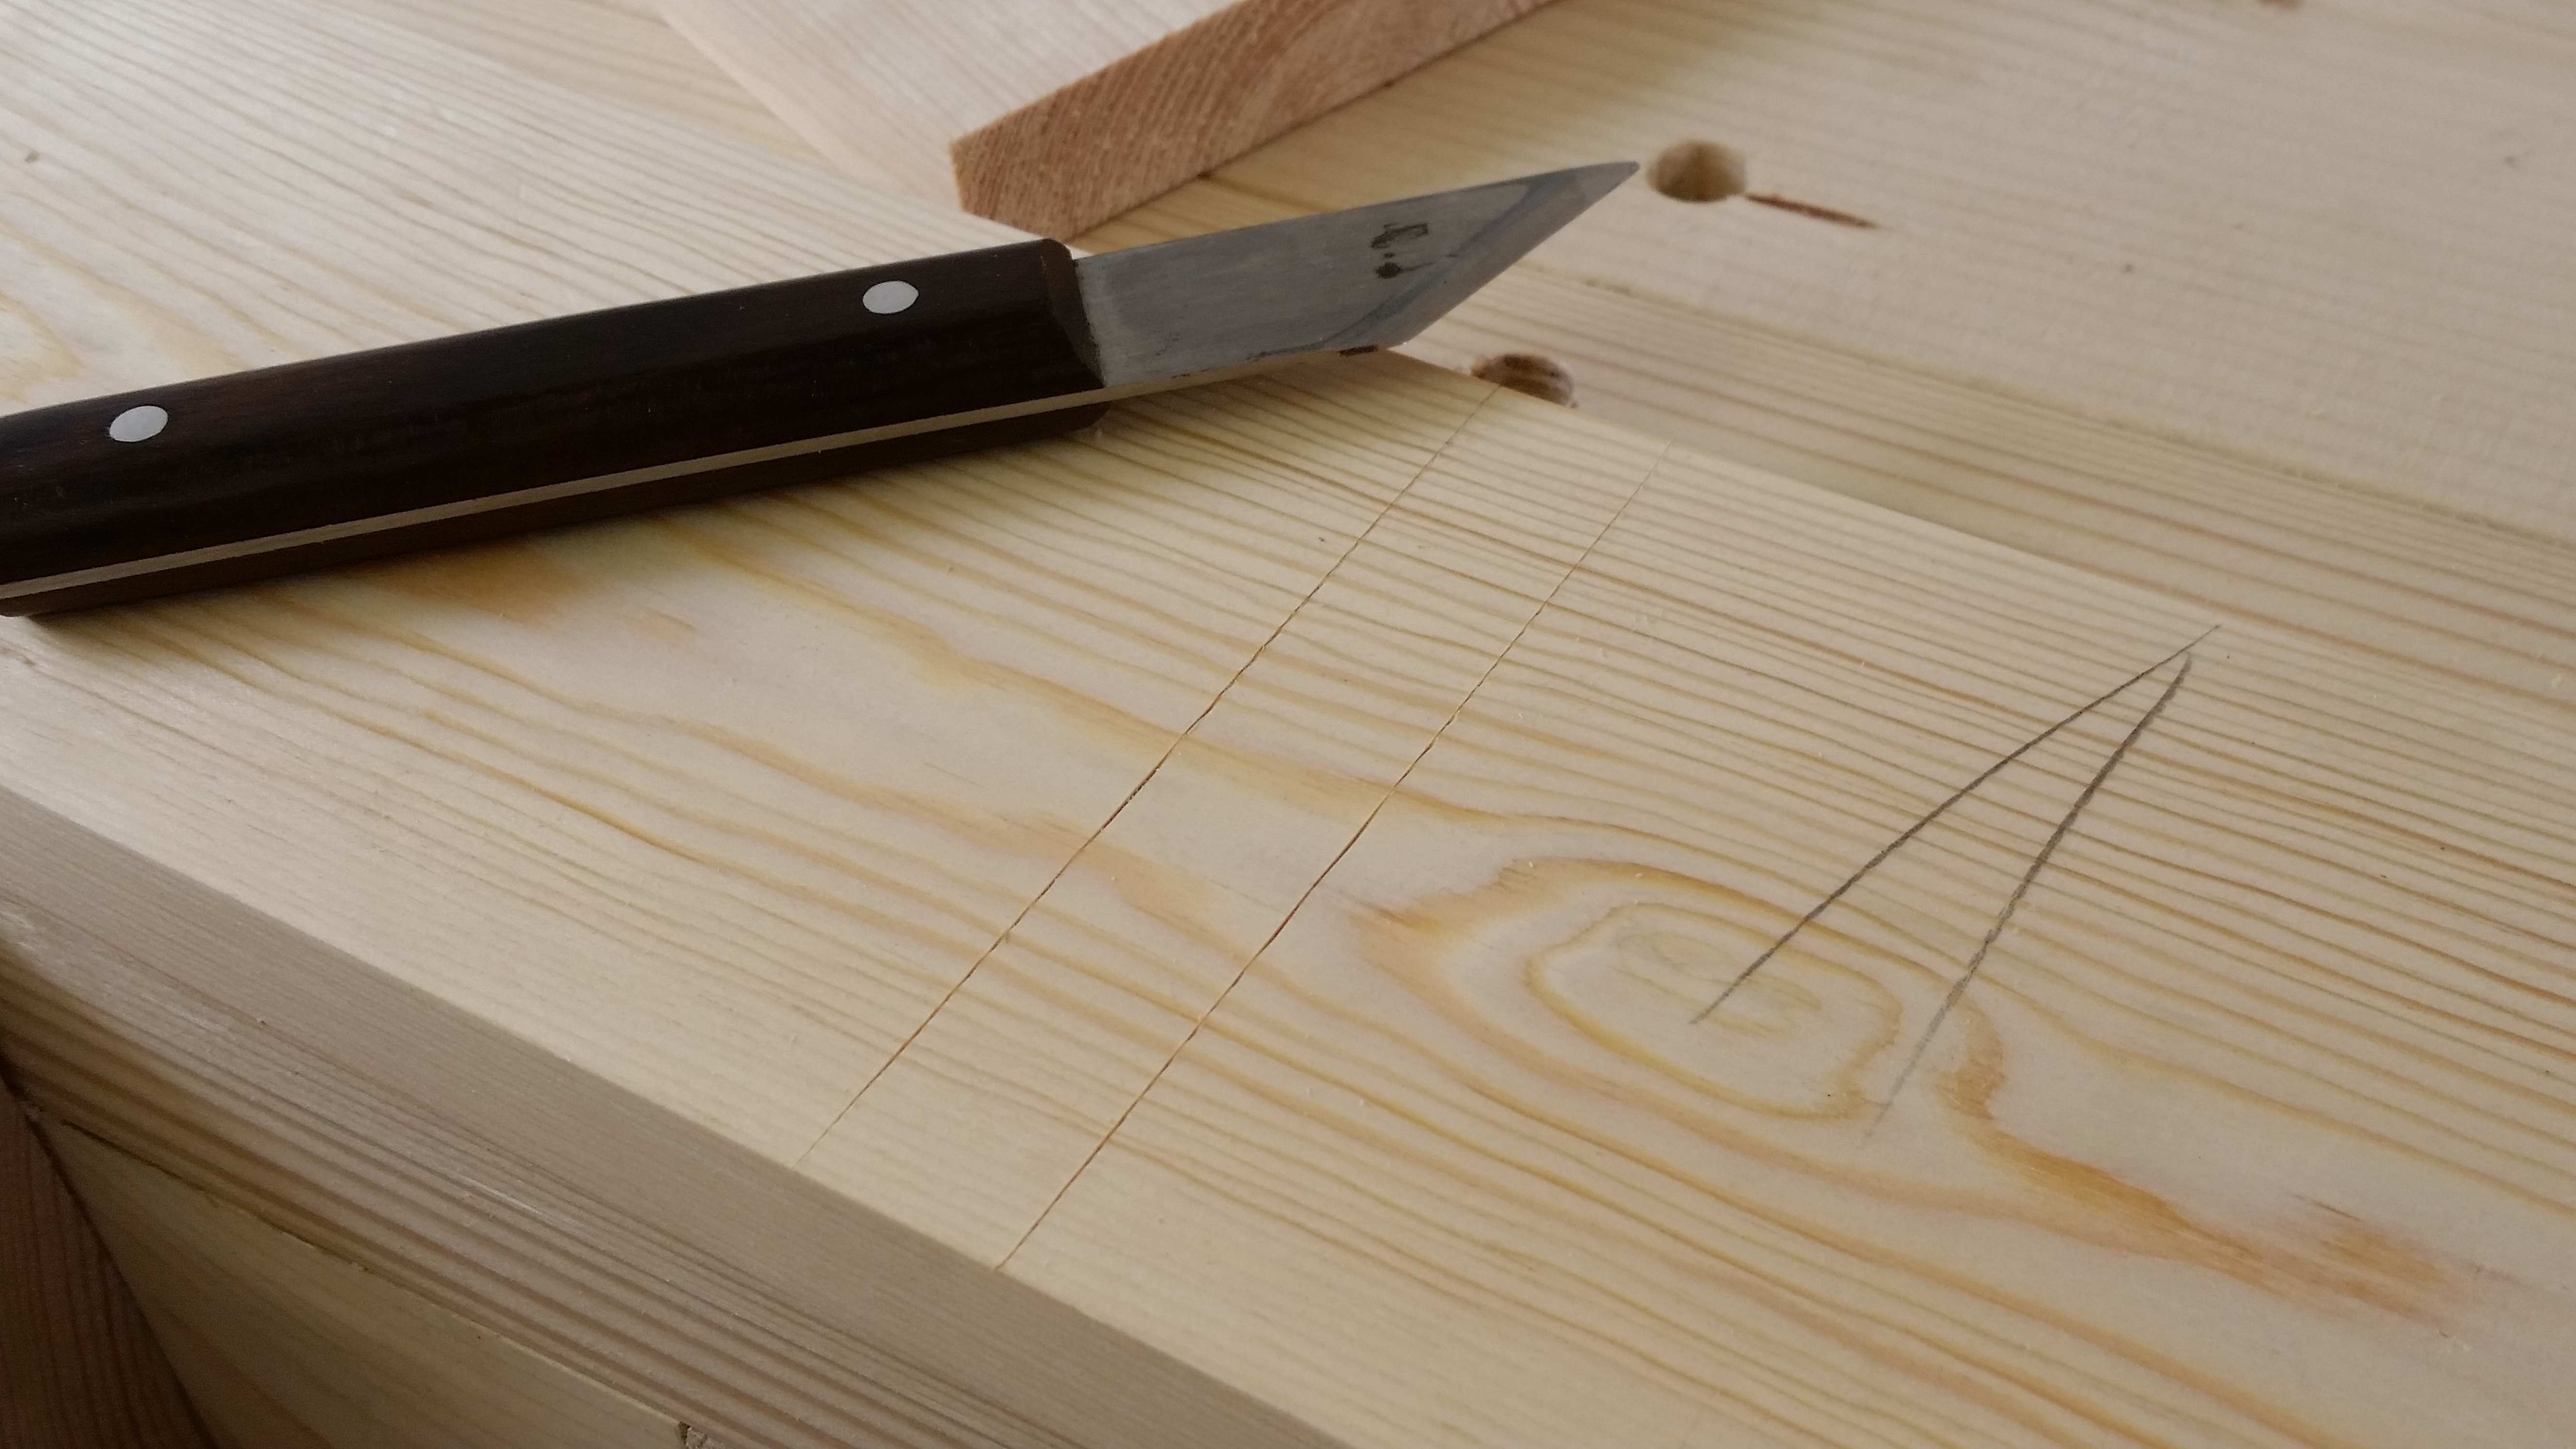
I turn the wood up on edge and place the knife into the previously struck line, move the square to it and extend the line around. On the hidden face I just overrun, on a seen face I stop at the depth of the dado.
Using 3/4″ stock, I set a marking gauge to about 1/4″, no measuring, just a visual “guess”. It can be a mistake to go too deep as it will weaken the joint. I will confess that I don’t have a rule as such, just a touch over a 1/4″ in thicker material seems to work out pretty well.
Of course on the exposed face side, I stop neatly between the lines.
On the back, I just let it run right through with a couple of confident passes of the gauge.
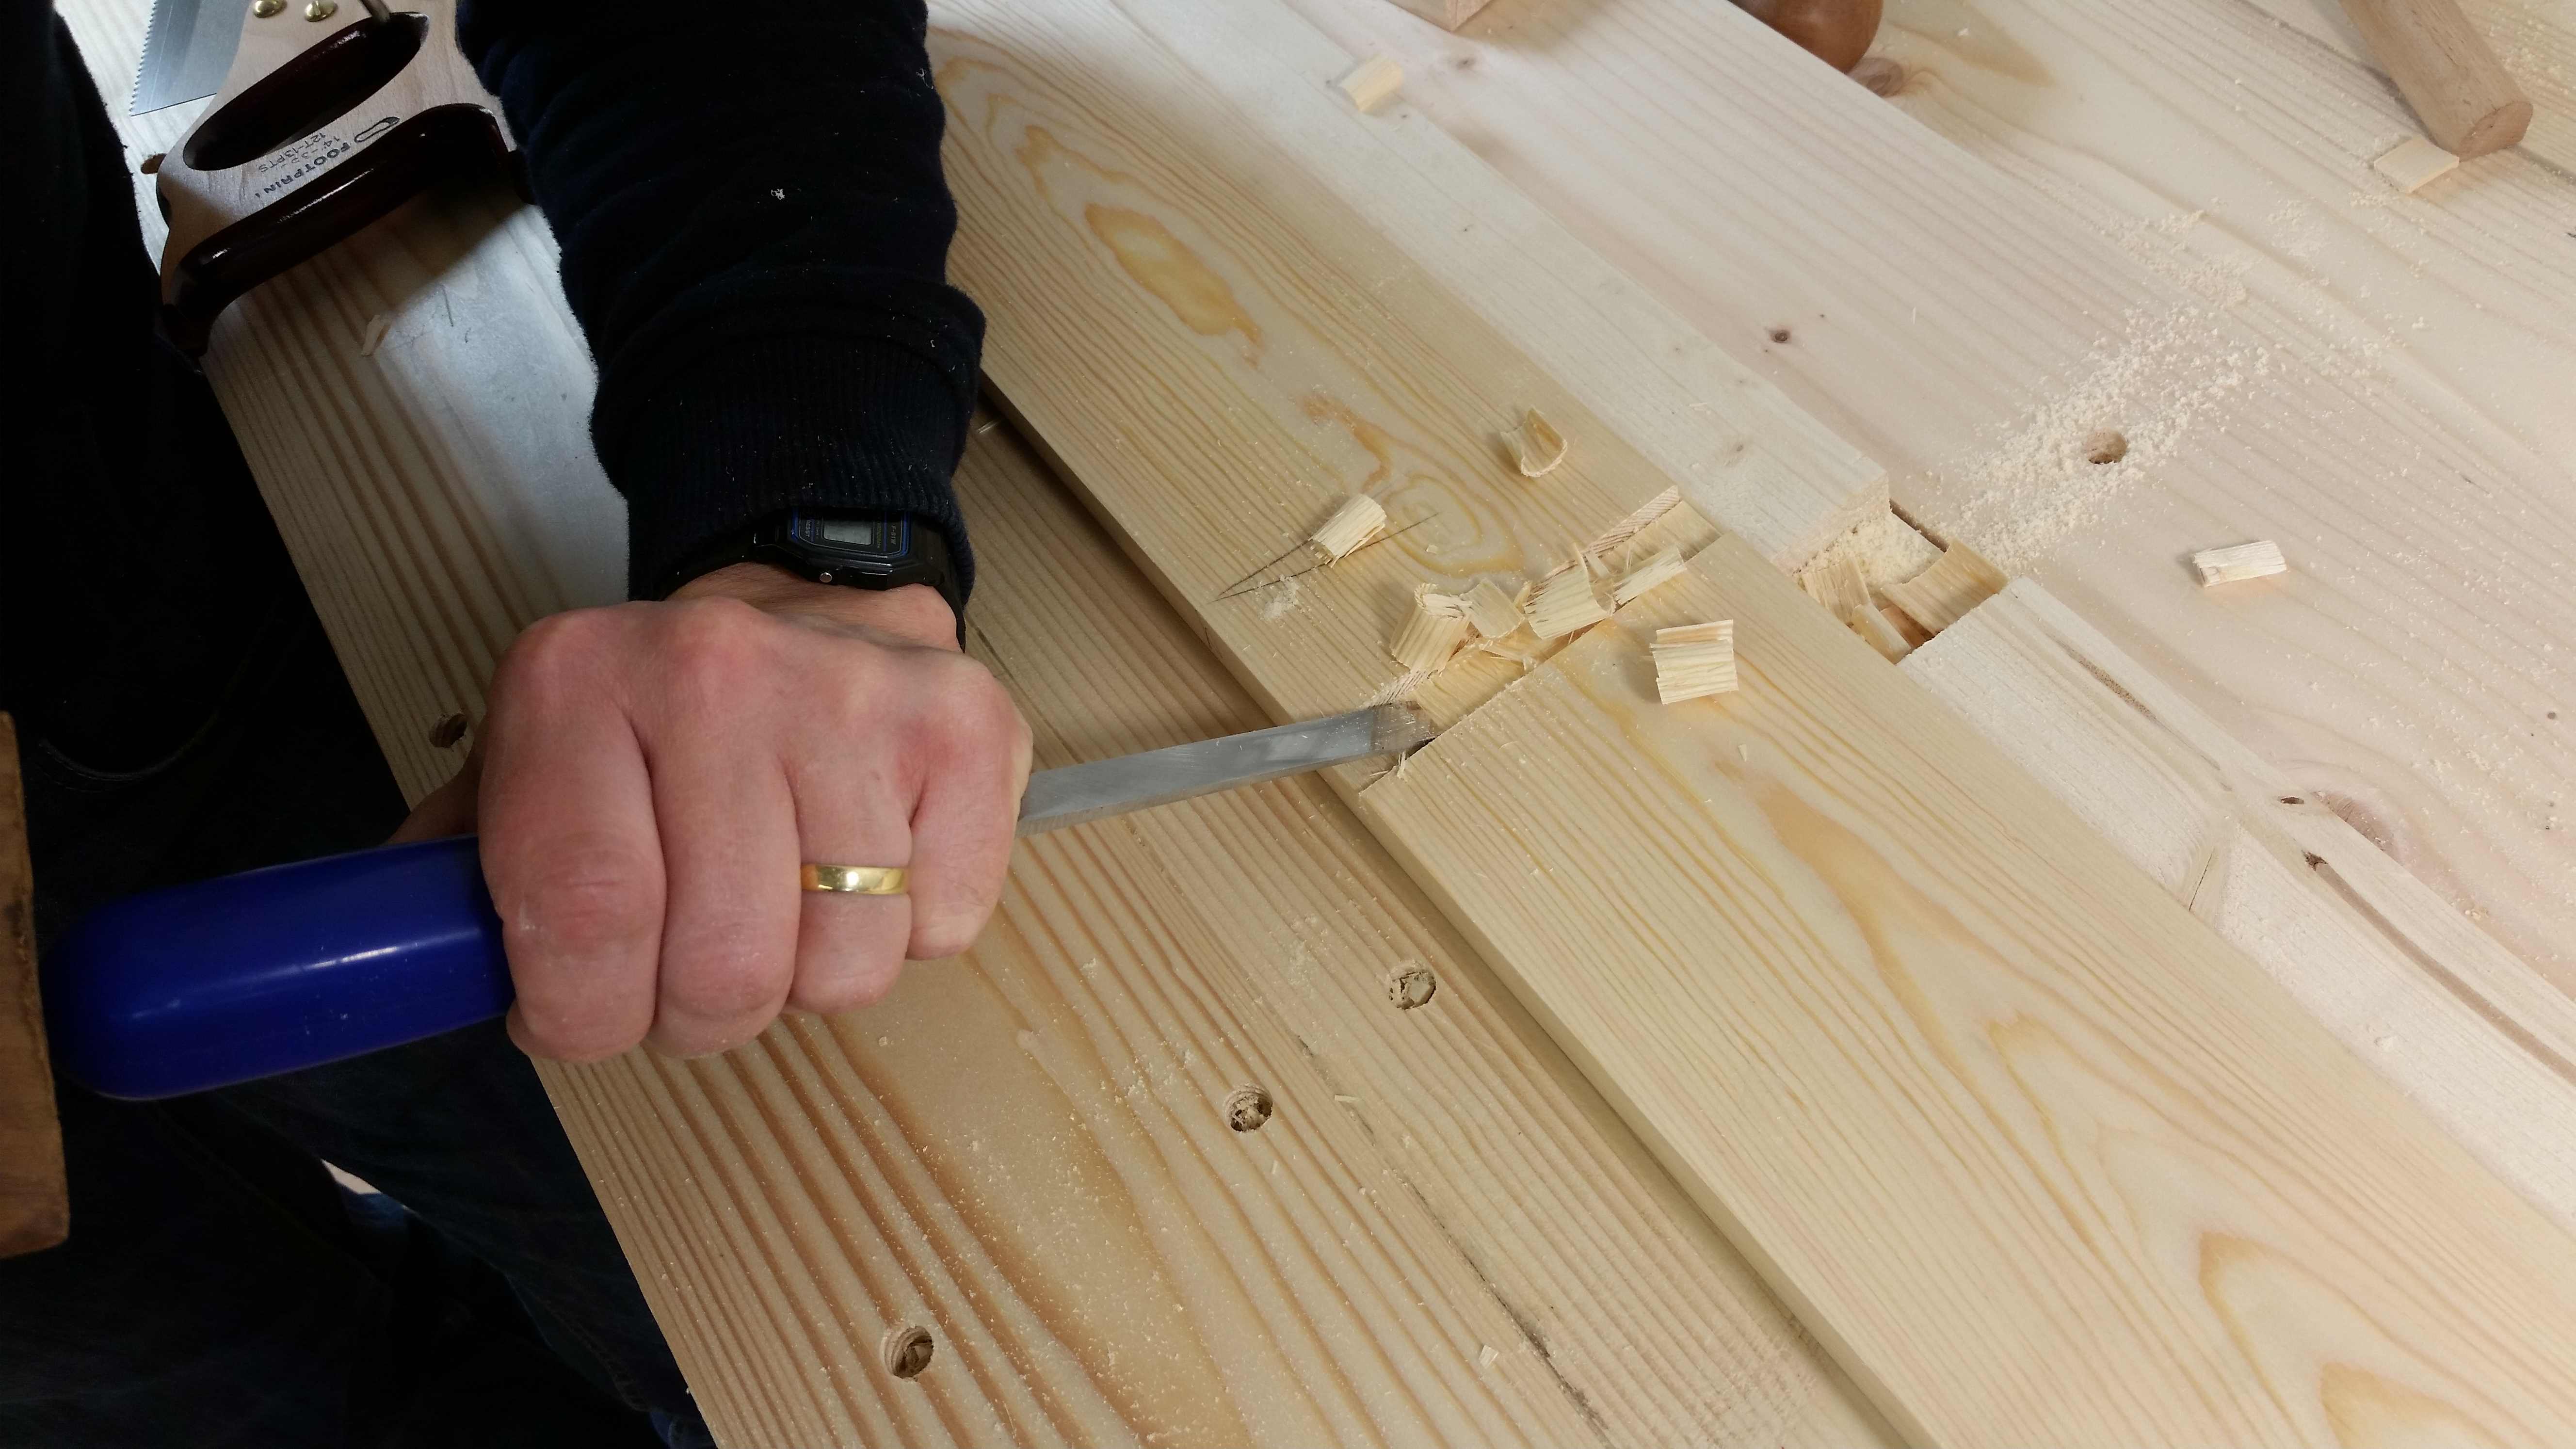
I then make sure the wood is firmly secured to the bench top and use a wide chisel to establish a shallow groove that helps the saw track true when I cut down through.
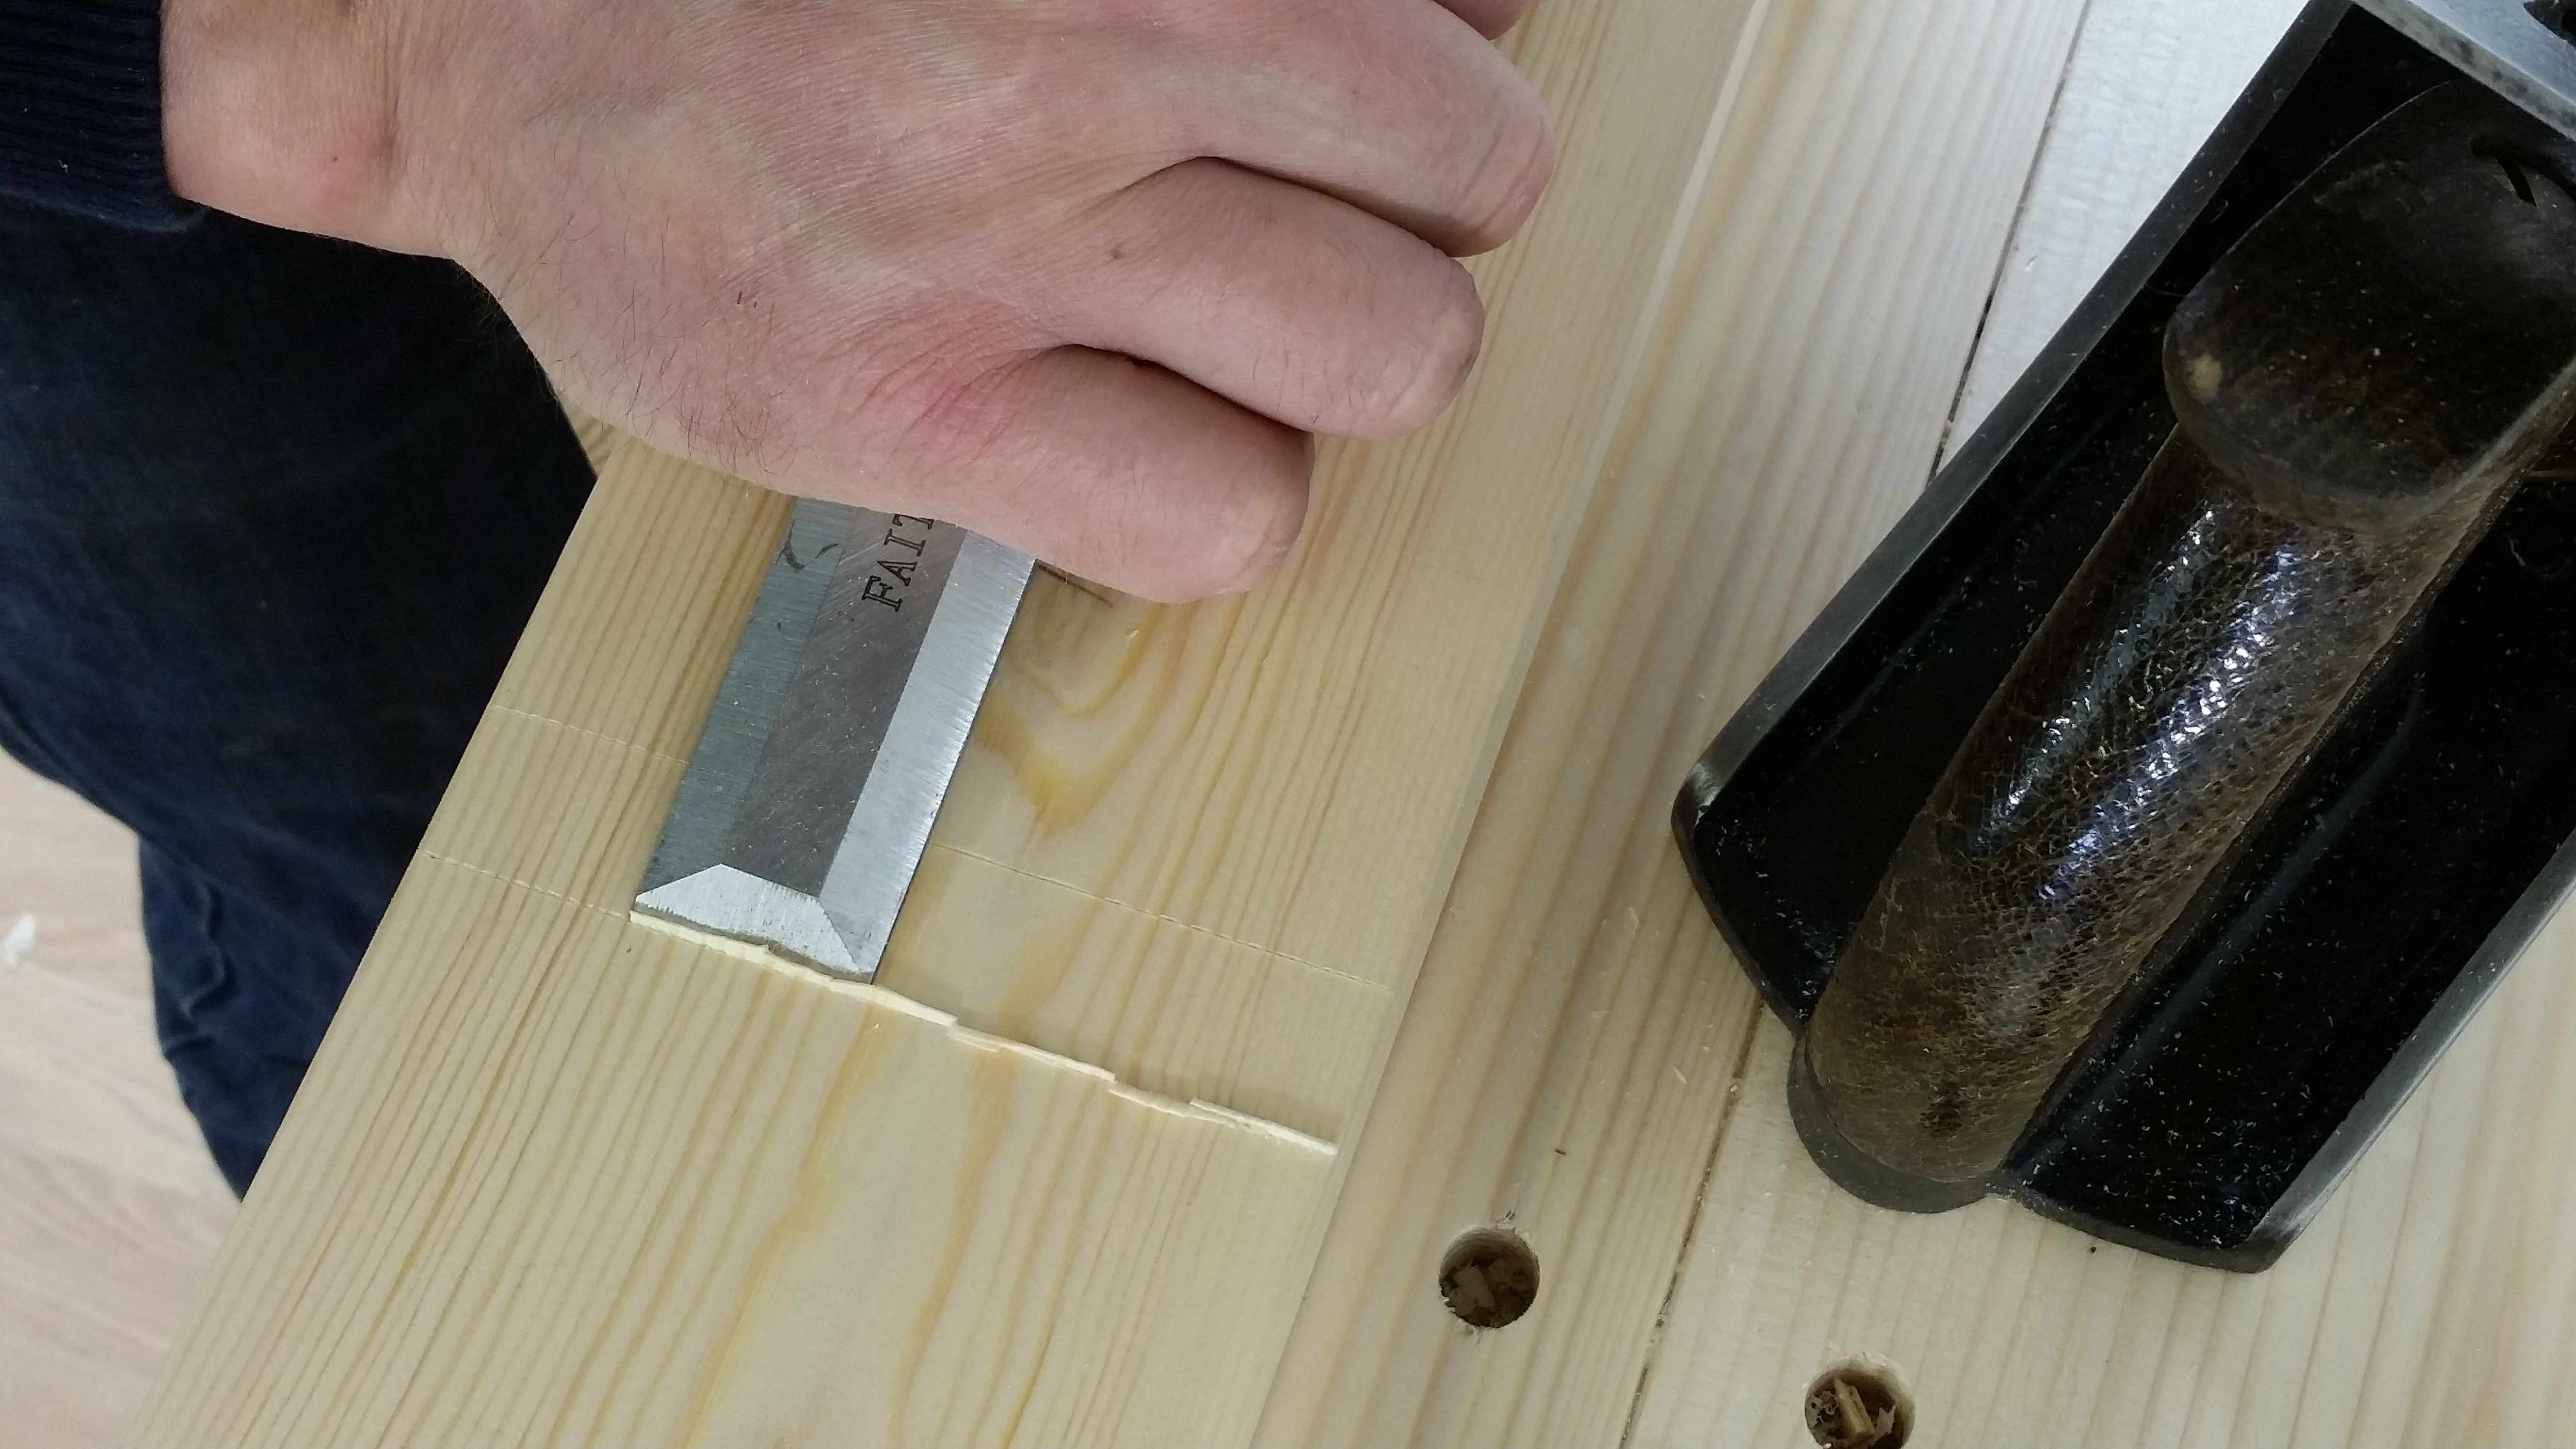
I don’t always apply this detail unless I feel it’s needed, but here it allows the saw to track accurately on a wide cut.
I use my tenon saw using a steady cut, the saw jumping out of the cut is the main risk here. There is an option to clamp a support block to run the saw plate against but it’s not something I use, unless I am making a really wide cut .
Keeping a sharp eye on the depth of the cut is important as a face side can be spoiled by overrun cuts, but on a hidden face, just a touch over the gauge depth is OK.
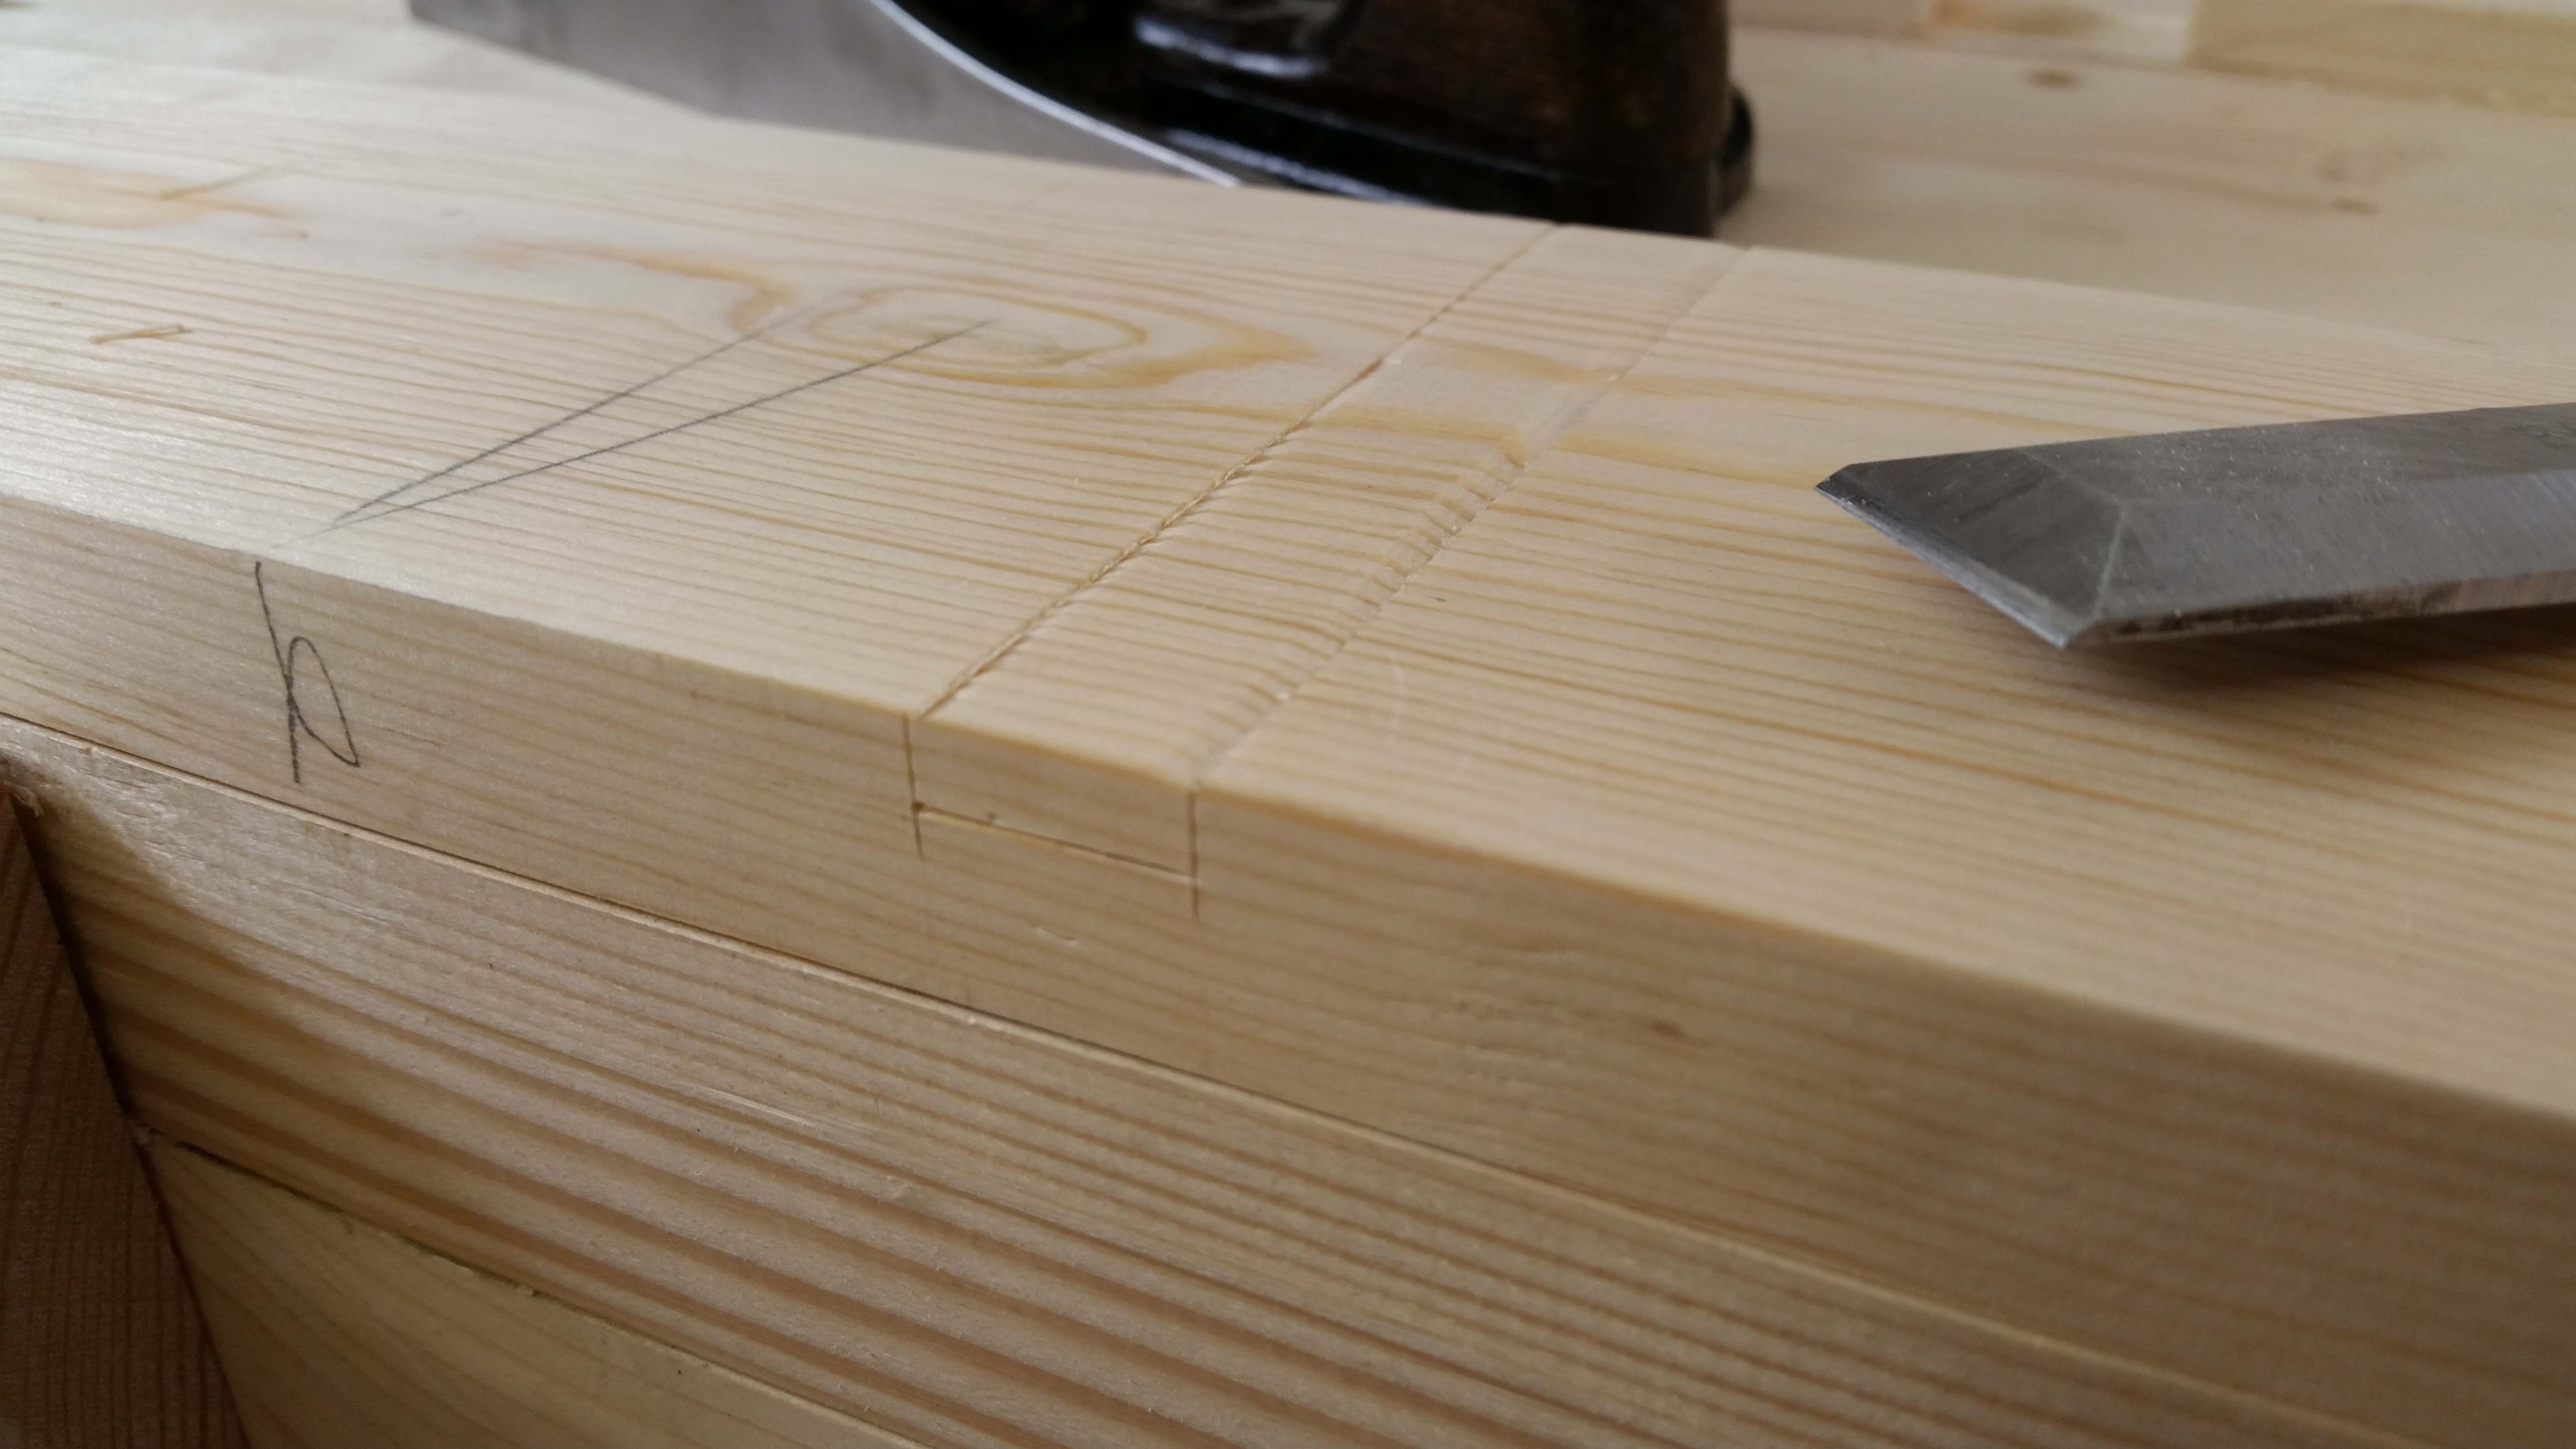
I’m in the habit of removing most of the waste with the chisel bevel down, this allows access to even wide dado cuts with just normal chisel.
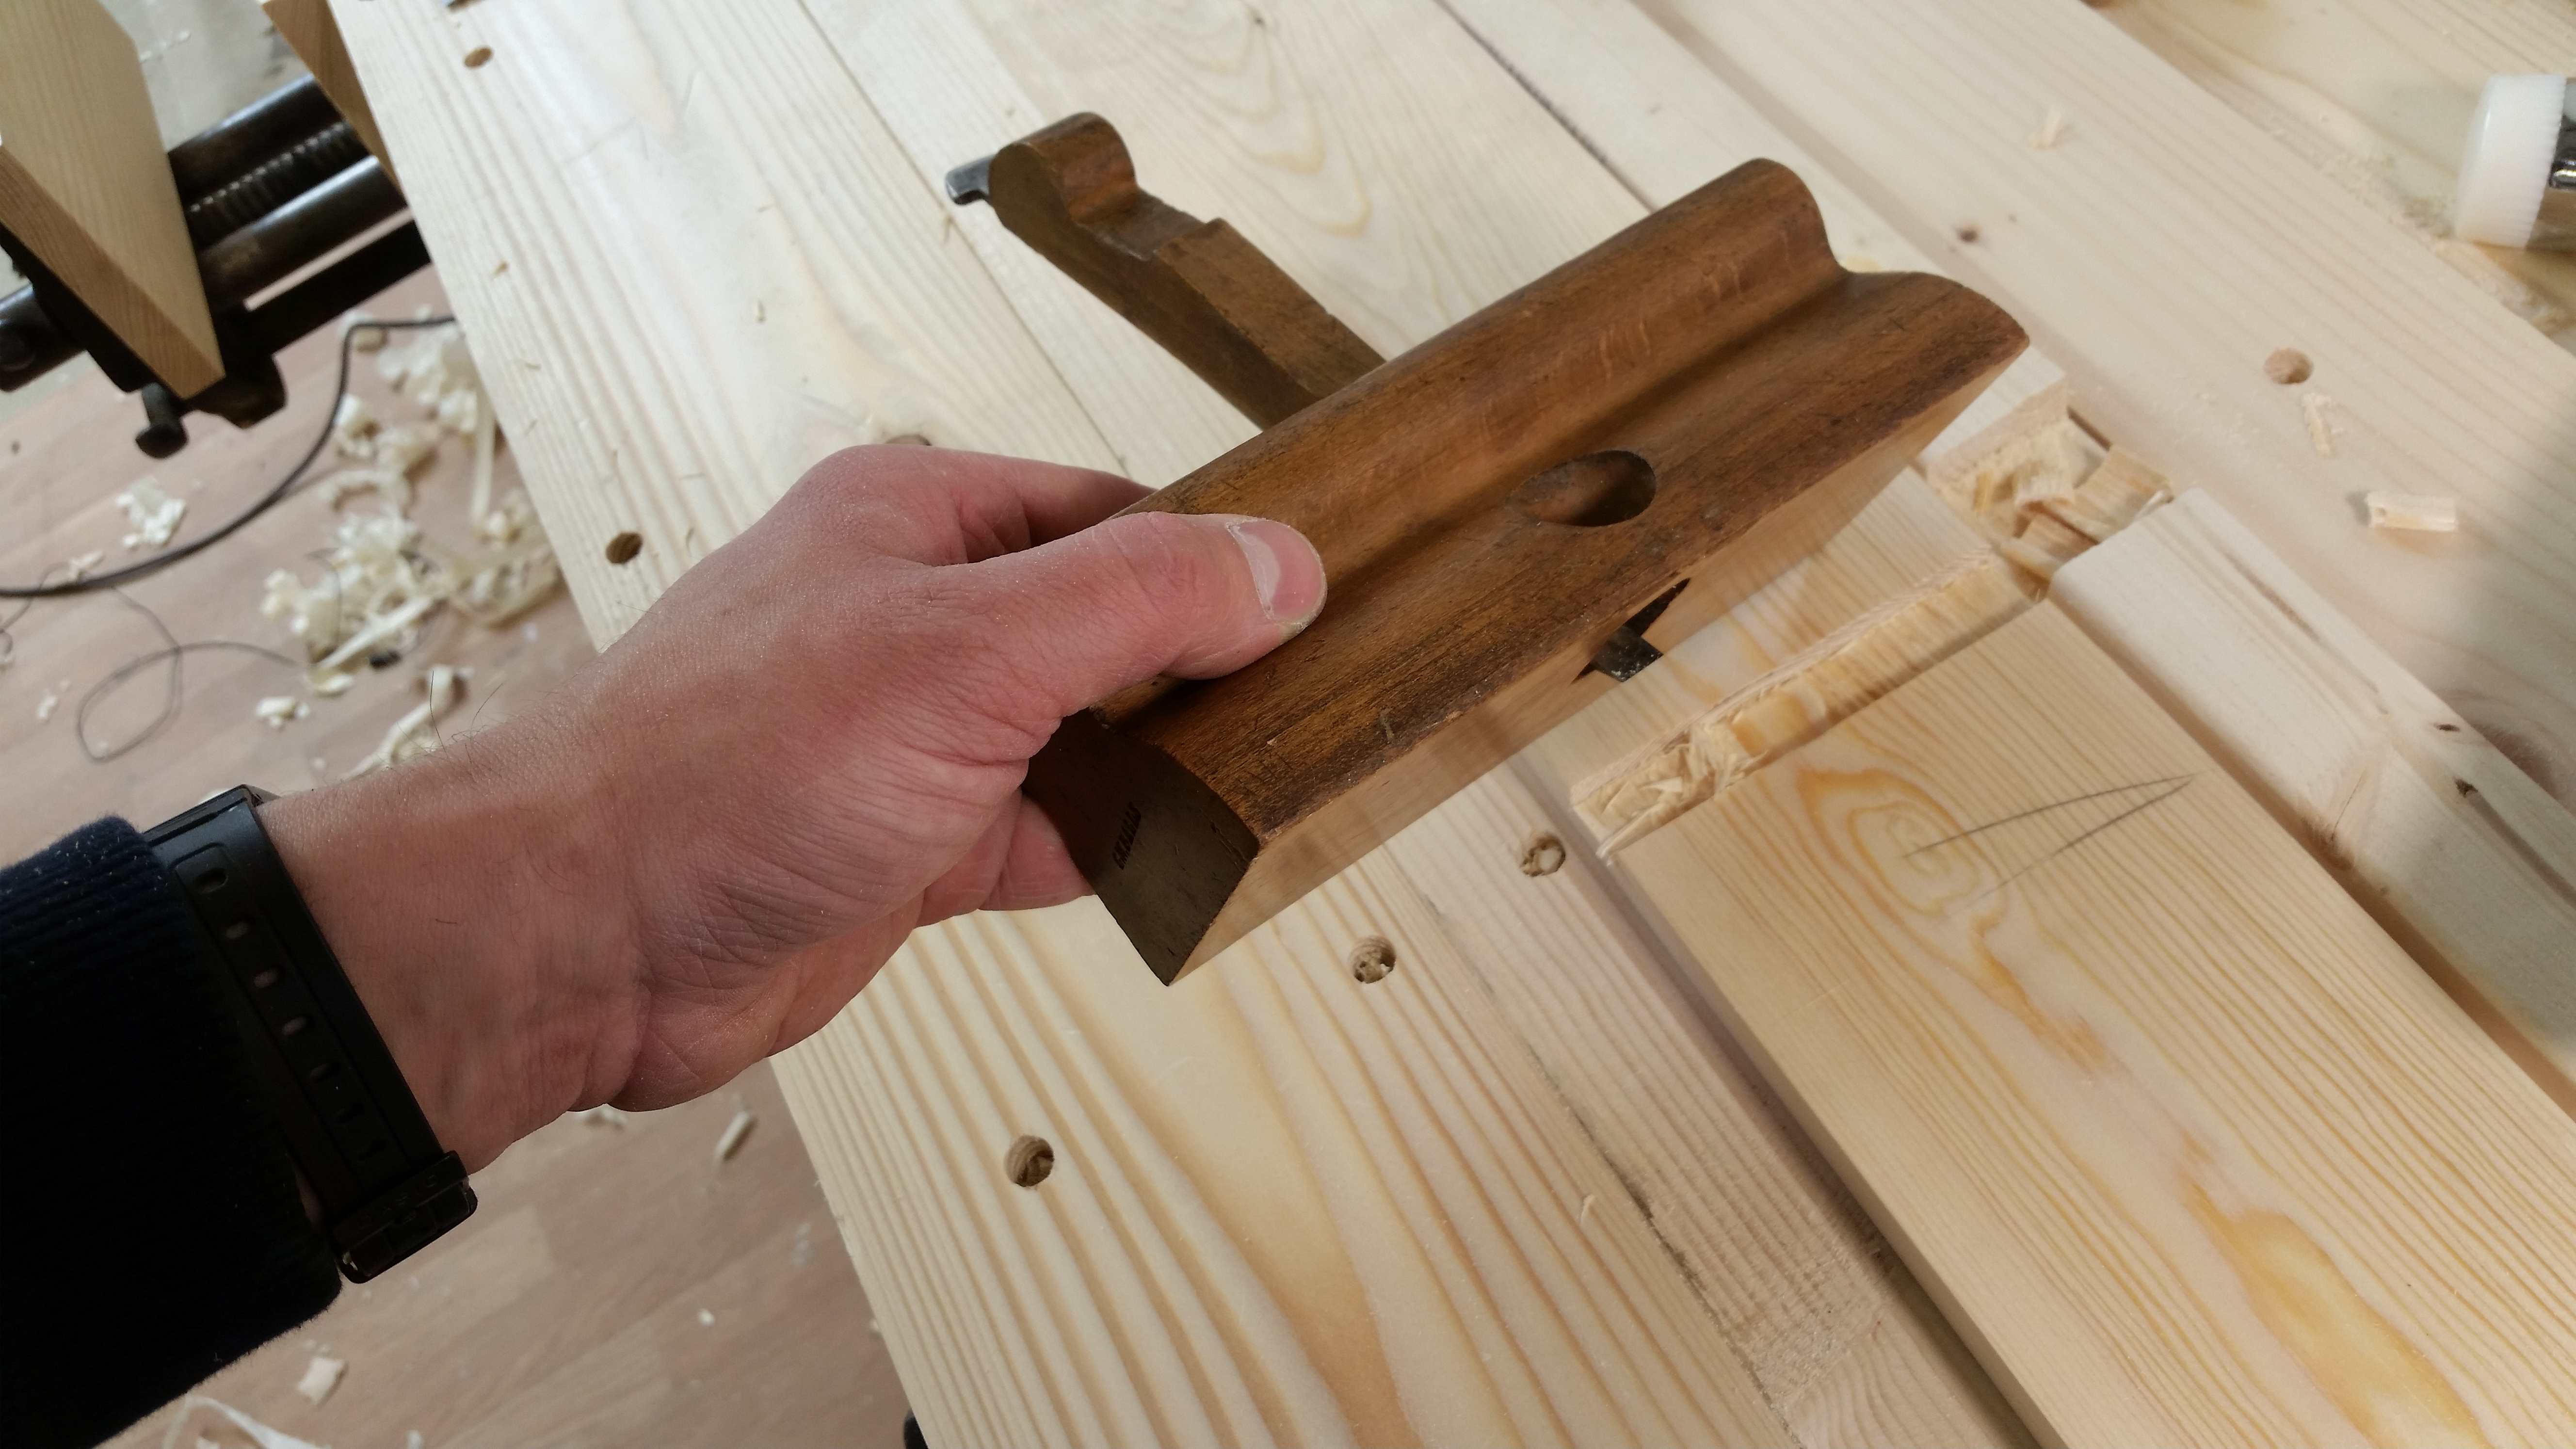
Oddly, we were never issued with hand routers at college, we were expected to get the base of the dado level with just a chisel, checking the depth with the blade of a try square. However, I find my “old woman’s tooth” a very reliable way to make sure things are level and true.
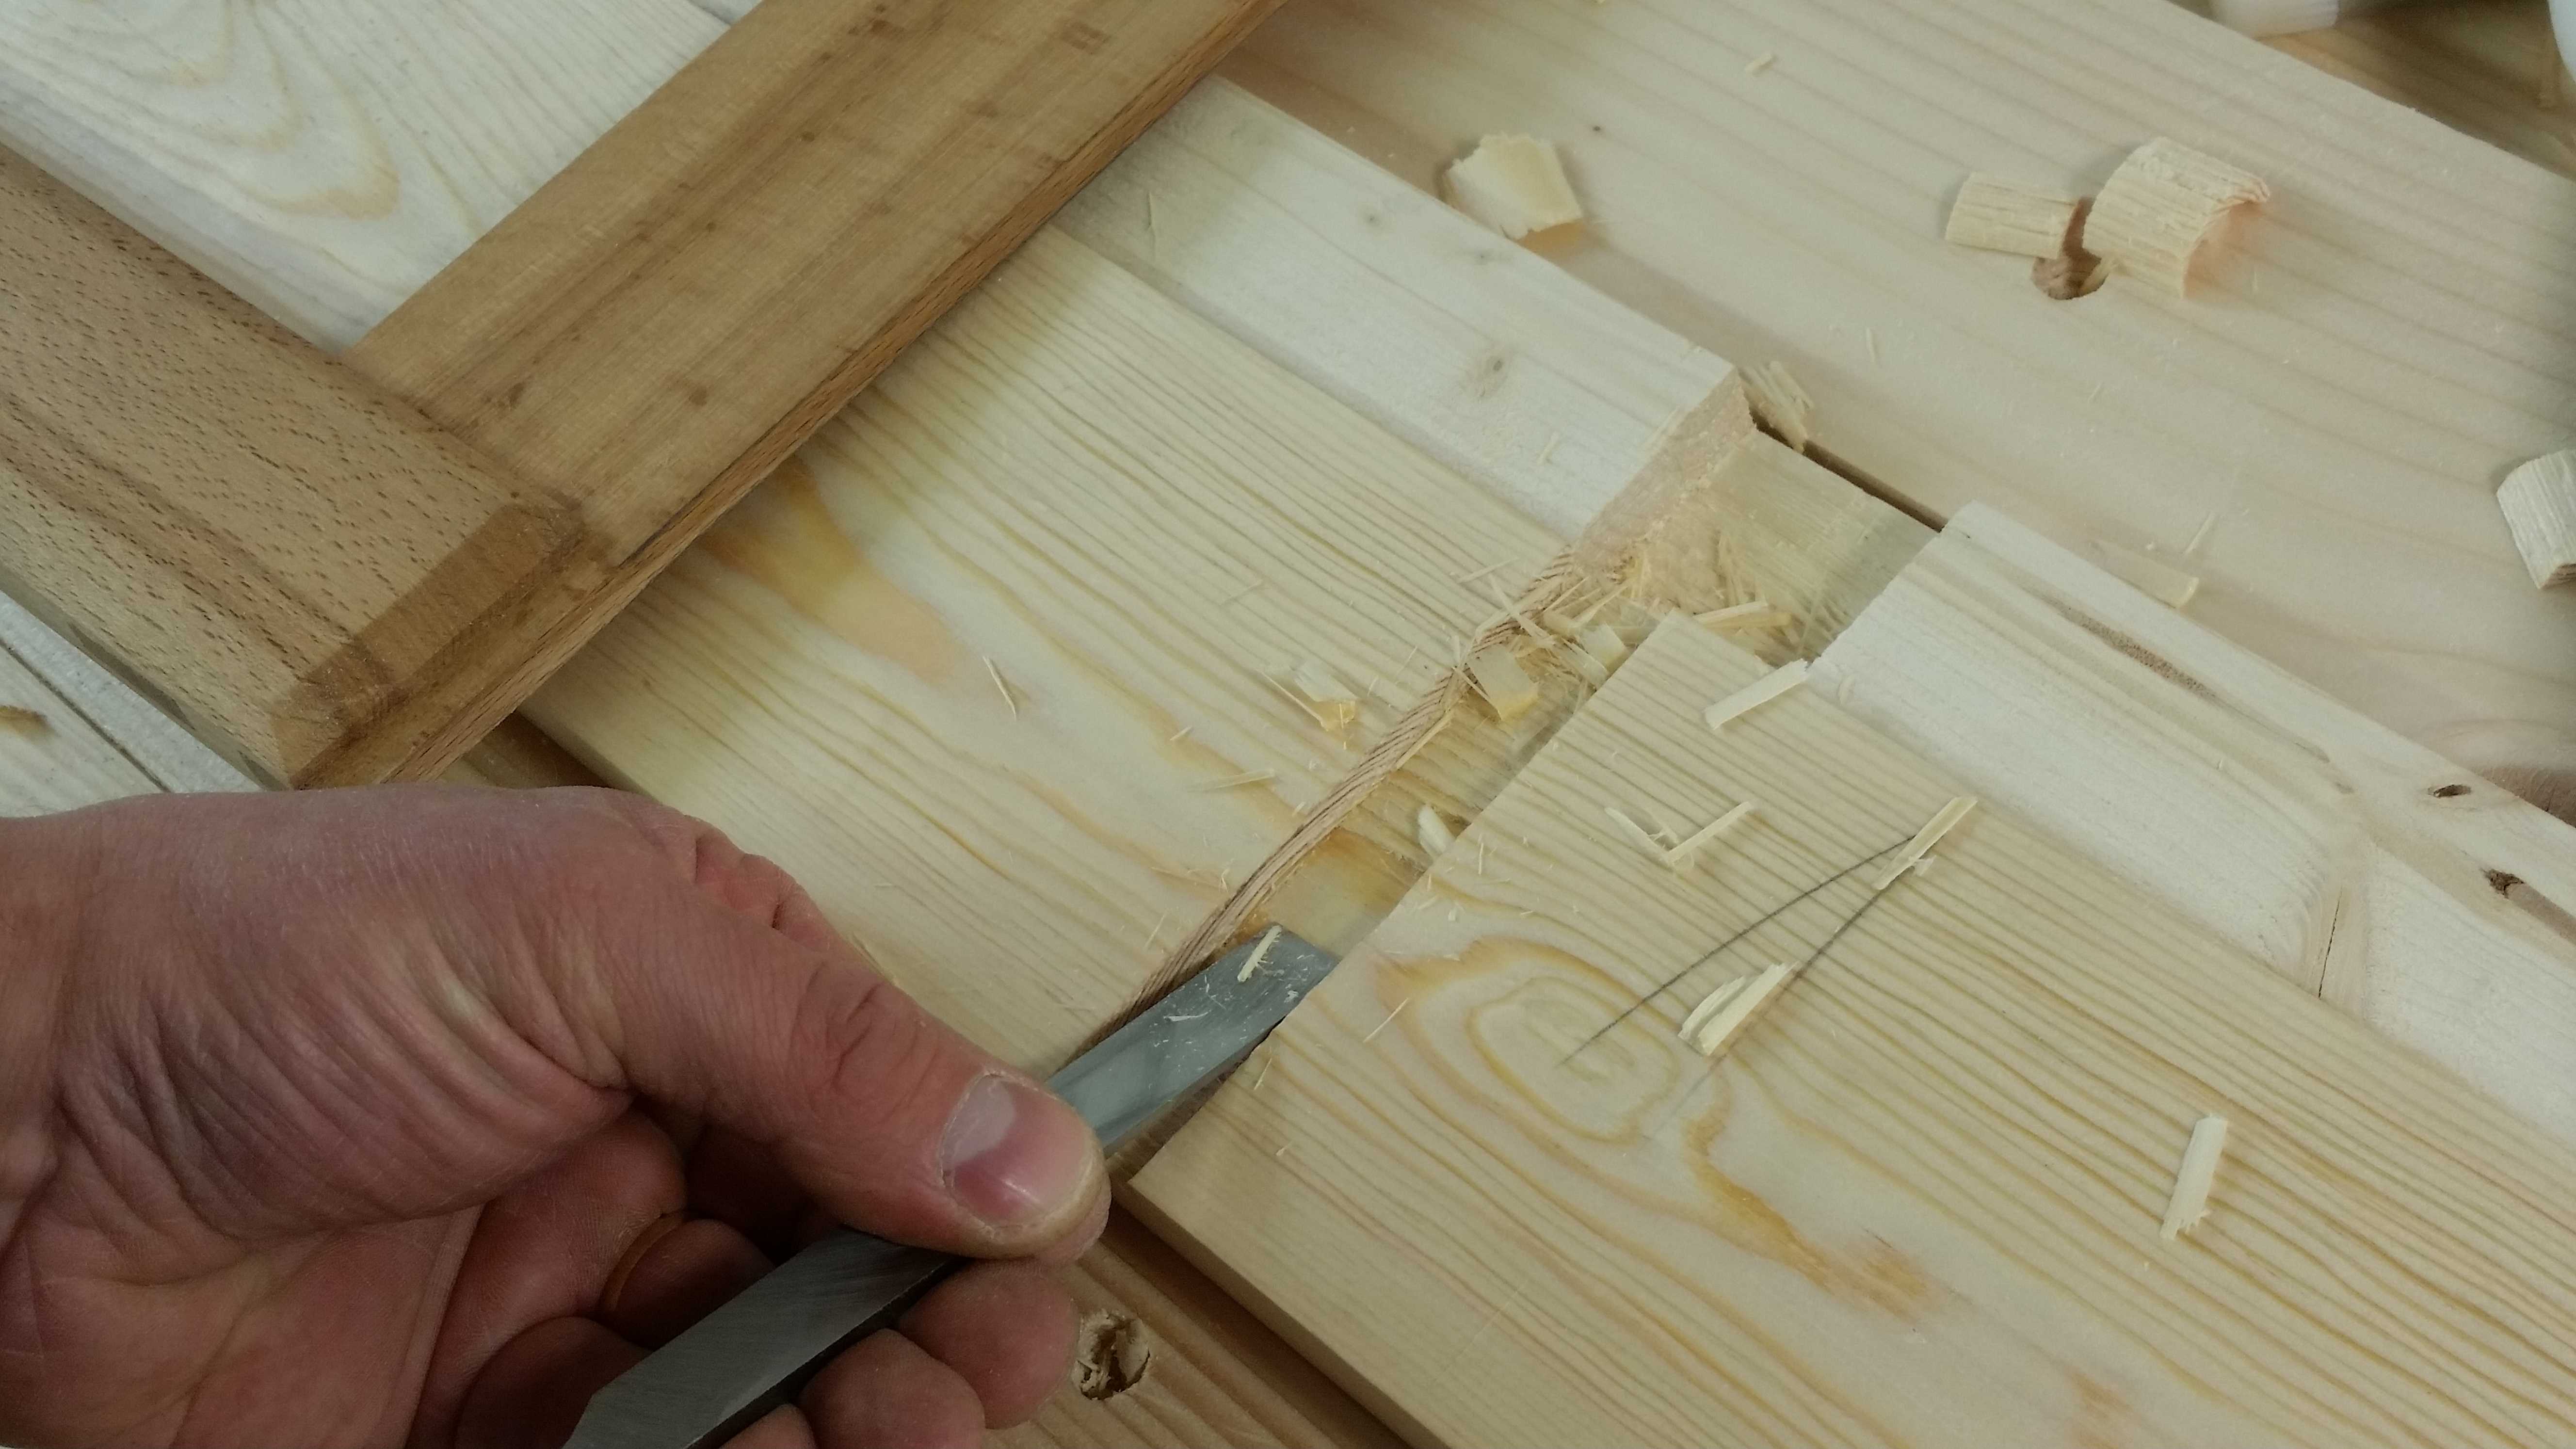
Just a quick check and tidy up any errant fibers with a chisel.
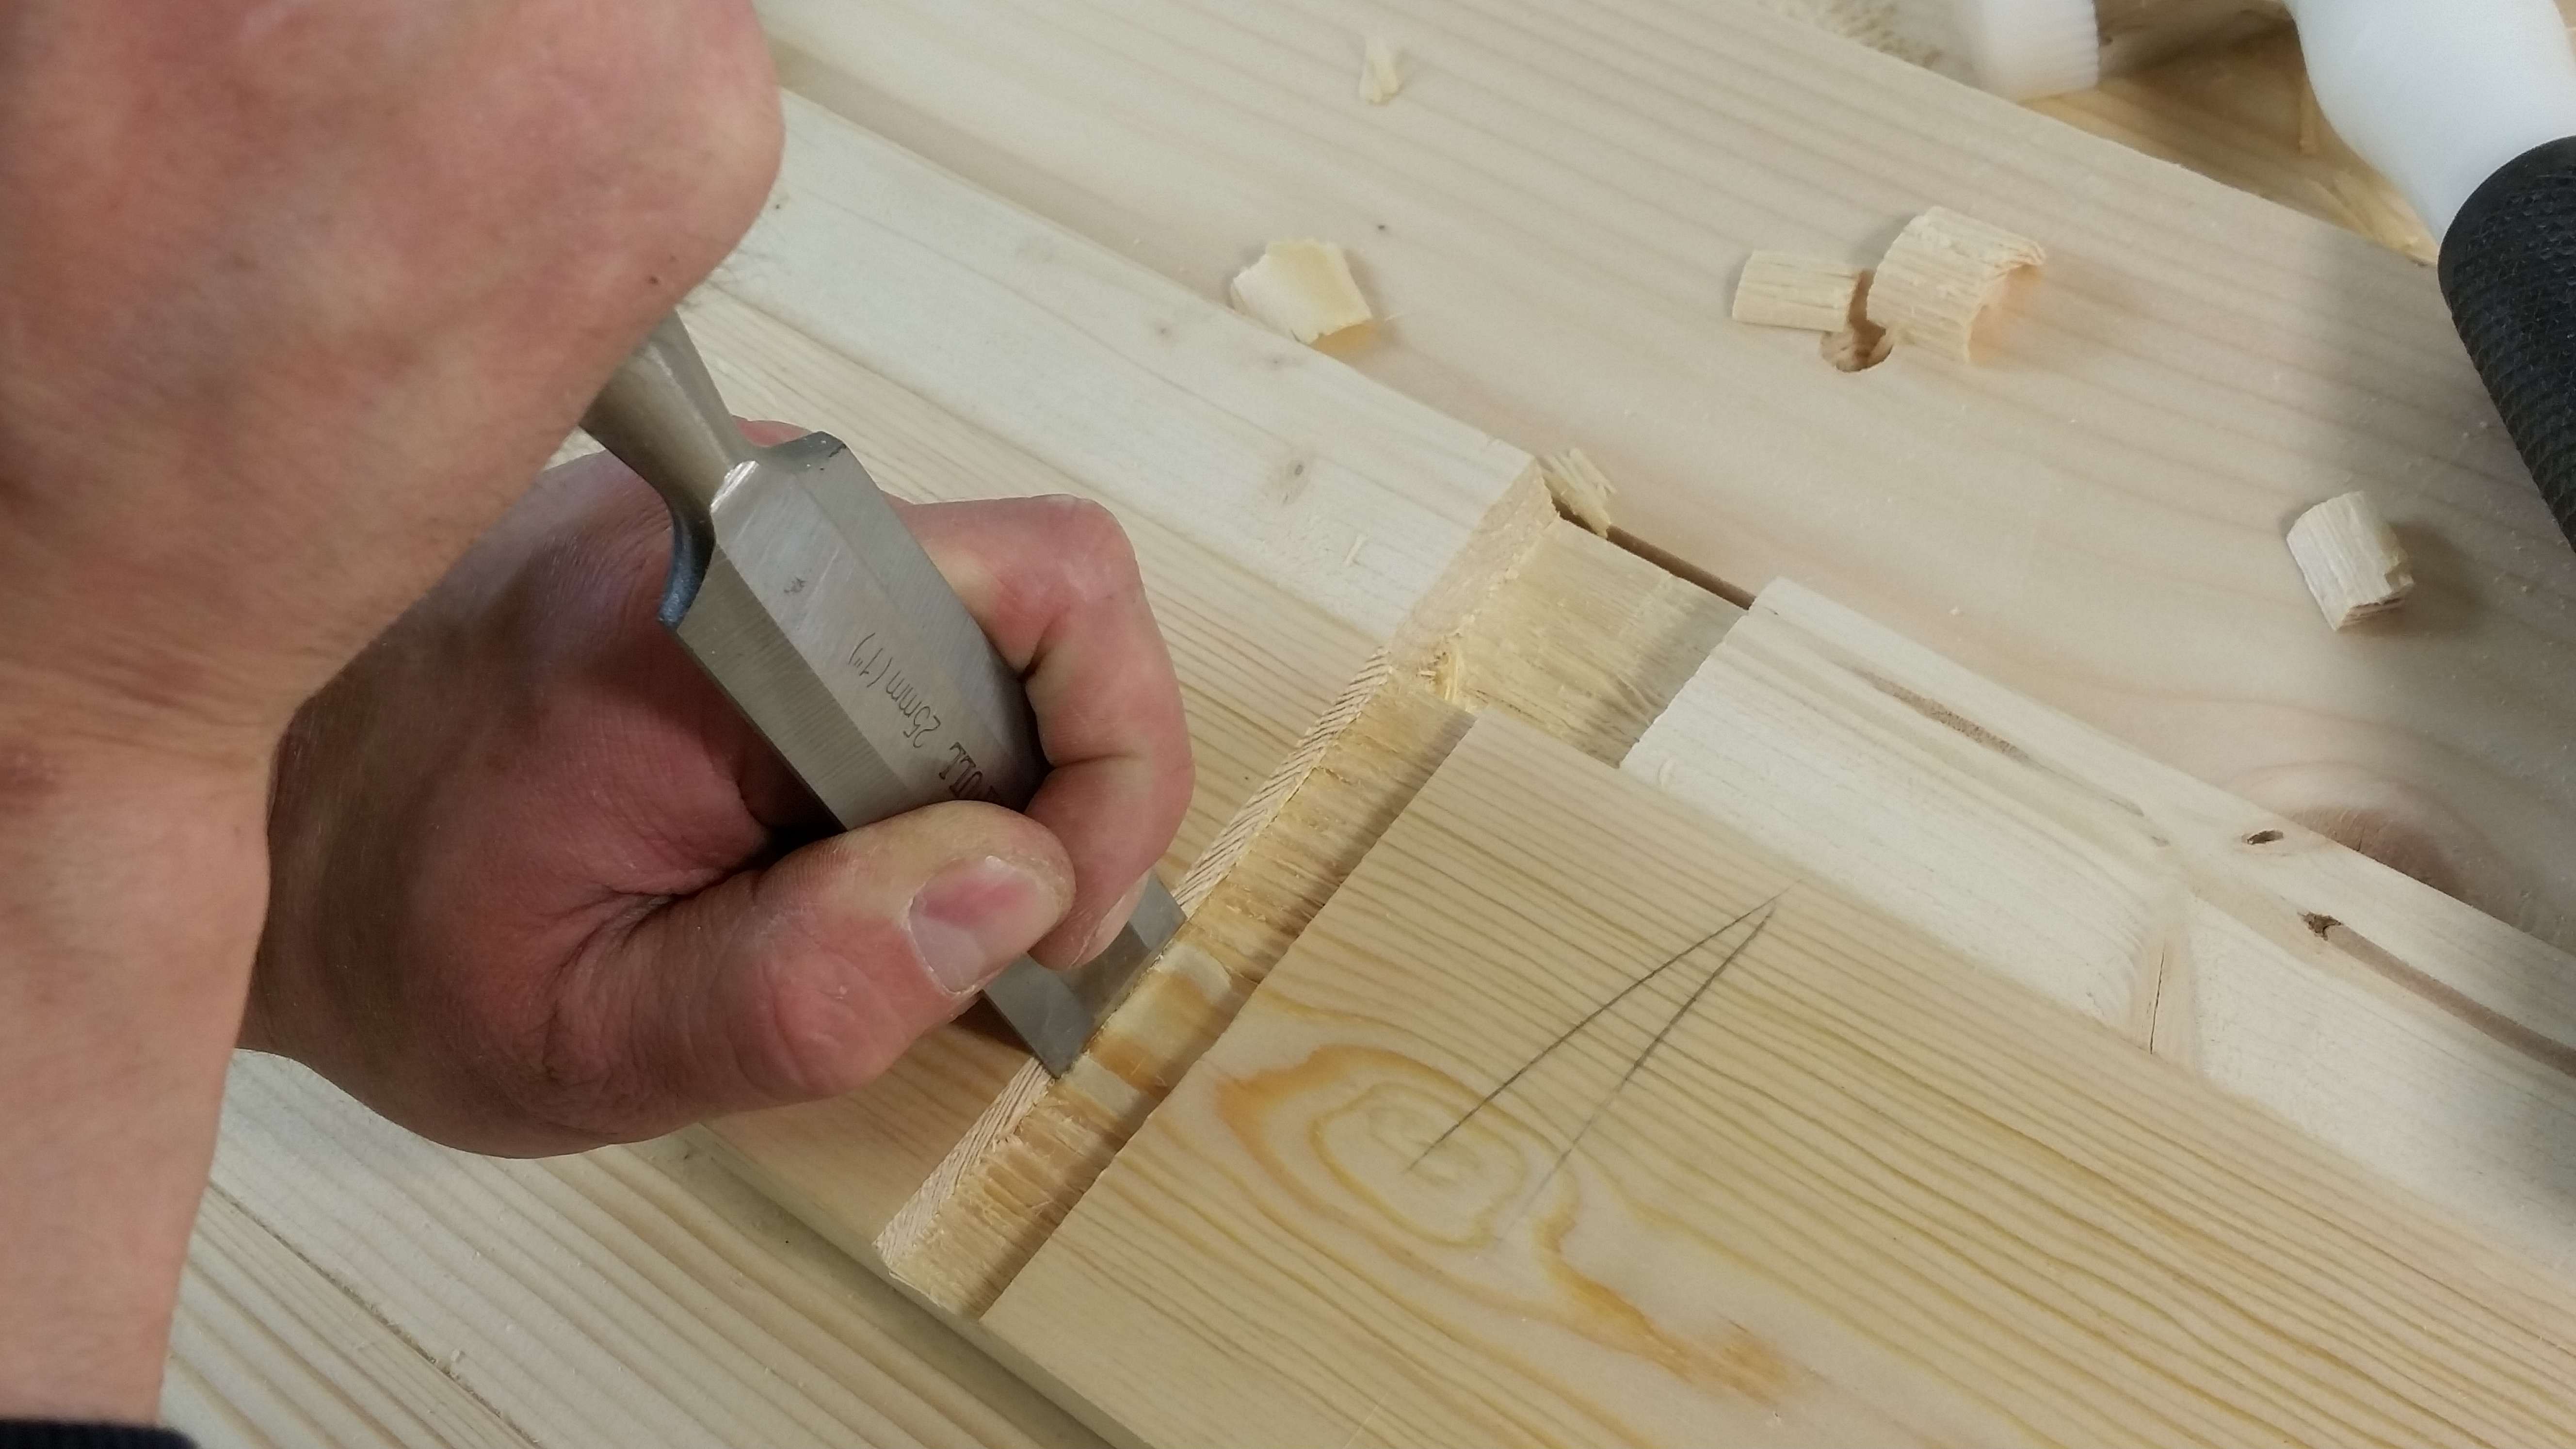
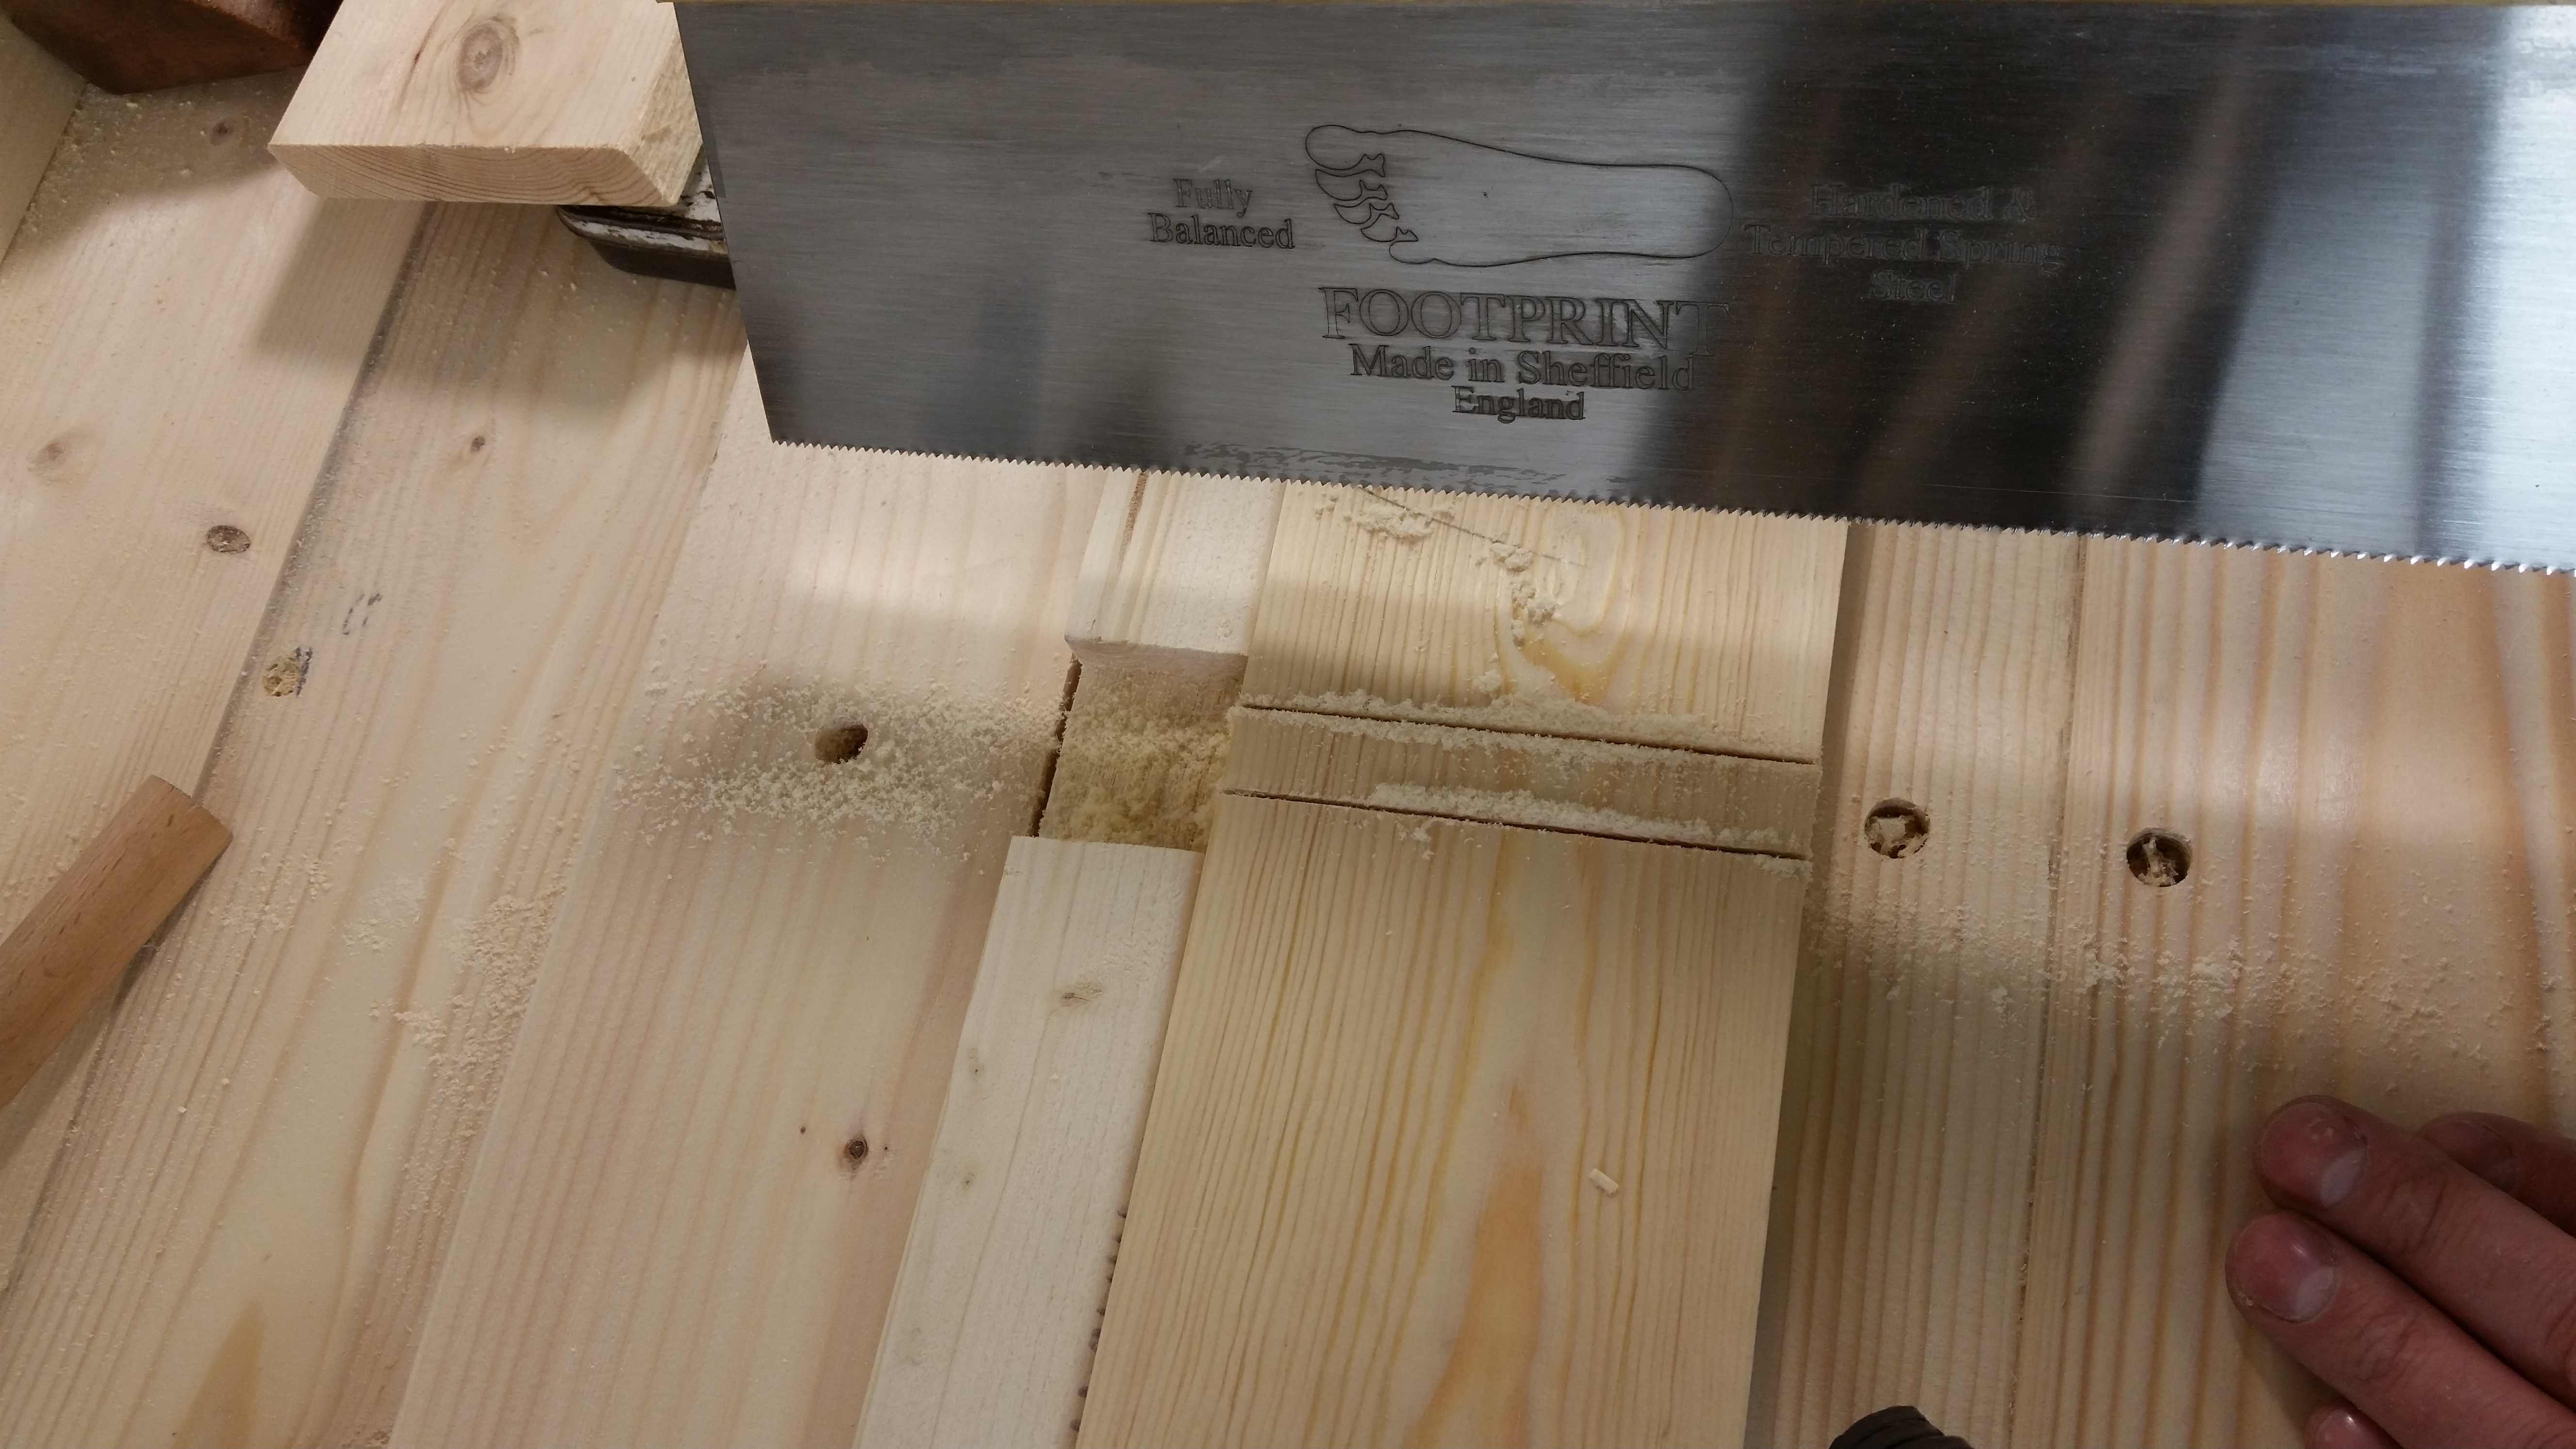
As a final step, I put the joint in my favor with just a few light passes with the chisel in the central area to ensure a snug fit on the outer areas.
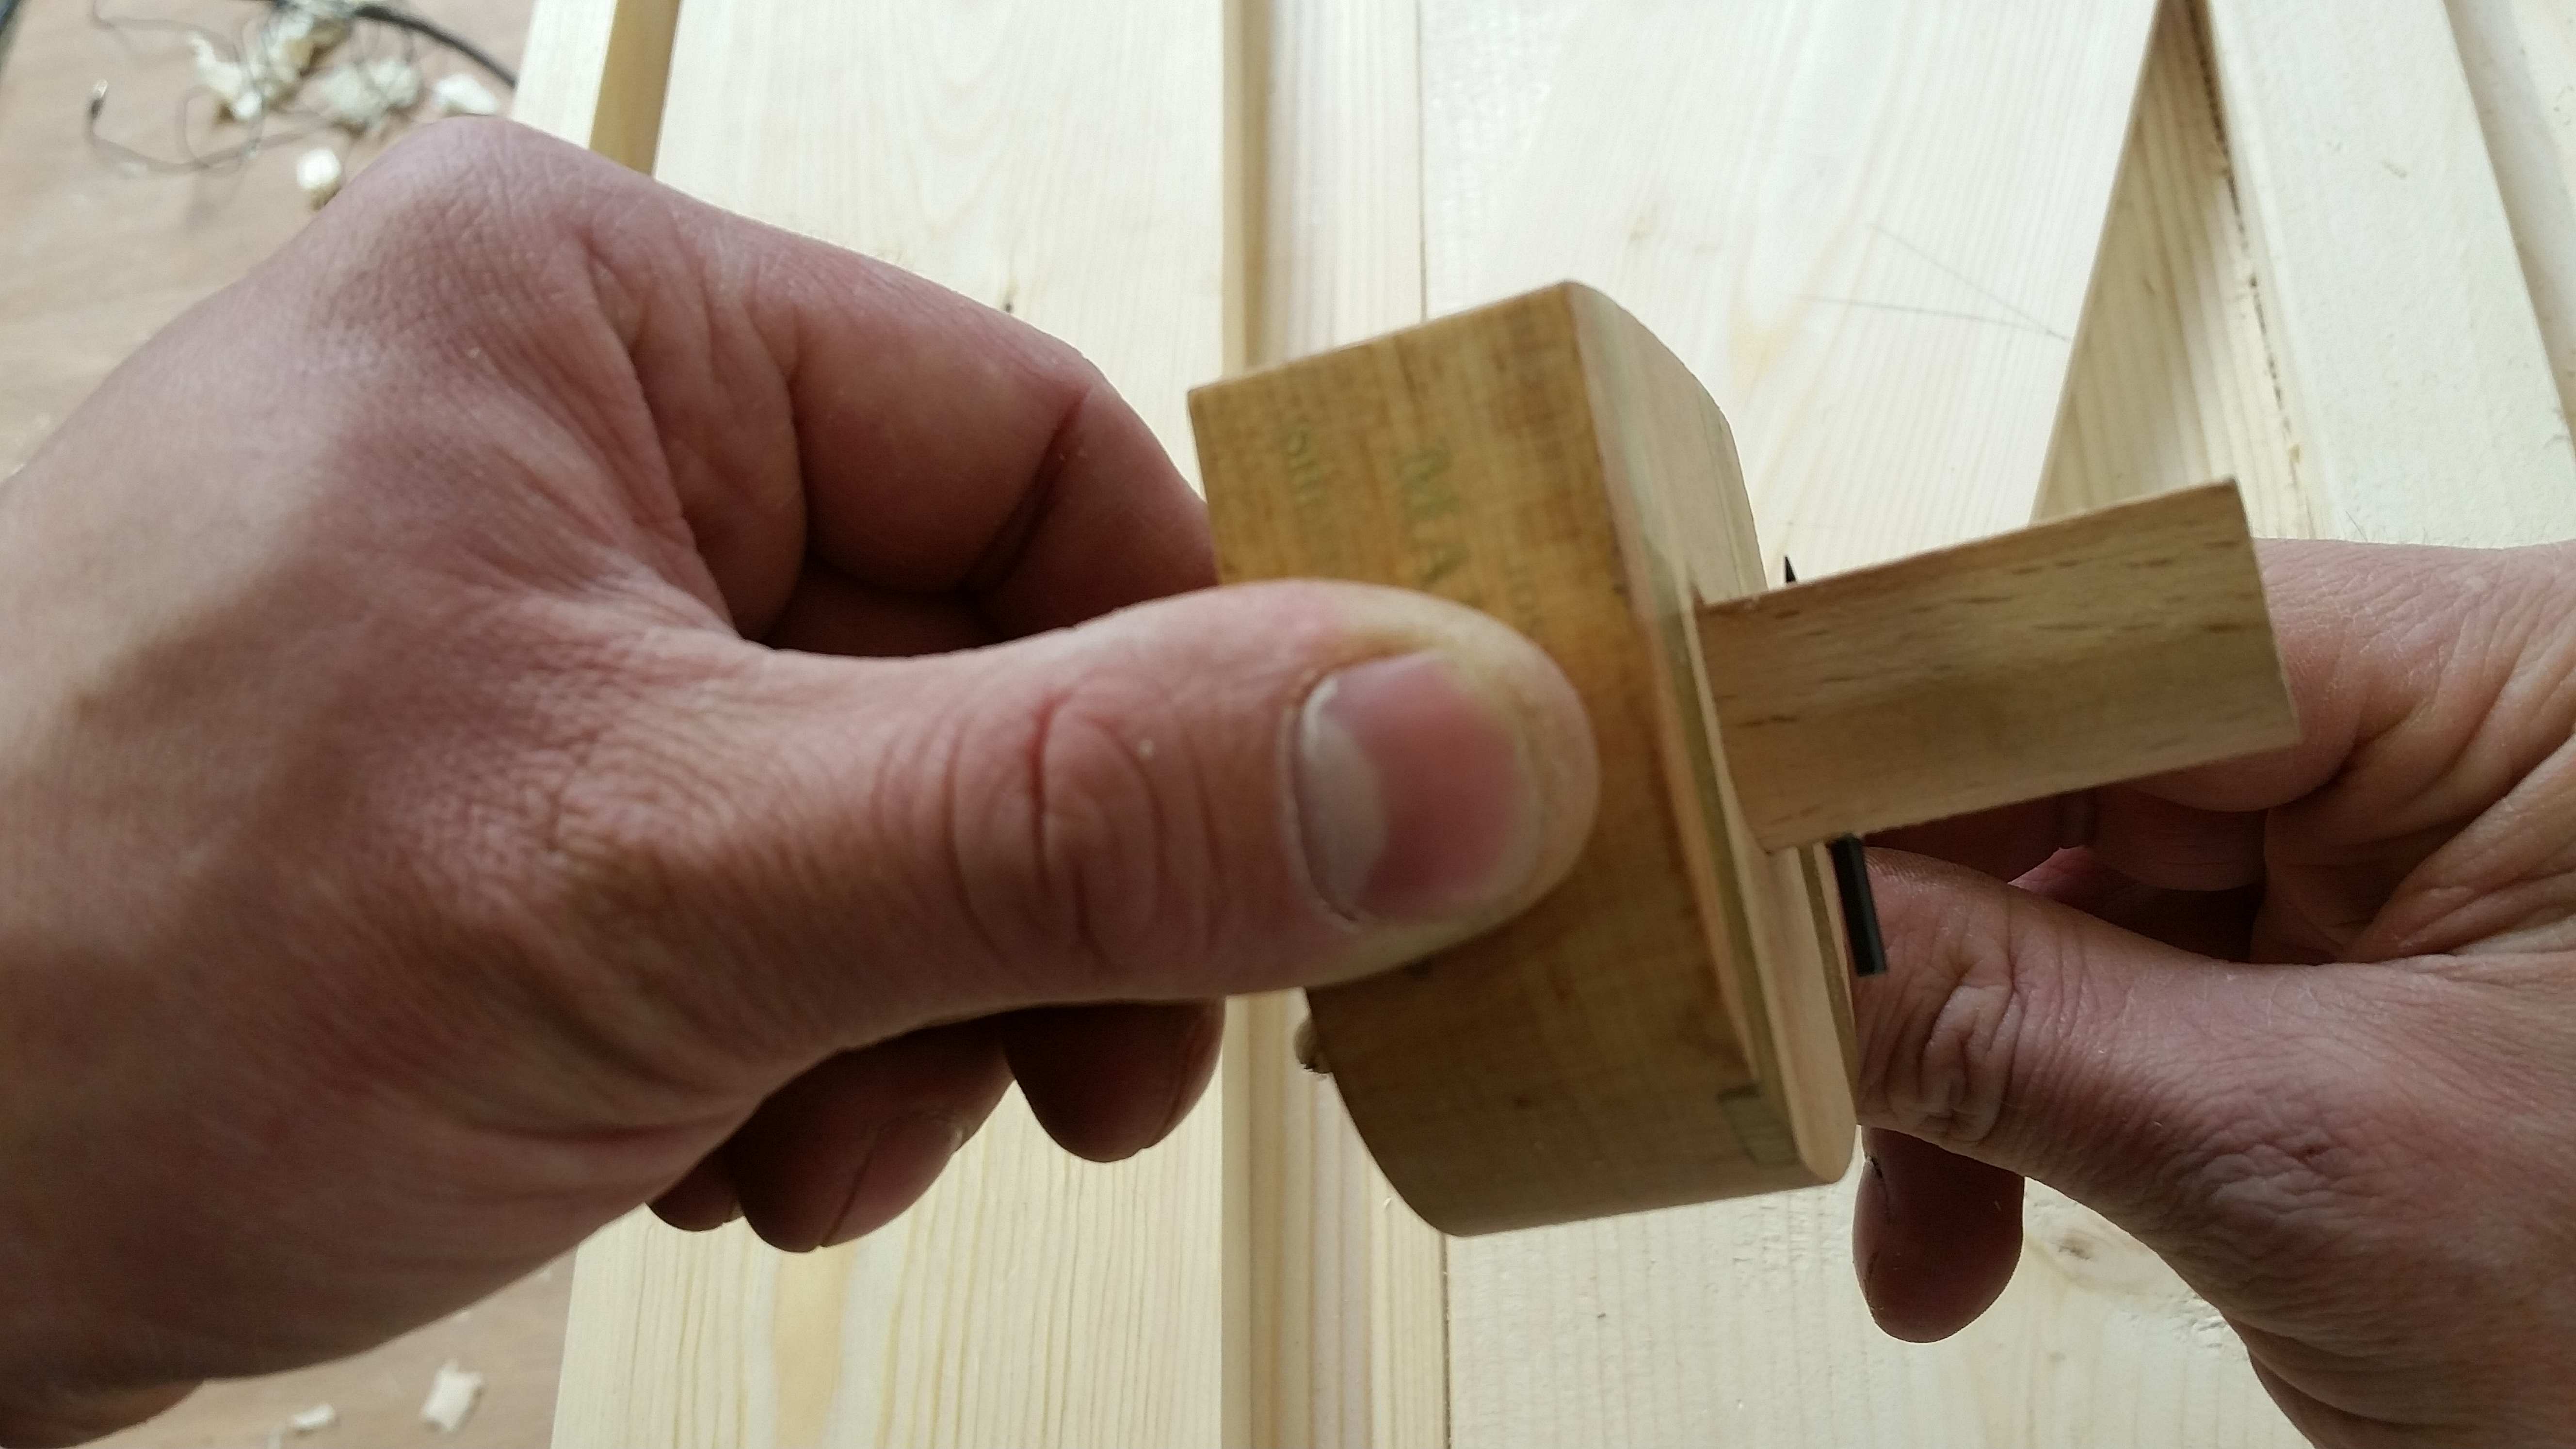
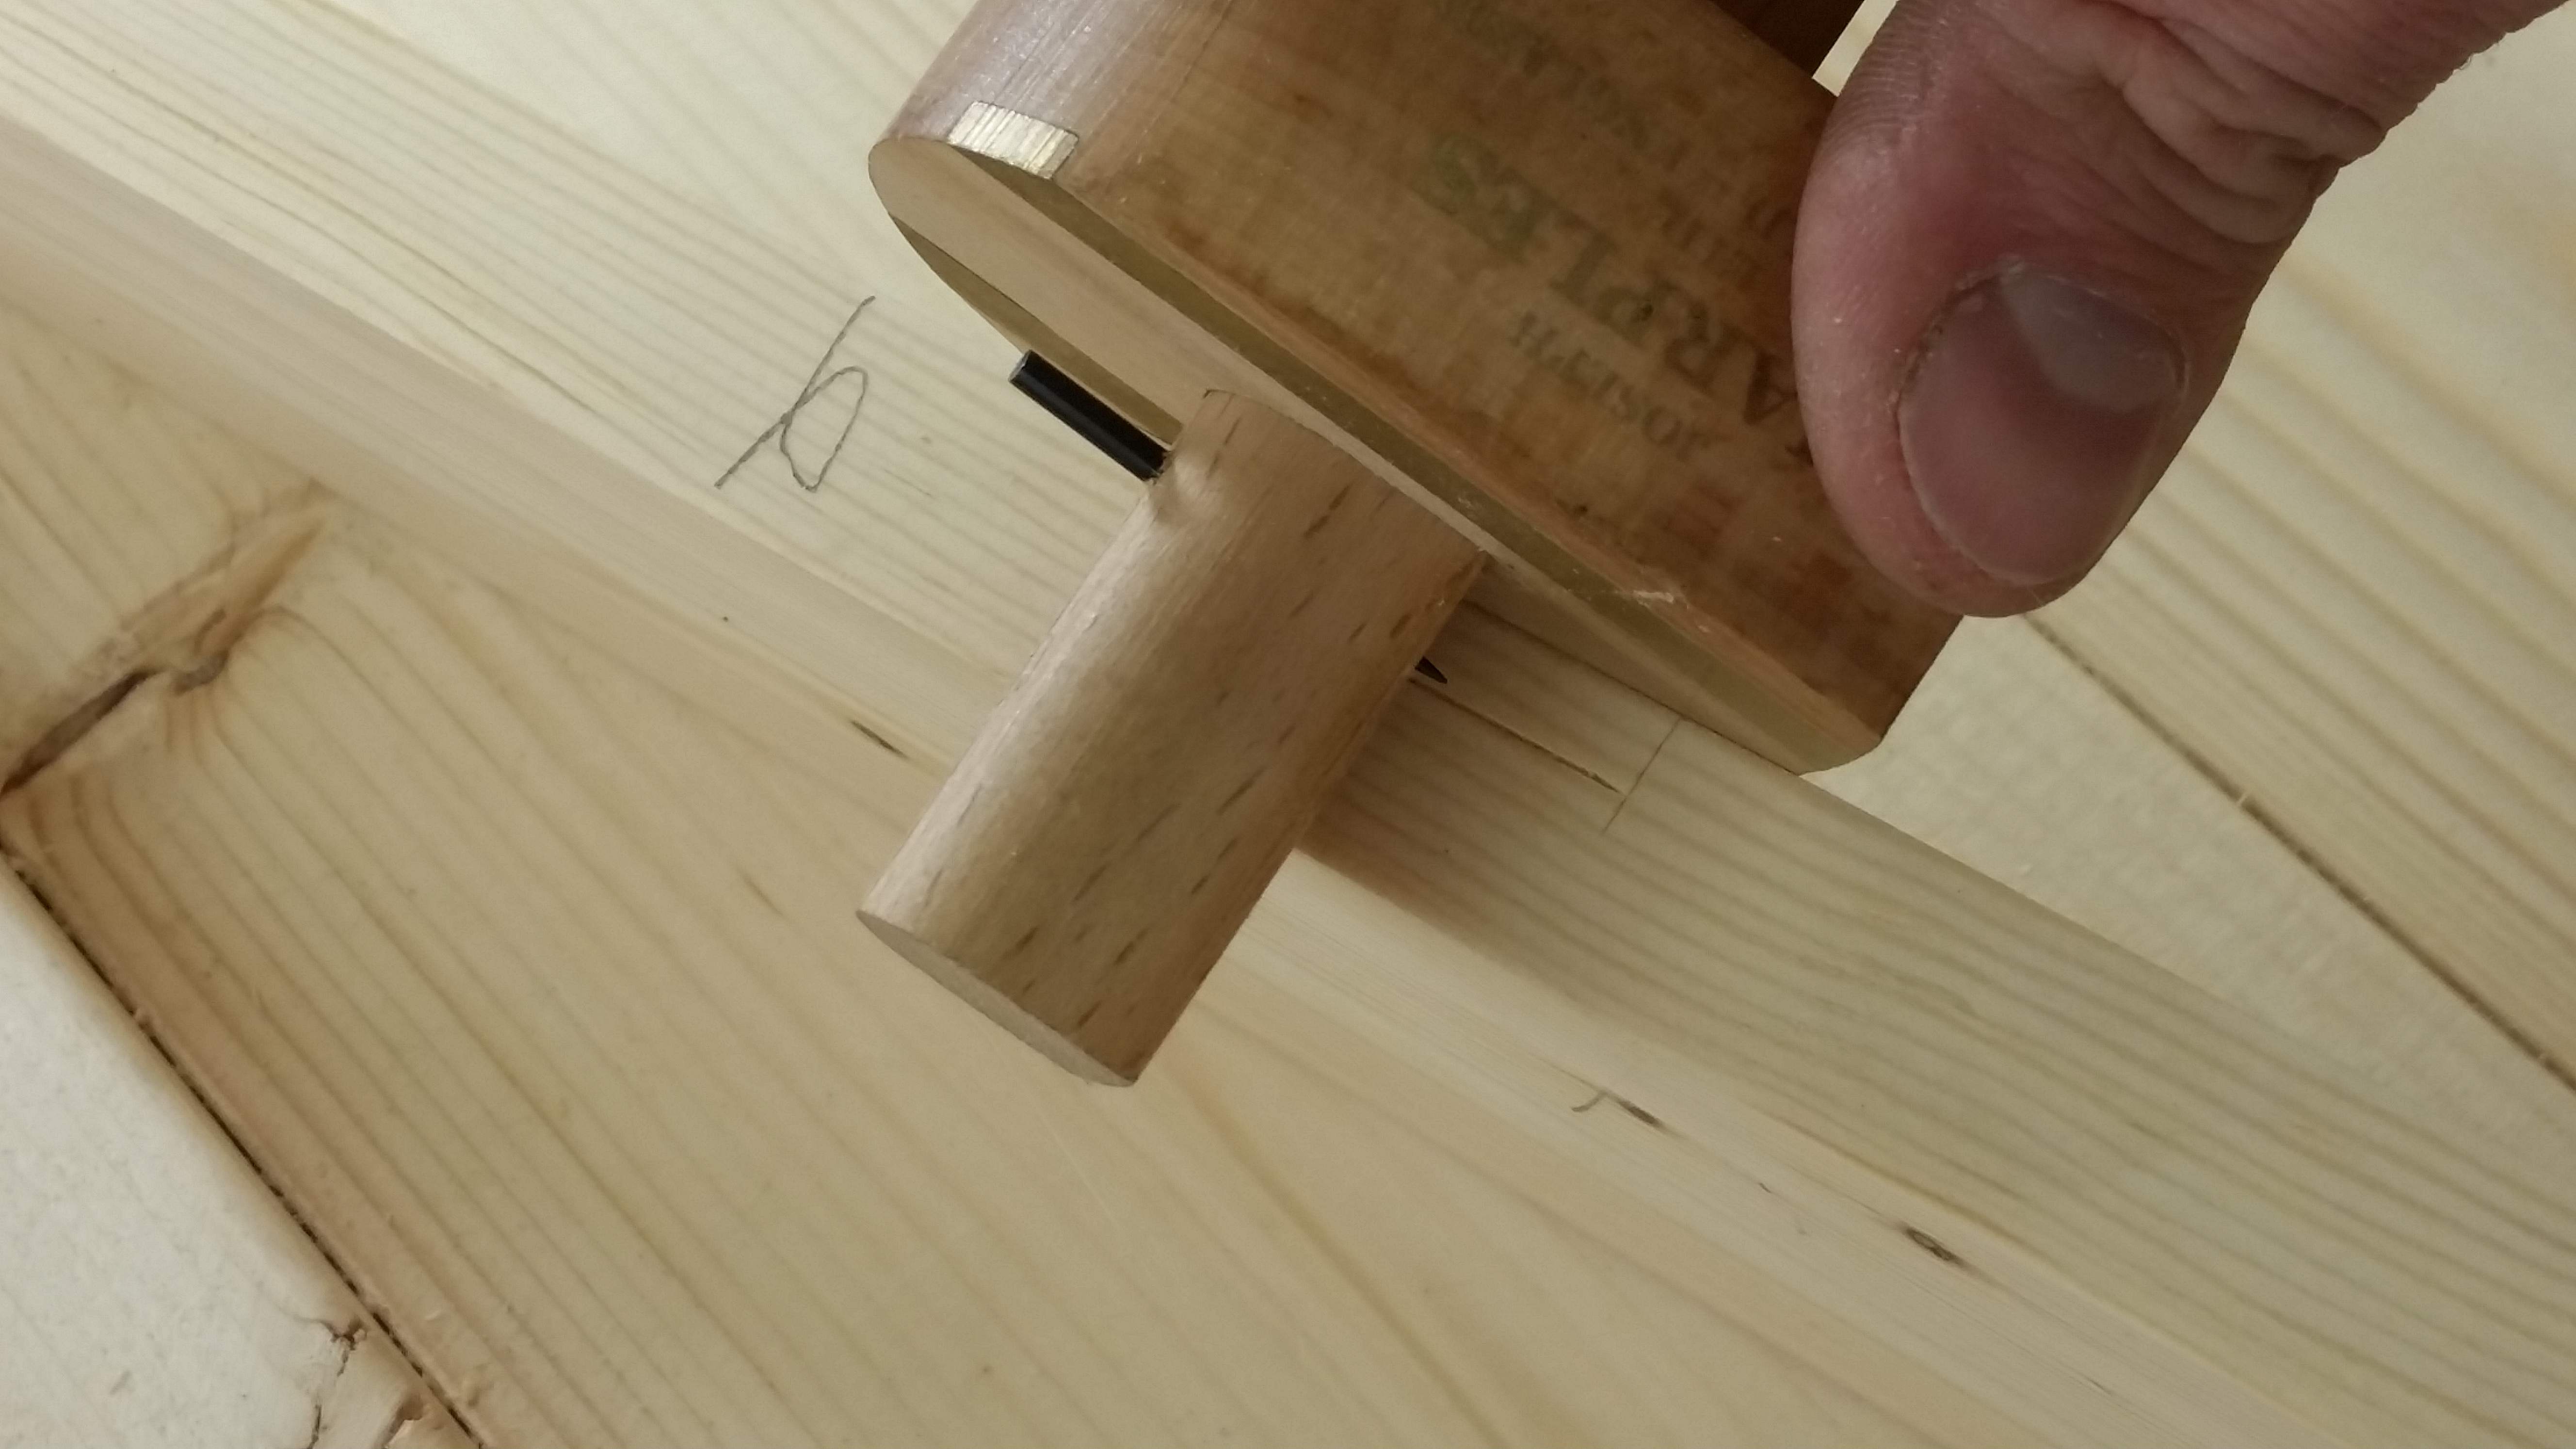
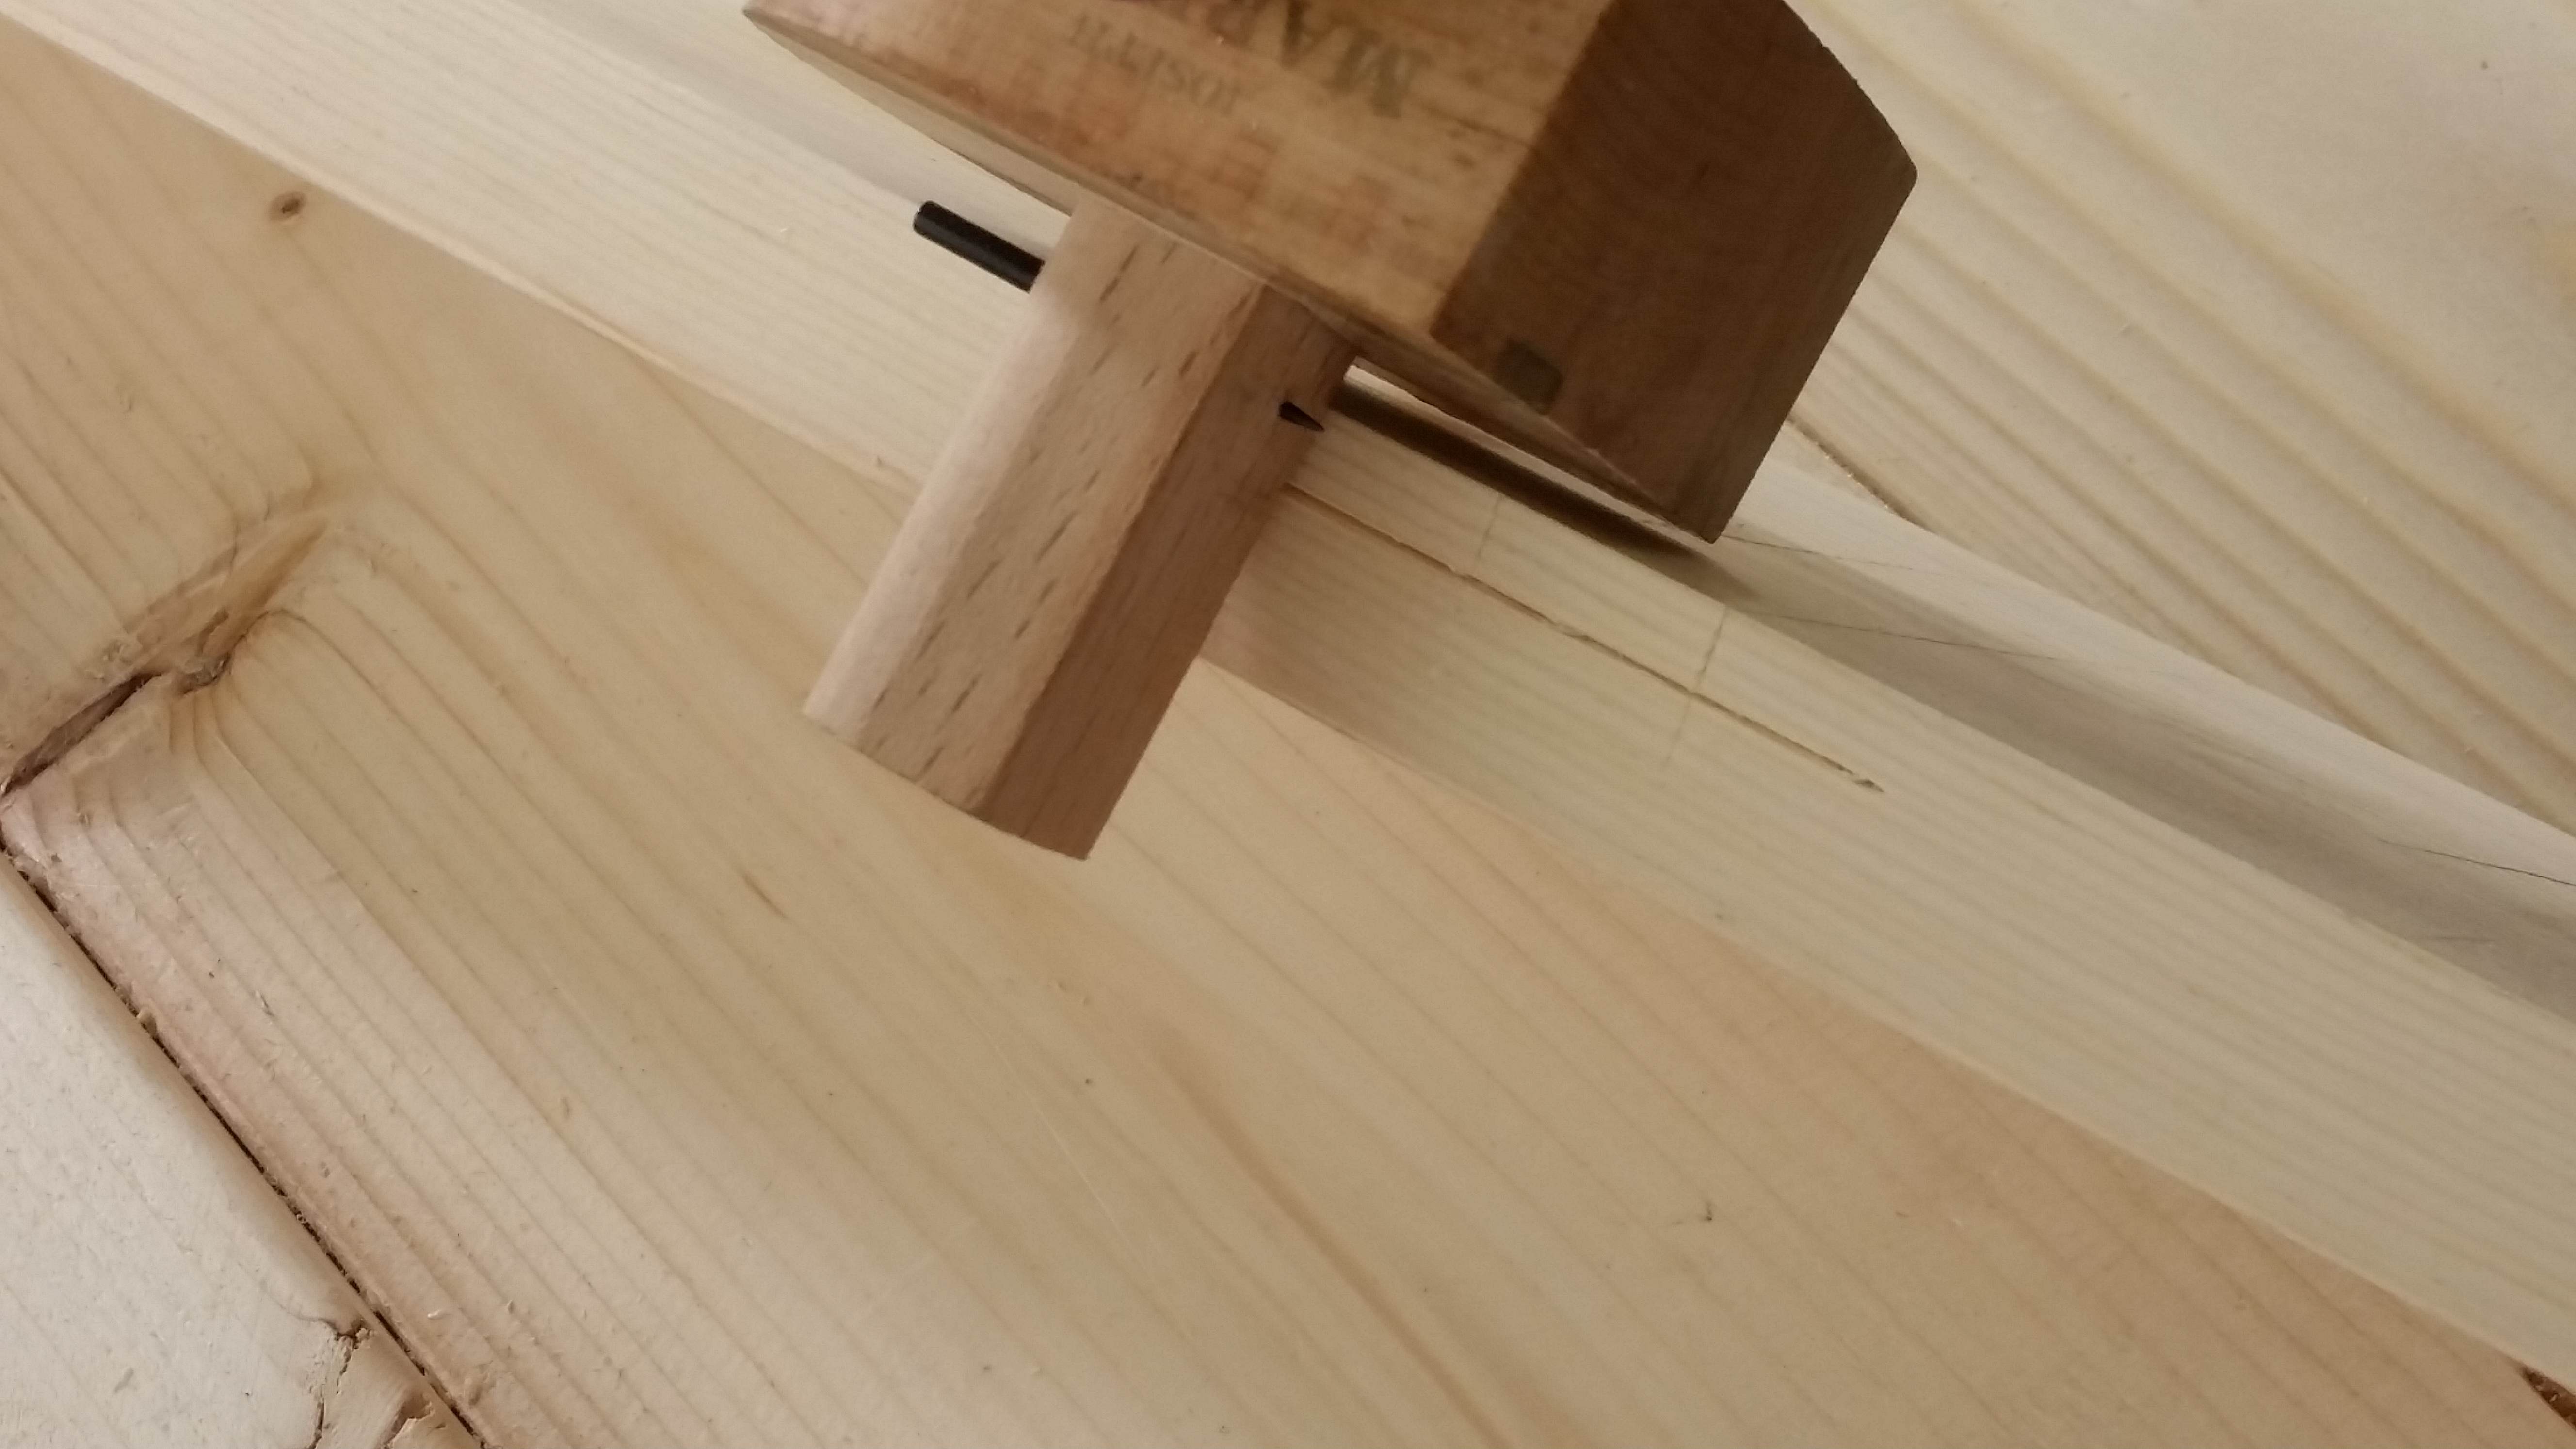
Hopefully with a push or a couple of taps, the joint should register home. Although I don’t always get joinery to fit “off the saw,” that is always my aim and I encourage that whenever possible. Practicing with that mindset will also make future projects progress more readily.
 Want to learn more about hand cut dados? Check out “Build a Hand-Crafted Bookcase with Christopher Schwarz” at shopwoodworking.com.
Here are some supplies and tools we find essential in our everyday work around the shop. We may receive a commission from sales referred by our links; however, we have carefully selected these products for their usefulness and quality.


Great post Graham – very inspiring!
Question: is the striking knife you’re using something that is commercially available (e.g. bought online?) I’m quite new to this and currently using a utility for marking. It’s hard to tame the wobbling blade though. Thanks!
Thanks . After seeing your article I went right to,the shop to try it myself.
Elmer
Always good to see it done proper. Cheers!
Nicely done, Graham! A worldly fellow, such as myself, would probably refer to the joint as a ‘housing dado’ to appease both sides of the Atlantic. Even said with a Philly accent, it reeks of taste.
Hey Graham,
Don’t worry about using non-‘merican words like housing joint. I’d never heard of it but now I’ll know it if I see it in the future.
I hope this comment doesn’t make me sound like a wanker.
Cool vid.
-Shawn