We may receive a commission when you use our affiliate links. However, this does not impact our recommendations.
 Bob Lang’s “Make a 3-Legged Stool” video shoot and class is moving along at breakneck speed – not because we need to rush through it, but because all the class participants are doing so well.
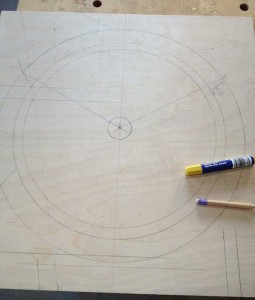
Yesterday, Bob walked the nine students through the layout – which is in my opinion by far the trickiest part of this build. The rest is mostly mortising and sawing – with a bit of simple turning for the round and slightly dished seat.
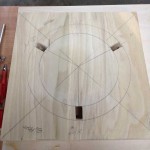
Bob built a number of jigs to help with the mortising, so that the bulk of the waste can be drilled out at the drill press (all the mortises are sloped), then cleaned up with chisels at the bench. For the tenons, we had the band saws set up – and plenty of backsaws on hand. Some folks used the machinery, others just grabbed a mortise chisel and saw and went to work. Both methods are effective, as evidenced by everyone’s progress.
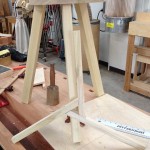
 Everyone’s center triangular stretchers are fit, the legs are tenoned for the seat and fit into seat mortises.
Today, Bob will show the class how to fit slightly angled tenons into slightly angled mortises where the stretchers meet the legs, then the seats will be turned round and scooped a bit for a comfortable posterior fit.
 I suspect some of the students will be headed home just after lunch, stools in hand. (That sounds wrong.)
The video is scheduled to be available in February.
Here are some supplies and tools we find essential in our everyday work around the shop. We may receive a commission from sales referred by our links; however, we have carefully selected these products for their usefulness and quality.


