We may receive a commission when you use our affiliate links. However, this does not impact our recommendations.
Custom-Made Crown Molding
By John English
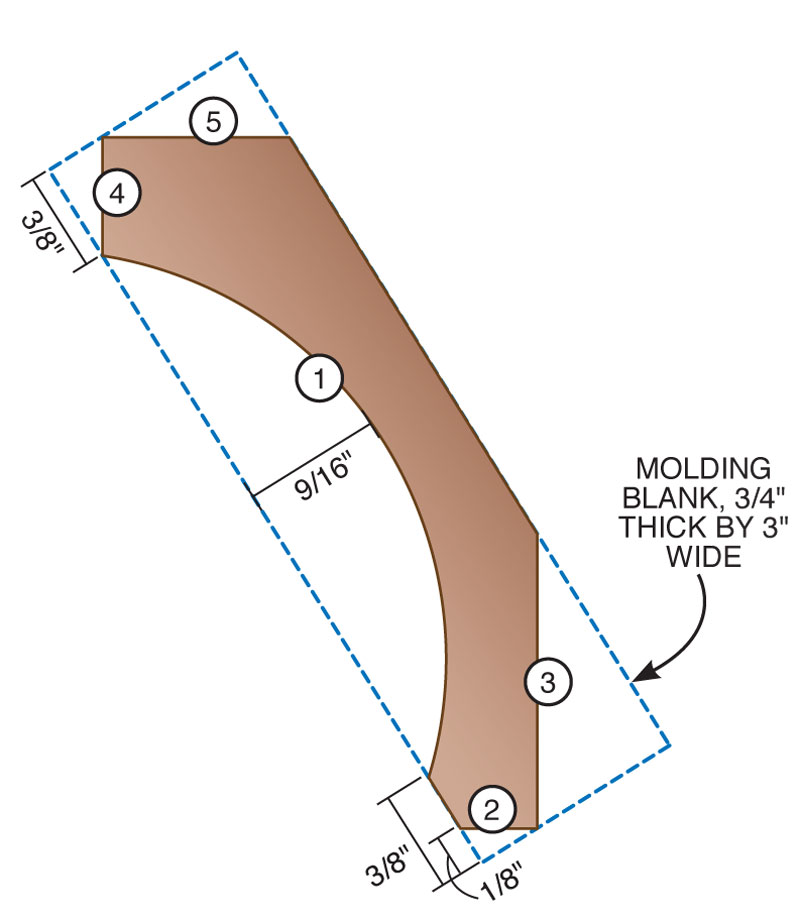
Here’s how to make the crown molding for the pantry. It’s all done on the tablesaw. The biggest challenge is figuring out which cut to make when.
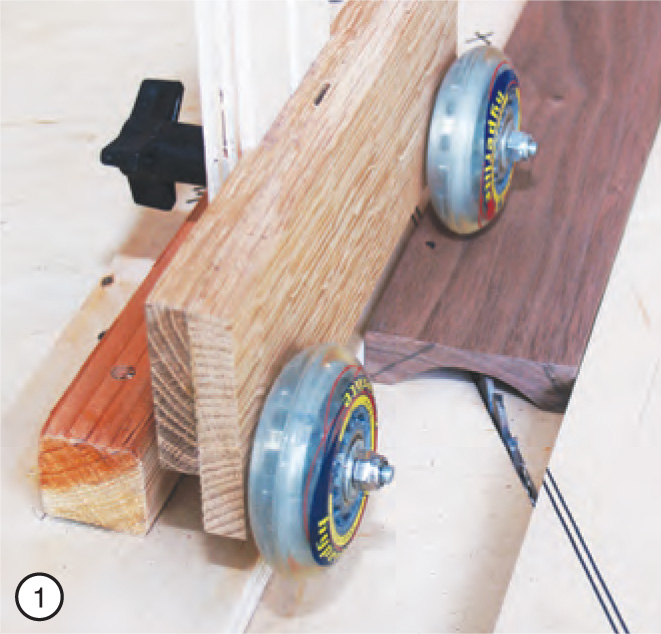
1. Make a cove (Cut 1, see lead photo) by running 24-in. or longer boards at 30 degrees to the blade. Guide the board in a jig and apply holddown pressure with a pair of skateboard wheels. Start with a very shallow cut, then raise the blade in 1/16-in. increments until you’ve formed the full cove.Click any image to view a larger version.
 2. Tilt the blade 30 degrees for Cut 2. A handscrew prevents the molding from tipping. Use a zero-clearance insert plate if your plate doesn’t provide adequate support.
 3. Keeping the blade at 30 degrees, make Cut 3. The space between the blade and fence is very small. Cut a kerf through a piece of plywood to support the molding stock.
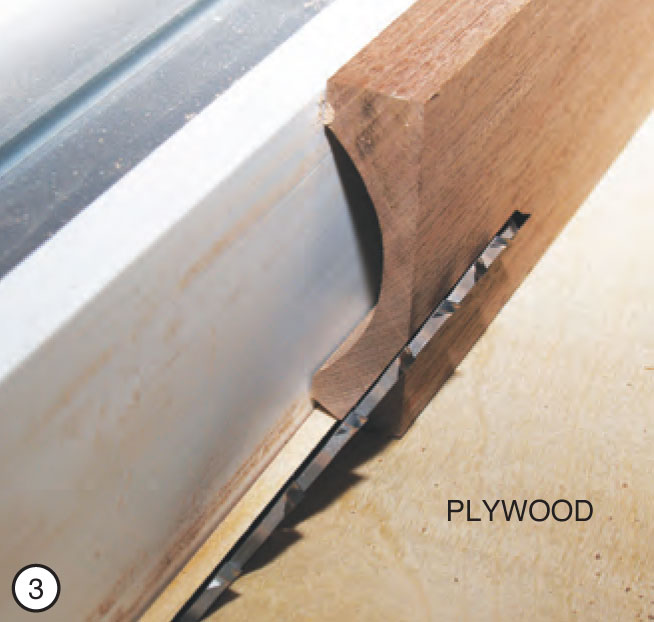 4. For Cut 4, leave the blade at 30 degrees. There should be enough room on your insert plate to support the molding this time.
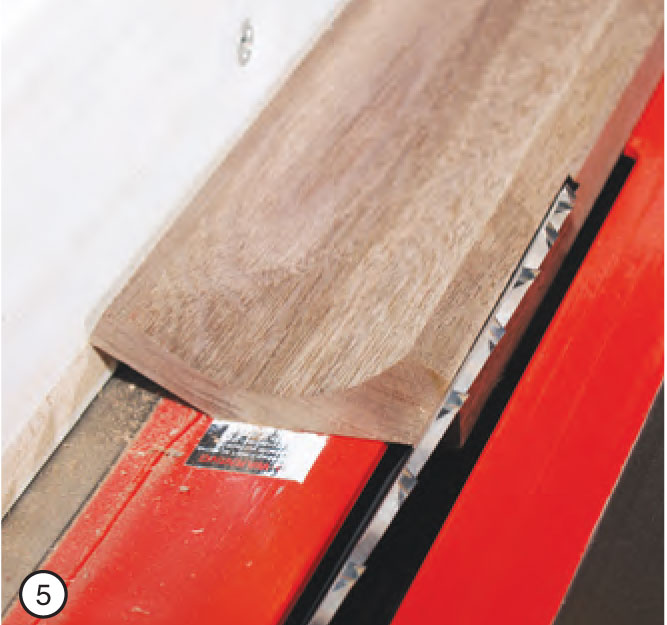
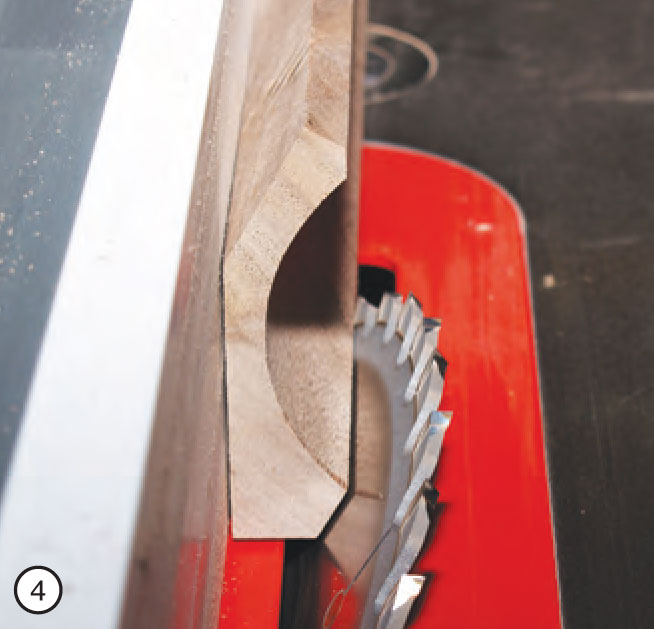 5. With the blade still tilted at 30 degrees, make Cut 5.
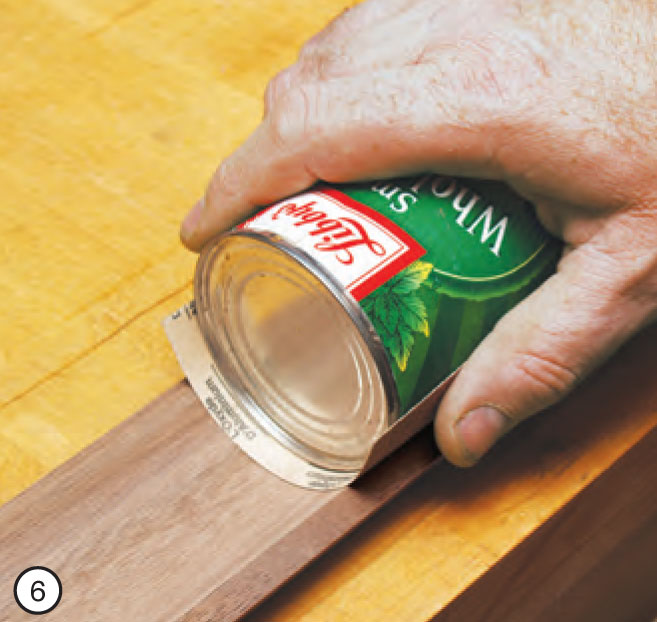
 6. Sand the molding with a large block. A can of beets (how fitting for a pantry!) is exactly the right size: just a little bit smaller in diameter than the cove.
 This story originally appeared in American Woodworker November 2007, issue #132.
Here are some supplies and tools we find essential in our everyday work around the shop. We may receive a commission from sales referred by our links; however, we have carefully selected these products for their usefulness and quality.


