We may receive a commission when you use our affiliate links. However, this does not impact our recommendations.
A unique router table, with two machines, does the trick.
Making drawers can chew up a lot of time-unless you’ve got an efficient system. I’ve worked in several cabinetmaking shops where drawers are made fast. I’ve adopted their methods for my home shop, where I often make cabinets that require lots of drawers. But even if you don’t need to work fast, this system works quite well.
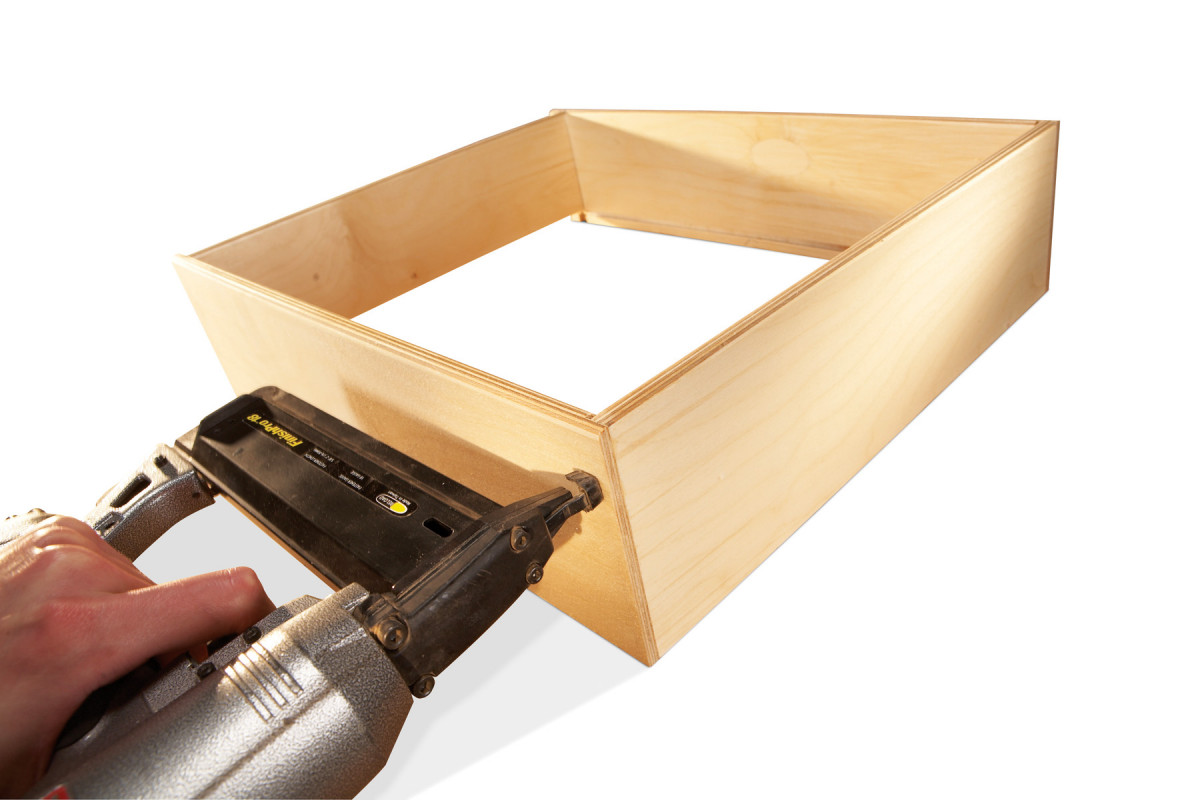
As drawers go, this design is pretty simple. It’s a classic four-piece drawer box, made from 1/2“ Baltic birch. It’s intended for utilitarian furniture, not showpieces. The box is dadoed, glued, and nailed together: joinery that’s strong enough for a drawer that runs on slides. After the box is built, it receives an applied front, which is usually hardwood or edge-banded plywood.
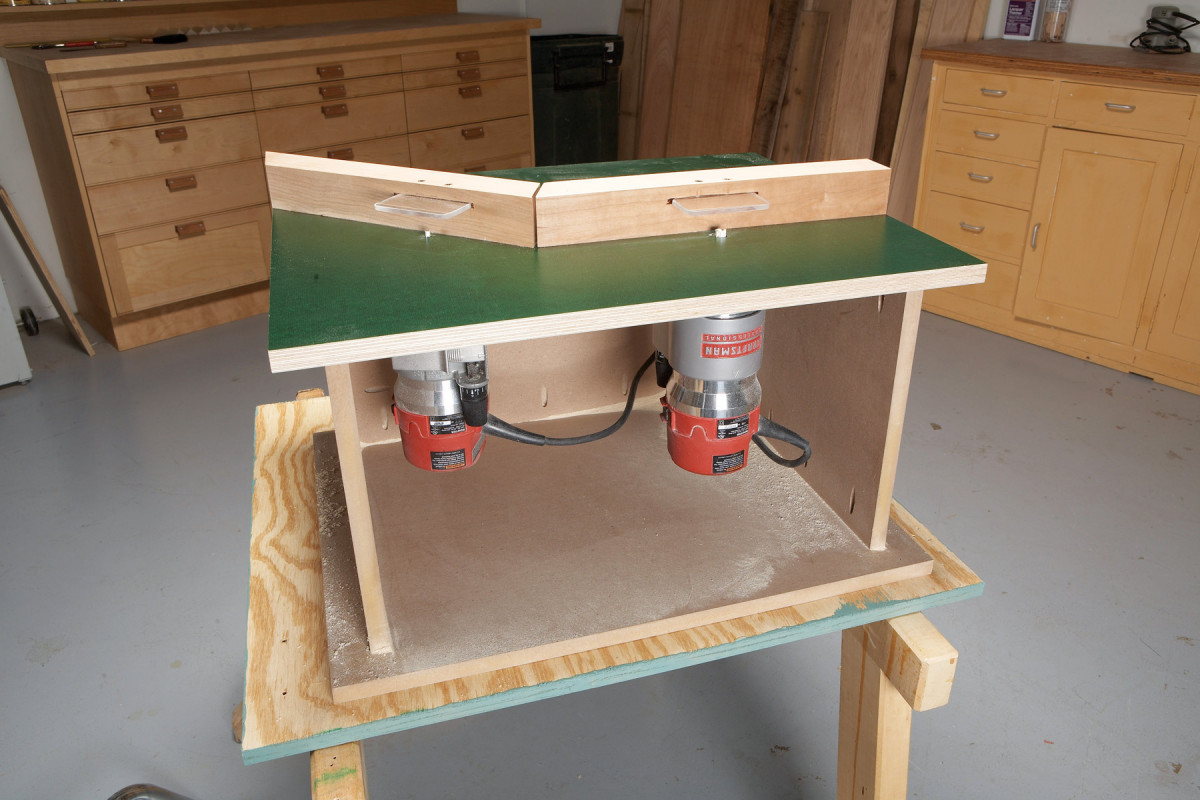
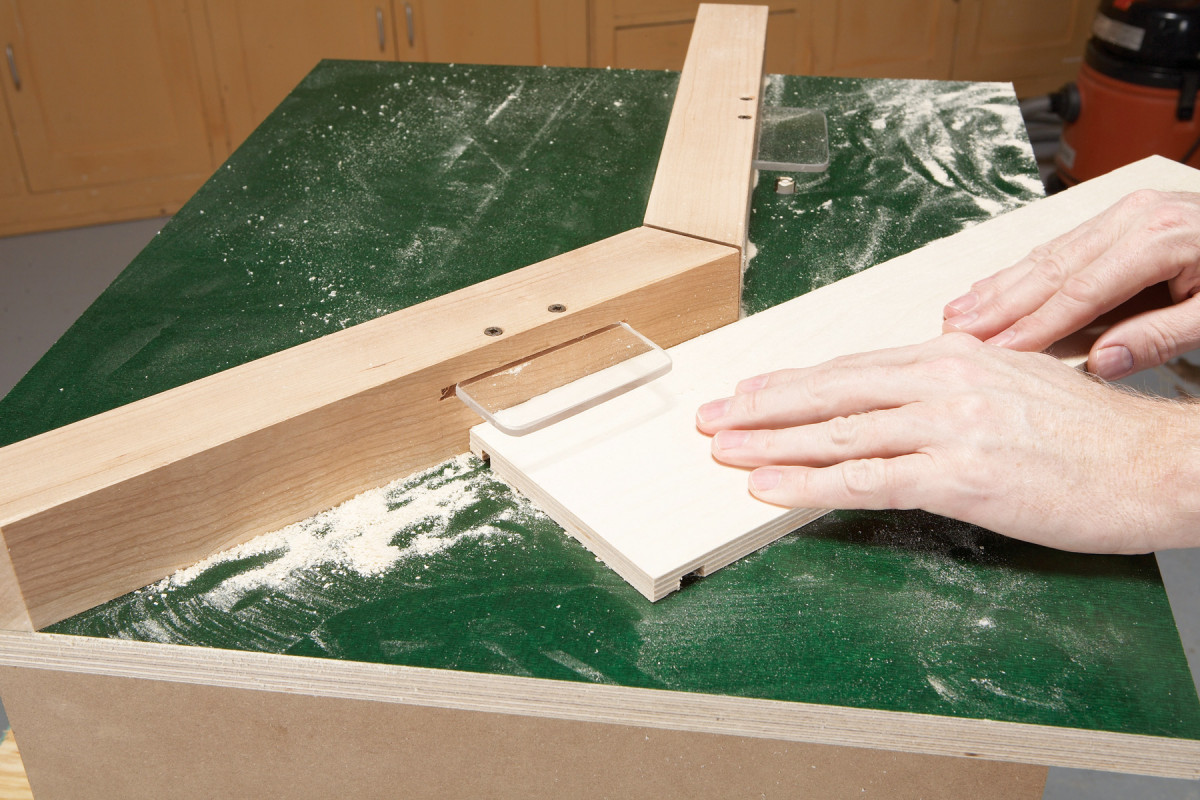
1. I built a dedicated router table for quickly making lots of drawers. It has two routers: the left machine has a 1/4″ straight bit, and the right machine has a 1/2″ straight bit. Both bits stick up 1/4″.
Let’s begin with a drawer-making station I built that saves a lot of set-up time (Photo 1).
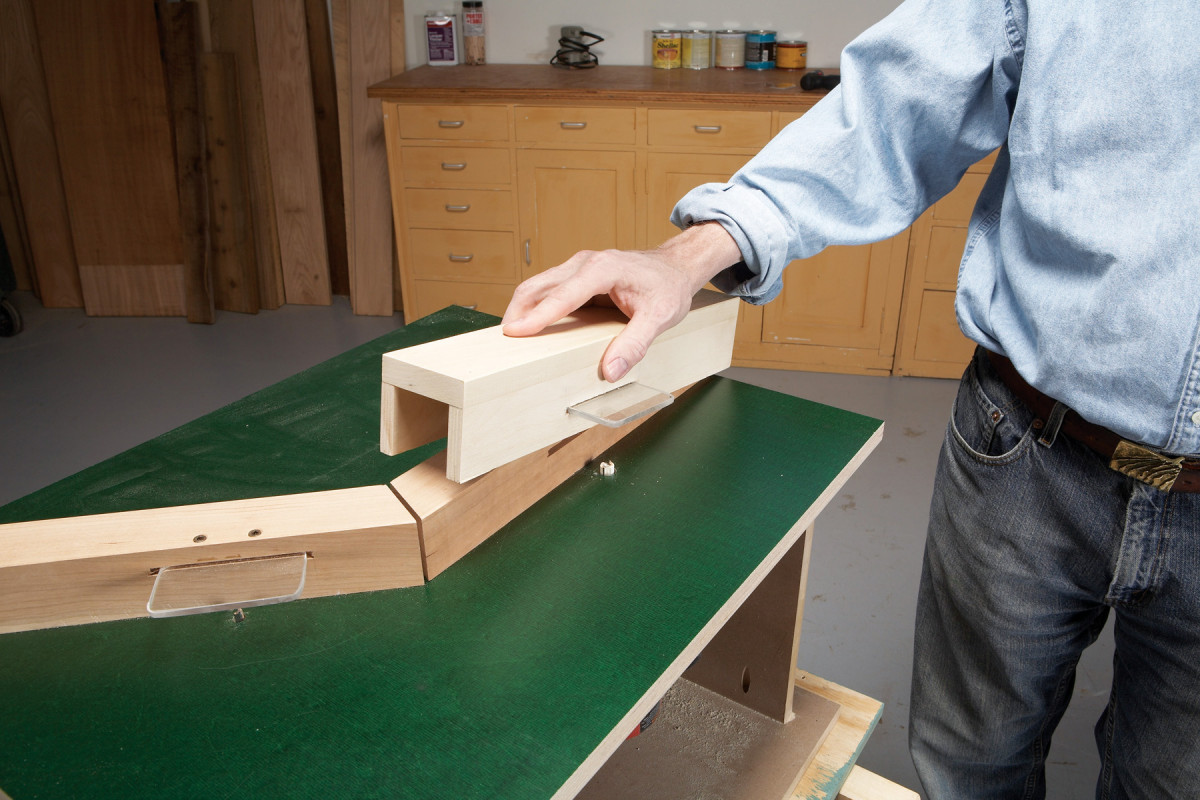
2. To begin making a drawer, put a box on the right-hand fence. The box has 1/2″ thick sides, and the bit is located 1/2″ from the fence, so the front side of the box is even with the bit.
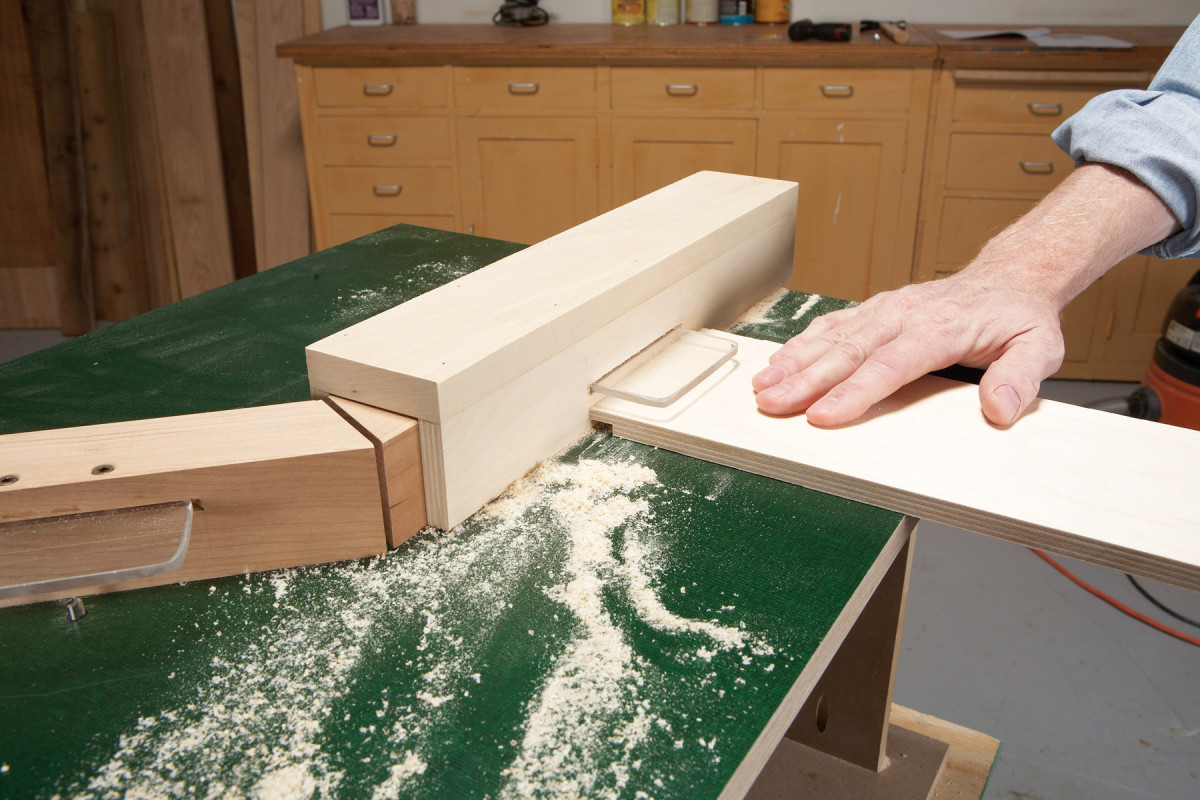
3. Rout rabbets across one end of both drawer sides. The rabbets will receive the drawer front. After routing, remove the box and set it aside.
4. Rout dados across the opposite ends of the drawer sides. The dados will receive the drawer back.
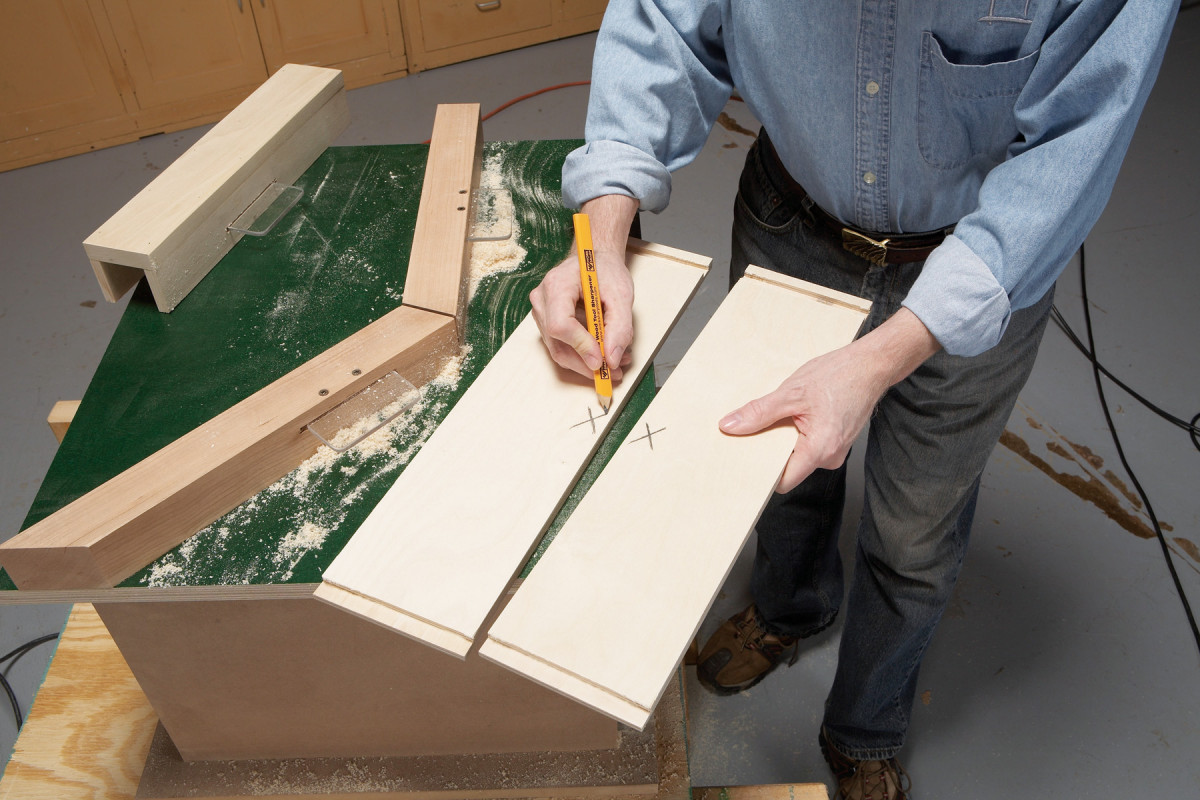
5. Place the two drawer sides together and mark the sides that will be grooved to receive the drawer bottom.
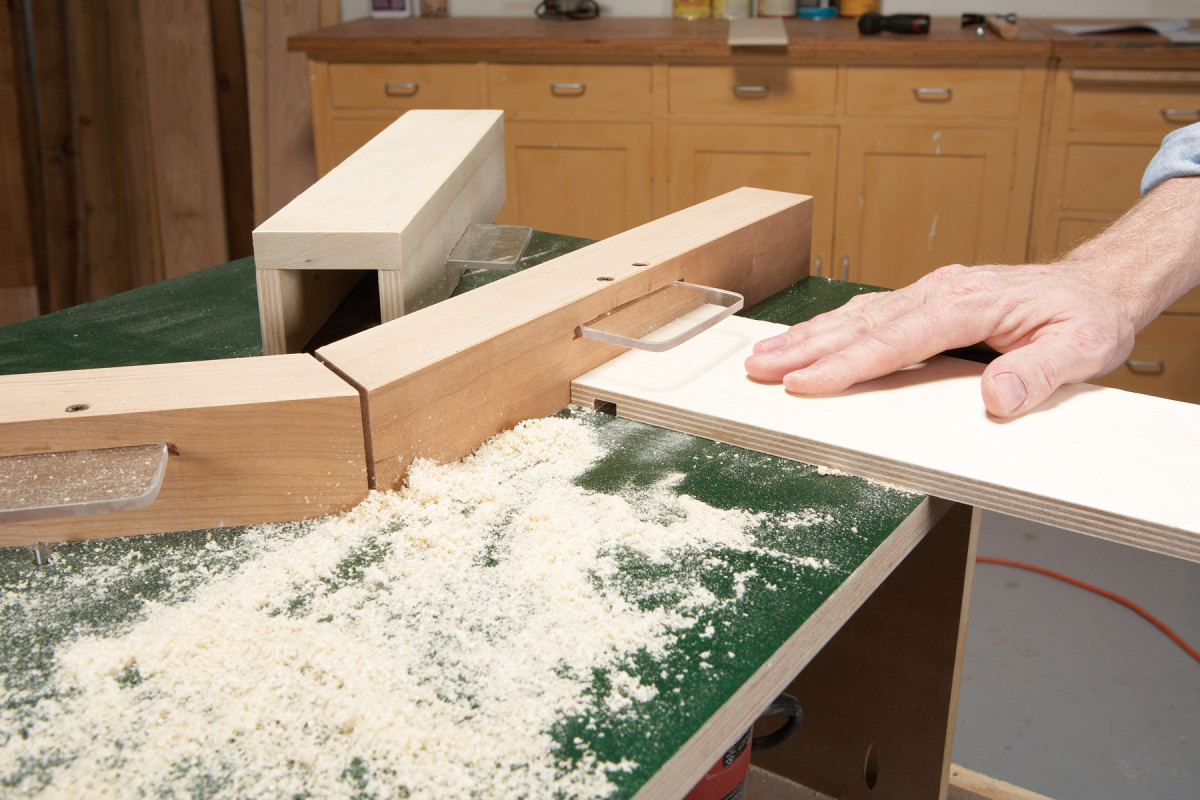
6. Rout grooves along the inside faces of both drawer sides using the second router in the table. This bit is positioned 3/8″ away from the fence.
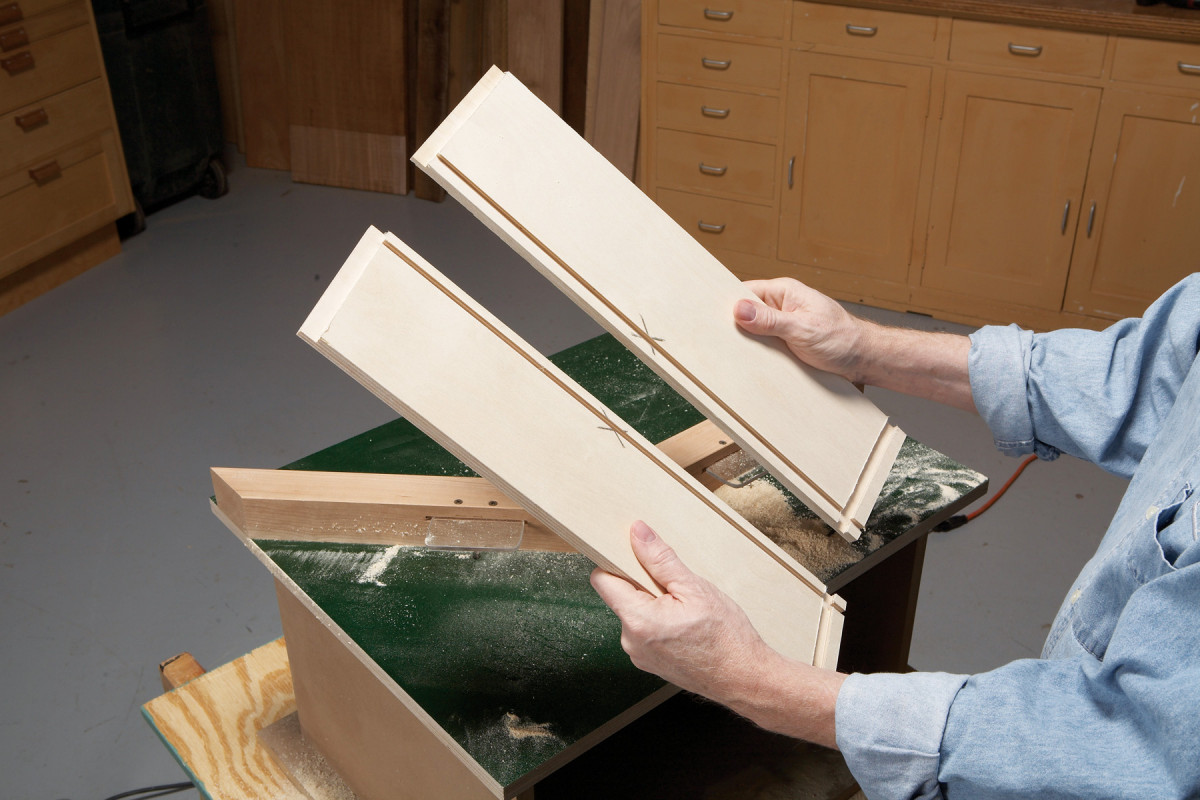
7. When you’re done, you’ll have a matched pair of drawer sides. That’s it for routing; now move on to calculating the length of the front and back pieces.
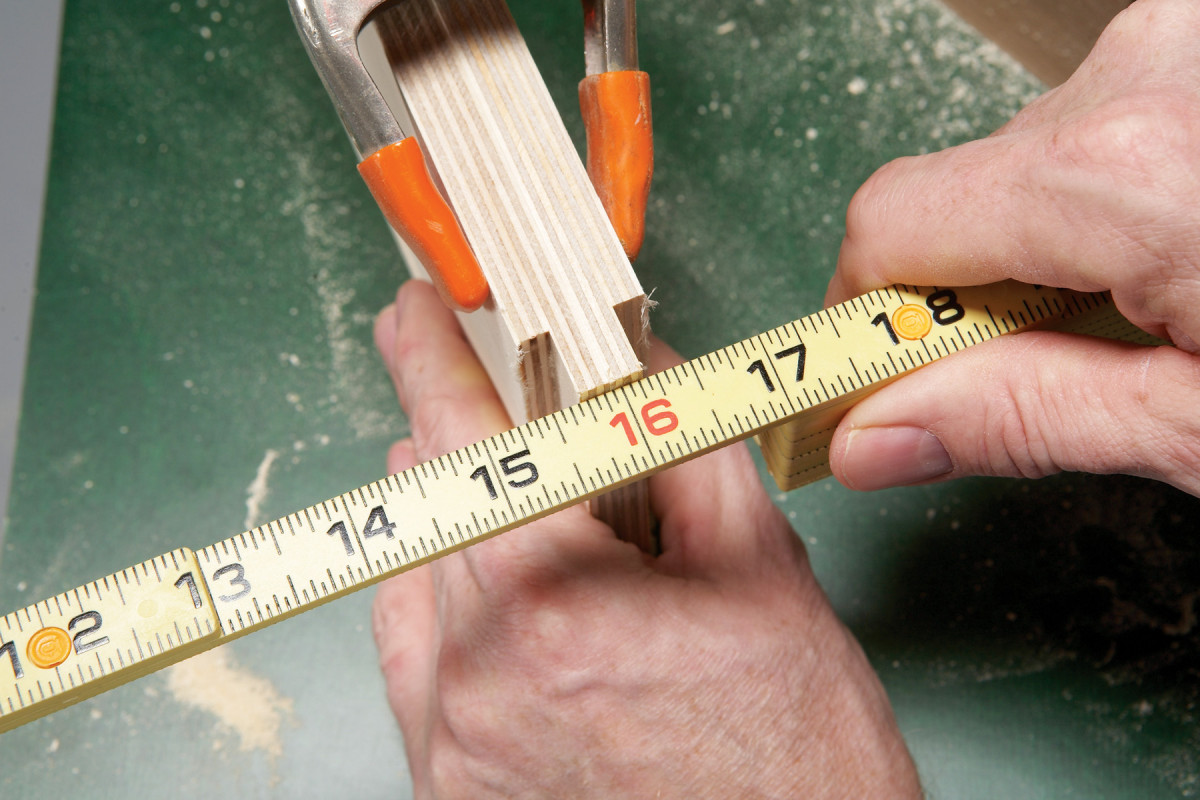
8. Hold the two drawer sides back-to-back. Place a ruler across the two rabbets to directly calculate the front and back pieces’ length. For example, the ruler reads 16-3/16″ at right, the size of the finished drawer; at left, the ruler reads 15-11/16″, the length to cut the front and back pieces. Rip the fronts the same width as the sides; rip the back piece 5/8″ narrower than the sides.
9. Temporarily assemble the drawer. Make the bottom from 1/4″ plywood. Rip it 1/32″ narrower than the length of the front and back pieces. Crosscut it 1″ extra-long. Slide in the bottom and mark its length to be flush with the back.

10. Using a different router table, round over the top edges of the drawer parts using a 1/4″ roundover bit. Flip each piece over and rout both sides.
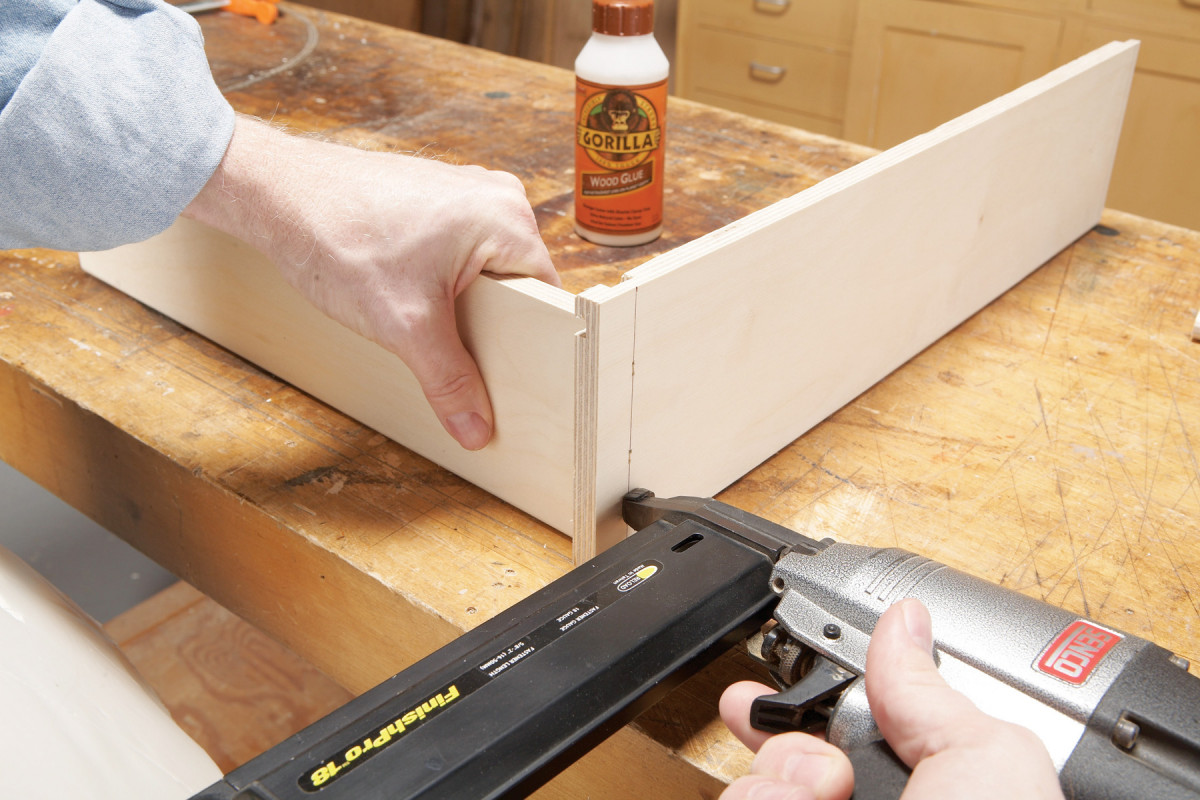
11. Assemble the drawer using glue and 1″ long 18-gauge brads. Place the drawer parts upside down, to align their top edges. Start with the back corners.
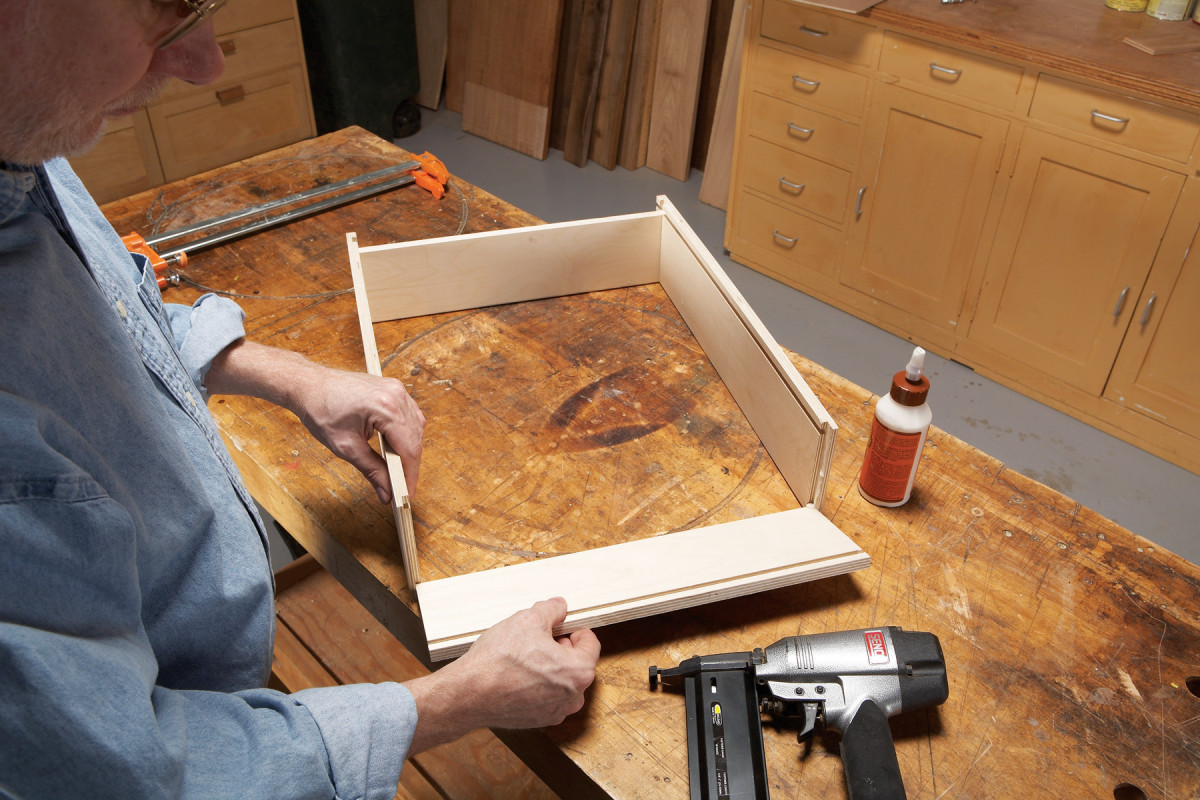
12. Glue and nail the front. Then slide the bottom in almost all of the way, and turn the drawer over.
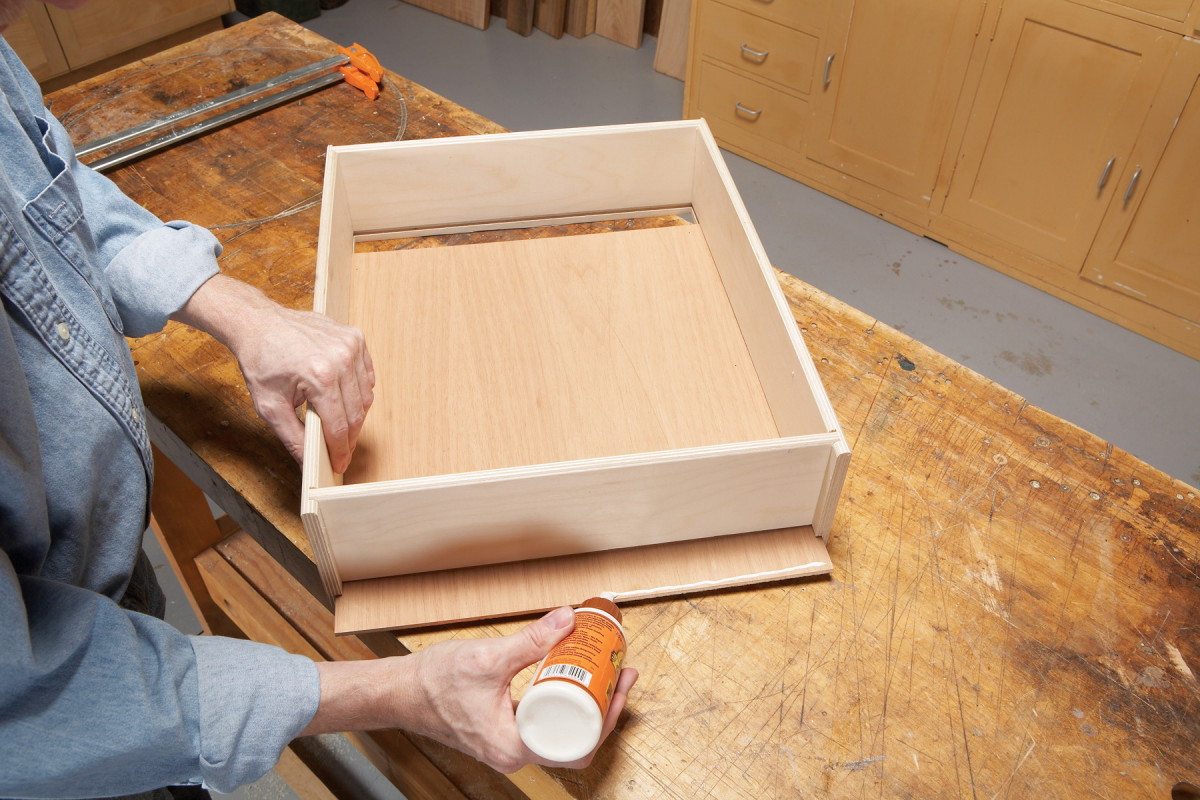
13. Run a bead of glue across the end of the drawer bottom, then push the bottom into the front groove. Turn the drawer over.
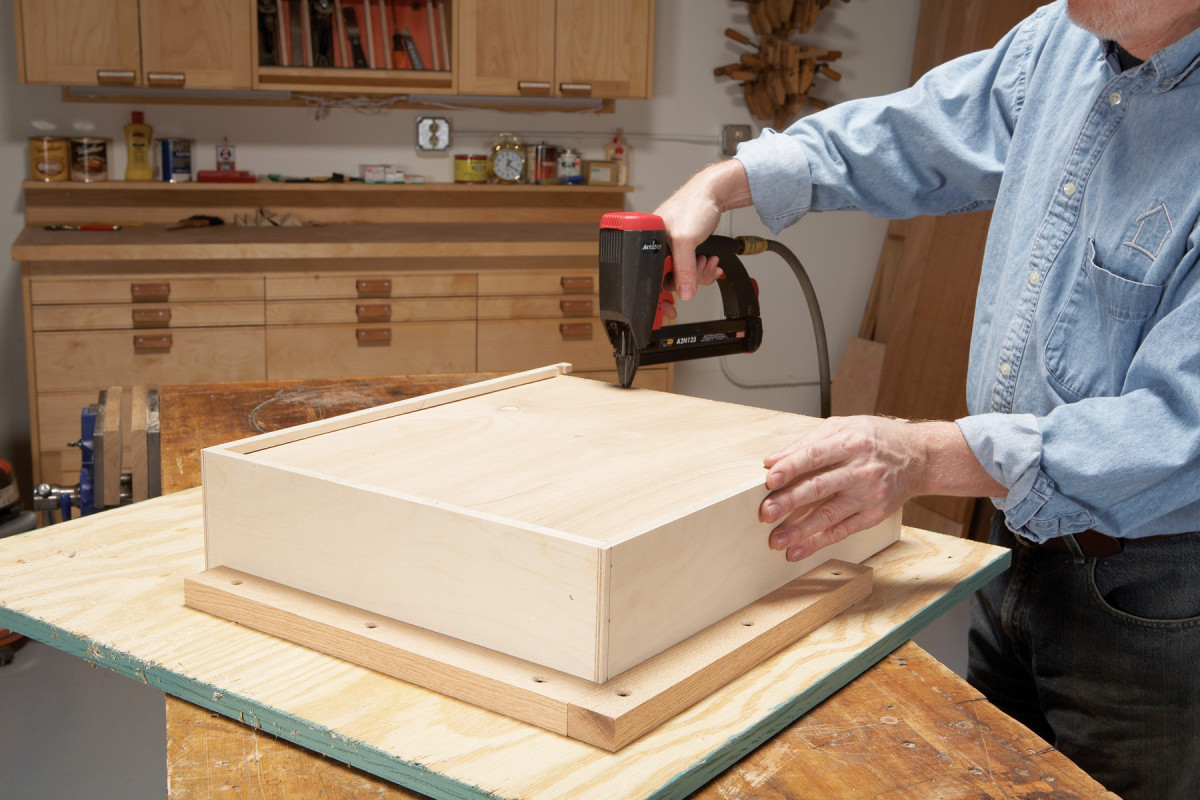
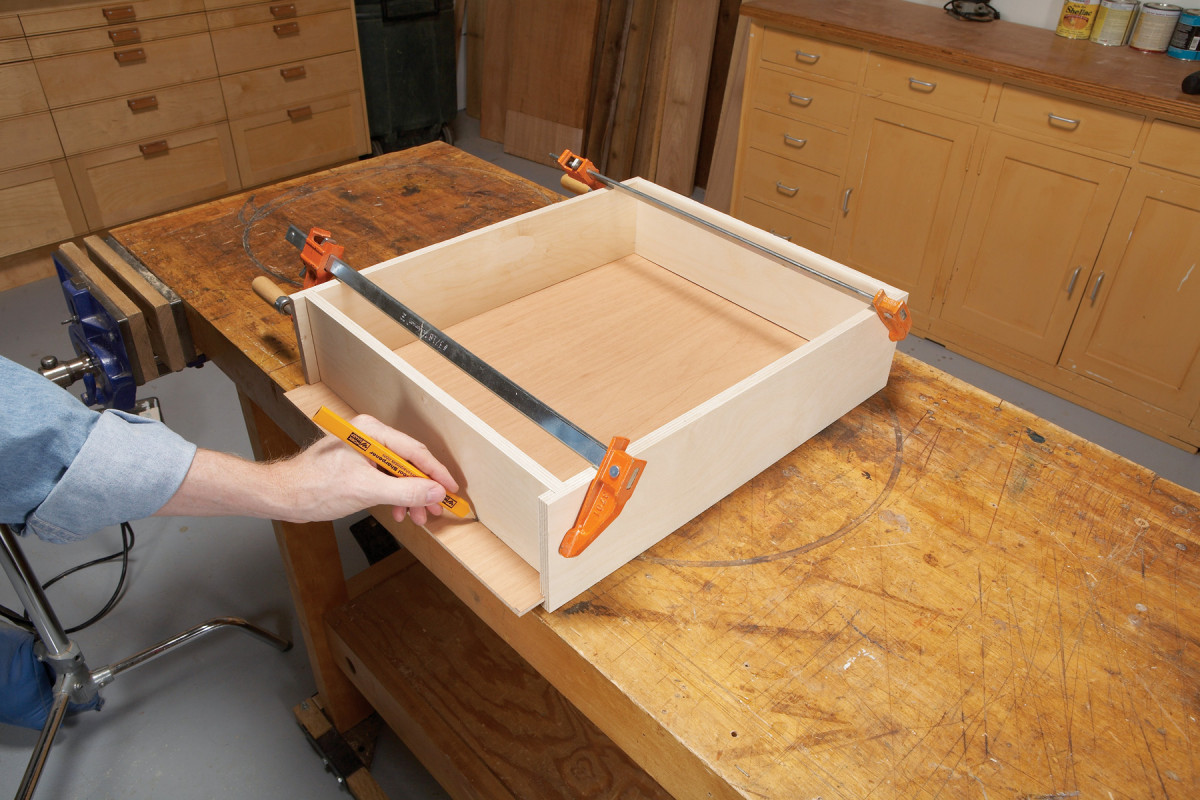
14. To make sure the drawer is square, nest it inside two strips screwed to a large piece of plywood. Fasten the bottom using 1/4″ crown staples, 3/4″ long.
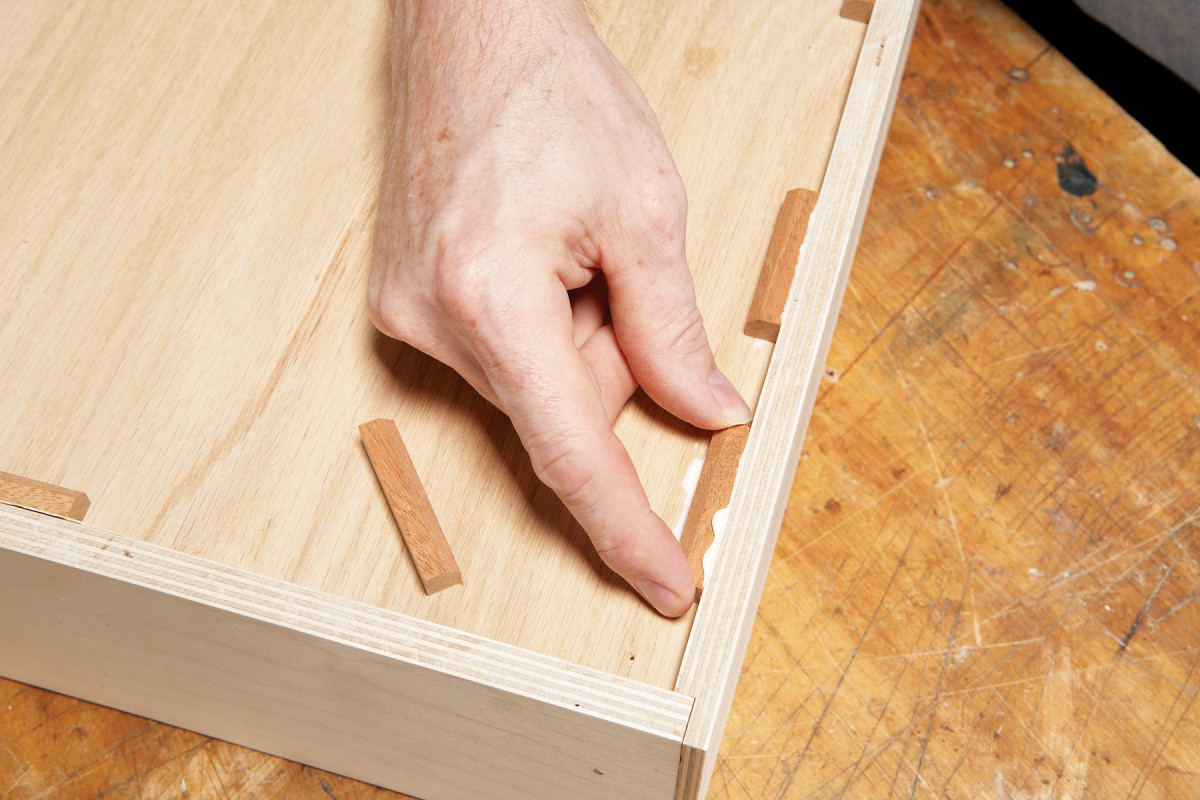
15. Add glue blocks around the bottom. They’re 3/8″ square and 2″ long. Just rub them in place; they don’t need to be nailed. These blocks hold the drawer square and keep the bottom from rattling if it fits loose in the grooves.

Add slides and mount the drawer in the cabinet. Attach the solid-wood front piece with double-faced tape, then open the drawer and fasten the front with screws from the inside.
Here are some supplies and tools we find essential in our everyday work around the shop. We may receive a commission from sales referred by our links; however, we have carefully selected these products for their usefulness and quality.