


We may receive a commission when you use our affiliate links. However, this does not impact our recommendations.
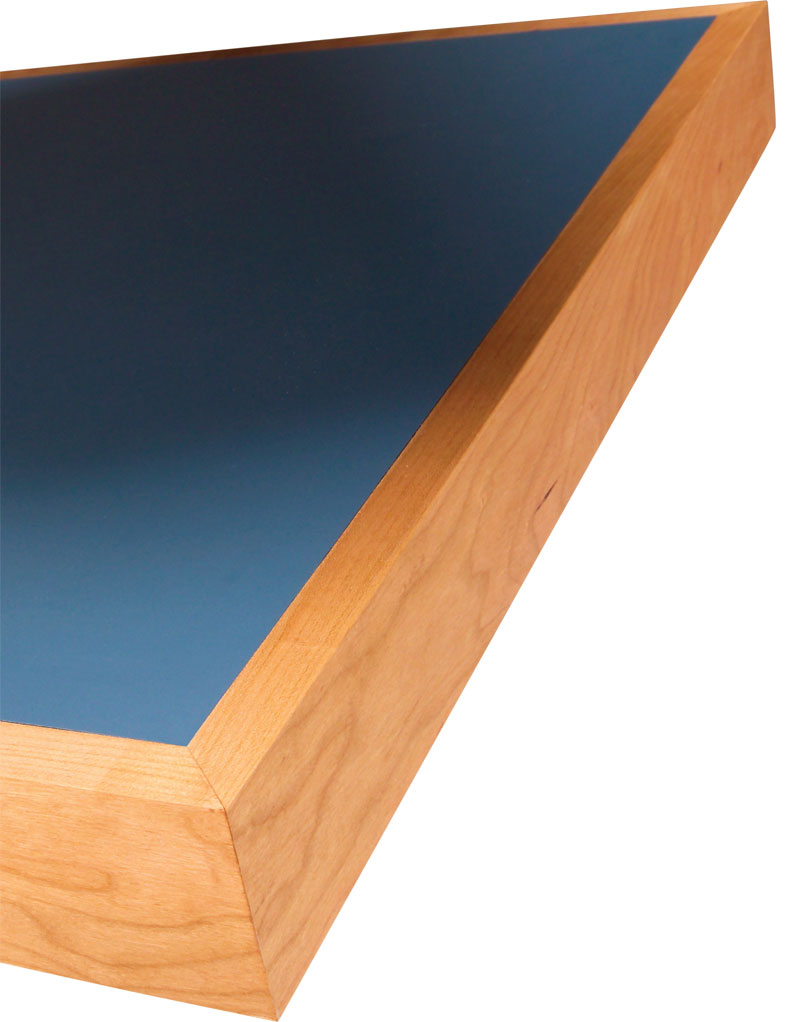
Wood Edging on Laminated Tops
5 steps to align and finish wood edging on a plastic laminated surface
By Bruce Kieffer
Most woodworkers cringe at the thought of applying wood edging to a plastic-laminated top. Unlike wood veneer surfaces, you can’t sand this edging flush without scratching the laminate. Over the years, I’ve discovered a few tricks of the trade that will help you avoid messy glue-ups and misaligned edging.
Even after you’ve successfully applied the trim, you still face a woodworking conundrum: applying finish to the wood edge but not the laminate. I found a special automotive masking tape that works better than I could imagine. Applying any type of finish is now fast and clean. Just follow these easy steps for a clean-looking, hassle-free top.
Cutting the Miters
The first hurdle is to cut your edging pieces’ mitered corners to fit exactly—you can’t get away with being a hair short or long. Start with the two long trim pieces. Use a short piece of edging with a mitered end to test-fit the long pieces. Leave the end pieces about 1/16 in. long; they’ll be trimmed to fit later. Finish-sand the top edges of the edging pieces before you glue them on. You don’t want to sand the top of the trim after it’s applied and risk scratching the laminate. After the long runs are glued in place, you can cut and fit the end pieces for airtight miters.
1. Use biscuits to avoid alignment nightmares. You’ll never have a wood edge dip below the laminate surface if you cut the slots so the wood edge sets just a smidgen above the laminated top. To do this, cut the slots in the wood edging first. Then use the same setting with a sheet of paper under the fence to cut the slots in the laminated top. Use No. 20 biscuits and set the slots 4 in. to 6 in. apart.
Click any image to view a larger version

2. Glue on one piece of edging at a time. Glue-up disasters often result from attempts to glue everything at once. Start with the long edging pieces. After they’re set, trim the mitered end pieces for an exact fit (see Photo 3). To eliminate squeeze-out on the laminate surface, apply glue only to the inside of the biscuit slots and a bead along the edge below the biscuits.

3. The end pieces are cut slightly oversize and then trimmed to create a tight joint. To trim off a whisker, try this: With the miter saw off, drop the blade down and push the mitered end of the edging up against the teeth with enough pressure to ever so slightly deflect the blade. With a tight hold on the edging, raise the blade back up. Turn the saw on and slowly make the cut. This will take the lightest shaving off the end and allow you to work your way to the perfect fit.

4. Get a clean crisp finish line using 3M’s Scotch Fine Line Tape (see Source, below). This is truly a “magic” masking tape! Originally designed for auto bodywork, it makes an airtight seal that no finish can sneak under. Apply the tape to the laminate with your fingers first. Then, to make a tight seal, use a putty knife to slowly, gently press down the tape.

5. Wipe on two or three coats of Danish oil or brush on varnish or lacquer, you name it—this tape will keep a perfect seal. Overlap a row of 2-in. blue masking tape on the Fine Line tape for an extra layer of protection, or if you’re finishing with lacquer, make the overlap using green masking tape formulated for lacquer. Remove the tape after the finish dries. You’ll find a sharp finish line and perfectly clean laminate.

Source
Note: Product availability and prices are subject to change.
Hillas Packaging Inc., hillas.com, 800-952-7424, 3M Scotch Fine Line Tape #218 Green, 3/4-in. x 60-yd. roll, #3M 218 3/4 X 60.
This story originally appeared in American Woodworker October 2005, issue #117.

Here are some supplies and tools we find essential in our everyday work around the shop. We may receive a commission from sales referred by our links; however, we have carefully selected these products for their usefulness and quality.


