We may receive a commission when you use our affiliate links. However, this does not impact our recommendations.
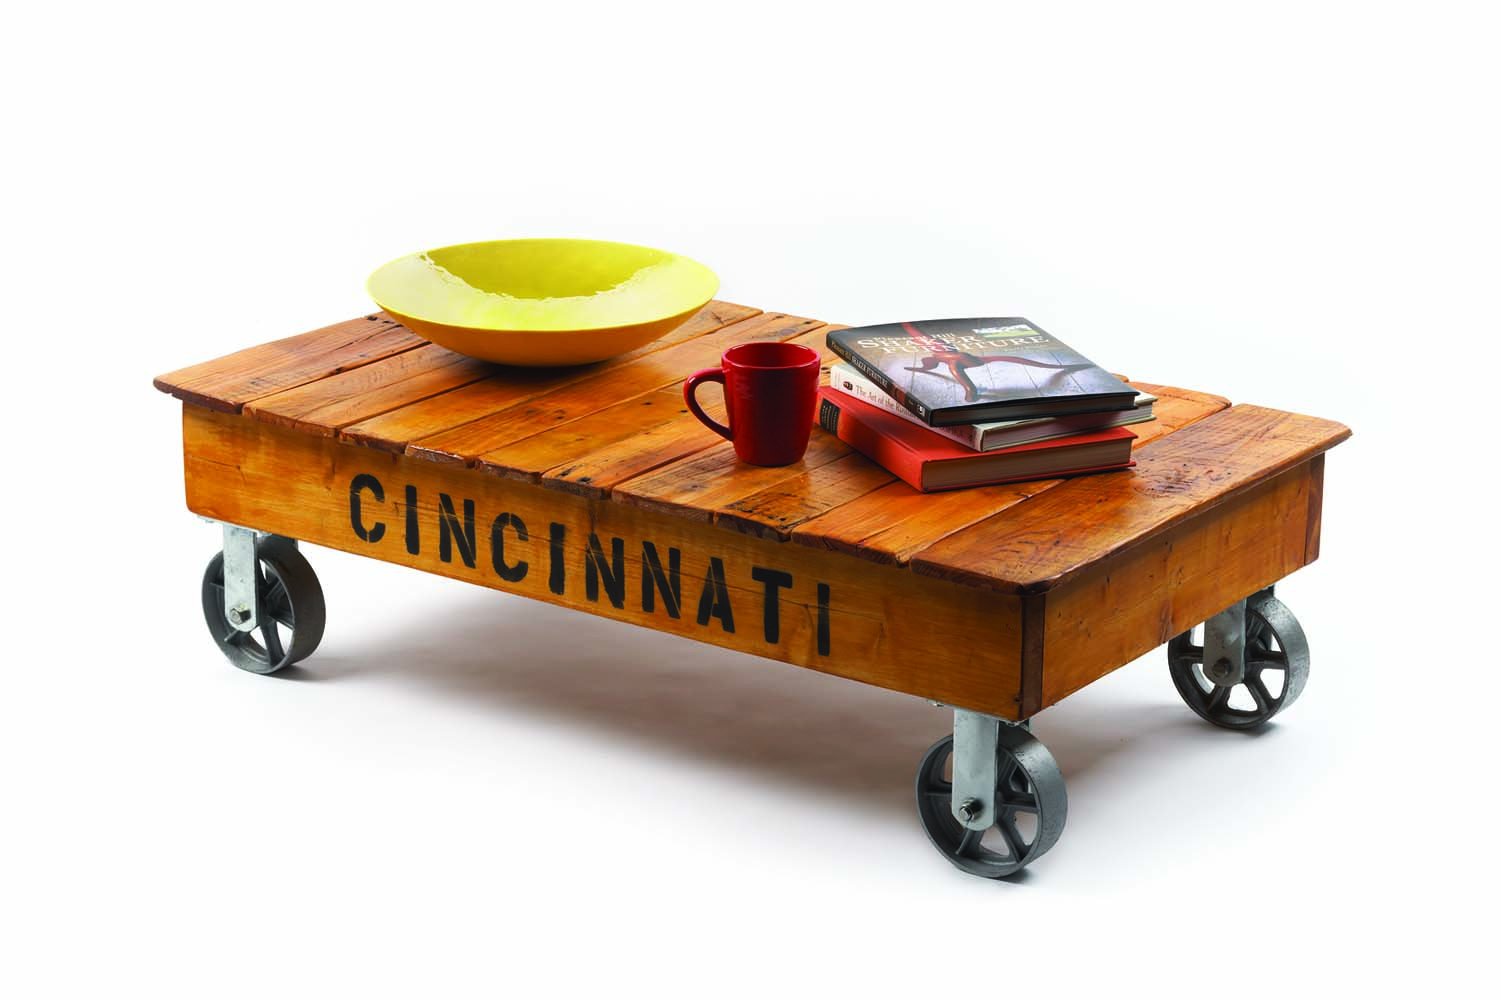
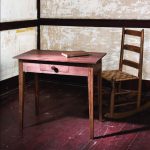
Century-old chic. Inspired by re-purposed factory carts, this coffee table is a modern design solution for supporting your favorite books – and the occasional pair of feet.
This reproduction of an industrial workhorse will give you years of use in your living room.
At the turn-of-the-century, no factory existed without several industrial carts (also known as trucks) at its disposal. From hauling lumber to carrying crankshafts to serving city ice, these workhorses served many functions.
Scraps for a shelf. Use two 101/4″ scraps to keep your brace centered and level.
Today, many of these antique carts have been restored for another purpose – furniture.
But if you don’t have several hundred dollars (or more) to spend on a restored antique cart, you can build one that will serve for years in your living room.
Reclaimed Timber
To give my table the look of 100 years of use, I built the top with the most distressed wood I could find – boards from shipping pallets that were in our storeroom.
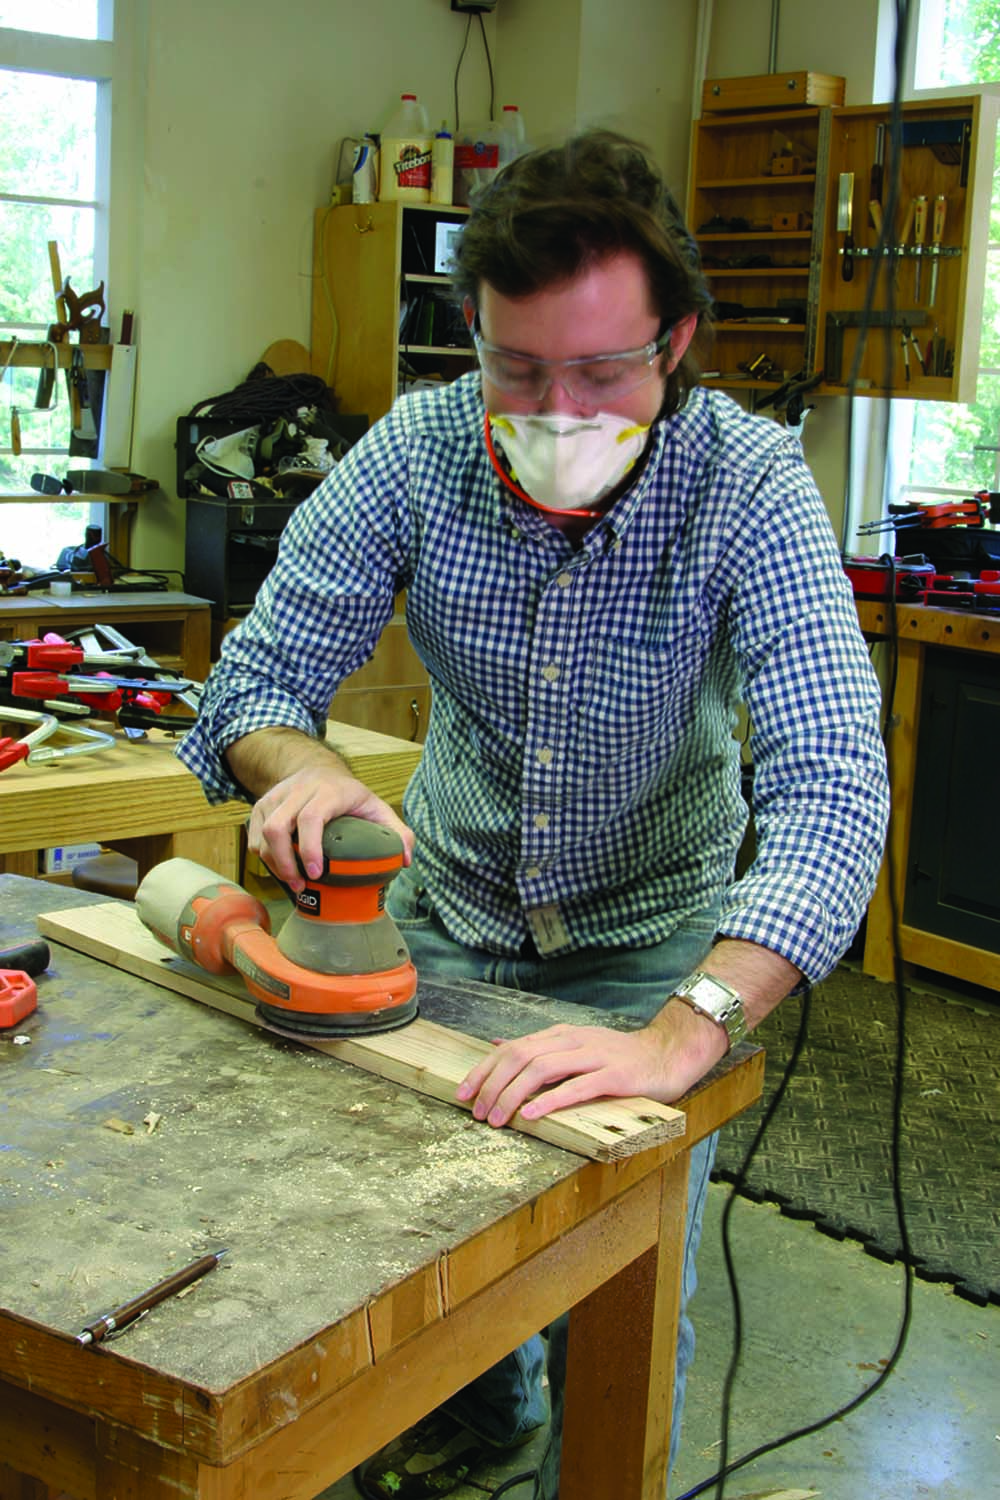
Dust protection. The dust from pallet lumber is nasty stuff. Wear a dust mask to spare your sinuses and lungs.
Let me warn you: Bringing these boards back from the brink of the dumpster is more time-consuming than you might think. For that reason, the measurements found in this article are based on a “clean” top built with 1×6 dimensional lumber.
The goal is to have a top 27″ deep and 44″ wide. Two 1×6 x 10′ boards of No. 2 pine will be enough lumber for the top (and it’s easy to find at the home center).
But if you prefer a more rustic look, ask at your local grocery store if you can grab a few pallets (or check outside by your office loading dock) and pry off more boards than you think you’ll need.
Sand down a spot on each board to help you select wood of consistent color. Don’t forget to wear a dust mask – your lungs and sinuses will thank you.
Now, using your jigsaw (the cut will result in pleasing irregularity), trim or cut the top boards to 27″ in length. (If you want a perfect 27″ and square cut on all the boards, set up a stop on your miter saw).
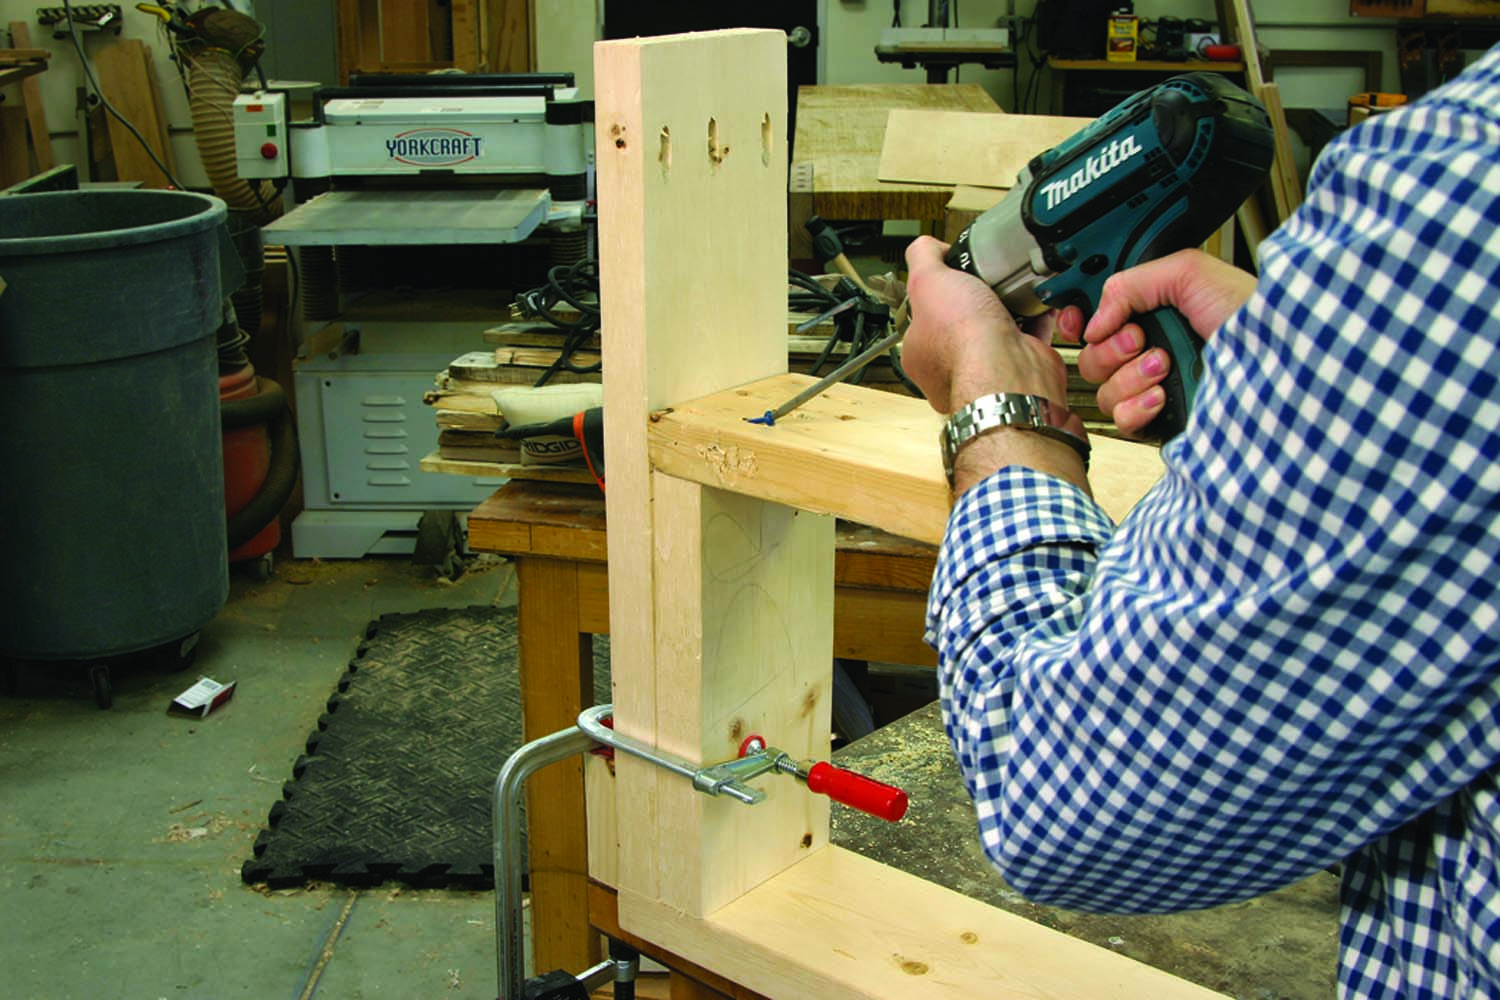
Build the Box
 The base frame of the table is built from 2×6 dimensional lumber. Two 2×6 x 8′ boards should suffice for this project.
Because I want the tabletop to overhang the base by 1″ on all sides, I’ll cut the length of the side pieces to 42″.
If you’re using random-width pallet wood for the top, arrange the boards how you like, then adjust the length of your side pieces as necessary to accommodate a longer or shorter overall cart length.
After your sides are measured and cut with your miter saw, cut two 22″-long end pieces from your second 2×6.
To determine the length of the center brace, arrange the sides and ends in a rectangle on the floor, then measure up the middle. That’s the length to cut for the center brace.
After setting your pocket screw jig to work with 1 1/2″ stock, drill three pocket holes at each end of both end pieces on the inside faces of these boards. Do the same for the center brace.
On your bench, slide the side piece against a square block of scrap and use this setup to hold your end pieces at 90º while you drive home the 2 1/2″ pocket screws.
Once the outside frame is completed, cut two pieces of scrap to 10 1/4″. Use these scraps to act as a shelf while you screw the center brace in place.
Distressed to Impress
If you’re using pallet wood for the top, here’s where you’ll spend the extra time: bringing these boards back to life.
Using #100-grit abrasive in your random-orbit sander, begin to remove the layer of grime. To expedite the process, you might want to use something more aggressive, such as a belt sander.
Again, don’t forget your dust mask. If you don’t use one, don’t be surprised when your facial tissues look like cleanup rags from an oil spill.
Clean up the boards, but be sure to leave some of the nicks and saw marks – this is the character you want to keep.
If you’re using new dimensional lumber, smacking it with a set of old keys is a great way to apply dings to the top to give it distressed character.
Take your top boards to some rough concrete (a sidewalk works great) and bang up the corners and sides. This will make the top look as if it’s seen plenty of industrial action.
Finally, use a #120-grit disc on your random-orbit sander to knock down all the corners and smooth down the dents.

 Finish with Charm

 Finish with Charm
Original carts often had the name of a company or city printed on the side. You can add that touch by using stencils and black spray paint. Use plenty of blue tape to avoid over-spray.
Use a hair dryer to set the paint, then rough up the label with your sander.
Finish the frame and top boards with a few coats of amber shellac before nailing the top boards in place.
With the frame on the floor, place one top board at the end of the frame. Use a combination square to square up the 1″ overhang then nail the board in place.
Here, you can use finish nails or even regular framing nails for an industrial look. (If you use cut nails, don’t forget to first drill pilot holes.)
With this piece as your reference, square and nail the remaining boards.
Before you attach the casters, nail two blocks of 2×6 scraps at each of the inside corners of the frame. This will give the casters support on all four corners.
I purchased the steel casters for my project online from one of many industrial supply companies. At your home center, you’ll probably find 6″ casters with rubber wheels. They may not look old-fashioned, but they won’t mark your floors, either.
To attach the casters, first drill pilot holes, then slip washers on your lag screws and use a wrench to drive the screws.
Finally, prop up your feet and enjoy your piece of custom furniture. And don’t forget to use a coaster!
Drew was the associate editor for the web for this magazine.
Click here to download the PDF for this article.
Here are some supplies and tools we find essential in our everyday work around the shop. We may receive a commission from sales referred by our links; however, we have carefully selected these products for their usefulness and quality.